Introduction
This manual provides detailed instructions for the installation, operation, and maintenance of your Redragon CC-1011 Reaver CPU Cooler. Please read this manual thoroughly before installation to ensure proper setup and optimal performance.
The Redragon CC-1011 Reaver is designed to provide efficient cooling for high-performance processors, featuring a slim design, 2 heatpipes with direct contact technology, and a 120mm red LED fan. It offers universal socket compatibility for both AMD and Intel platforms.
Product Overview

Image 1: Front view of the Redragon CC-1011 Reaver CPU Cooler, showcasing the 120mm fan with red LED illumination and the aluminum fin stack.

Image 2: Angled view of the CPU cooler, highlighting the Redragon branding on the fan frame and the heatpipe design.
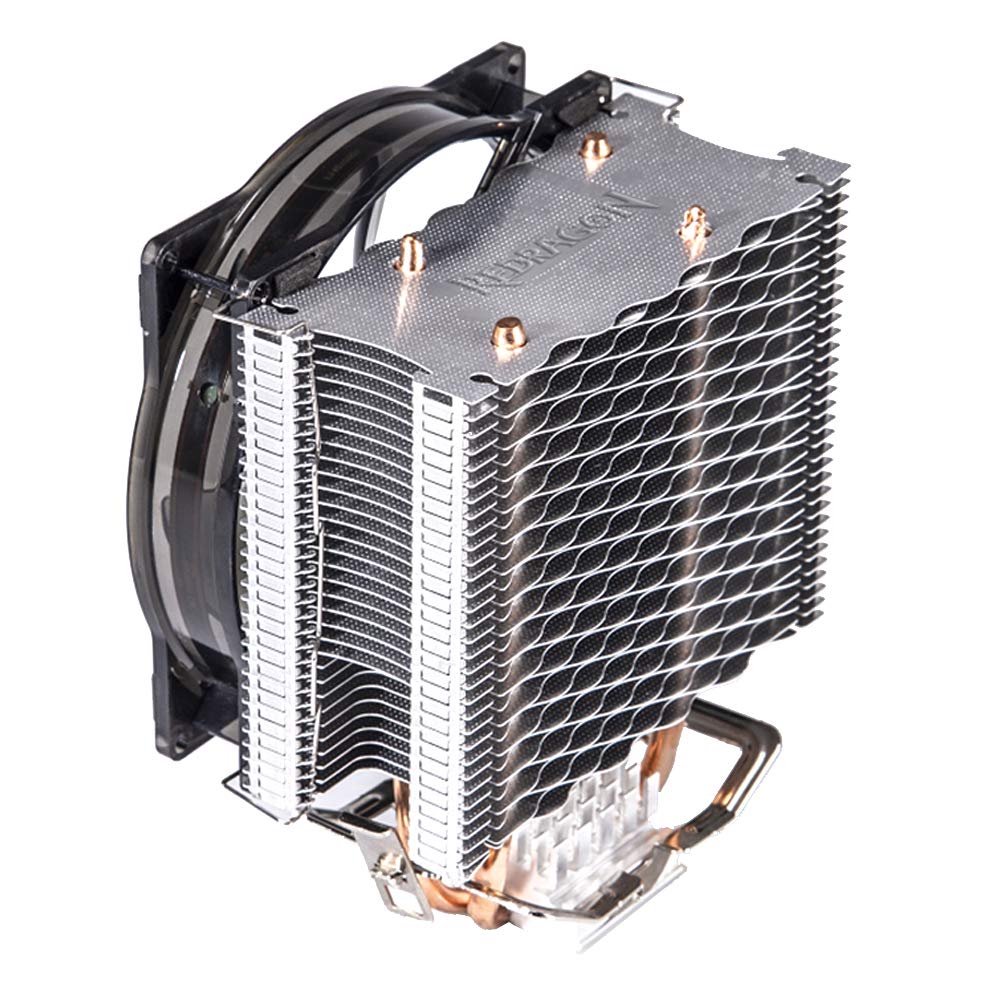
Image 3: Top-down perspective of the cooler, showing the full aluminum fin array and the fan's position relative to the heatsink.

Image 4: Side profile of the CPU cooler, illustrating the slim heatsink design and the copper heatpipes extending from the base.

Image 5: View from the bottom of the cooler, showing the direct contact heatpipes and the mounting mechanism.

Image 6: Retail packaging of the Redragon CC-1011 Reaver CPU Cooler, displaying product features and branding.
Setup and Installation
This section outlines the steps for installing the Redragon CC-1011 Reaver CPU Cooler on both Intel and AMD platforms. Ensure your system is powered off and disconnected from the power source before beginning installation.
Package Contents:
- Redragon CC-1011 CPU Cooler (Heatsink with pre-attached 120mm fan)
- Universal Mounting Brackets (for Intel and AMD sockets)
- Thermal Paste (pre-applied or in a small tube)
- Installation Screws and Backplate (if applicable for your socket type)
Pre-Installation Checklist:
- Verify compatibility with your CPU socket (LGA20XX/LGA1366/LGA115X for Intel, AM4/AM3+/AM3/AM2+/AM2/FM2+/FM2/FM1 for AMD).
- Ensure sufficient clearance within your PC case for the cooler dimensions (12.4L x 8.4W x 15.4H Centimetres).
- Gather necessary tools (e.g., screwdriver).
Installation Steps (General):
- Prepare Motherboard: If installing on a new CPU, ensure the CPU is correctly seated in its socket. If replacing an old cooler, carefully remove the old cooler and clean any residual thermal paste from the CPU IHS (Integrated Heat Spreader) using isopropyl alcohol.
- Apply Thermal Paste: If thermal paste is not pre-applied, apply a small pea-sized amount to the center of the CPU IHS.
- Attach Mounting Brackets: Depending on your CPU socket, attach the appropriate mounting brackets to the cooler base or motherboard as per the specific instructions for your socket type.
- Position Cooler: Carefully align the cooler over the CPU, ensuring the heatpipes make direct contact with the CPU IHS.
- Secure Cooler: Gently press down and secure the cooler using the provided screws or retention clips. Tighten screws in a diagonal pattern to ensure even pressure. Do not overtighten.
- Connect Fan Cable: Connect the 3-pin fan power cable from the cooler to the CPU_FAN header on your motherboard.
Note: Specific mounting procedures may vary slightly between Intel and AMD sockets. Refer to your motherboard manual for CPU_FAN header location and any specific socket requirements.
Operation
Once installed, the Redragon CC-1011 Reaver CPU Cooler operates automatically based on your motherboard's fan control settings. The 120mm fan features red LED illumination, which will activate when the system is powered on.
Fan Control:
- The fan is PWM (Pulse Width Modulation) controlled, allowing your motherboard to adjust its speed (1000-1800 RPM) based on CPU temperature.
- You can typically configure fan curves and monitoring settings within your motherboard's BIOS/UEFI interface or through manufacturer-provided software.
- Optimal fan settings balance cooling performance with noise levels.
Monitoring:
It is recommended to monitor your CPU temperatures using system monitoring software to ensure the cooler is functioning effectively and maintaining safe operating temperatures for your processor.
Maintenance
Regular maintenance helps ensure the longevity and optimal performance of your CPU cooler.
Cleaning:
- Dust Removal: Periodically (e.g., every 3-6 months), power off your computer and use compressed air to gently blow dust out of the heatsink fins and fan blades. Hold the fan blades stationary while cleaning to prevent over-spinning and potential damage to the bearing.
- Fan Blades: For stubborn dust, carefully wipe the fan blades with a soft, dry cloth.
Thermal Paste:
The thermal paste between the CPU and the cooler base should be replaced if the cooler is removed for any reason. Over time, thermal paste can dry out, potentially reducing cooling efficiency. Replacement every few years may be beneficial, depending on usage and environmental factors.
Troubleshooting
| Problem | Possible Cause | Solution |
|---|---|---|
| High CPU Temperatures |
|
|
| Fan Not Spinning / No Red LED |
|
|
| Excessive Fan Noise |
|
|
Specifications
| Feature | Detail |
|---|---|
| Model Number | CC-1011 |
| Product Dimensions | 12.4L x 8.4W x 15.4H Centimetres |
| Weight | 498.95 g |
| Material | Aluminum (fins), Copper (heatpipes) |
| Heatpipes | 2 (Direct Contact Technology) |
| Fan Size | 120mm |
| Fan Type | VotexPro Red LED Fan |
| Fan Speed | 1000-1800 RPM (PWM Controlled) |
| Air Flow Capacity | 64.97 CFM |
| Noise Level | 28 dB |
| Bearing Type | Hydro Bearing |
| Power Connector | 3-Pin |
| Voltage | 12 Volts |
| Compatible Sockets | Intel: LGA20XX/LGA1366/LGA115X AMD: AM4/AM3+/AM3/AM2+/AM2/FM2+/FM2/FM1 |
Warranty and Support
For warranty information, technical support, or further assistance, please visit the official Redragon website or contact their customer service department. Keep your proof of purchase for warranty claims.
Redragon Official Website: www.redragonusa.com
Note: Warranty terms and conditions may vary by region.


