
1. Introduction
Thank you for choosing the flybold Wall-Mounted Ballet Barre with Turning Board. This product is designed to provide a stable and comfortable support for ballet practice, dance training, and various home workout routines. Crafted with high-quality beechwood and sturdy steel brackets, it ensures a secure experience for users of all ages. This manual provides essential information for proper installation, safe operation, and maintenance of your ballet barre.

Image 1.1: A dancer utilizing the flybold wall-mounted ballet barre for stretching and balance exercises.
2. Safety Information
Please read all safety instructions carefully before installation and use. Failure to follow these instructions may result in injury or damage to the product.
- Proper Installation: Ensure the ballet barre is securely mounted to wall studs or appropriate anchors capable of supporting significant weight. Improper installation can lead to the barre detaching from the wall.
- Weight Limit: Do not exceed the recommended weight capacity of the barre. While designed for support, it is not intended for hanging or excessive swinging.
- Regular Inspection: Periodically check all mounting screws and connections to ensure they remain tight and secure. Loose components can compromise stability.
- Supervision: Children should be supervised when using the ballet barre.
- Clear Area: Ensure the area around the ballet barre is clear of obstructions to prevent accidents during use.
- Turning Board Use: Use the turning board on a smooth, flat surface. Be mindful of your surroundings to avoid collisions.
3. Package Contents
Verify that all components are present before beginning installation.
- Beechwood Ballet Barre (4ft length, 1.5-inch diameter)
- Steel Mounting Brackets (2 units)
- Mounting Hardware (screws, anchors if applicable)
- Turning Board (1 unit)

Image 3.1: Visual representation of the ballet barre and turning board with their respective dimensions.
4. Setup & Installation
The flybold ballet barre is designed for wall mounting. Proper installation is crucial for stability and safety.
Tools Required (Not Included):
- Pencil
- Measuring Tape
- Level
- Stud Finder
- Power Drill with appropriate drill bits
- Socket Wrench or Screwdriver (depending on screw type)
Installation Steps:
- Determine Mounting Location: Choose a wall location free from obstructions. Use a stud finder to locate at least two wall studs where the brackets will be mounted. Mounting directly into studs provides the most secure installation. If studs are not available at the desired spacing, use heavy-duty wall anchors (not always included, purchase separately if needed) suitable for your wall type and the expected load.
- Mark Height: Decide on the desired height for your ballet barre. A common height for adults is around waist level, but this can vary based on user preference and exercise type. Use a measuring tape and a level to mark a horizontal line on the wall at the chosen height, spanning the length of the barre.
- Position Brackets: Place the steel mounting brackets along the marked line, aligning them with the located wall studs. Ensure the brackets are evenly spaced and level. Mark the drill holes for each bracket with a pencil.
- Drill Pilot Holes: Using a power drill with an appropriate drill bit size for your mounting screws, drill pilot holes at the marked locations. Ensure the holes are deep enough for the screws.
- Mount Brackets: Securely attach the brackets to the wall using the provided screws and a socket wrench or screwdriver. Ensure they are firmly tightened and do not wobble.
- Insert Ballet Barre: Slide the beechwood ballet barre into the circular openings of the mounted brackets.
- Secure Barre: Tighten the smaller locking screws on each bracket to firmly hold the barre in place. These screws prevent the barre from rotating or sliding.
- Final Check: Gently pull and push on the installed barre to confirm it is stable and securely mounted before use.
Video 4.1: Official flybold video demonstrating the installation process of the wall-mounted ballet barre.

Image 4.2: Detail of the locking screw on the bracket, ensuring the barre does not rotate or slide.
5. Operating Instructions
Using the Ballet Barre:
The flybold ballet barre provides stable support for a variety of exercises.
- Ballet & Dance Practice: Use the barre for traditional ballet exercises such as pliés, tendus, rond de jambe, and grand battements. The smooth beechwood finish offers a comfortable and secure grip.
- Stretching: Utilize the barre for deep stretches to improve flexibility and range of motion.
- Balance Exercises: The barre is an excellent tool for improving balance and stability during various fitness routines.
- Home Workouts: Incorporate the barre into barre fitness classes, Pilates, or other strength training exercises.

Image 5.1: Examples of exercises that can be performed with the ballet barre for support.
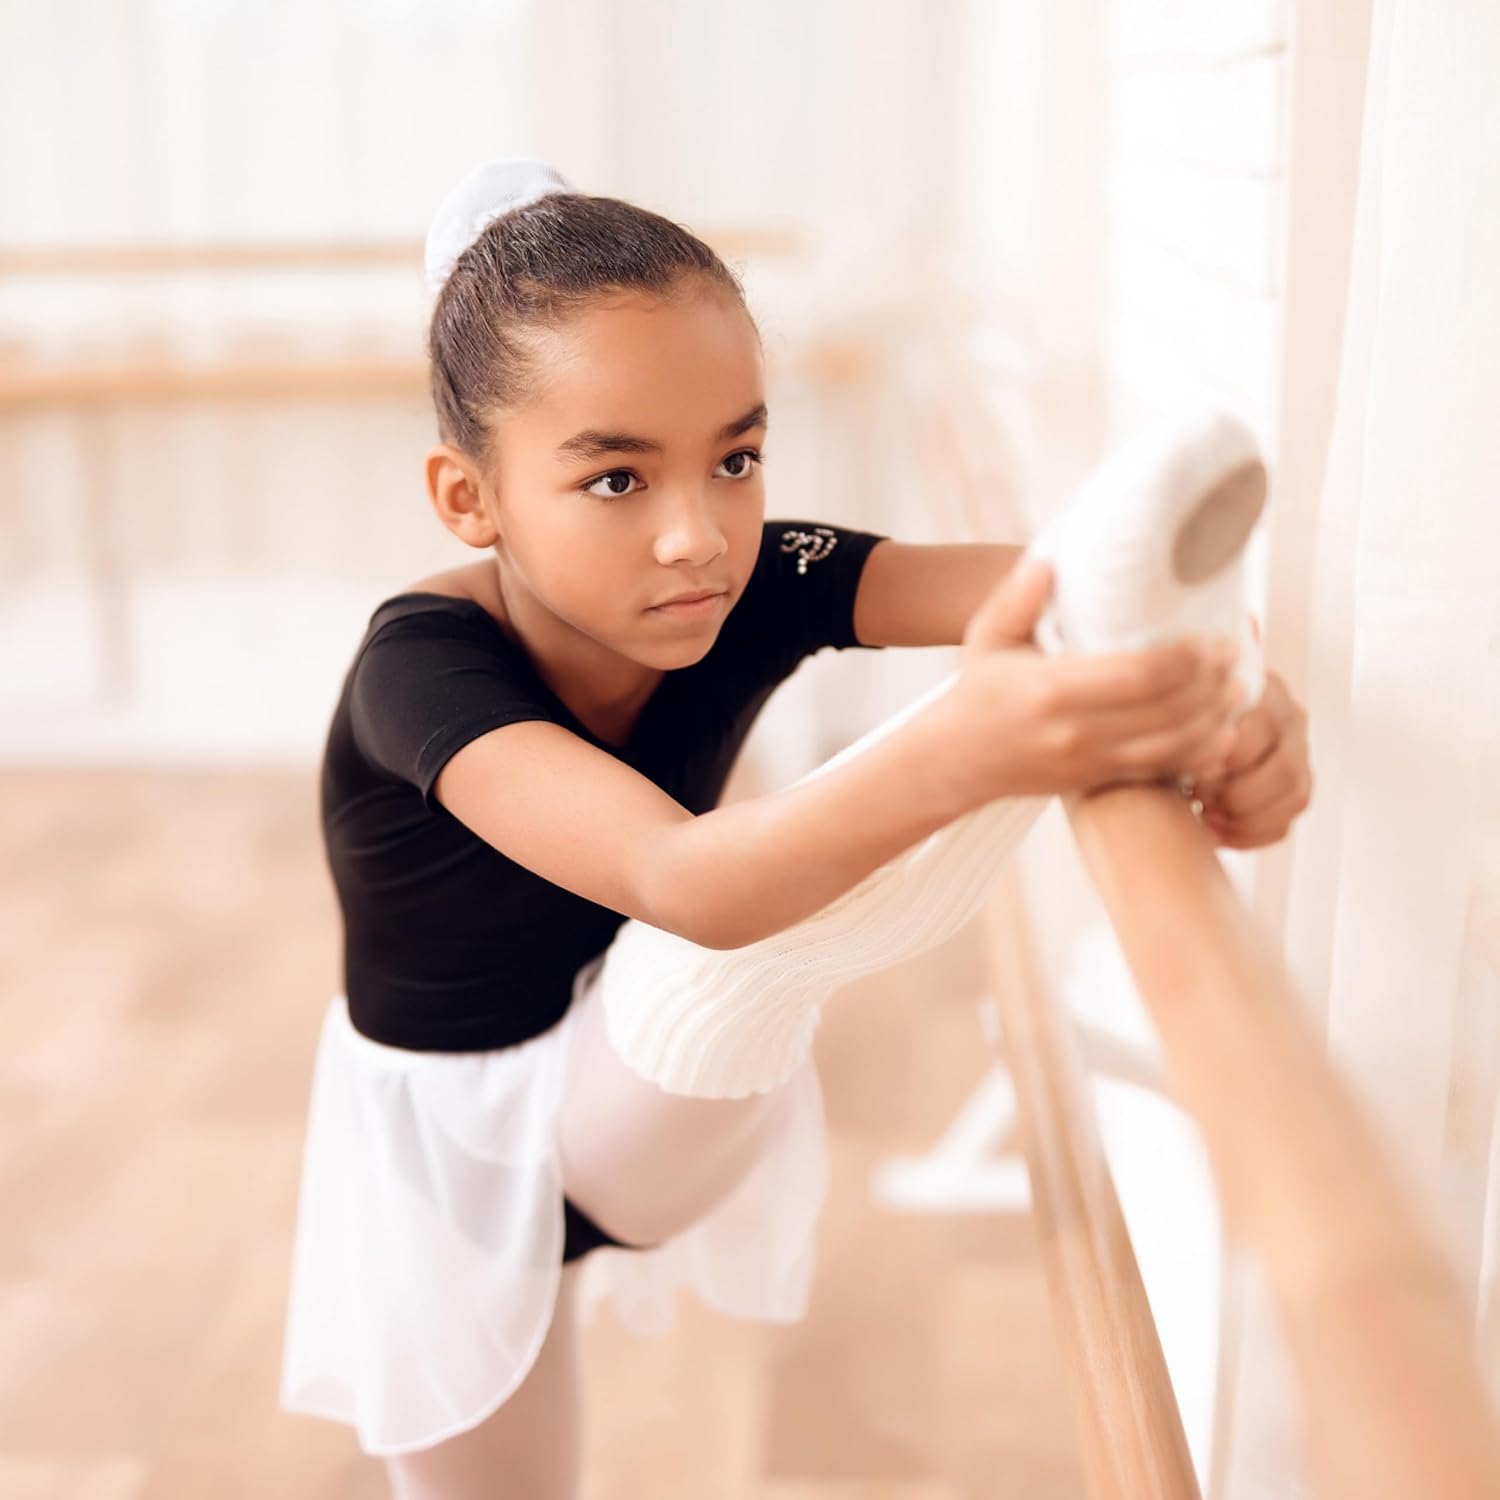
Image 5.2: A child using the ballet barre for stretching, demonstrating its suitability for various age groups.
Using the Turning Board:
The included turning board is designed to help enhance your spins and improve balance.
- Placement: Place the turning board on a smooth, flat, and clean surface.
- Foot Position: Position one foot on the turning board, ensuring your weight is centered.
- Practice Spins: Use the board to practice pirouettes and other turns, focusing on balance and control. Start slowly and gradually increase speed as your confidence and technique improve.
- Safety: Always ensure you have enough clear space around you when using the turning board to prevent falls or collisions.

Image 5.3: A dancer using the turning board to practice spins, highlighting its function in enhancing technique.
6. Maintenance
Regular maintenance will ensure the longevity and safe operation of your ballet barre.
- Cleaning: Wipe the beechwood barre and steel brackets with a soft, damp cloth. Avoid harsh chemicals or abrasive cleaners that could damage the finish.
- Check Connections: Periodically (e.g., monthly) inspect all mounting screws and the locking screws on the brackets. Tighten any loose screws to maintain stability.
- Inspect for Damage: Check the wooden barre for any signs of cracks, splinters, or excessive wear. Inspect the metal brackets for rust or deformation. Discontinue use if significant damage is found and contact support.
7. Troubleshooting
If you encounter issues with your flybold ballet barre, refer to the following common problems and solutions.
| Problem | Possible Cause | Solution |
|---|---|---|
| Barre wobbles or feels unstable. | Loose mounting screws or brackets not securely attached to studs. | Ensure all wall mounting screws are tightly secured. If not mounted into studs, consider relocating or using stronger wall anchors. |
| Wooden barre rotates or slides within the brackets. | Locking screws on the brackets are not tightened. | Tighten the small locking screws on each bracket until the barre is firmly held in place. |
| Turning board does not spin smoothly. | Uneven surface or debris under the board. | Ensure the turning board is used on a clean, smooth, and flat surface. Check for any debris underneath. |
8. Specifications
| Feature | Detail |
|---|---|
| Brand | flybold |
| Model Number | B08F2PPKG5 |
| Barre Material | Beechwood |
| Bracket Material | Alloy Steel |
| Barre Length | 4 feet (48 inches) |
| Barre Diameter | 1.5 inches |
| Mounting Type | Wall Mount |
| Item Weight | 2.61 kg (approximately 5.75 lbs) |
| Turning Board Dimensions | Approximately 11.5 inches (length) x 3 inches (width) |
| Color | Rust (referring to the bracket color, barre is natural wood) |
9. Warranty & Support
For information regarding warranty coverage, returns, or technical support, please refer to the purchase documentation or contact flybold customer service through the retailer where the product was purchased.
You can also visit the official flybold store for more information: flybold Store on Amazon.