1. Introduction
The Linksys RE6350 AC1200 Dual-Band Wi-Fi Range Extender is designed to expand the coverage of your existing Wi-Fi network. It boosts the Wi-Fi signal from your router, providing increased strength and coverage throughout your home, including outdoor areas. This extender supports AC1200 data transfer speeds (N300 + AC867) for reliable and fast wireless connectivity. It is compatible with all standard Wi-Fi routers.
2. Package Contents
The Linksys RE6350 AC1200 Dual-Band Wi-Fi Range Extender 2 Pack Bundle typically includes the following items:
- Two (2) Linksys RE6350 AC1200 Dual-Band Wi-Fi Range Extenders
- Quick Installation Guide
3. Product Overview
Familiarize yourself with the components and indicators of your Linksys RE6350 range extender.
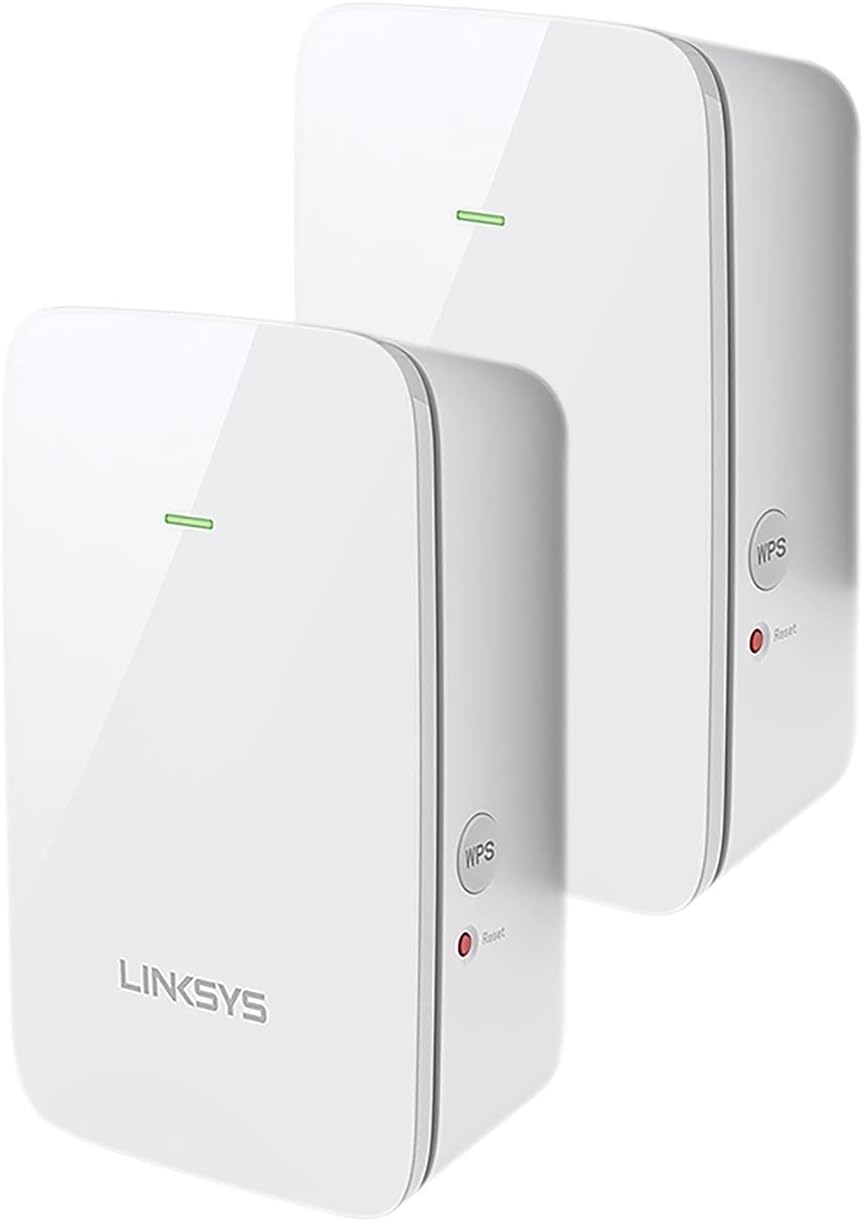
Figure 3.1: Front view of two Linksys RE6350 extenders. Each extender features the Linksys logo at the bottom and a single LED indicator light at the top.

Figure 3.2: Side view of the Linksys RE6350 extender. It features a circular WPS (Wi-Fi Protected Setup) button and a small recessed Reset button with a red indicator light.
Key Components:
- LED Indicator: Displays the status of the extender's connection and operation.
- WPS Button: Used for quick and easy setup with a WPS-enabled router.
- Reset Button: Resets the extender to its factory default settings.
- Power Prongs: For plugging the extender directly into a wall outlet.
4. Setup
There are two primary methods to set up your Linksys RE6350 range extender: using Wi-Fi Protected Setup (WPS) or manual setup via a web browser.
4.1 Optimal Placement
For best performance, place the range extender approximately halfway between your router and the area where you need improved Wi-Fi coverage. Ensure it is within the range of your existing Wi-Fi signal.
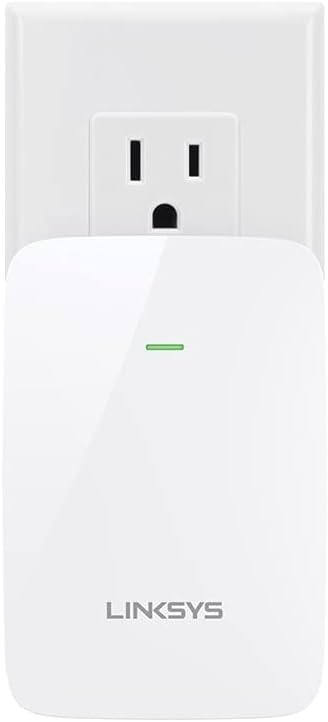
Figure 4.1: The Linksys RE6350 extender plugged into a standard wall outlet, showing its compact design.
4.2 WPS Setup (Recommended)
- Plug the range extender into a power outlet near your router.
- Wait for the LED indicator on the extender to turn solid amber.
- Press the WPS button on your router.
- Within two minutes, press the WPS button on your Linksys RE6350 extender (refer to Figure 3.2).
- The LED on the extender will flash green during the connection process. Once connected, it will turn solid green.
- Unplug the extender and move it to an optimal location (refer to 4.1 Optimal Placement). Plug it into a power outlet.
- Wait for the LED to turn solid green, indicating a good connection to your router. If it's amber, move it closer to the router.
4.3 Manual Setup
- Plug the range extender into a power outlet.
- On a computer or mobile device, connect to the Wi-Fi network named "Linksys Extender Setup" (or similar).
- Open a web browser and navigate to http://extender.linksys.com.
- Follow the on-screen instructions to select your existing Wi-Fi network and enter its password.
- Once setup is complete, the extender's LED will turn solid green.
- Unplug the extender and move it to an optimal location. Plug it into a power outlet.
- Wait for the LED to turn solid green.
5. Operating Instructions
5.1 LED Indicator Status
- Solid Green: The extender is connected to your router and is in a good location.
- Solid Amber: The extender is connected to your router but is too far away. Move it closer to the router.
- Flashing Amber: The extender is not connected to your router.
- Flashing Green: The extender is booting up or connecting via WPS.
5.2 Connecting Devices
After successful setup, your Linksys RE6350 extender will broadcast an extended Wi-Fi network. The network name (SSID) will typically be your existing network name followed by "_EXT" (e.g., "MyHomeWiFi_EXT"). Connect your wireless devices to this extended network for improved coverage.
6. Maintenance
6.1 Firmware Updates
Periodically check the Linksys support website for firmware updates. Keeping your extender's firmware up-to-date ensures optimal performance and security. Firmware updates can usually be performed via the web-based setup interface.
6.2 Cleaning
To clean the extender, unplug it from the power outlet. Use a soft, dry cloth to wipe the exterior. Do not use liquid cleaners or aerosol sprays.
6.3 Factory Reset
If you encounter persistent issues or wish to reconfigure the extender from scratch, you can perform a factory reset. With the extender powered on, use a paperclip or similar pointed object to press and hold the recessed Reset button (refer to Figure 3.2) for approximately 5-10 seconds until the LED indicator flashes rapidly. Release the button, and the extender will restart with factory default settings.
7. Troubleshooting
7.1 No Connection / Flashing Amber LED
- Ensure your main router is powered on and broadcasting a Wi-Fi signal.
- Move the extender closer to your router.
- Try performing the setup process again (WPS or Manual).
- Perform a factory reset and then attempt setup.
7.2 Slow Speeds / Solid Amber LED
- The extender is too far from your router. Relocate it to a position approximately halfway between your router and the desired coverage area.
- Ensure there are no major obstructions (thick walls, large metal objects) between the extender and the router.
7.3 Cannot Access Setup Page
- Ensure your device is connected to the "Linksys Extender Setup" Wi-Fi network.
- Verify that you are typing http://extender.linksys.com correctly into your browser's address bar.
- Try a different web browser or device.
- Temporarily disable any VPN or firewall software on your computer.
8. Specifications
| Feature | Detail |
|---|---|
| Model | RE6350 |
| Brand | Linksys |
| Wireless Standard | 802.11ac |
| Data Transfer Rate | AC1200 (N300 + AC867) |
| Frequency Band Class | Dual-Band (2.4 GHz & 5 GHz) |
| Product Dimensions | 6.9 x 5.5 x 2.6 inches |
| Item Weight | 12 ounces |
| Color | Black |
9. Warranty and Support
For detailed warranty information, technical support, and additional resources, please visit the official Linksys website. You can also refer to the documentation included with your product for specific warranty terms and contact information.
Linksys Official Website: https://www.linksys.com/support


