Introduction
Thank you for choosing the Globo Lighting RAINER LED Flush Mount Light Fixture. This manual provides essential information for the safe installation, operation, and maintenance of your new lighting product. Please read these instructions thoroughly before beginning installation and retain them for future reference.

Image: The RAINER LED flush mount light fixture, showcasing its illuminated state with a warm glow and the light wood and metal frame.
Safety Information
WARNING: Risk of electric shock. Disconnect power at the fuse or circuit breaker before installing or servicing. All electrical connections must be in accordance with local codes and ordinances, and the National Electric Code (NEC).
- Ensure the mounting surface can support the weight of the fixture.
- Do not connect this fixture to an ungrounded electrical system.
- Do not attempt to alter the fixture in any way.
- Consult a qualified electrician if you are unsure about the installation process.
- This fixture is designed for indoor use only.
Package Contents
Carefully unpack your fixture and check that all parts are included. If any parts are missing or damaged, contact your retailer.
- LED Flush Mount Light Fixture (1)
- Remote Control (1)
- Mounting Hardware (screws, wall anchors, wire connectors)
- Instruction Manual (this document)

Image: The white remote control for the RAINER light fixture, featuring buttons for ON/OFF, CCT (Color Correlated Temperature) adjustment, and LMI (Lumen Intensity) adjustment.
Setup and Installation
- Turn Off Power: Before starting installation, ensure the power supply to the junction box is turned off at the circuit breaker or fuse box.
- Prepare Mounting Surface: Ensure the ceiling surface is clean, dry, and structurally sound to support the fixture.
- Attach Mounting Bracket: Secure the mounting bracket (usually included with hardware) to the ceiling junction box using the provided screws. Ensure it is firmly attached.
- Make Electrical Connections:
- Connect the black wire from the fixture to the black (Live) wire from the junction box.
- Connect the white wire from the fixture to the white (Neutral) wire from the junction box.
- Connect the green or bare copper ground wire from the fixture to the ground wire from the junction box.
- Secure all connections with the provided wire connectors.
- Mount the Fixture: Carefully align the fixture with the mounting bracket and secure it using the screws provided. Ensure the fixture is flush against the ceiling and stable.
- Restore Power: Once the fixture is securely installed and all connections are checked, restore power at the circuit breaker.
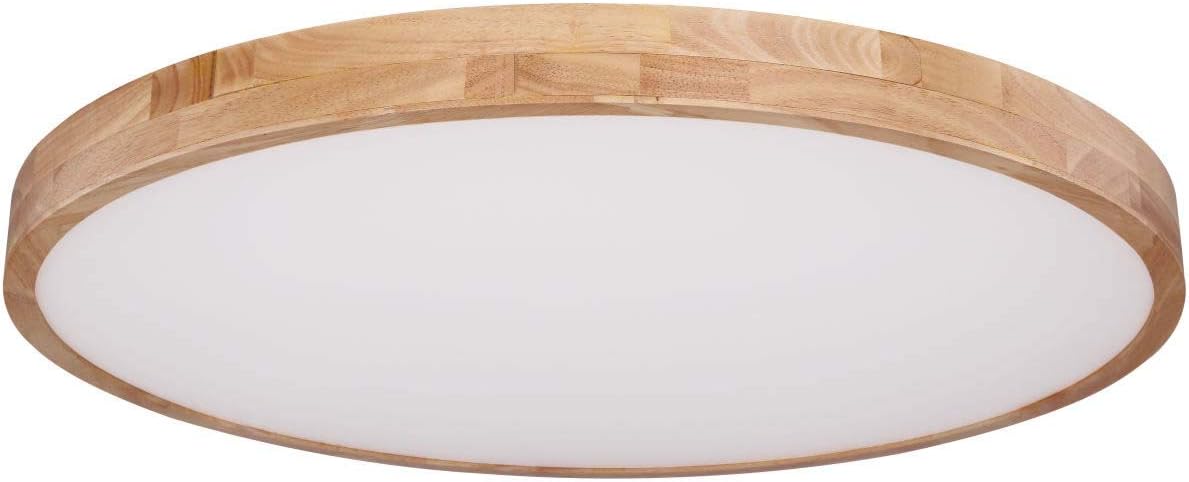
Image: The RAINER LED flush mount light fixture in an unlit state, showing the natural wood grain and metal frame.
Operating Instructions
The RAINER LED fixture is operated using the included remote control.
- ON/OFF: Press the "ON" button to turn the light on, and the "OFF" button to turn it off.
- CCT (Color Correlated Temperature) Adjustment: Use the "CCT" buttons to cycle through different color temperatures (e.g., warm white, neutral white, cool white).
- LMI (Lumen Intensity) Adjustment: Use the "LMI" buttons to adjust the brightness level of the light.

Image: The RAINER LED flush mount light fixture emitting a warm white light, demonstrating one of its adjustable color temperature settings.

Image: The RAINER LED flush mount light fixture emitting a cool white light, demonstrating another adjustable color temperature setting.
Maintenance
To maintain the appearance and performance of your fixture:
- Cleaning: Ensure power is off before cleaning. Wipe the fixture with a soft, dry or slightly damp cloth. Do not use abrasive cleaners or solvents, as they may damage the finish.
- LEDs: The LED components are integrated and not user-replaceable. Do not attempt to open or modify the LED module.
Troubleshooting
| Problem | Possible Cause | Solution |
|---|---|---|
| Light does not turn on. | No power to the fixture. Loose wiring connection. Remote control battery depleted. | Check circuit breaker. Verify all wire connections are secure (with power off). Replace remote control batteries. |
| Light flickers or dims unexpectedly. | Loose wiring connection. Incompatible dimmer switch (if applicable, though this uses its own remote). | Check all wire connections (with power off). Ensure no external dimmer is used, or if so, it's compatible with LED fixtures. |
| Remote control not responding. | Depleted batteries. Remote out of range. Interference. | Replace batteries. Ensure remote is within effective range of the fixture. Remove any obstructions or sources of interference. |
Specifications
| Model Number: | 41745-60 |
| Dimensions: | 80 x 80 x 10.5 cm |
| Weight: | 4 kg |
| Material: | Wood, Metal |
| Voltage: | 230 Volts |
| Wattage: | 60W (6E+1) |
| Number of Light Sources: | 1 (Integrated LED) |
| Room Type: | Living Room |
Warranty and Support
For warranty information or technical support, please refer to the documentation provided with your purchase or contact your retailer. Keep your proof of purchase for warranty claims.


