
1. Introduction
The PREXISO P1L1 is a versatile line and point laser level designed for various leveling and alignment tasks. This manual provides essential information for the safe and effective use of your device, ensuring accurate measurements for your projects. Please read these instructions thoroughly before operating the device.
2. Safety Information
WARNING: Laser Radiation. Do not stare into the beam. This is a Class 2 Laser Product.
- Avoid direct eye exposure to the laser beam.
- Do not attempt to disassemble or modify the device. Unauthorized modifications can result in hazardous laser radiation exposure.
- Keep the device out of reach of children.
- Do not operate the laser level in explosive atmospheres or near flammable materials.
- Use only the specified battery type (2 x AAA alkaline batteries).
3. Product Components and Features
Familiarize yourself with the key components of your PREXISO P1L1 laser level:

Image: PREXISO P1L1 Laser Level with labeled components including ON/OFF switch, laser outlet openings, spirit levels, and magnetic bottom.
- ON/OFF Switch with Operating-Mode Selector: Controls power and switches between line and point laser modes.
- Laser Outlet Opening for Line Operation: Projects a horizontal or vertical laser line.
- Laser Outlet Opening for Point Operation: Projects a single laser point.
- Spirit Level for Horizontal Alignment: Bubble level for precise horizontal leveling.
- Spirit Level for Vertical Alignment: Bubble level for precise vertical leveling.
- Magnetic Bottom: Allows attachment to metallic surfaces for hands-free operation.
The device also includes a wall holder for versatile mounting:
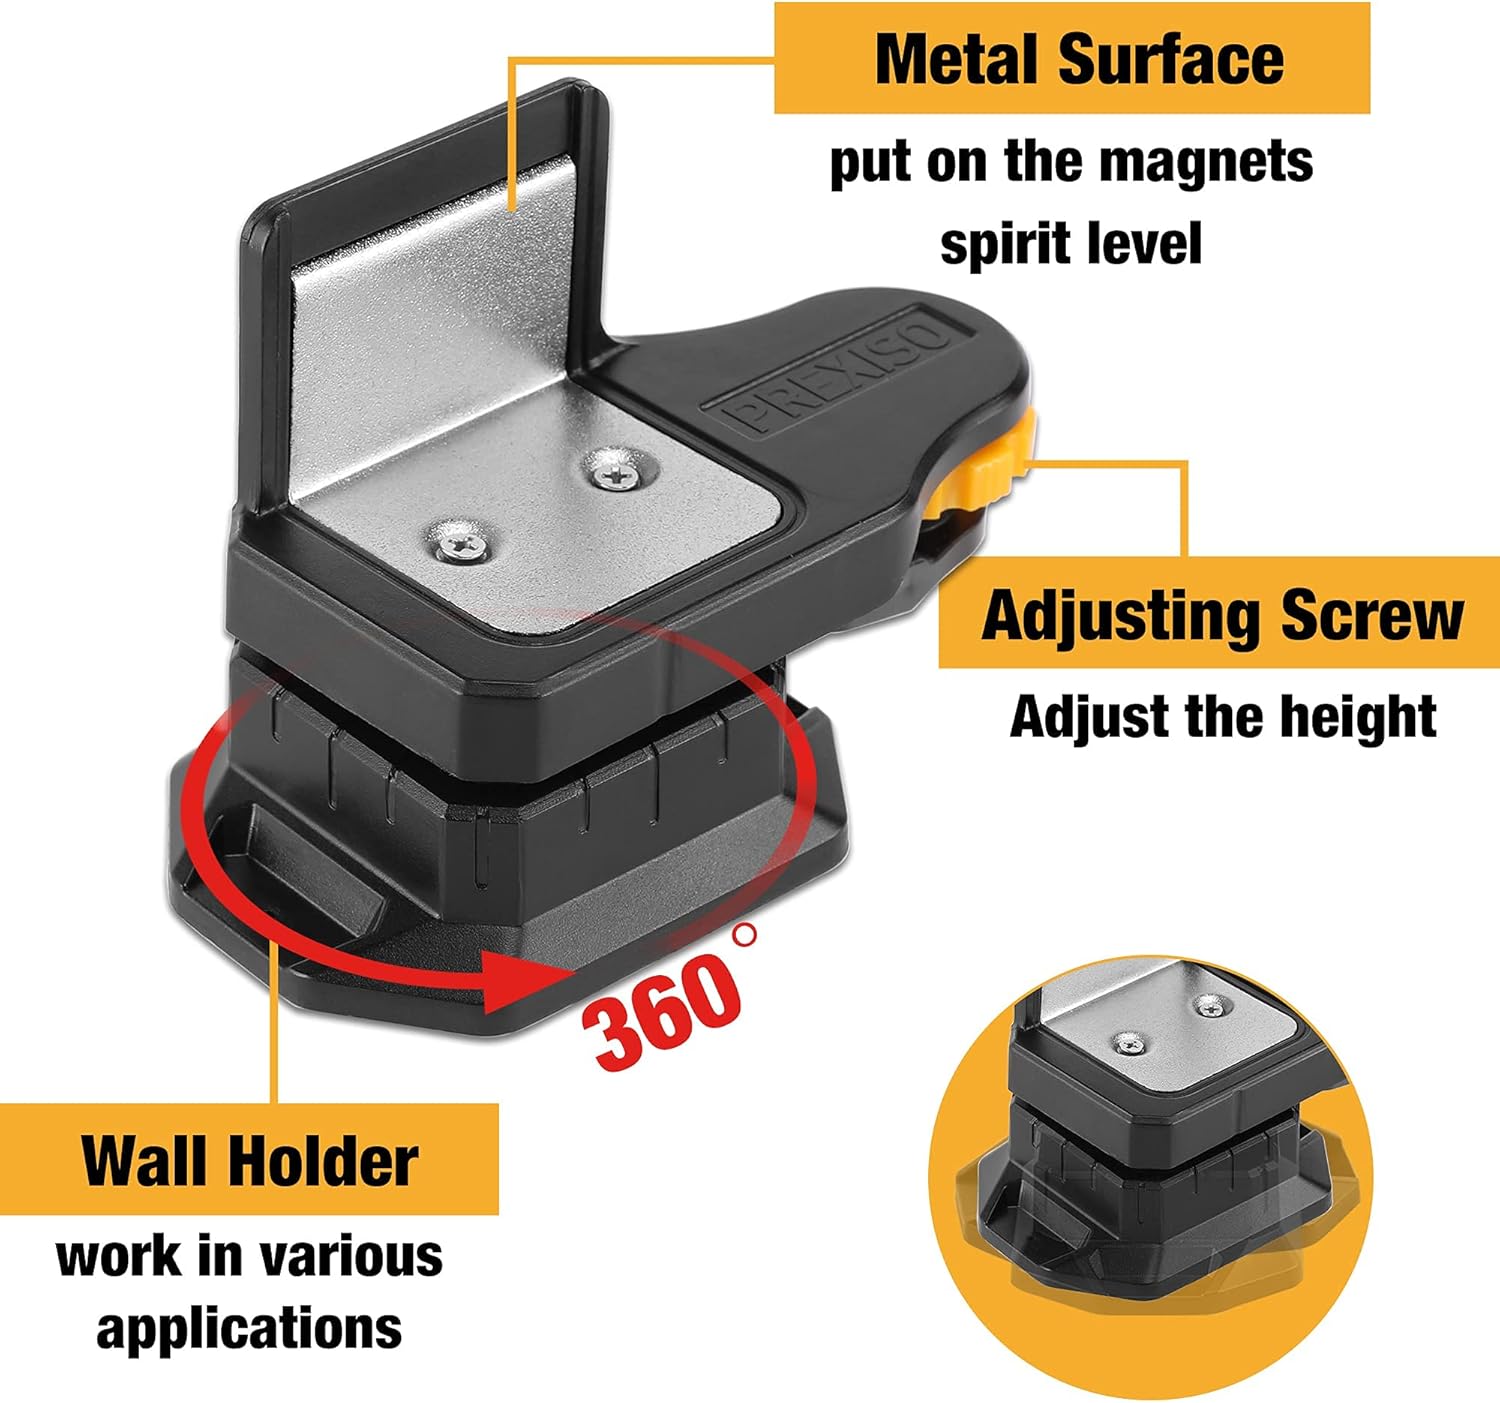
Image: PREXISO P1L1 Wall Holder, showing the metal surface for magnetic attachment and the adjusting screw for height adjustments.
- Wall Holder: Provides a stable base for various applications, including wall mounting.
- Metal Surface: Designed to securely hold the laser level via its magnetic bottom.
- Adjusting Screw: Allows for fine height adjustments of the laser level when mounted.
4. Setup
4.1 Battery Installation
- Locate the battery compartment on the device.
- Open the compartment cover.
- Insert 2 x AAA alkaline batteries, ensuring correct polarity (+/-).
- Close the battery compartment cover securely.
4.2 Mounting and Leveling
The PREXISO P1L1 can be used in various configurations:
- Freestanding: Place the device on a stable, flat surface.
- Magnetic Attachment: Use the magnetic bottom to attach the device to metallic surfaces.
- Wall Holder: Attach the laser level to the provided wall holder. The wall holder can be mounted to a wall or placed on a surface. Use the adjusting screw on the wall holder for precise height adjustments.
- Tripod Mounting: The device can be mounted on a standard tripod for elevated and stable positioning.
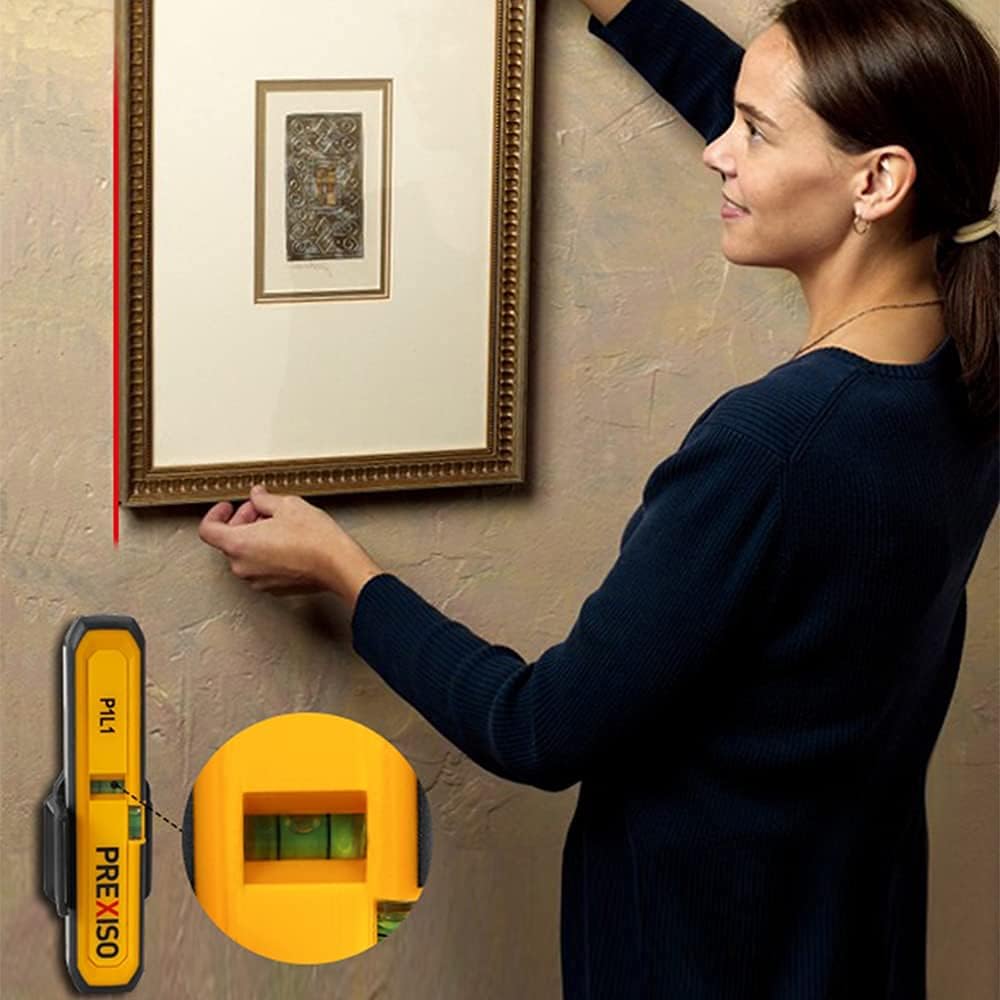
Image: PREXISO P1L1 Laser Level mounted on a tripod, demonstrating a stable setup for various tasks.
Before operation, ensure the device is level using the integrated spirit levels. Adjust the device's position or the wall holder's screw until the bubbles are centered.

Image: Close-up view of the PREXISO P1L1's horizontal and vertical spirit levels, showing clear bubbles for accurate leveling.
5. Operating Instructions
5.1 Power On/Off and Mode Selection
- Slide the ON/OFF switch to the desired operating mode.
- The device typically offers modes for line projection and point projection. Select the mode appropriate for your task.
- To turn off the device, slide the switch to the OFF position.
5.2 Using the Line Laser
The line laser projects a single laser line for horizontal or vertical alignment. The projection range is up to 10 meters with an accuracy of ±10 mm at 10 meters.

Image: Illustration showing correct usage of the line laser for wall alignment (right) versus incorrect usage on a floor (left).
- For Horizontal Lines: Position the laser level to project a horizontal line. Ensure the horizontal spirit level is centered. This is ideal for hanging pictures, shelves, or aligning cabinets.

Image: A person using the PREXISO P1L1 to project a horizontal laser line on a wall for accurately hanging two picture frames.
- For Vertical Lines: Position the laser level to project a vertical line. Ensure the vertical spirit level is centered. This is useful for aligning wallpaper, door frames, or vertical tile layouts.

Image: A woman using the PREXISO P1L1 to project a vertical laser line on a wall, assisting in the precise placement of a picture frame.
- For Diagonal Lines: The device can also project diagonal lines by positioning it at an angle, useful for stair railings or decorative patterns.
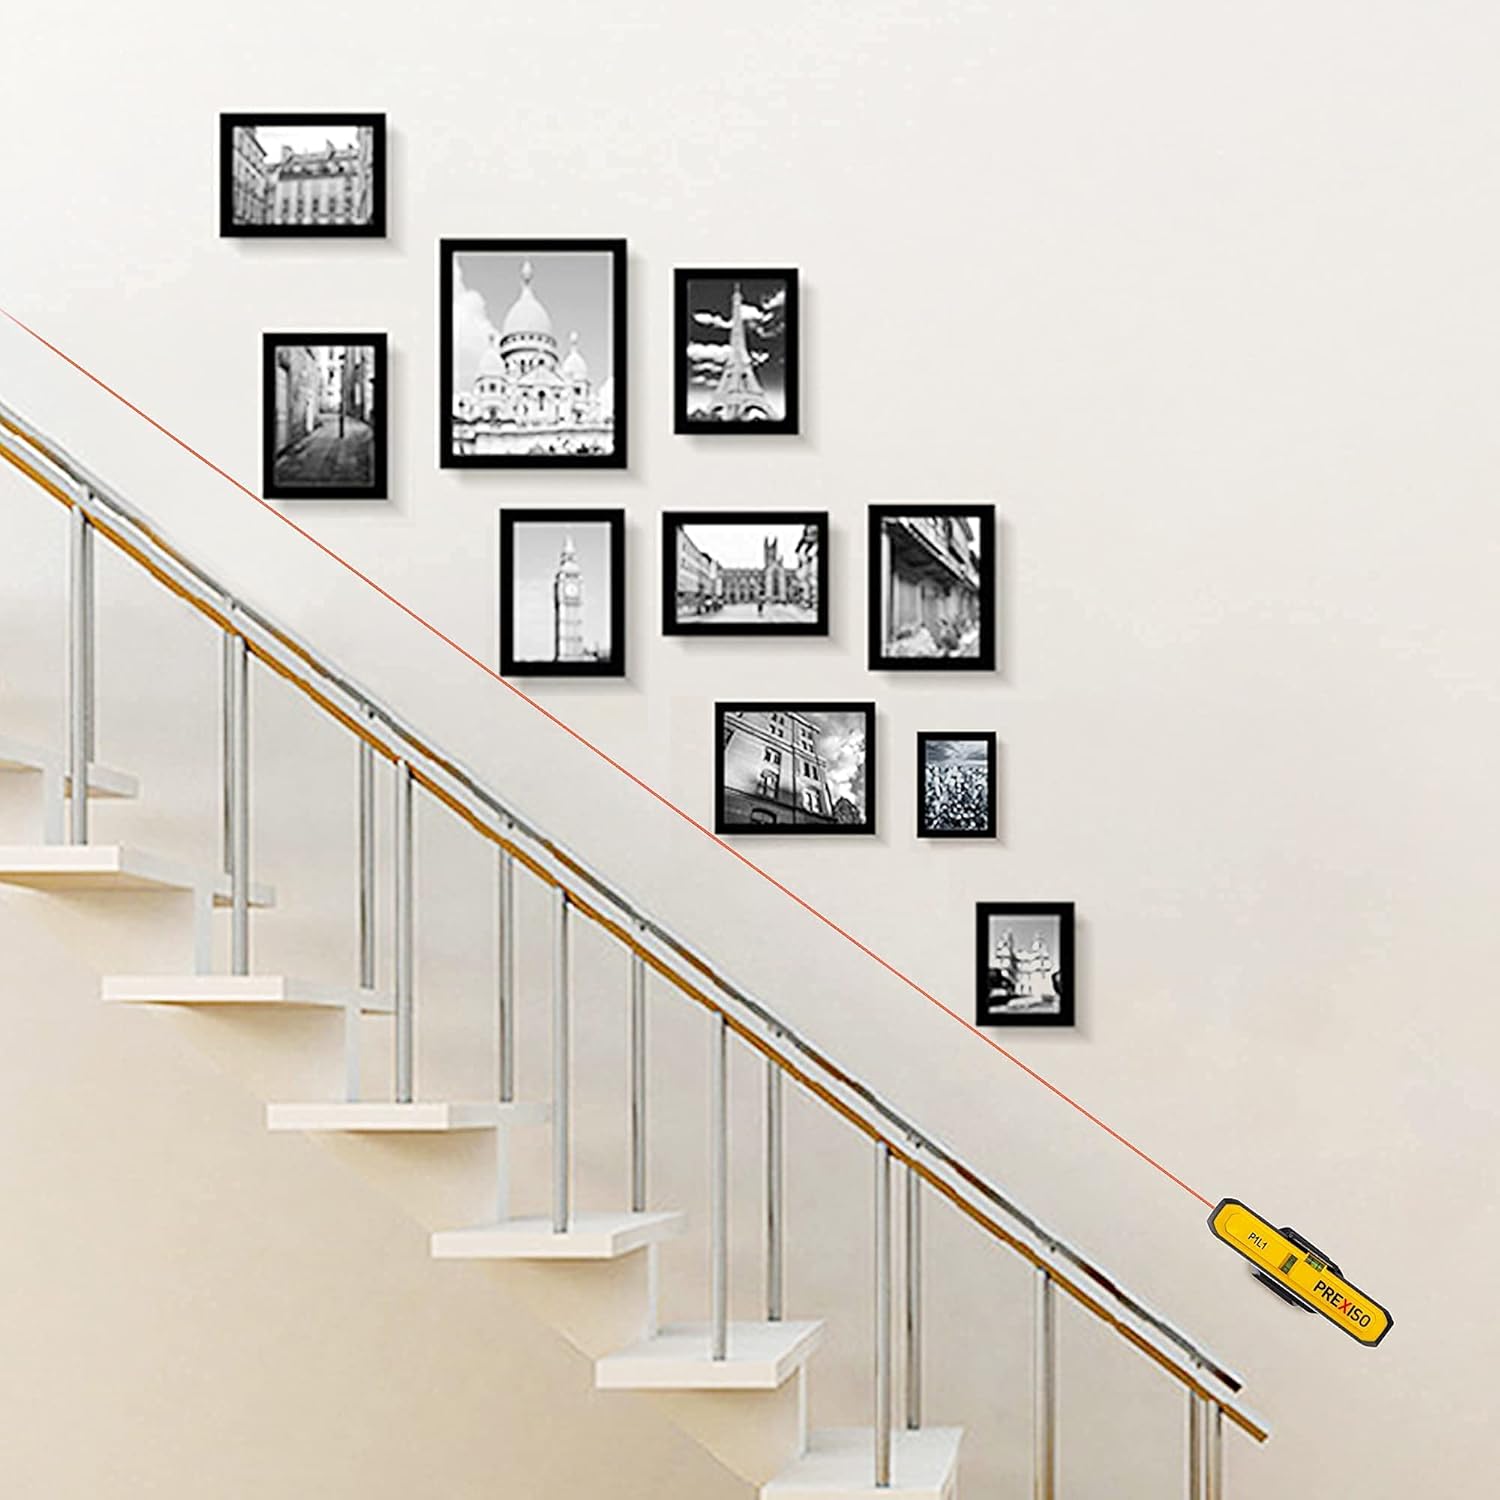
Image: The PREXISO P1L1 projecting a diagonal laser line, demonstrating its use for aligning objects along a staircase.
5.3 Using the Point Laser
The point laser projects a single laser dot. This mode is suitable for transferring points or marking specific locations. The point laser can be used on both walls and floors.
Image: A person using the PREXISO P1L1 to project a horizontal laser line on a wall for accurately hanging two picture frames.
When using the point laser on an uneven surface, ensure the device is placed on its holder to maintain stability and accuracy.
6. Maintenance
- Cleaning: Wipe the device with a soft, damp cloth. Do not use abrasive cleaners or solvents. Ensure the laser outlet window is clean for optimal beam clarity.
- Battery Replacement: Replace batteries when the laser beam becomes dim or flickers inconsistently. Always replace both AAA batteries at the same time.
- Storage: Store the laser level in a dry, cool place, away from direct sunlight and extreme temperatures. Remove batteries if the device will not be used for an extended period to prevent leakage.
- Calibration: The device is factory-calibrated. If you suspect a calibration issue, contact customer support. Do not attempt to recalibrate the device yourself.
7. Troubleshooting
| Problem | Possible Cause | Solution |
|---|---|---|
| Laser does not turn on. | Dead or incorrectly inserted batteries. | Check battery polarity. Replace with fresh AAA alkaline batteries. |
| Laser beam is dim or flickers. | Low battery power. | Replace with fresh AAA alkaline batteries. |
| Inaccurate measurements. | Device not level; obstructed laser path; calibration issue. | Ensure the device is perfectly level using the spirit levels. Clear any obstructions. If issues persist, contact customer support. |
| Device does not attach magnetically. | Surface is not metallic or magnet is weak. | Ensure the surface is ferrous metal. Clean the magnetic bottom of the device. |
8. Specifications
- Model: P1L1
- Brand: Prexiso
- Laser Projection Range: 10 meters
- Laser Accuracy: ±10 mm at 10 meters
- Power Source: 2 x AAA Alkaline Batteries
- Material: Aluminium
- Item Weight: 158 Grams
- UPC: 840128500668
- Laser Class: Class 2
9. Warranty and Support
For warranty information, please refer to the documentation provided at the time of purchase or contact your retailer. For technical support or further assistance, please reach out to Prexiso customer service through their official website or the contact details provided with your product packaging.


