
1. Introduction
The AIOMEST AI-866A is a professional digital anemometer designed for accurate measurement of wind speed, air flow (CFM/m³/min), relative humidity, and temperature. This versatile device is essential for HVAC system installation and balancing, ventilation testing, dust collection systems, and various outdoor applications including drone operation and environmental monitoring. It features a large backlit LCD display, PC connectivity via USB for data logging, and a robust design for portable use.
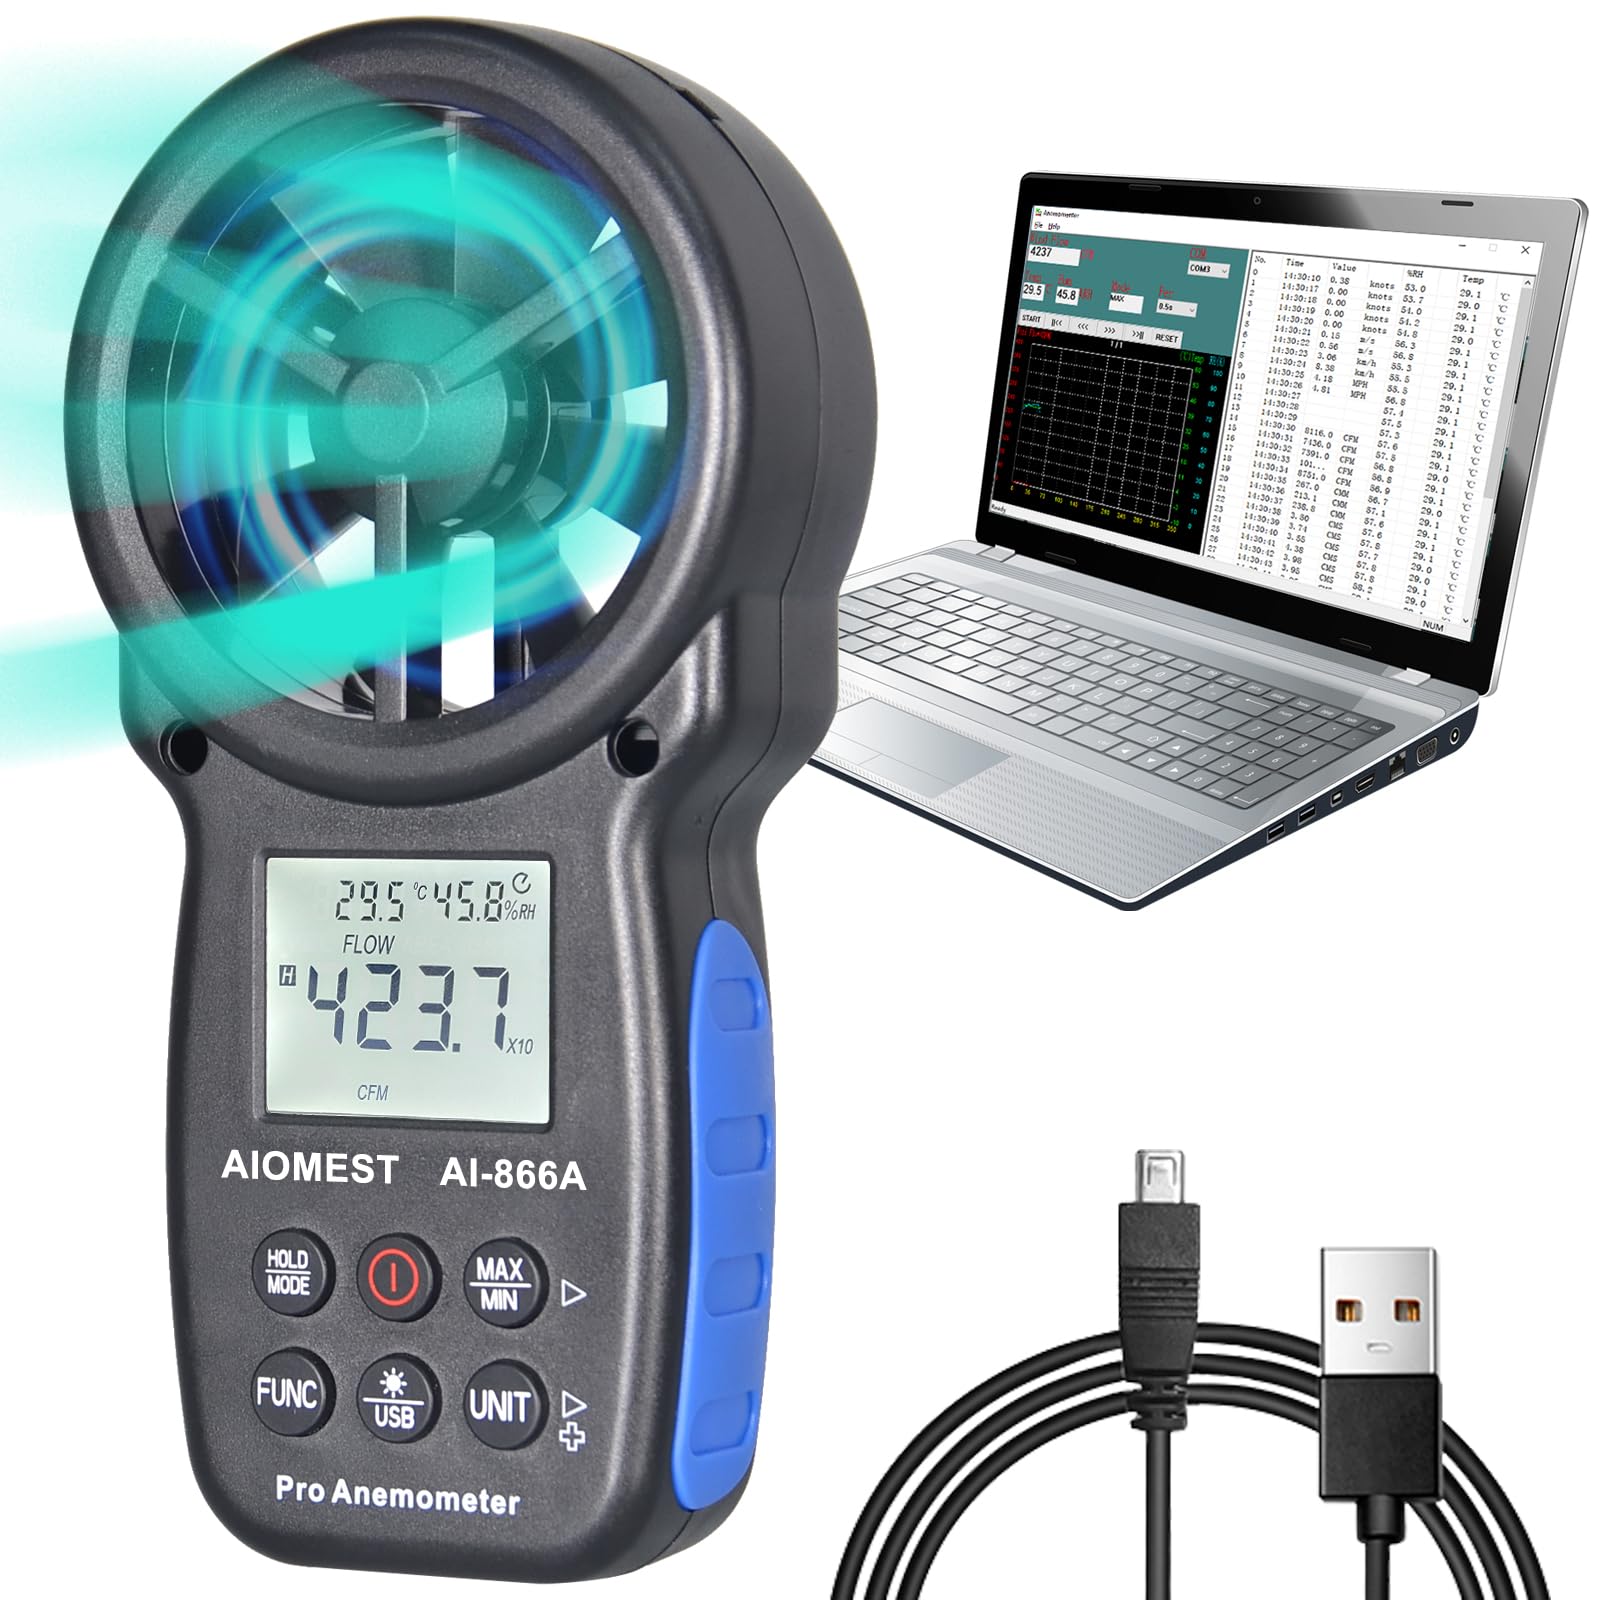
Figure 1: AIOMEST AI-866A Digital Anemometer with its display and control buttons.
2. Safety Information
- Read all instructions carefully before operating the device.
- Do not attempt to disassemble or modify the device. This may cause damage and void the warranty.
- Keep the device away from water and extreme temperatures.
- Ensure batteries are inserted with correct polarity. Remove batteries if the device will not be used for an extended period.
- Avoid direct impact to the fan blades to prevent damage.
3. Package Contents
Verify that all items are present in the package:
- AIOMEST AI-866A Digital Anemometer
- User Manual
- CD (for PC software)
- Mini Screwdriver
- USB Cable
- Wrist Strap
- AAA Batteries (2x)
- Carrying Bag

Figure 2: Included items in the AIOMEST AI-866A package.
4. Product Overview
The AIOMEST AI-866A features a compact design with an integrated fan for wind speed and airflow measurement, a clear LCD display, and intuitive control buttons.
4.1. Device Components
- Fan Impeller: Measures wind speed and airflow.
- LCD Display: Shows measurement readings, units, battery status, and other indicators.
- Control Buttons:
- HOLD/MODE: Freezes current reading; long press to cycle through measurement modes (Max/Min/Real-time).
- Power Button (①): Turns the device on/off.
- MAX/MIN: Displays maximum or minimum recorded values.
- FUNC: Cycles through different functions (e.g., humidity, dew point, temperature).
- USB/Light: Activates backlight; long press to enable USB connection.
- UNIT: Changes measurement units (e.g., m/s, km/h, CFM, m³/min, °C, °F).
- Up/Down Arrows: Used for navigation or setting parameters (if applicable).
- Battery Compartment: Located at the back for AAA batteries.
- Tripod Mount: 1/4-inch threaded hole at the bottom for stable, hands-free operation.

Figure 3: Anemometer displaying various measurement types and features.

Figure 4: Bright LCD display for clear readings day and night.
5. Setup
5.1. Battery Installation
- Open the battery compartment cover on the back of the device.
- Insert two AAA batteries, ensuring correct polarity (+/-).
- Close the battery compartment cover securely.
5.2. Initial Power On
Press the Power button (①) to turn on the device. The LCD display will illuminate and show current readings.
6. Operating Instructions
6.1. Power On/Off
- Press the Power button (①) to turn the device ON.
- Press and hold the Power button (①) for approximately 2 seconds to turn the device OFF.
- The device features an automatic power-off function after 10 minutes of inactivity to conserve battery life.

Figure 5: Low battery indication and auto-off feature.
6.2. Measurement Modes (MAX/MIN/Real-time)
Press and hold the HOLD/MODE button to cycle between:
- Real-time: Displays current measurement.
- MAX: Displays the maximum recorded value since power-on or reset.
- MIN: Displays the minimum recorded value since power-on or reset.
6.3. Unit Selection
- Wind Speed Units: Press the UNIT button to cycle through m/s, km/h, ft/min, knots, and mph.
- Airflow Units: Press the FUNC button to select airflow measurement, then press UNIT to cycle through m³/min, ft³/min (CFM), and m³/s.
- Temperature Units: Press the FUNC button to select temperature measurement, then press UNIT to switch between °C and °F.

Figure 6: Wind speed units selection.

Figure 7: Direct air volume display with multiple units.
6.4. Data Hold
Press the HOLD/MODE button briefly to freeze the current reading on the display. Press it again to release the hold function and resume real-time measurement.
6.5. Backlight
Press the USB/Light button briefly to turn the backlight on or off. The backlight improves visibility in low-light conditions.
6.6. Tripod Mounting
For long-term monitoring or hands-free operation, the AI-866A can be mounted on a standard 1/4-inch tripod using the threaded hole at the bottom of the device.

Figure 8: Anemometer on a tripod for long-term, hands-free monitoring.
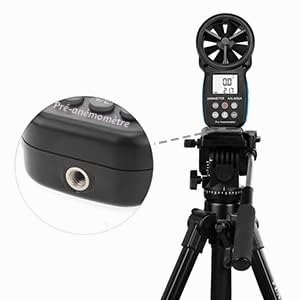
Figure 9: Detail of the 1/4-inch tripod screw hole.
7. Data Logging and PC Connection
The AI-866A can connect to a computer via USB for real-time data transmission, recording, and analysis using the included software.
- Install the provided software from the CD onto your computer.
- Connect the anemometer to your computer using the supplied USB cable.
- Long press the USB/Light button on the anemometer to enable USB communication.
- Launch the software on your PC. You should now be able to view real-time data, log measurements, and export data for further analysis.

Figure 10: Anemometer connected to a PC via USB.

Figure 11: PC connection for real-time monitoring and data export.
8. Maintenance
8.1. Cleaning
Wipe the device with a soft, dry cloth. Do not use abrasive cleaners or solvents. Ensure the fan impeller is free from dust and debris for accurate readings.
8.2. Storage
Store the anemometer in its carrying bag in a cool, dry place when not in use. Remove batteries if storing for extended periods to prevent leakage.
8.3. Battery Replacement
When the low battery indicator appears on the display, replace the AAA batteries as described in Section 5.1.
9. Troubleshooting
| Problem | Possible Cause | Solution |
|---|---|---|
| Device does not power on. | Dead or incorrectly inserted batteries. | Replace batteries or check polarity. |
| Inaccurate readings. | Fan impeller obstructed or damaged. | Clean the impeller. Ensure no obstructions. |
| Display is dim or unreadable. | Low battery or backlight off. | Replace batteries. Press USB/Light button to activate backlight. |
| PC software not detecting device. | USB cable not connected properly, USB mode not activated, or driver issue. | Ensure USB cable is secure. Long press USB/Light button on device. Reinstall software/drivers if necessary. |
10. Specifications
| Parameter | Value |
|---|---|
| Brand | AIOMEST |
| Model | AI-866A |
| Wind Speed Range | 0.3 - 40 m/s |
| Wind Speed Accuracy | ±(2% of reading + 50 digits) |
| Wind Speed Resolution | 0.01 m/s |
| Airflow Range | 0 - 99990 CFM / m³/min |
| Temperature Range | -10°C to 60°C (14°F to 140°F) |
| Relative Humidity Range | 0 - 100% RH |
| Material | Plastic |
| Dimensions (L x W x H) | 18.8 x 11.9 x 5.4 cm |
| Weight | 200g (approx.) |
| Tripod Thread Type | 1/4-20 UNC |
| Power Source | 2 x AAA Batteries |
| Connectivity | USB for PC connection |
| Auto Power Off | 10 minutes of inactivity |
11. Warranty and Support
11.1. Warranty
The AIOMEST AI-866A Digital Anemometer comes with a 365-day warranty from the date of purchase, covering manufacturing defects. This warranty does not cover damage caused by misuse, accidents, unauthorized modifications, or normal wear and tear.
11.2. Customer Support
For technical assistance, warranty claims, or any questions regarding your AIOMEST AI-866A, please contact AIOMEST customer support through the retailer where the product was purchased or visit the official AIOMEST website for contact information.