
TIMEX TW2U32000
TIMEXT80 X Pac-Man Digital Watch Instruction Manual
Model: TW2U32000 | Brand: TIMEX
Your TIMEXT80 X Pac-Man Digital Watch combines classic retro style with modern digital functionality. This manual will guide you through its features and operations.
1. Product Overview
The TIMEXT80 X Pac-Man Digital Watch is a unisex timepiece featuring a grey digital dial and a gold-tone stainless steel band. It includes a range of functions such as alarm, stopwatch, date display, and INDIGLO night-light, all housed in a durable resin case.

Figure 1.1: Front view of the TIMEXT80 X Pac-Man Digital Watch.
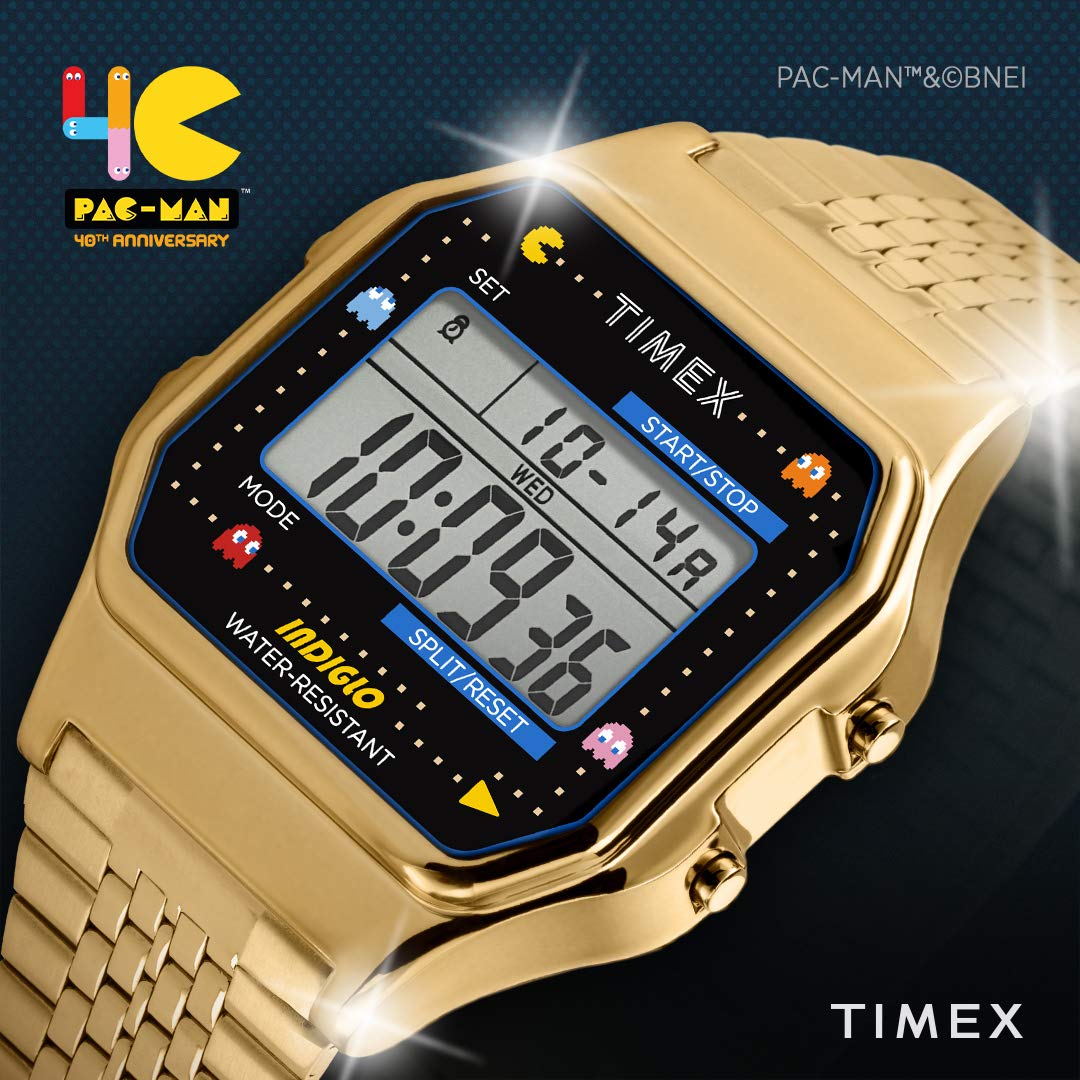
Figure 1.2: Angled view showcasing the Pac-Man design elements.

Figure 1.3: Detailed view of the watch face and display.

Figure 1.4: Side profile of the watch.
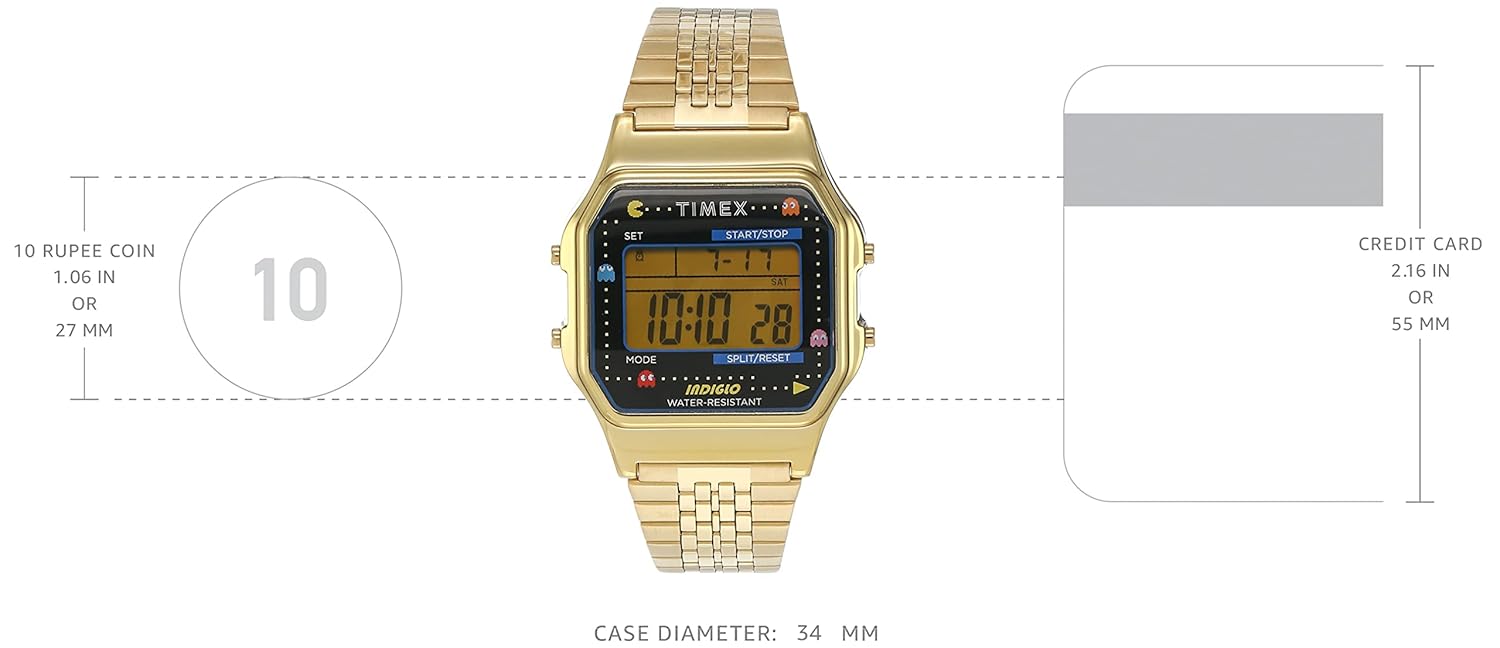
Figure 1.5: Watch as worn on a wrist.

Figure 1.6: Watch size comparison.

Figure 1.7: Rear view of the watch case.
2. Setup
2.1 Initial Inspection
Upon unboxing, inspect the watch for any visible damage. Ensure all protective films are removed from the display and case back.
2.2 Battery Information
Your watch comes with a pre-installed battery. According to specifications, it requires 1 AA battery (included). Please note that for digital watches, this typically refers to a small button cell battery, not a standard AA battery. The watch is ready for immediate use.
2.3 Setting Time and Date
To set the time and date:
- Press the MODE button repeatedly until the time setting mode is displayed (usually indicated by flashing digits).
- Use the SET or START/STOP button to adjust the flashing digit (hours, minutes, etc.).
- Press MODE again to move to the next setting (e.g., minutes, year, month, day).
- Repeat the adjustment process until all desired settings are correct.
- Press MODE or SET (depending on model) to exit the setting mode.
3. Operating Instructions
3.1 Button Functions
- SET: Used to enter setting modes and confirm selections.
- START/STOP: Initiates and pauses functions like the stopwatch or timer. Also used for adjusting values in setting modes.
- MODE: Cycles through different watch modes (Time, Alarm, Stopwatch, Timer).
- SPLIT/RESET: Records lap times in stopwatch mode or resets the stopwatch/timer. Also used for adjusting values in setting modes.
3.2 Alarm Function
To set and use the alarm:
- Press MODE until the alarm mode is displayed.
- Press SET to activate the alarm setting.
- Use START/STOP or SPLIT/RESET to adjust the alarm time.
- Press MODE to confirm and exit.
- To turn the alarm ON/OFF, press START/STOP while in alarm mode.
3.3 Stopwatch Function
To use the stopwatch:
- Press MODE until the stopwatch mode is displayed (usually showing 00:00:00).
- Press START/STOP to begin timing.
- Press SPLIT/RESET to record lap/split times without stopping the main timer.
- Press START/STOP again to pause the stopwatch.
- Press SPLIT/RESET to reset the stopwatch to zero.
3.4 Countdown Timer
To use the countdown timer:
- Press MODE until the countdown timer mode is displayed.
- Press SET to set the desired countdown time using START/STOP or SPLIT/RESET.
- Press START/STOP to begin the countdown.
- The watch will emit a sound when the timer reaches zero.
3.5 INDIGLO Night-Light
To activate the INDIGLO night-light, press the button located on the side of the watch (often the SET button or a dedicated light button). The entire watch face will illuminate for easy viewing in low-light conditions.
4. Maintenance
4.1 Water Resistance
This watch has a water resistance depth of 30 meters. This means it is suitable for everyday use and can withstand splashes or brief immersion in water. It is not suitable for swimming, showering, or diving.
- Do not operate buttons while the watch is wet or submerged.
- Avoid exposing the watch to hot water or steam, as this can compromise the water resistance seals.
4.2 Cleaning
To clean your watch:
- Wipe the case and band with a soft, damp cloth.
- For the stainless steel band, a mild soap solution can be used, followed by rinsing with clean water and thorough drying.
- Avoid using harsh chemicals, abrasive cleaners, or solvents, as these can damage the watch's finish.
4.3 Battery Replacement
When the display becomes dim or functions become erratic, it may be time to replace the battery. It is recommended to have the battery replaced by a qualified watch technician to ensure proper sealing and maintain water resistance. The watch uses a button cell battery (despite the specification stating 'AA battery').
5. Troubleshooting
5.1 Display is Blank or Dim
- Cause: Low battery.
- Solution: Replace the battery.
5.2 Buttons Are Unresponsive
- Cause: Watch may be in a locked mode or internal malfunction.
- Solution: Try pressing all buttons firmly. If unresponsive, a battery reset (removing and reinserting the battery) might be necessary, but this should be done by a professional.
5.3 Time is Inaccurate
- Cause: Incorrect setting or low battery.
- Solution: Re-set the time and date. If the problem persists, replace the battery.
5.4 Condensation Under Crystal
- Cause: Exposure to extreme temperature changes or compromised water resistance.
- Solution: Seek professional service immediately to prevent internal damage.
6. Specifications
| Feature | Detail |
|---|---|
| Model Number | TW2U32000 |
| Dial Color | Grey |
| Case Shape | Square |
| Dial Glass Material | Mineral |
| Band Color | Gold |
| Band Material | Stainless Steel |
| Movement Type | Quartz |
| Display Type | Digital |
| Case Material | Resin |
| Case Diameter | 34 millimeters |
| Case Thickness | 13 Millimetres |
| Water Resistance Depth | 30 meters |
| Clasp Type | Fold-Over Clasp |
| Item Weight | 25 g |
| Battery | 1 AA batteries required (included) |
7. Warranty and Support
7.1 Warranty Information
This TIMEX watch comes with a 1 Year Warranty from the date of purchase. The warranty covers manufacturing defects under normal use. It does not cover damage resulting from misuse, accidents, unauthorized repairs, or normal wear and tear.
7.2 Customer Support
For warranty claims, technical assistance, or service inquiries, please contact TIMEX customer support. Refer to the official TIMEX website or your purchase documentation for the most current contact information.
Manufacturer: Timex
Ask a question about this manual
Ask about setup, troubleshooting, compatibility, parts, safety, or missing instructions. Manuals+ will review the question and use this page’s manual context to help answer it.