
1. Introduction
Thank you for choosing Homemory LED Flameless Taper Candles. These battery-operated candles provide a warm, flickering light, designed for various decorative purposes. Equipped with a remote control and timer function, they offer convenience and versatility for enhancing your home ambiance.
2. Safety Information
- This product is intended for indoor use only.
- Do not expose candles or remote to water or excessive moisture.
- Use only the specified battery types (1x AA per candle, 1x CR2 for remote).
- Ensure batteries are inserted with correct polarity (+/-).
- Remove batteries if the product will not be used for an extended period to prevent leakage.
- Keep batteries and small parts out of reach of children to prevent choking hazards.
3. Package Contents
- 10 x LED Flameless Taper Candles
- 10 x Clips for attachment
- 10 x Suction Cups for attachment
- 1 x Remote Control (with 1x CR2 battery included)

Image 1: Contents of the Homemory LED Flameless Taper Candles package, showing 10 candles, clips, suction cups, and a remote control.
4. Setup
4.1 Battery Installation (Candles)
- Gently pull out the crystal bulb from the top of the candle.
- Insert one (1) AA battery (not included) into the candle body, ensuring correct polarity.
- Reinstall the crystal bulb by pushing it back into the candle. The candle will turn on when the bulb is fully tightened. Loosen slightly to turn off.
4.2 Battery Installation (Remote Control)
The remote control comes with a CR2 battery pre-installed. Remove the insulating plastic sheet from the battery compartment before first use.
4.3 Attaching Clips and Suction Cups
Each candle can be attached using either a clip or a suction cup, depending on your desired placement.
- Using Clips: Insert the bottom of the candle into the clip. The clips are designed to attach to Christmas tree branches or other similar surfaces. Tilting the clips at a slight angle can aid installation and stability.
- Using Suction Cups: Insert the bottom of the candle into the hook of the suction cup. For best adhesion, ensure the surface (e.g., window glass) is clean and dry. A small amount of moisture on the suction cup can improve grip.

Image 2: Visual guide for battery installation and attachment methods using clips and suction cups.
5. Operating Instructions
5.1 Manual On/Off
To manually turn a candle on, twist the crystal bulb clockwise until the light illuminates. To turn it off, twist the bulb counter-clockwise slightly until the light extinguishes.
5.2 Remote Control Functions
Ensure the insulating sheet is removed from the remote control before use. Point the remote directly at the candles for optimal response.
- ON: Turns all paired candles on.
- OFF: Turns all paired candles off.
- +: Increases brightness.
- -: Decreases brightness.
- SL (Slow Flicker): Activates a slow flickering effect.
- FL (Fast Flicker): Activates a fast flickering effect.
- TIMER: Activates the 6-hour timer function.
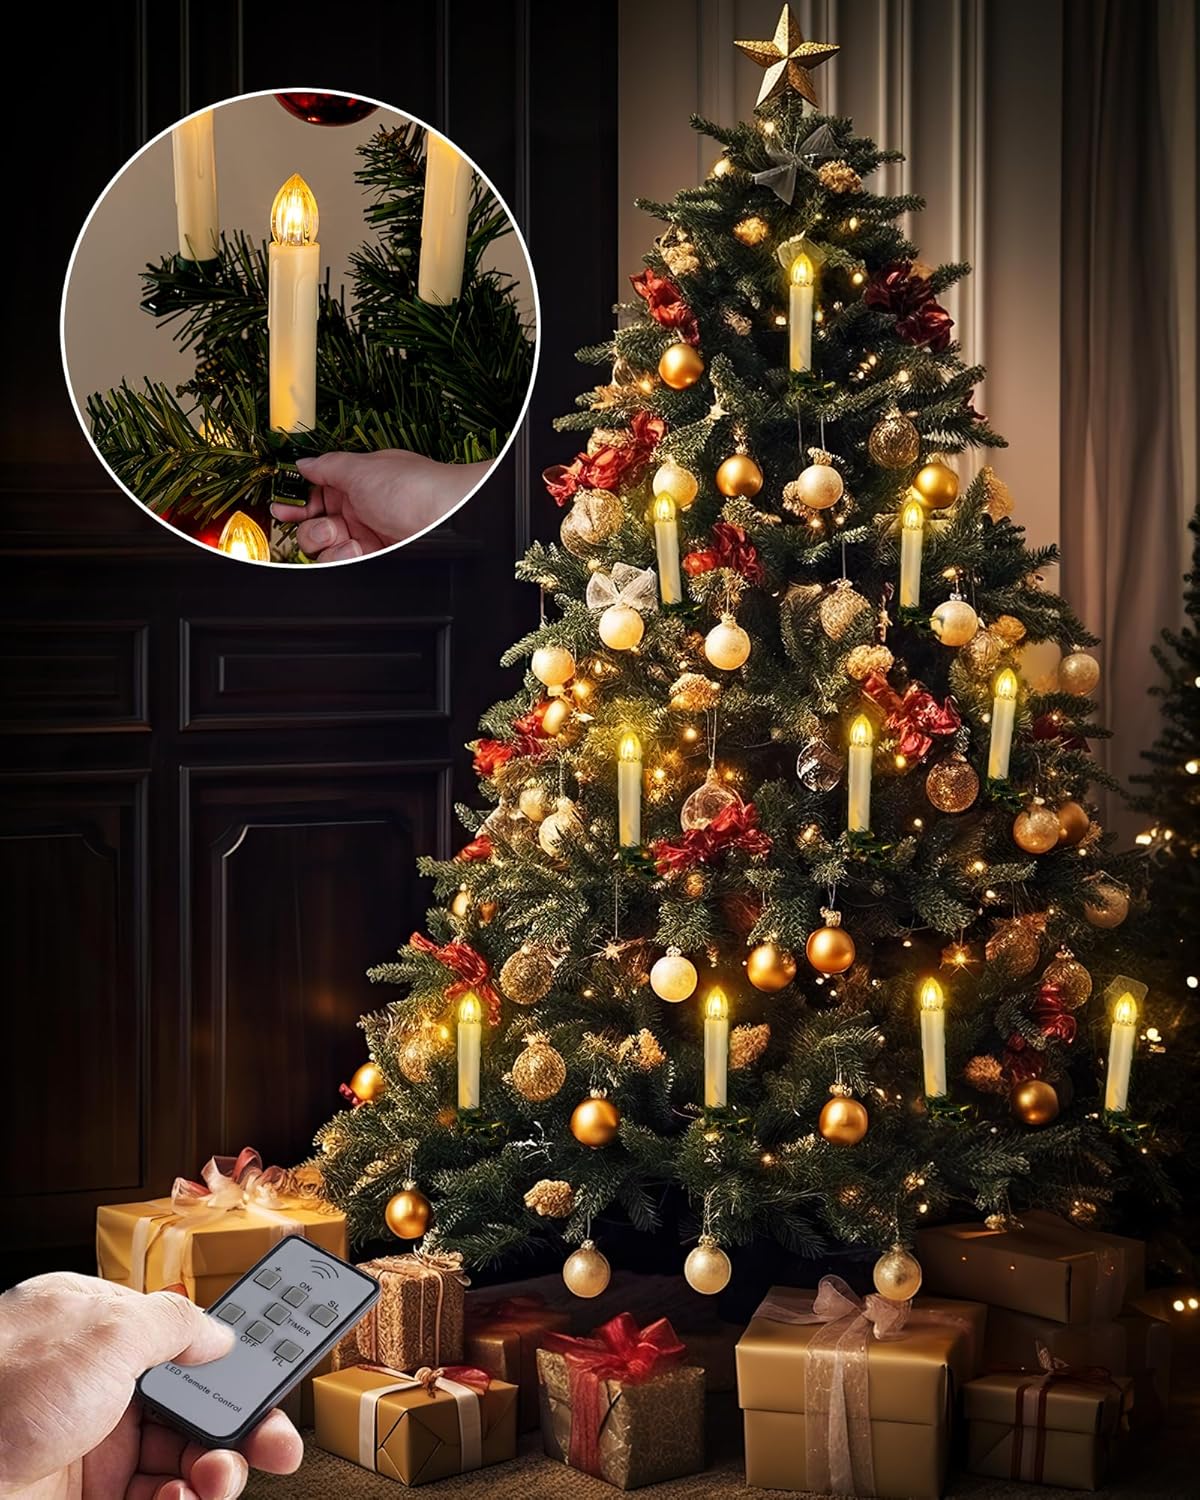
Image 3: Homemory LED candles decorating a Christmas tree, demonstrating remote control usage.

Image 4: Homemory LED candles in a decorative setting, illustrating the timer feature.
5.3 Timer Function
To activate the timer, ensure the candles are turned on (either manually or via the remote's ON button). Then, press the "TIMER" button on the remote. The candles will flash once to confirm the timer is set. They will remain on for 6 hours, then turn off for 18 hours, and repeat this cycle daily.
Important: The timer function requires the candles to be initially turned on and the remote's insulating sheet removed. If the candles do not flash, ensure the remote is working and pointed correctly.
Video 1: An official product video demonstrating the use of Homemory Window Candles with clips and suction cups, showcasing their versatility.
6. Maintenance
6.1 Battery Replacement
When the candle light dims significantly or stops working, it's time to replace the AA battery. Follow the battery installation steps in Section 4.1. For the remote, replace the CR2 battery when its functionality decreases.
6.2 Cleaning
Wipe the candles and remote with a soft, dry cloth. Do not use abrasive cleaners or immerse in water.
6.3 Storage
Store the candles and remote in a cool, dry place when not in use. Remove all batteries before long-term storage.
7. Troubleshooting
- Candle not turning on:
- Check if the AA battery is inserted correctly with proper polarity.
- Ensure the crystal bulb is twisted fully clockwise to make contact.
- Replace the AA battery if it is depleted.
- Remote control not working:
- Remove the insulating plastic sheet from the remote's battery compartment.
- Ensure the remote's CR2 battery is not depleted; replace if necessary.
- Point the remote directly at the candles. Obstructions can block the signal.
- Timer function not activating/inconsistent:
- Ensure all candles are turned on before pressing the "TIMER" button.
- Confirm the remote is working and pointed at the candles when setting the timer.
- If only some candles respond, try resetting them by turning them off and on, then re-applying the timer.
- Suction cups not holding:
- Clean the surface thoroughly before applying the suction cup.
- Apply a small amount of moisture (e.g., water) to the inside of the suction cup for better adhesion.
- Ensure the suction cup is pressed firmly against the surface to remove all air.
- Candles appear dim:
- Ensure the crystal bulb is fully tightened. A loose bulb can result in dim lighting.
- Replace the AA battery if it is low.
- Increase brightness using the "+" button on the remote.
Video 2: An official product video providing an overview of the Homemory Christmas Window Candles, highlighting their features and applications.
8. Specifications
| Feature | Detail |
|---|---|
| Model Number | HMXGLLST10 |
| Dimensions (each candle) | 0.7" Diameter x 4" Height |
| Light Source | LED |
| Light Color | Warm White |
| Material | Plastic |
| Power Source (Candles) | 1 x AA Battery (per candle, not included) |
| Power Source (Remote) | 1 x CR2 Battery (included) |
| Battery Life (Continuous) | 240+ hours |
| Battery Life (with 6H Timer) | 400+ hours |
| Control Method | Remote Control |
| Timer Function | 6 hours ON / 18 hours OFF (daily cycle) |
| Indoor/Outdoor Use | Indoor Only |
| Water Resistance | Not Water Resistant |

Image 5: A close-up view of a candle attached to a Christmas tree, illustrating its dimensions.
9. Warranty and Support
Homemory products are manufactured with quality and customer satisfaction in mind. For any questions, concerns, or warranty claims regarding your LED Flameless Taper Candles, please contact Homemory customer support through the retailer's platform or the official Homemory website. Please retain your proof of purchase for warranty service.