
1. Introduction
The Minetom BL-HW06-I 3-in-1 Holiday Projector Light is designed to enhance your indoor and outdoor holiday decorations. This projector features three projection heads, offering a combination of RGBW water wave ripple effects and various pattern images. It is engineered for brighter and clearer projections, with optimized rotating motors for quiet operation. The unit includes multiple interchangeable slides for different holidays and occasions, along with a remote control for convenient operation.
2. Package Contents
Please inspect the package contents upon receipt. Ensure all items listed below are present and in good condition.
- Minetom 3-in-1 Projector Light Unit
- Power Adapter (16.5 ft power cord)
- Remote Control
- Ground Stake
- Round Base
- Mounting Hardware (screws and anchors)
- Interchangeable Pattern Slides (multiple sets for various holidays)
- User Manual
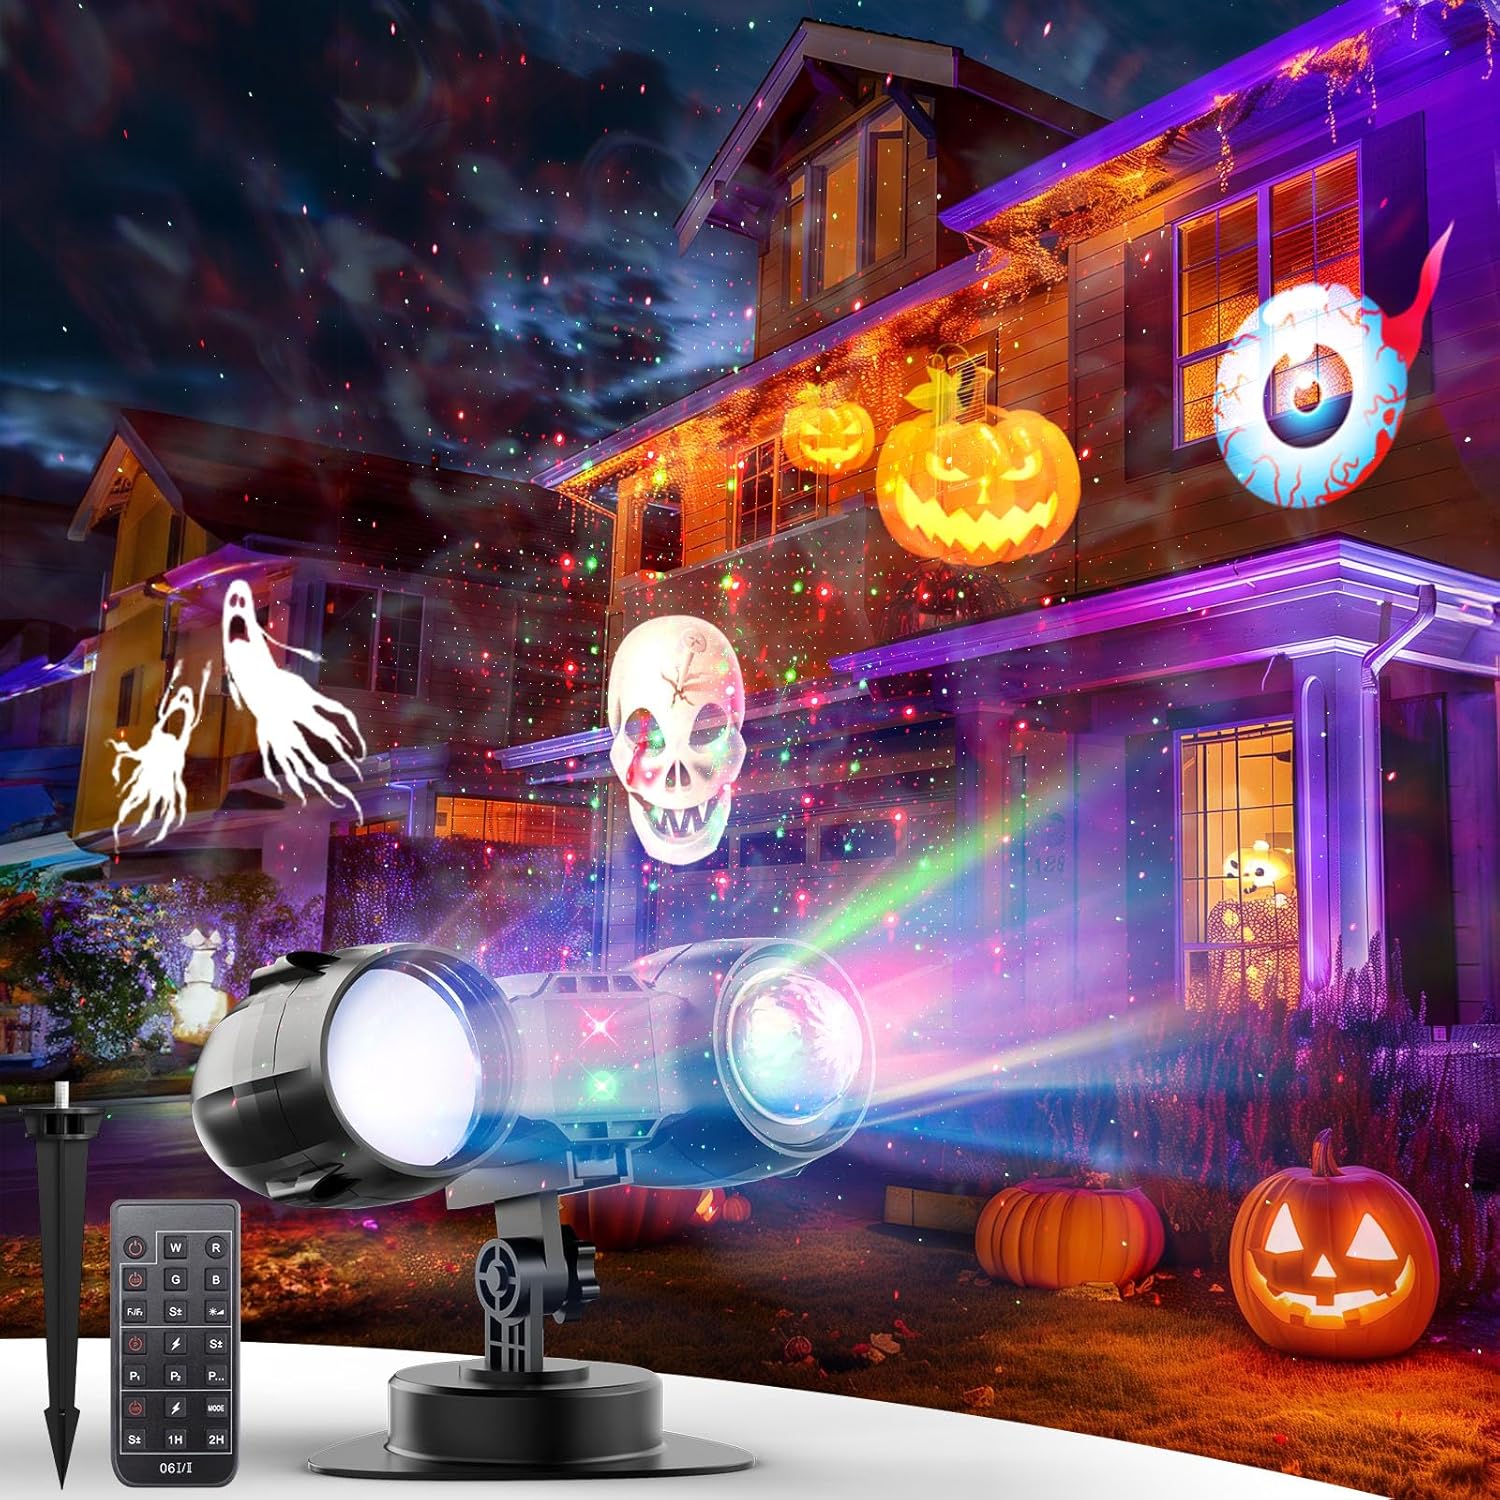
Image: The Minetom 3-in-1 Holiday Projector Light showcasing its projection capabilities on a house.
3. Safety Instructions
- Read all instructions before use.
- This product is suitable for both indoor and outdoor use.
- Ensure the power cord is not damaged or pinched during installation.
- Do not stare directly into the light source to avoid eye injury.
- Keep the device away from children and pets.
- Disconnect power before cleaning or performing maintenance.
- The projector has an automatic shutdown protection function after 6 hours of startup, and will automatically start after 18 hours.
4. Setup and Installation
The Minetom projector offers three installation methods: ground-mounted, wall-mounted, and indoor placement.
4.1. Ground-Mounted Installation
- Attach the ground stake to the bottom of the projector unit.
- Insert the stake firmly into the soil in your desired outdoor location.
- Adjust the projection angle as needed.
4.2. Wall-Mounted Installation
- Attach the round base to the bottom of the projector unit.
- Use the provided screws and anchors to securely mount the base to a wall.
- Adjust the projection angle as needed.
4.3. Indoor Placement
- Attach the round base to the bottom of the projector unit.
- Place the projector on a flat, stable surface such as a table or floor.
- Adjust the projection angle as needed.
For optimal projection, place the unit 10-16 feet away from the projection surface. The projection area covers up to 538 square feet.
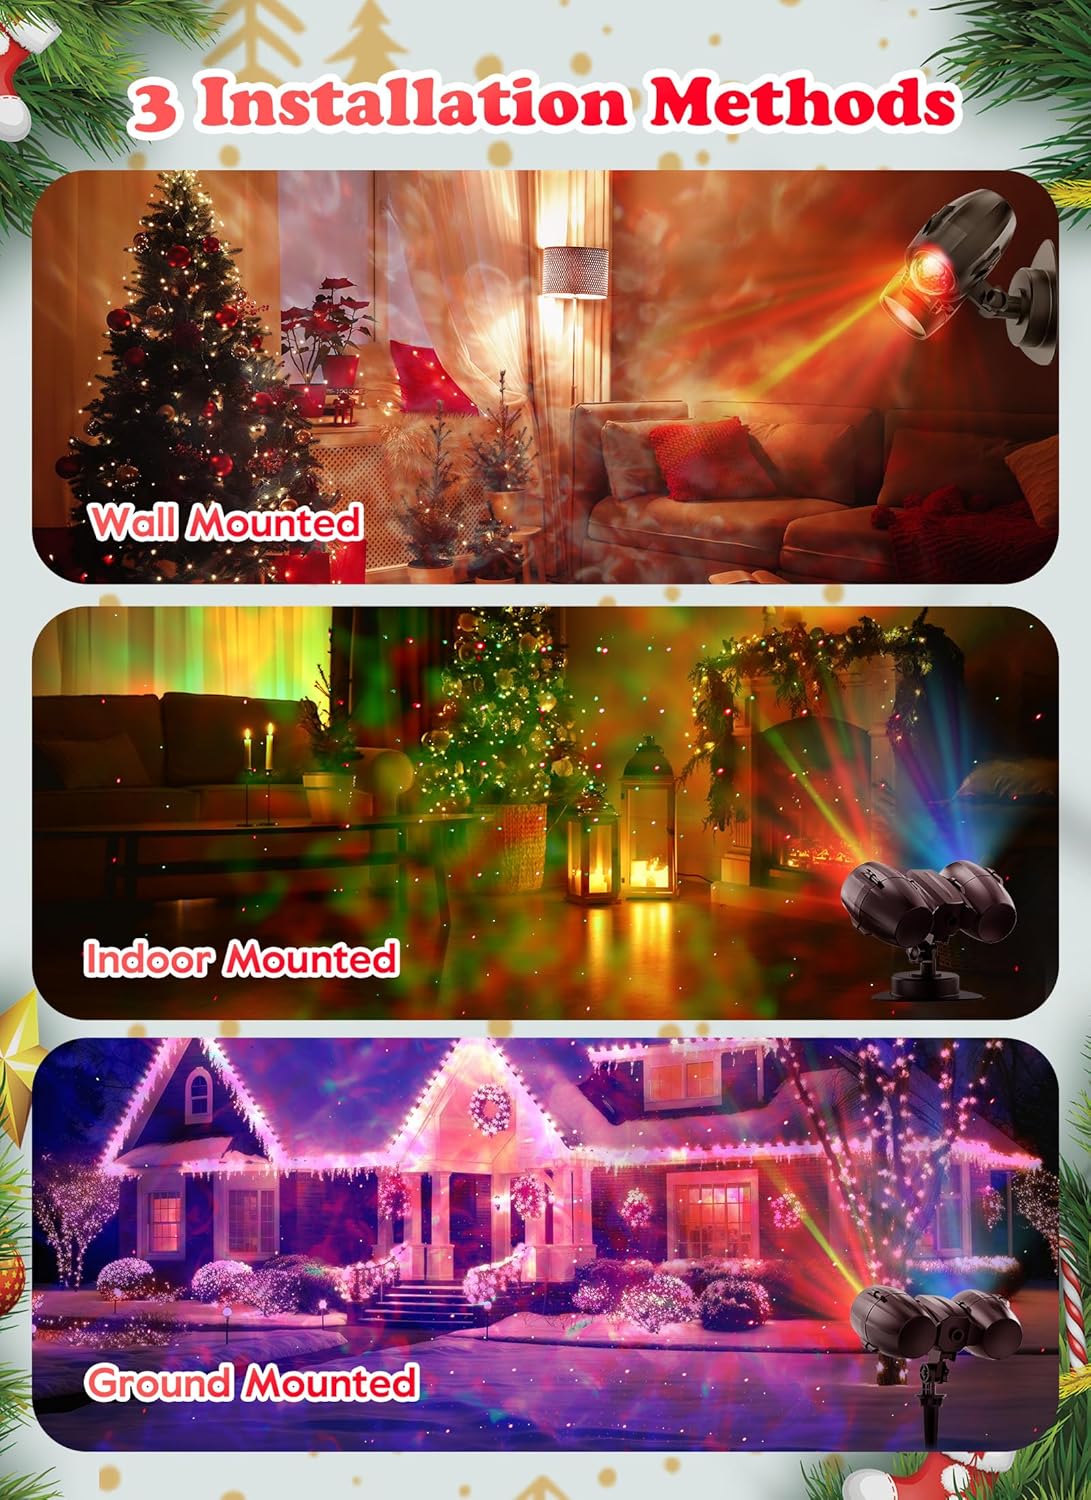
Image: Visual guide illustrating the three available installation methods for the projector.
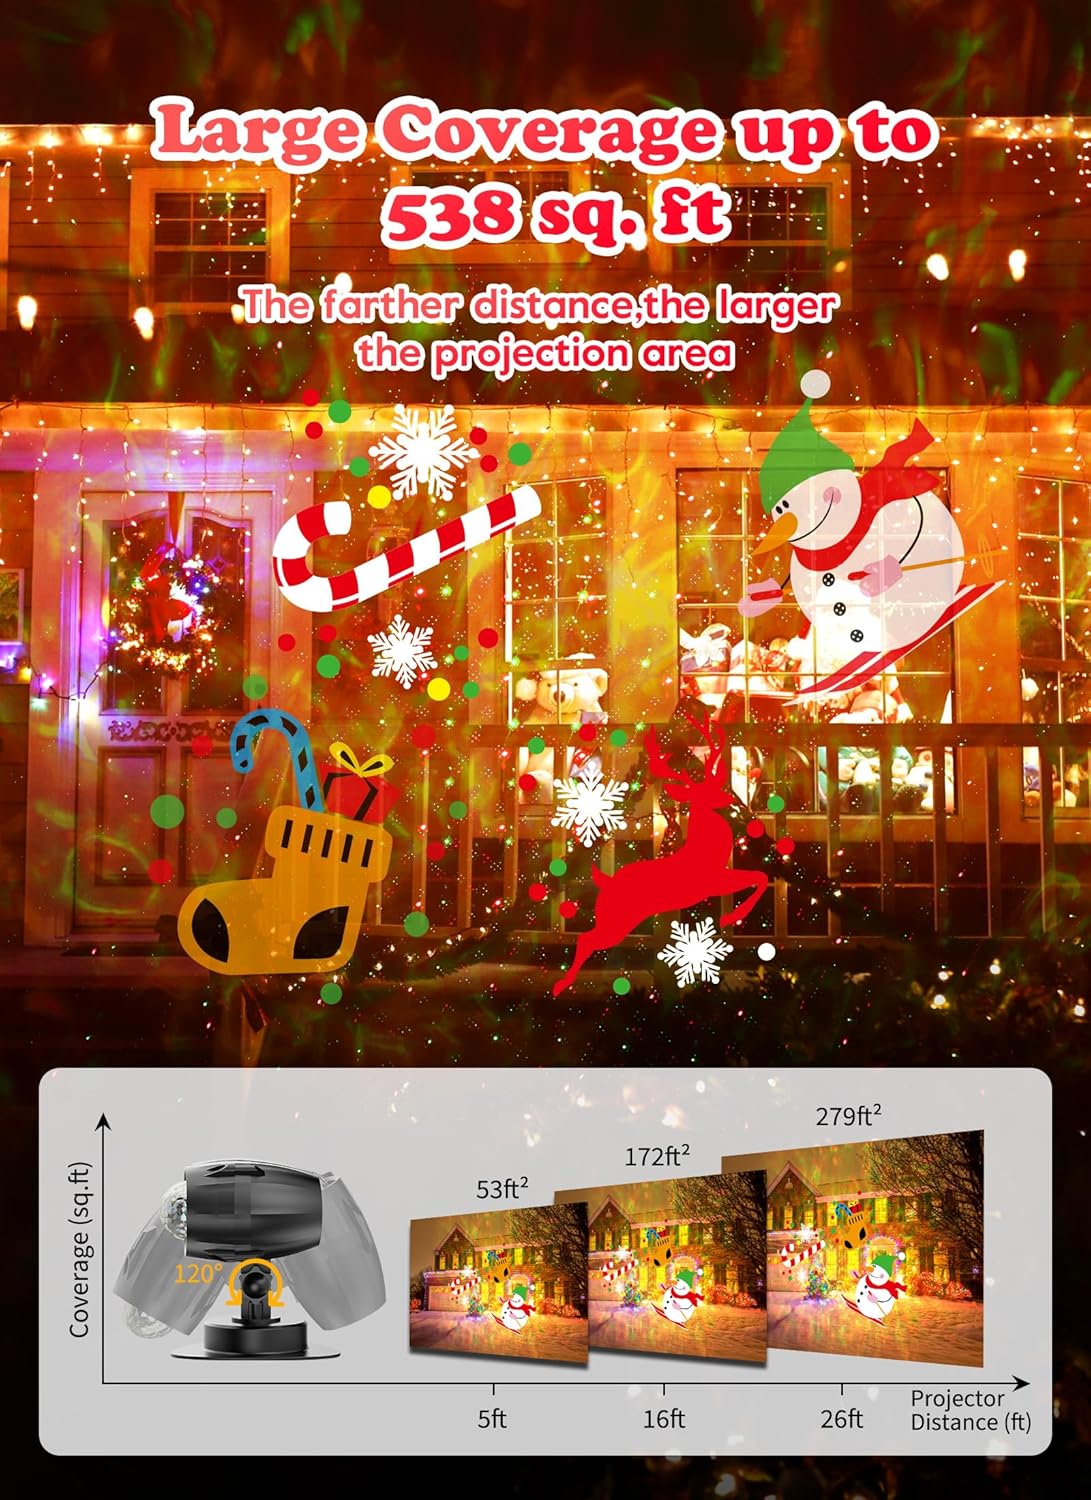
Image: Illustration demonstrating the projector's coverage area, indicating that a farther distance results in a larger projection.
5. Operating Instructions
The projector is operated using the included remote control. Ensure the lamp body is on before using the remote.
5.1. Remote Control Functions
- ON/OFF: Powers the unit on or off.
- F+/F-: Adjusts the speed of the pattern movement (F+ for faster, F- for slower).
- W/R/G/B: Toggles the White, Red, Green, and Blue water wave lights on/off.
- M+/M-: Adjusts the speed of the water wave movement (M+ for faster, M- for slower).
- P1/P2/P3: Selects different pattern display modes (e.g., static, flashing, rotating).
- 1H/2H/4H/6H: Sets the automatic timer for 1, 2, 4, or 6 hours.
- LED ON/OFF: Toggles the LED pattern projection on/off.
- LASER ON/OFF: Toggles the laser light on/off.
The projector has a memory function that remembers your last settings when turned back on by remote. If power is disconnected, it will revert to default settings.
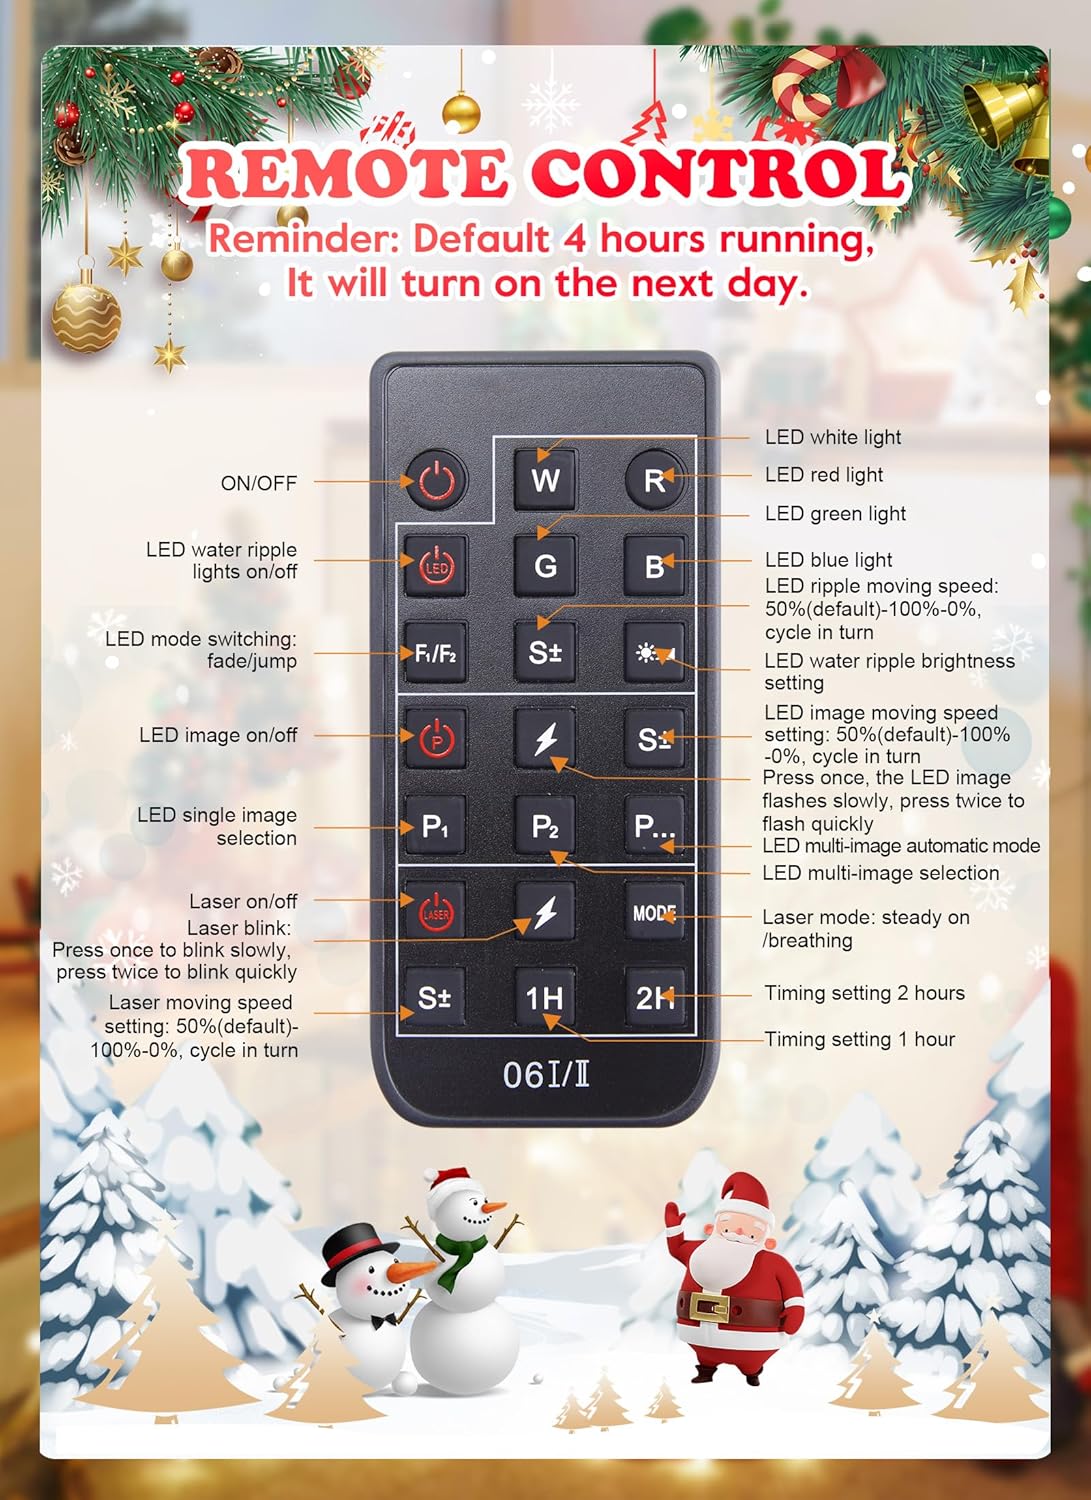
Image: Detailed layout of the remote control, indicating the function of each button for controlling the projector.
5.2. Changing Pattern Slides
To change the projection patterns, follow these steps:
- Unscrew the two nuts on the projection head.
- Remove the cover.
- Carefully slide the current pattern slide out.
- Insert the new pattern slide, ensuring it is correctly oriented.
- Replace the cover and tighten the two nuts.

Image: A collection of diverse holiday projection patterns, including Christmas trees, snowflakes, Santa Claus, Halloween pumpkins, ghosts, and other festive designs.
6. Maintenance
6.1. Cleaning
To clean the projector, ensure it is unplugged from the power source. Use a soft, dry cloth to wipe the exterior. Do not use abrasive cleaners or solvents, as these may damage the finish or internal components.
6.2. Storage
When not in use, store the projector in a cool, dry place, away from direct sunlight and extreme temperatures. Keep the original packaging for safe storage.
7. Troubleshooting
- No Power: Ensure the power adapter is securely plugged into both the projector and a working electrical outlet. Check if the outlet is receiving power.
- No Projection: Verify that the LED and/or Laser functions are turned on via the remote control. Ensure a pattern slide is correctly inserted.
- Dim or Blurry Projection: Adjust the projection distance (10-16 ft recommended). Ensure the projection surface is clean and free from obstructions. Clean the projector lens if necessary.
- Remote Not Responding: Check the battery in the remote control and replace if needed. Ensure there are no obstructions between the remote and the projector.
8. Specifications
| Model Number | BL-HW06-I |
| Product Dimensions | 8.46"L x 6"W x 4.3"H |
| Item Weight | 1.7 pounds |
| Material | Plastic |
| Color | Red, Green |
| Light Source Type | Light Emitting Diode (LED) |
| Number of Light Sources | 12 |
| Power Source | Corded Electric |
| Beam Angle | 90 Degrees |
| Waterproof Rating | IP44 |
| Operating Temperature | -31°F to 104°F (-35°C to 40°C) |
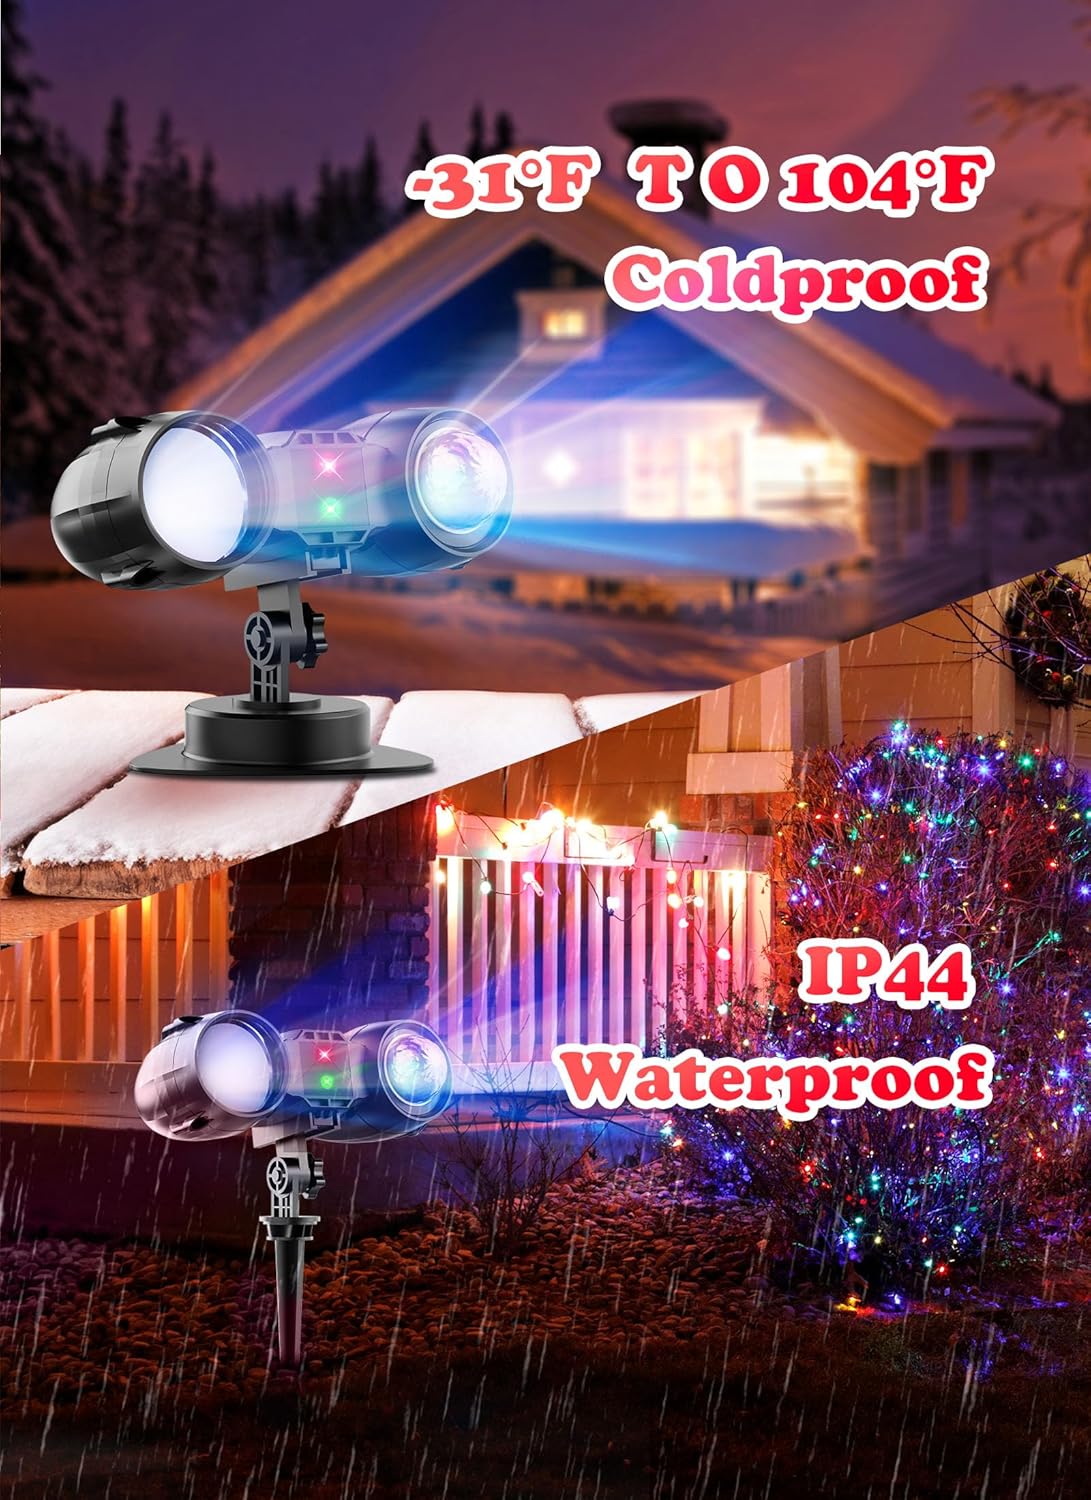
Image: The projector highlighting its coldproof capability (down to -31°F) and IP44 waterproof rating, suitable for various weather conditions.
9. Warranty and Support
For warranty information or technical support, please refer to the product packaging or contact Minetom customer service directly. Keep your purchase receipt for any warranty claims.