
Introduction
Thank you for choosing the Ivation Oversized 36" Large Digital LED Clock. This manual provides essential information for the safe and efficient operation of your new clock. Please read it thoroughly before use and retain it for future reference.
Safety Information
- Ensure the clock is placed on a stable surface or securely mounted to a wall to prevent falling.
- Use only the provided AC adapter. Using an incompatible adapter may damage the device or pose a fire hazard.
- Do not expose the clock to water, excessive moisture, or extreme temperatures.
- Keep out of reach of children and pets.
- Do not attempt to disassemble or repair the clock yourself. Contact qualified service personnel for assistance.
- Unplug the clock from the power outlet during lightning storms or when unused for long periods.
Package Contents
- Ivation Oversized 36" Large Digital LED Clock
- Remote Control
- AC Power Adapter (10-ft cable)
- Mounting Hardware (screws and anchors)
- Instruction Manual
Product Overview
The Ivation Oversized 36" Large Digital LED Clock features a large, easy-to-read display with multiple functions including time, date, temperature, stopwatch, timer, and alarms. Its sleek design and adjustable brightness make it suitable for various environments.

Image: The Ivation 36 inch Digital LED Clock displaying 12:44:12 PM. The image highlights its dimensions: 8.75 inches in height, 1.75 inches in depth, and 36 inches in width. It also indicates AM/PM and 12/24 Time display options.
Setup
- Power Connection: Connect the provided AC power adapter to the clock's power input port and then plug it into a standard electrical outlet. The clock will power on and display the default time.
- Battery Backup: The clock includes a built-in battery retention system that preserves time and date settings during power outages, eliminating the need for reprogramming.
- Placement: The clock can be placed on a shelf or mounted on a wall. For wall mounting, use the built-in mounting holes on the back of the clock and the included hardware. Ensure the mounting surface is sturdy enough to support the clock's weight.
Operating Instructions
All functions of the clock are controlled using the included remote control. Ensure the remote has working batteries and is pointed towards the clock's sensor for optimal response.

Image: A detailed diagram of the remote control for the Ivation Digital LED Clock. Key buttons are labeled, including 'Clock', 'Display', 'Mute', 'Brightness', 'Stopwatch', 'Countdown', 'Alarm', 'Set/Enter', 'F/C', 'AM/PM 12/24', and a number pad.
1. Setting Time and Date
- Press the Clock button to ensure the clock is displaying the current time.
- Press the Set/Enter button on the remote. The hour digits will begin to flash.
- Use the number pad (0-9) to enter the desired hour.
- Press Set/Enter to move to the minute digits, then enter the desired minutes.
- Repeat for seconds.
- After setting the time, the date setting will appear. Enter the month, day, and year using the number pad, pressing Set/Enter after each entry.
- Press Set/Enter one last time to confirm all settings.
2. 12/24 Hour Format
- While the clock is displaying time, press the AM/PM 12/24 button to toggle between 12-hour (with AM/PM indicator) and 24-hour formats.
3. Adjusting Brightness
- Press the Brightness button repeatedly to cycle through 6 different brightness levels. Select the level that best suits your environment.

Image: The Ivation Digital LED Clock illustrating its 6 adjustable brightness levels, from dim to bright. It also features an icon indicating that the clock saves the current time even when powered off, thanks to its time memory function.
4. Using Stopwatch
- Press the Stopwatch button. The display will show 00:00:00.
- Press Start/Stop to begin timing.
- Press Start/Stop again to pause.
- To reset, press Set/Enter while the stopwatch is paused.
5. Using Countdown Timer
- Press the Countdown button. The display will show 00:00:00.
- Press Set/Enter. The hour digits will flash.
- Use the number pad to enter the desired countdown time (hours, minutes, seconds), pressing Set/Enter after each.
- Press Start/Stop to begin the countdown.
- Press Start/Stop again to pause.
- When the countdown reaches zero, an alarm will sound. Press any button to stop the alarm.
6. Setting Alarms (Up to 8)
- Press the Alarm button. The display will show 'AL 1' (Alarm 1).
- Press Set/Enter. The hour digits will flash.
- Use the number pad to enter the desired alarm time (hours, minutes), pressing Set/Enter after each.
- After setting the time, press Set/Enter to activate the alarm. An alarm icon will appear on the display.
- To set additional alarms (up to 8), press the Alarm button again to cycle to 'AL 2', 'AL 3', etc., and repeat the steps.
- To deactivate an alarm, navigate to the specific alarm ('AL X') and press Set/Enter until the alarm icon disappears.

Image: The Ivation Digital LED Clock showcasing its multi-function display. It shows an alarm set for 6:00:00, a timer/stopwatch at 00:31:28, the date as 3/07/25, and the current temperature at 68°F.
7. Displaying Date and Temperature
- Press the Display button to cycle through Time, Date, and Temperature displays.
- To switch between Fahrenheit (°F) and Celsius (°C) for temperature, press the F/C button while the temperature is displayed.
8. Mute Function
- Press the Mute button to toggle alert sounds (for alarms and timers) on or off.
9. Remote Control Usage
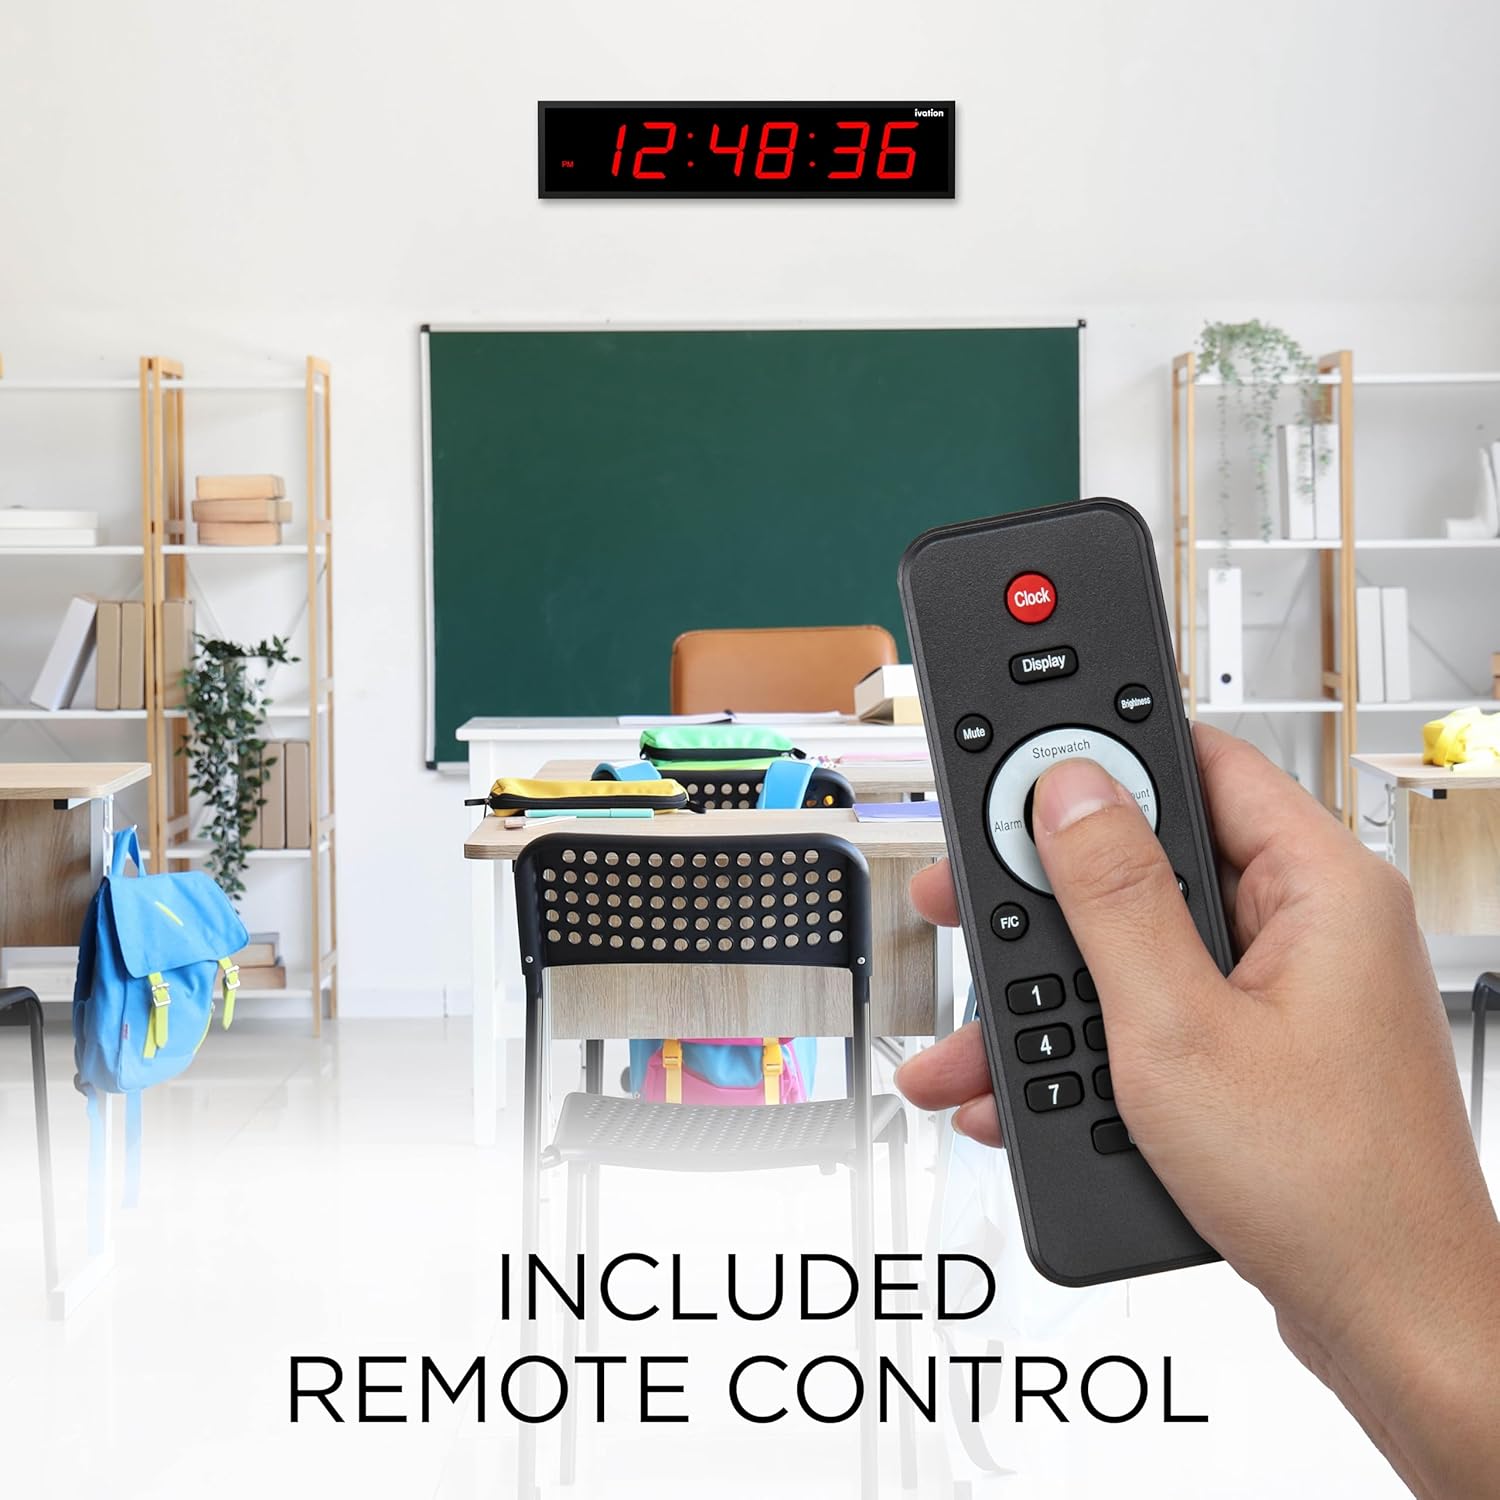
Image: A hand holding the remote control for the Ivation Digital LED Clock, demonstrating its use in a classroom environment. The clock is visible on the wall in the background, displaying the time.
The remote control provides full functionality for setting and adjusting all clock features. Point the remote directly at the clock's infrared receiver, typically located on the right upper corner of the clock face, for best performance.
Video: An official product video from DBROTH, titled "Ivation Timer LED Clocks." This video demonstrates various features and uses of the Ivation Digital LED Clock, including its timer functionality.
Maintenance
- Cleaning: Wipe the clock's surface with a soft, dry cloth. Do not use abrasive cleaners or solvents.
- Remote Control Batteries: If the remote control becomes unresponsive, replace its batteries (typically 2x AAA, not included). Refer to the remote's battery compartment for specific battery type and polarity.
- Storage: If storing the clock for an extended period, unplug it from the power source. The internal battery backup will maintain settings.
Troubleshooting
| Problem | Possible Cause | Solution |
|---|---|---|
| Clock does not power on. | Power adapter not connected or faulty. | Ensure the power adapter is securely plugged into the clock and a working outlet. Test the outlet with another device. |
| Remote control is unresponsive. | Low or dead batteries in remote. Obstruction between remote and clock. | Replace remote control batteries. Ensure a clear line of sight to the clock's IR sensor. Point remote towards the upper right corner of the clock. |
| Time/Date settings are lost after power outage. | Internal backup battery issue (rare). | While the clock has a built-in retention system, if this occurs, reset the time and date manually. If the issue persists, contact support. |
| Display is too bright or too dim. | Brightness level needs adjustment. | Press the 'Brightness' button on the remote to cycle through the 6 available brightness levels. |
| Temperature reading is inaccurate. | External factors affecting sensor. | Ensure the clock is not placed near heat sources, direct sunlight, or drafts that could affect the internal temperature sensor. The sensor provides an ambient room temperature reading. |
Specifications
- Model Number: JID0136TRED
- Dimensions: 30"D x 8"W x 6"H (Product dimensions from specifications, note: title implies 36" length, image shows 36" length, this DWH might be packaging or incorrect)
- Display Size: 5.25" digits (from product title), 59.84 Inches (Screen Size from specifications, likely diagonal or total display area)
- Color: Red LED Display
- Material: Durable Aluminum
- Brightness Levels: 6
- Alarm Options: 8
- Power: AC Adapter (10-ft cable)
- Weight: 4 Pounds
- UPC: 843812137836
Warranty and Support
Ivation products are designed for reliability and performance. For warranty information, technical support, or customer service inquiries, please refer to the contact information provided on the product packaging or visit the official Ivation website. Please have your model number (JID0136TRED) and purchase date available when contacting support.


