
1. Introduction
This manual provides detailed instructions for the installation, operation, and maintenance of your Armordillo 7161320 AR Series 3-inch Black Bull Bar with Black Skid Plate. Please read this manual thoroughly before beginning installation to ensure proper fitment and safe use. This product is designed to provide front-end protection and enhance the aesthetic appeal of your vehicle.
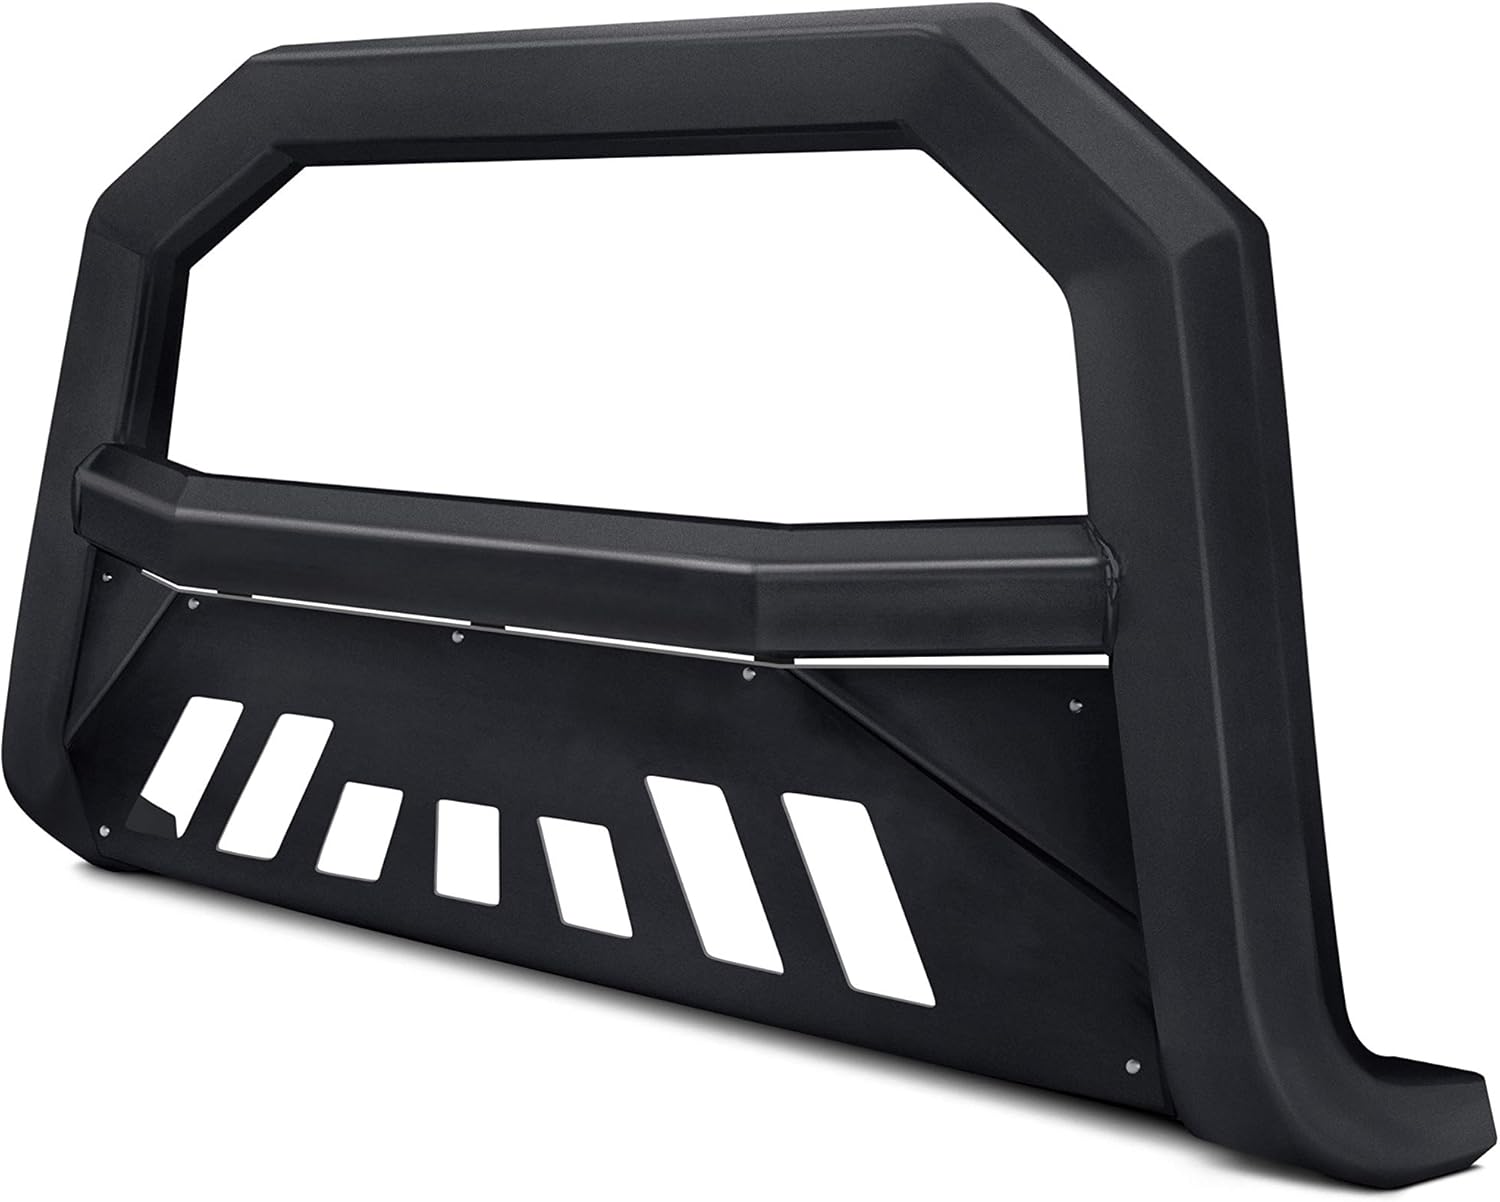
Figure 1.1: The Armordillo 7161320 AR Series Bull Bar with its integrated skid plate, shown from a three-quarter front view.
2. Safety Information
WARNING: Improper installation or use of this product can result in serious injury or damage. Always follow all instructions and safety precautions.
- Always wear appropriate personal protective equipment (PPE) during installation, including safety glasses and gloves.
- Ensure the vehicle is parked on a level surface with the parking brake engaged.
- Disconnect the vehicle's battery before beginning any electrical work, if applicable.
- Do not overtighten fasteners. Refer to vehicle manufacturer specifications for torque values where applicable.
- Regularly inspect the bull bar and all mounting hardware for signs of wear, damage, or looseness.
- This product may interfere with front-mounted sensors or cameras. Test all vehicle systems after installation.
3. Package Contents
Verify that all components are present before beginning installation. If any parts are missing or damaged, contact Armordillo customer support immediately.
- Armordillo AR Series Bull Bar (1)
- Mounting Brackets (Vehicle-specific, quantity may vary)
- Hardware Kit (Bolts, washers, nuts, etc.)
- Installation Instructions (This manual)
4. Tools Required
The following tools are typically required for installation. Specific vehicle applications may require additional tools.
- Socket Wrench Set
- Combination Wrenches
- Torque Wrench
- Drill and Drill Bits (if frame drilling is required for your vehicle)
- Measuring Tape
- Marker or Scribe
- Safety Glasses and Gloves
5. Installation Instructions
Note: Installation procedures may vary slightly depending on your specific vehicle make and model. Refer to any vehicle-specific instructions provided with your hardware kit. It is recommended to have a second person assist with the installation due to the size and weight of the bull bar.
5.1 Pre-Installation Steps
- Unpack all components and verify against the package contents list.
- Read through all instructions completely before starting.
- Park the vehicle on a flat, level surface and engage the parking brake.
- If necessary, remove any factory tow hooks or air dams that may interfere with the bull bar mounting. Store these parts for future use if desired.
5.2 Mounting Bracket Installation
- Locate the designated mounting points on your vehicle's frame. These are typically existing holes or locations where tow hooks were removed.
- Attach the vehicle-specific mounting brackets to the frame using the provided hardware. Do not fully tighten at this stage; allow for some adjustment.
- Ensure brackets are oriented correctly (left and right sides).
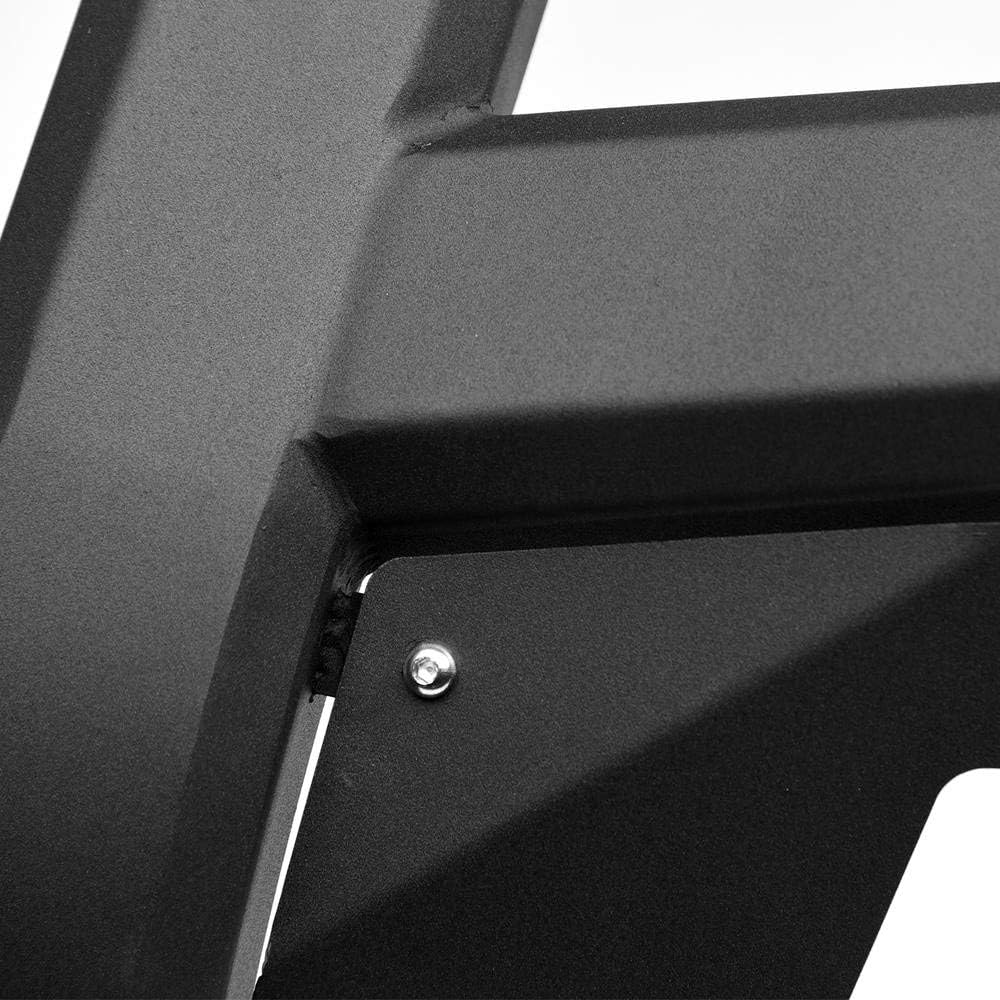
Figure 5.1: A close-up view illustrating the robust construction and a potential mounting point or hardware connection on the bull bar.
5.3 Bull Bar Attachment
- With assistance, carefully lift the bull bar and align its mounting points with the installed brackets.
- Secure the bull bar to the brackets using the remaining hardware. Again, do not fully tighten yet.

Figure 5.2: A direct front view of the Armordillo AR Series Bull Bar, highlighting its symmetrical design and integrated skid plate.
5.4 Alignment and Final Tightening
- Adjust the bull bar for proper alignment and clearance with the vehicle's front end. Ensure it is centered and level.
- Once satisfied with the alignment, progressively tighten all mounting hardware to the manufacturer's recommended torque specifications. If no specific torque is provided, tighten securely but do not overtighten.
- Double-check all fasteners to ensure they are tight and secure.

Figure 5.3: The Armordillo AR Series Bull Bar professionally installed on the front of a truck, demonstrating its appearance and fitment.
6. Usage and Care
Once installed, the Armordillo AR Series Bull Bar requires minimal operational input. Its primary function is to provide front-end protection and a rugged aesthetic.
- Driving: Be aware of the increased front-end length of your vehicle, especially when parking or maneuvering in tight spaces.
- Cleaning: Clean the bull bar regularly with mild soap and water. Avoid abrasive cleaners or harsh chemicals that could damage the finish.
- Inspection: Periodically inspect the bull bar for any signs of damage, corrosion, or loose hardware, especially after off-road use or impacts.

Figure 6.1: A detailed close-up showing the matte black finish and textured surface of the bull bar, indicating its durable coating.
7. Maintenance
To ensure the longevity and continued performance of your Armordillo Bull Bar, regular maintenance is recommended.
- Hardware Check: Every 3-6 months, or after significant off-road activity, re-check all mounting bolts and nuts for tightness. Retighten to specifications if necessary.
- Corrosion Prevention: If the finish is scratched or chipped, touch up with appropriate paint to prevent rust and corrosion.
- Damage Assessment: In the event of an impact, thoroughly inspect the bull bar, mounting brackets, and vehicle frame for any structural damage. Replace damaged components immediately.

Figure 7.1: Another close-up view emphasizing the quality of the matte black finish and the robust construction of the bull bar.
8. Troubleshooting
| Problem | Possible Cause | Solution |
|---|---|---|
| Bull bar is loose or rattling. | Mounting hardware is not fully tightened. | Inspect and retighten all bolts and nuts to specifications. |
| Interference with vehicle components. | Improper alignment during installation; factory components not removed. | Re-check alignment. Ensure all necessary factory components (e.g., tow hooks, air dams) were removed. |
| Corrosion or rust spots appearing. | Damage to the protective finish; lack of regular cleaning. | Clean regularly. Touch up any chips or scratches in the finish with appropriate paint. |
9. Specifications
| Feature | Detail |
|---|---|
| Model Number | 7161320 |
| Series | AR Series |
| Finish | Matte Black |
| Tube Diameter | 3 inches |
| Skid Plate | Integrated Black Skid Plate |
| Position | Front |
| Product Dimensions | Approximately 23 x 42 x 8 inches (L x W x H) |
| Manufacturer | Armordillo USA |
| UPC | 714937161320 |
10. Warranty and Support
Armordillo products are manufactured to high standards. For specific warranty information, please refer to the warranty card included with your product or visit the official Armordillo website. For technical assistance, missing parts, or any other inquiries, please contact Armordillo customer support directly.
Armordillo USA Contact Information: (Refer to product packaging or official website for current contact details)
It is recommended to retain your purchase receipt for warranty purposes.
