EUGAD 0651BY-1

Download PDFFree PDF. The Save button below keeps a bookmark and private notes in your account.

EUGAD 0651BY-1 Bar Stool Instruction Manual

Model: 0651BY-1

1. Introduction

Thank you for choosing the EUGAD 0651BY-1 Bar Stool. This manual provides essential information for the safe assembly, operation, and maintenance of your new bar stool. Please read these instructions carefully before use and retain them for future reference.

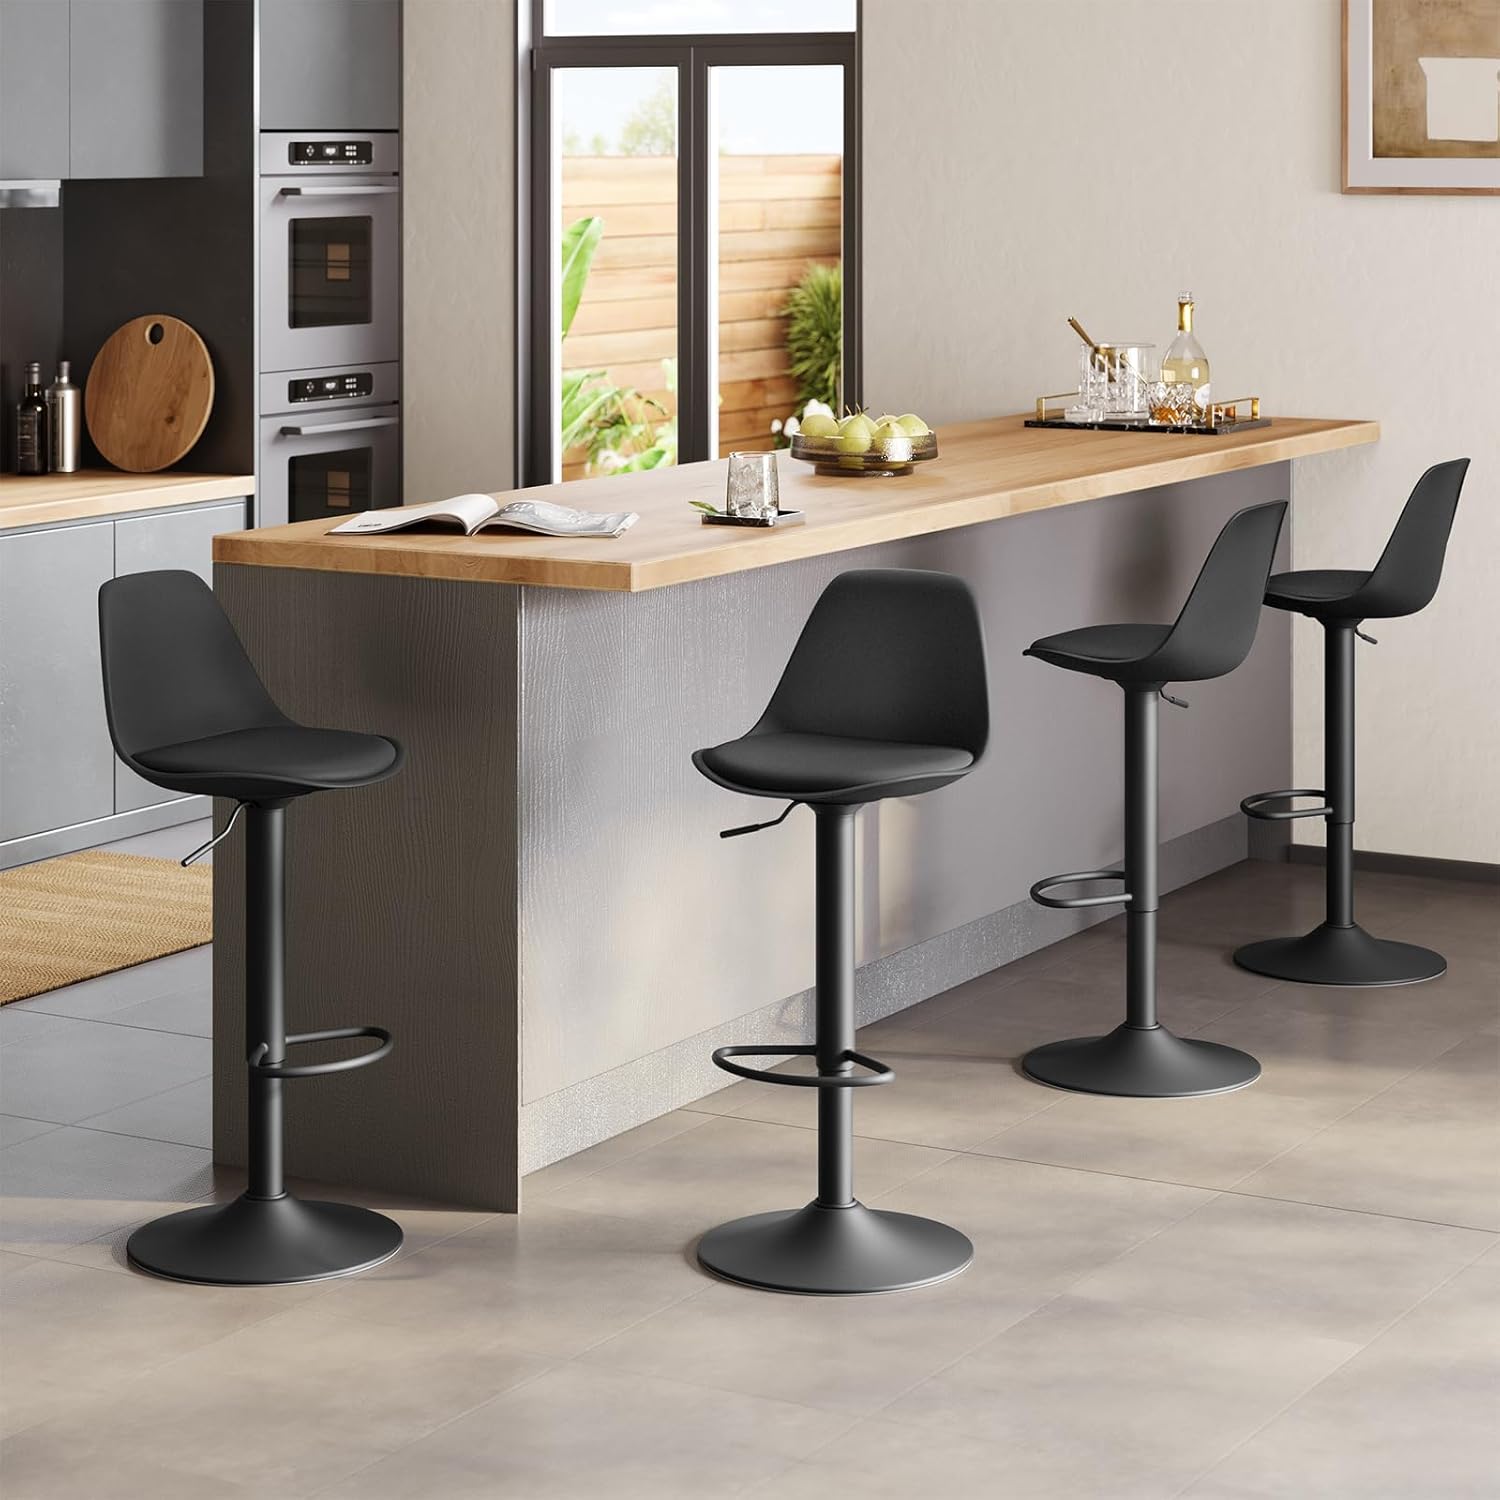
EUGAD 0651BY-1 Bar Stool, front view

Figure 1.1: EUGAD 0651BY-1 Bar Stool, showcasing its design and features.

2. Safety Instructions

  • Ensure all components are present and undamaged before assembly. Do not use if any parts are missing or broken.
  • Assemble the stool on a soft, clean surface to prevent scratches.
  • Tighten all screws and bolts securely, but do not overtighten. Periodically check and retighten fasteners.
  • Do not stand on the stool. Use it only for sitting.
  • Do not exceed the maximum weight capacity (not specified, but generally assume 100-120 kg for standard bar stools).
  • Keep children away from the assembly area. Small parts can be a choking hazard.
  • Avoid sudden movements or leaning excessively while seated, especially when adjusting height or swiveling.

3. Package Contents

Verify that all the following components are included in your package:

Exploded view of bar stool components for assembly

Figure 3.1: Exploded view of the EUGAD 0651BY-1 Bar Stool components.

  1. Seat with Backrest (1x)
  2. Gas Lift Cylinder (1x)
  3. Base Plate (1x)
  4. Footrest Ring (1x)
  5. Mounting Plate (pre-attached to seat or separate)
  6. Hardware Pack (screws, washers, Allen key)
  7. Anti-slip Rubber Ring for Base (1x)

4. Assembly Instructions

Follow these steps to assemble your EUGAD 0651BY-1 Bar Stool:

  1. Attach the Anti-slip Ring: Carefully place the anti-slip rubber ring onto the bottom edge of the base plate. Ensure it is seated evenly and securely.
  2. Insert the Gas Lift: Place the base plate on a flat, stable surface. Insert the wider end of the gas lift cylinder into the central hole of the base plate.
  3. Attach the Footrest: Slide the footrest ring over the top of the gas lift cylinder. Ensure it rests on the designated support on the gas lift.
  4. Prepare the Seat: If the mounting plate is not pre-attached, secure it to the underside of the seat using the provided screws. Ensure the lever mechanism is facing the back of the seat.
  5. Connect Seat to Gas Lift: Carefully align the central hole of the seat's mounting plate with the top of the gas lift cylinder. Press down firmly until the seat is securely seated on the gas lift.
  6. Test Stability: Once assembled, gently sit on the stool to ensure all connections are stable and the gas lift functions correctly.

5. Operating Instructions

Bar stool showing 360 degree swivel and height adjustment mechanism

Figure 5.1: Illustration of the 360° swivel and height adjustment features.

5.1. Height Adjustment

To adjust the seat height:

  • To raise the seat: Stand up and pull the lever located under the seat upwards. The seat will automatically rise. Release the lever when the desired height is reached.
  • To lower the seat: Sit on the stool and pull the lever located under the seat upwards. The seat will lower under your weight. Release the lever when the desired height is reached.

5.2. 360° Swivel Function

The seat of the EUGAD 0651BY-1 Bar Stool can freely swivel 360 degrees. Simply rotate the seat in any direction while seated or standing.
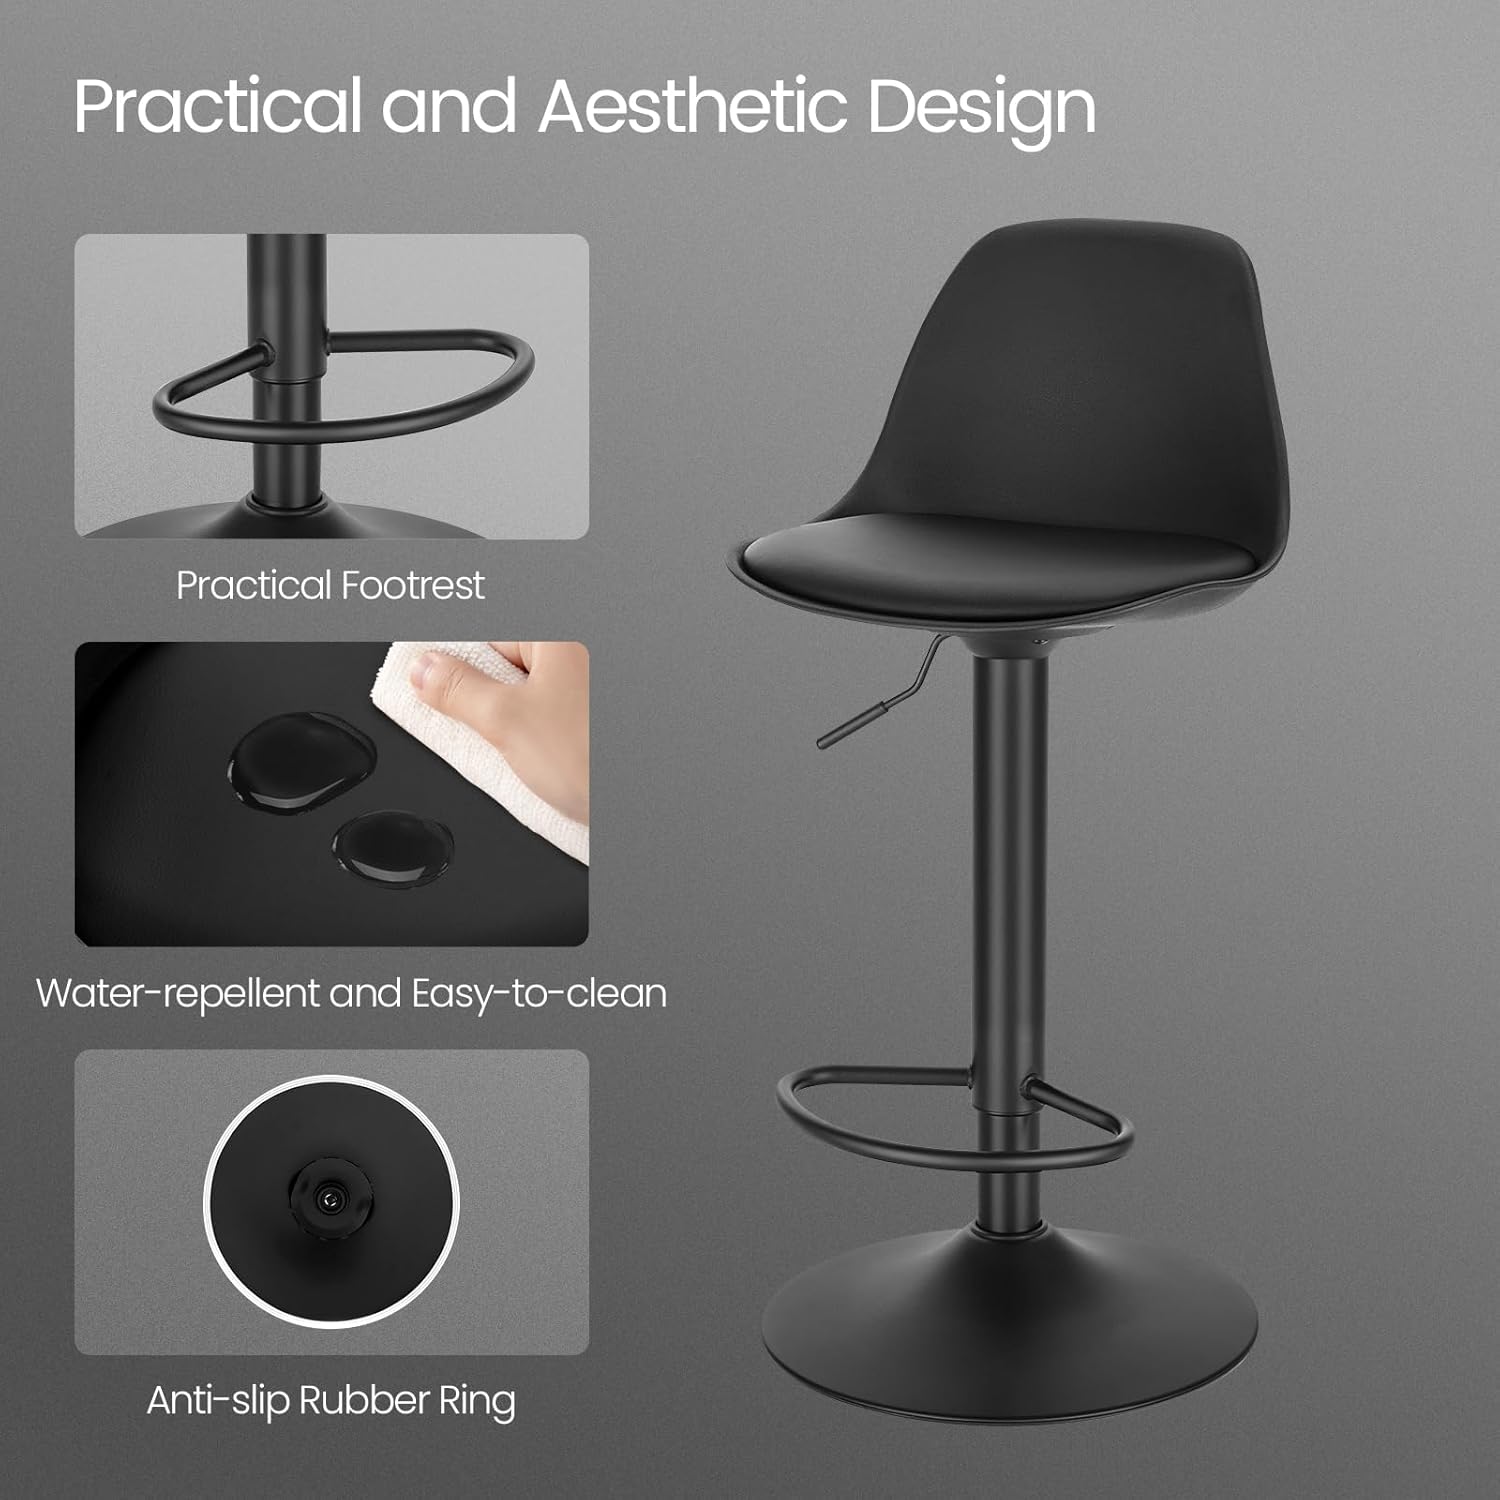
6. Maintenance and Care

Close-up of bar stool features including footrest, water-repellent surface, and anti-slip ring

Figure 6.1: Details of the practical footrest, water-repellent surface, and anti-slip rubber ring.

  • Cleaning the Seat: The synthetic leather seat is water-repellent and easy to clean. Wipe with a soft, damp cloth and mild soap if necessary. Avoid abrasive cleaners or harsh chemicals.
  • Cleaning the Metal Parts: Wipe the metal frame and base with a soft, dry cloth. For stubborn marks, a slightly damp cloth can be used, followed by immediate drying.
  • Regular Inspection: Periodically check all screws and bolts to ensure they remain tight. Retighten if any looseness is detected.
  • Avoid Direct Sunlight: Prolonged exposure to direct sunlight can cause the synthetic leather to fade or crack over time.

7. Troubleshooting

If you encounter any issues with your bar stool, refer to the following common solutions:

  • Stool is wobbly: Ensure all assembly screws are securely tightened. Check that the base plate is on a flat, even surface.
  • Height adjustment not working: Verify that the gas lift cylinder is correctly inserted into both the base and the seat mechanism. Ensure the lever is fully engaged when pulled. If the issue persists, the gas lift may need replacement.
  • Squeaking noise: Apply a small amount of silicone-based lubricant to the moving parts of the gas lift or swivel mechanism. Avoid oil-based lubricants on plastic components.

8. Specifications

Diagram showing dimensions of the bar stool

Figure 8.1: Detailed dimensions of the EUGAD 0651BY-1 Bar Stool.

FeatureDetail
Model Number0651BY-1
BrandEUGAD
ColorBlack
MaterialSynthetic Leather, Metal
Total Height (Adjustable)82 - 103.5 cm (32.28 - 40.75 inches)
Seat Height (Adjustable)62 - 83.5 cm (24.41 - 32.87 inches)
Seat Dimensions (W x D)38.5 x 33 cm (15.16 x 12.99 inches)
Backrest Height23 cm (9.06 inches)
Base Diameter38.5 cm (15.16 inches)
Weight6.9 kg (15.21 lbs)
FeaturesHeight Adjustable, 360° Swivel, Ergonomic Backrest, Anti-slip Base

9. Warranty and Support

For warranty information or technical support, please refer to the purchase documentation or contact your retailer. Keep your proof of purchase for any warranty claims.

If you have any questions or require assistance, please contact EUGAD customer service through the official website or your point of purchase.

Ask a question about this manual

Ask about setup, troubleshooting, compatibility, parts, safety, or missing instructions. Manuals+ will review the question and use this page’s manual context to help answer it.

After a successful submission, we securely hash the supplied account or form email before sending it to Microsoft Advertising for conversion attribution. Privacy details.