
1. Product Overview
The Geoyeao 15.6" 1080p Portable Monitor (Model EVP-301) is designed to extend your visual workspace, offering a Full HD 1920x1080p IPS display with HDR support and a 60Hz refresh rate. Its compact and lightweight design makes it suitable for various applications, including laptops, gaming consoles, and mobile devices.
Key Features:
- 15.6-inch Full HD (1920x1080p) IPS Display: Provides clear images with wide 178-degree viewing angles.
- HDR Mode & FreeSync: Enhances picture quality with improved contrast and smoother visuals.
- Multiple Connectivity Options: Features Mini HDMI and dual USB-C ports for versatile device connections.
- Low Blue Light Modes: Includes 4 modes to reduce eye strain during extended use.
- Portable Design: Slim and lightweight for easy transport.
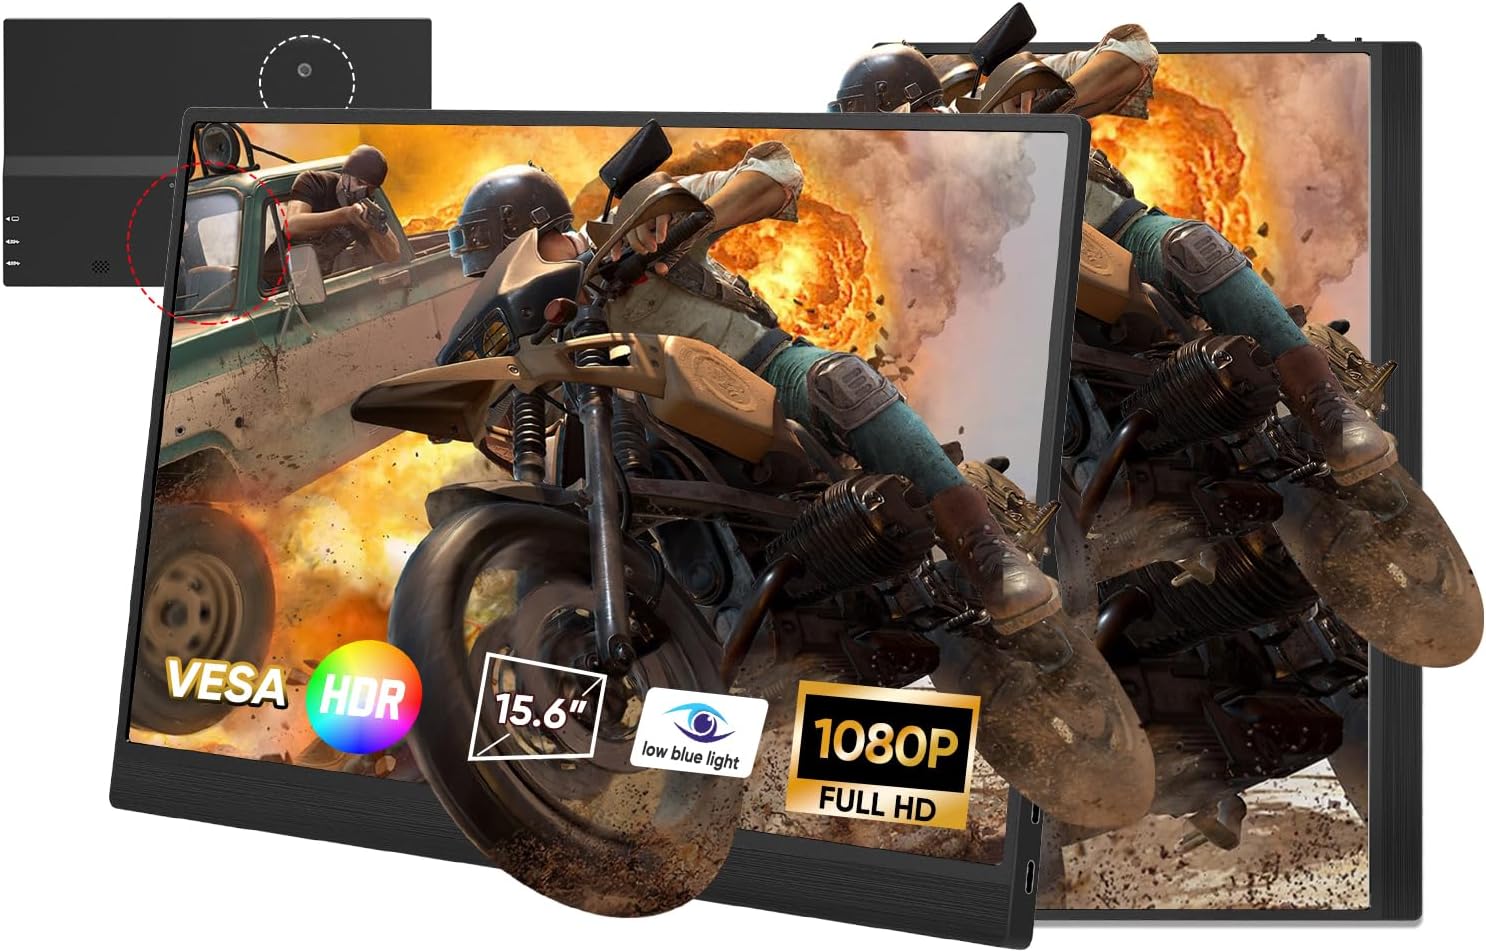
Image 1.1: Geoyeao 15.6" Portable Monitor highlighting its key display features.

Image 1.2: Monitor dimensions and port layout diagram.
2. Package Contents
Please check the package for the following items:
- Geoyeao 15.6" Portable Monitor (EVP-301)
- Smart Cover / Stand
- Mini HDMI to HDMI Cable
- USB-C to USB-C Cable (for video and power)
- USB-A to USB-C Cable (for power)
- Power Adapter
- User Manual
3. Setup and Connection
This section details how to connect your Geoyeao portable monitor to various devices.
3.1 Connecting to a Laptop/PC (USB-C)
- Ensure your laptop's USB-C port supports DisplayPort Alternate Mode (DP Alt Mode).
- Connect one end of the USB-C to USB-C cable to your laptop's USB-C port.
- Connect the other end of the USB-C to USB-C cable to the monitor's USB-C (Video Inputs) port.
- If the monitor does not power on or requires additional power, connect the power adapter to the monitor's USB-C (Charging) port using the USB-A to USB-C cable.
3.2 Connecting to a Laptop/PC (HDMI)
- Connect one end of the Mini HDMI to HDMI cable to the monitor's Micro HDMI port.
- Connect the other end of the Mini HDMI to HDMI cable to your laptop's/PC's HDMI port.
- Connect the power adapter to the monitor's USB-C (Charging) port using the USB-A to USB-C cable to provide power.
3.3 Connecting to a Smartphone (USB-C)
- Ensure your smartphone's USB-C port supports DisplayPort Alternate Mode (DP Alt Mode).
- Connect one end of the USB-C to USB-C cable to your smartphone's USB-C port.
- Connect the other end of the USB-C to USB-C cable to the monitor's USB-C (Video Inputs) port.
- If the monitor does not power on or requires additional power, connect the power adapter to the monitor's USB-C (Charging) port using the USB-A to USB-C cable.
3.4 Connecting to Gaming Consoles (PS4, Xbox, Switch)
- Connect one end of the Mini HDMI to HDMI cable to the monitor's Micro HDMI port.
- Connect the other end of the Mini HDMI to HDMI cable to your gaming console's HDMI output.
- Connect the power adapter to the monitor's USB-C (Charging) port using the USB-A to USB-C cable to provide power.
- For Nintendo Switch, an additional dock or adapter may be required if direct USB-C video output is not supported.

Image 3.1: Connecting devices via Dual USB-C and Micro HDMI.

Image 3.2: Compatibility with various mobile phones, laptops, and game consoles.
4. Operating Instructions
This section explains how to use the monitor's controls and adjust settings.
4.1 Power On/Off
Press and hold the Power On/Off button (refer to Image 1.2) for a few seconds to turn the monitor on or off.
4.2 Menu Navigation
The monitor features a menu button for adjusting various display settings. The menu button is located on the front of the monitor for easy access.
- Press the Menu Button to open the On-Screen Display (OSD) menu.
- Use the volume up/down buttons (often integrated with the menu button or adjacent) to navigate through menu options.
- Press the Menu Button again to select an option or confirm a setting.
- To exit the OSD menu, navigate to the 'Exit' option or wait for the menu to time out.
4.3 Display Settings
Within the OSD menu, you can adjust settings such as:
- Brightness/Contrast: Adjust the overall luminance and difference between light and dark areas.
- Color Temperature: Select from preset color temperatures or customize RGB values.
- Input Source: Manually select between USB-C and Micro HDMI inputs.
- HDR Mode: Enable or disable High Dynamic Range.
- Low Blue Light: Choose from 4 different modes to reduce blue light emission.
- Rotation: For vertical display, navigate to Menu > Display > Rotation to adjust the screen orientation when connected to laptops. For mobile phones, the screen orientation typically follows phone settings.
4.4 Using the Smart Cover/Stand
The included smart cover can be folded to act as a stand, supporting the monitor in both horizontal and vertical orientations. The monitor also features a hole for a pen, which can serve as an additional stand option.
5. Troubleshooting
If you encounter issues with your monitor, please refer to the following common solutions:
- No Signal:
- Ensure all cables are securely connected.
- Verify the input source selected on the monitor matches your device's connection.
- Confirm your device's USB-C port supports DP Alt Mode if using USB-C for video.
- Try connecting to another device to rule out source issues.
- No Power:
- Ensure the power adapter is correctly connected to the monitor's USB-C (Charging) port and a power outlet.
- If powering via USB-C from a laptop, ensure the laptop provides sufficient power. Try using the dedicated power adapter.
- Flickering Screen:
- Check cable connections for looseness.
- Ensure the monitor is receiving adequate power.
- Try a different cable.
- Incorrect Resolution/Display:
- Adjust display settings on your connected device (e.g., laptop display settings).
- Ensure the monitor's resolution is set to 1920x1080p in your device's display settings.
- No Audio:
- Check the volume settings on both the monitor and your connected device.
- Ensure external speakers or headphones are properly connected to the 3.5mm audio jack.
6. Specifications
| Feature | Specification |
|---|---|
| Brand | GEOYEAO |
| Model Number | EVP-301 |
| Screen Size | 15.6 Inches |
| Display Type | IPS |
| Resolution | 1920 x 1080 (Full HD) |
| Refresh Rate | 60 Hz |
| Response Time | 5 milliseconds |
| Aspect Ratio | 16:9 |
| Viewing Angle | 178 Degrees |
| Color Gamut Coverage | 72% |
| Connectivity | 2x USB-C (1x Video/Power, 1x Charging), 1x Micro HDMI, 1x 3.5mm Headphone Jack |
| Special Features | HDR, Portable, Low Blue Light, FreeSync |
| Color | Black |
7. Maintenance
To ensure the longevity and optimal performance of your Geoyeao portable monitor, follow these maintenance guidelines:
- Cleaning the Screen: Use a soft, lint-free cloth slightly dampened with water or a screen-cleaning solution. Avoid harsh chemicals, abrasive cleaners, or direct spraying onto the screen.
- Cleaning the Casing: Wipe the monitor's casing with a soft, dry cloth.
- Storage: When not in use, store the monitor in its smart cover to protect the screen from scratches and dust. Avoid placing heavy objects on top of the monitor.
- Handling: Handle the monitor with care. Avoid dropping it or subjecting it to strong impacts.
- Environment: Keep the monitor away from extreme temperatures, direct sunlight, and high humidity.
8. Warranty and Support
For warranty information and customer support, please refer to the documentation included with your purchase or visit the official Geoyeao website. Keep your purchase receipt as proof of purchase for warranty claims.
