
Introduction
This manual provides detailed instructions for the setup, operation, maintenance, and troubleshooting of your KODAK Mini 2 Retro Portable Photo Printer. Please read this manual thoroughly before using your device to ensure proper function and longevity.
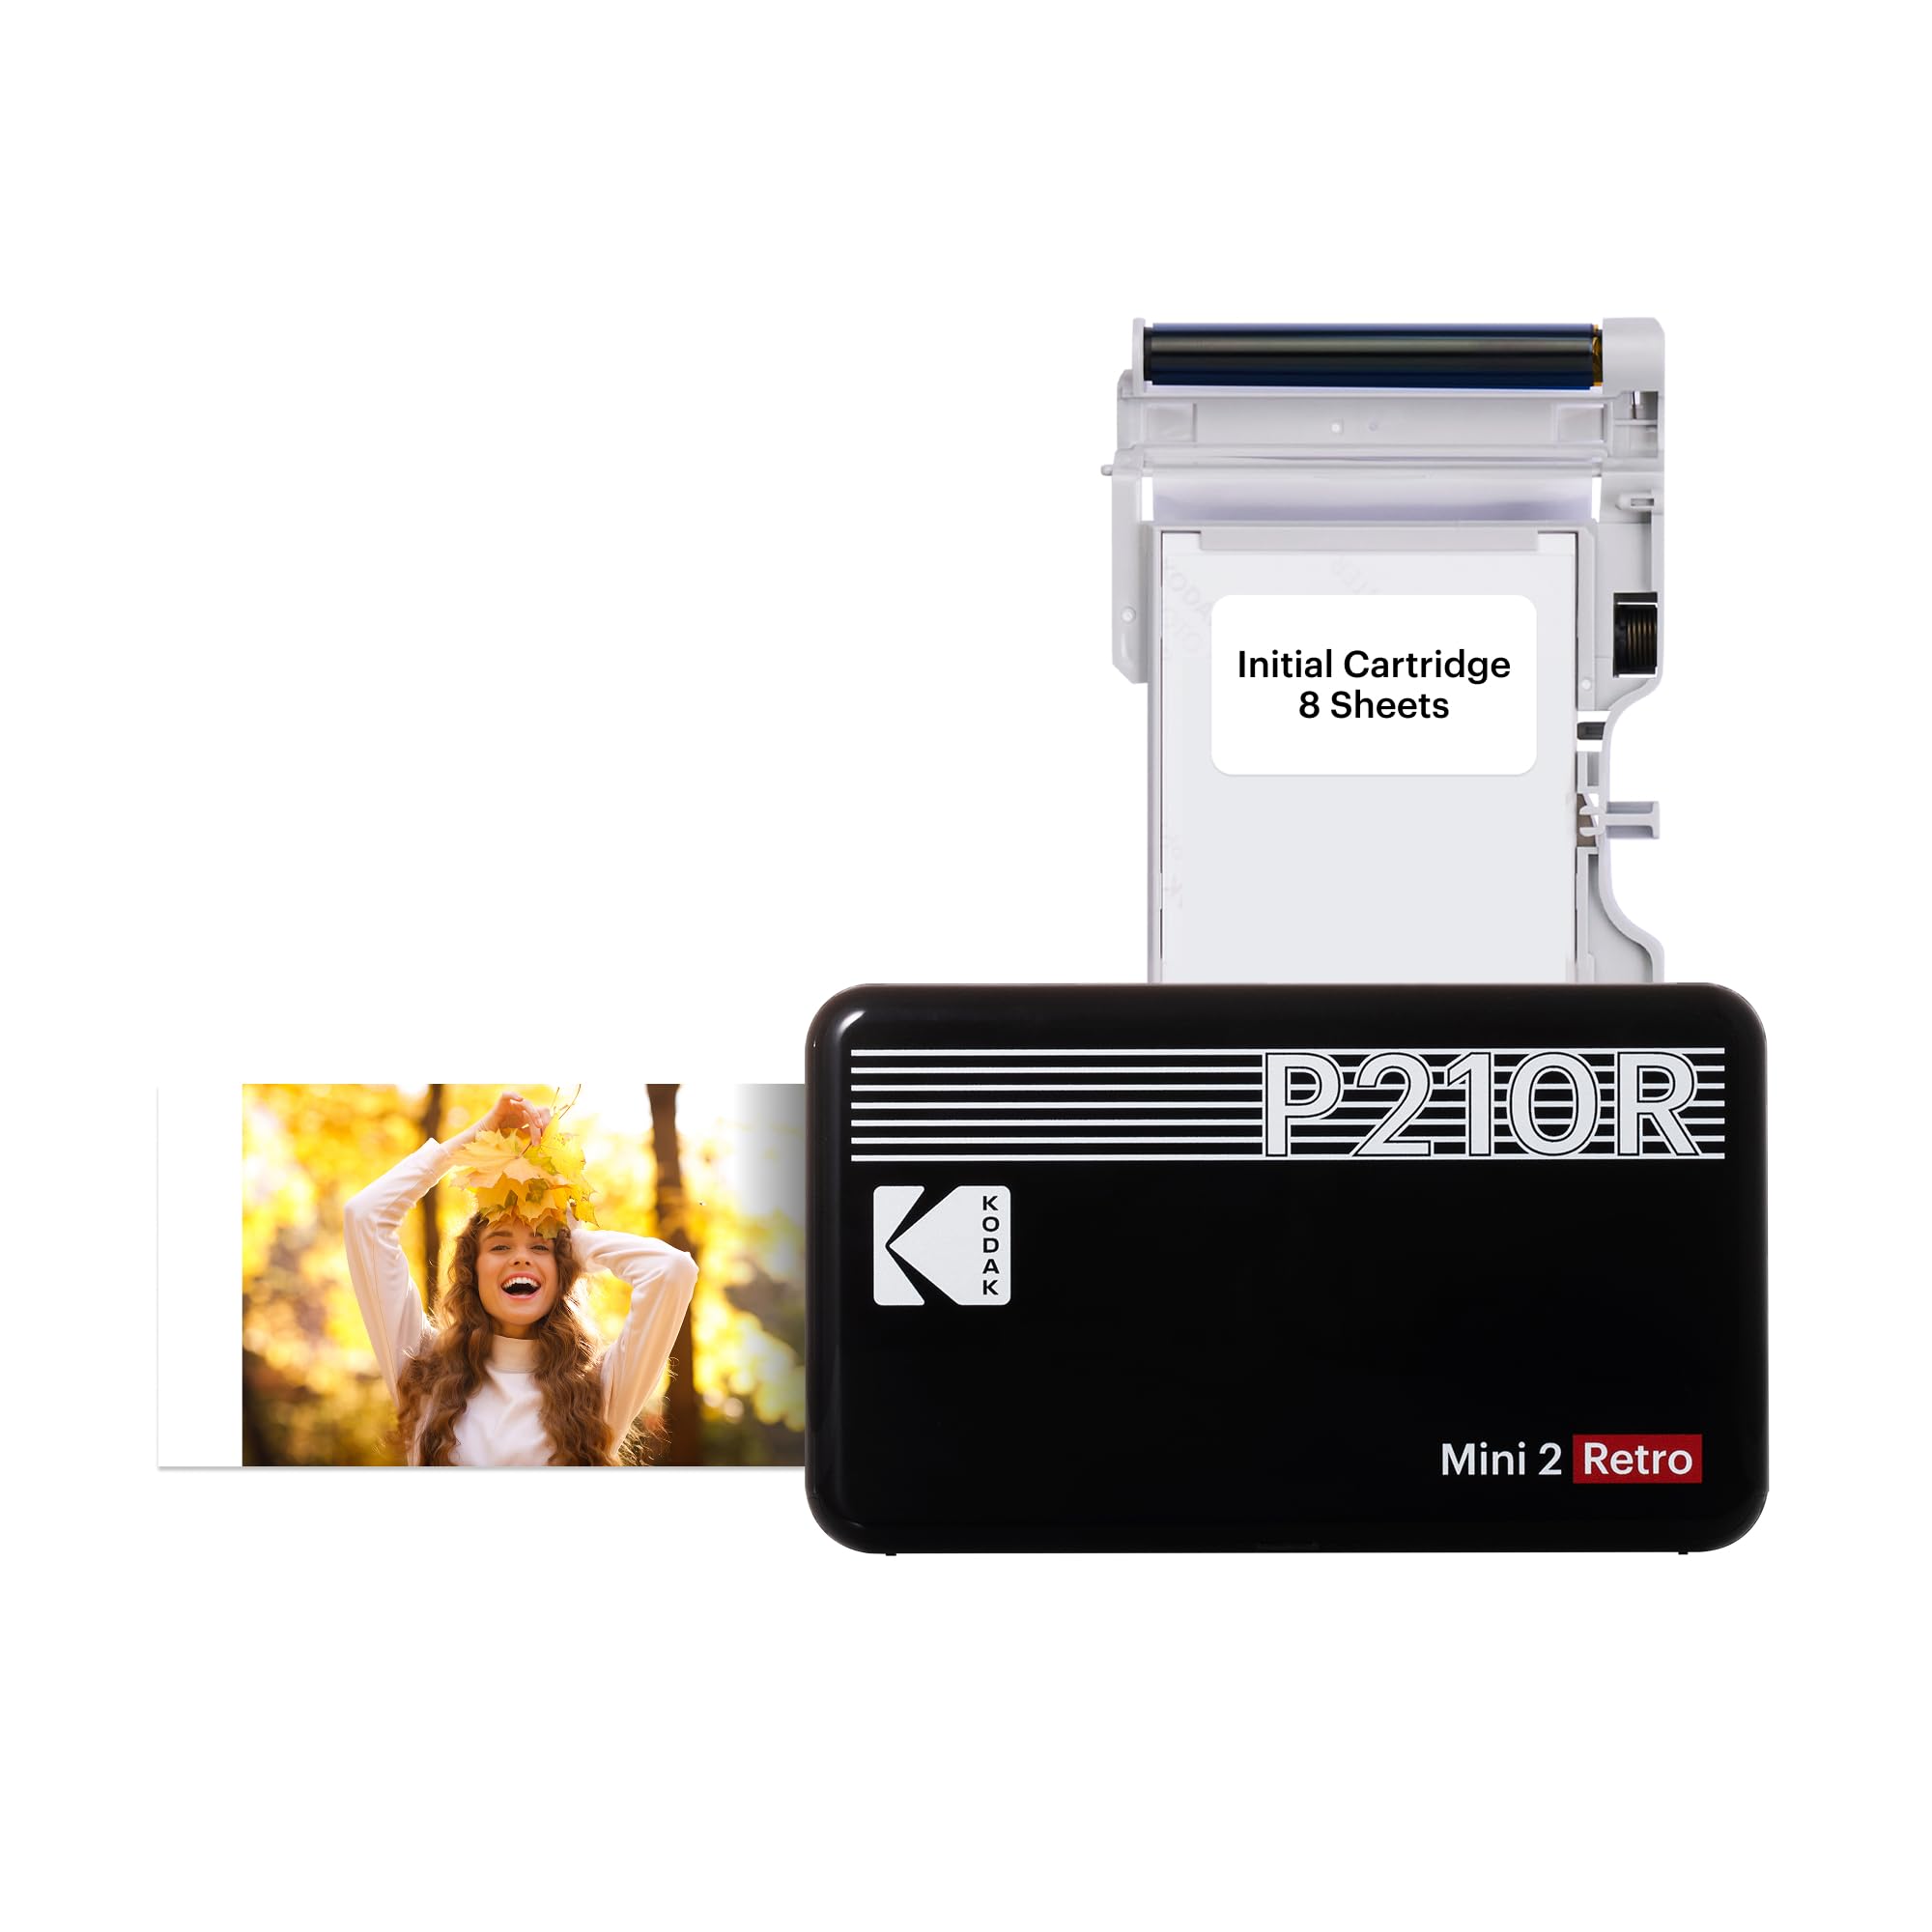
Image: KODAK Mini 2 Retro Portable Photo Printer in Black.
1. Setup
1.1 What's in the Box
- KODAK Mini 2 Retro Portable Photo Printer
- Initial Cartridge (8 Sheets)
- Quick Start Manual
- USB-C Type Cable (for charging, not always included in all bundles)

Image: Contents of the KODAK Mini 2 Retro starter pack, including the printer, initial cartridge, and quick start manual.
1.2 Initial Charging
Before first use, ensure your KODAK Mini 2 Retro printer is fully charged. Connect the printer to a power source using the provided USB-C cable.
Video: KODAK Mini 2 Retro User Guide. This video demonstrates the initial setup, including charging the printer and connecting to the app.
1.3 App Download and Bluetooth Connection
- Download the Kodak Instant Printer application from Google Play Store (for Android) or Apple App Store (for iOS).
- Turn on your KODAK Mini 2 Retro printer.
- Go to the Bluetooth settings on your smartphone.
- Locate and connect to the device named "Kodak Instant-[Product Code]". The product code can be found on the cartridge door of your printer.

Image: The KODAK Mini 2 Retro printer connecting to a smartphone via Bluetooth for photo printing.
1.4 Inserting the Cartridge
Ensure the printer is off before inserting or replacing the cartridge. Open the cartridge door, insert the new cartridge, and close the door firmly until it clicks into place.
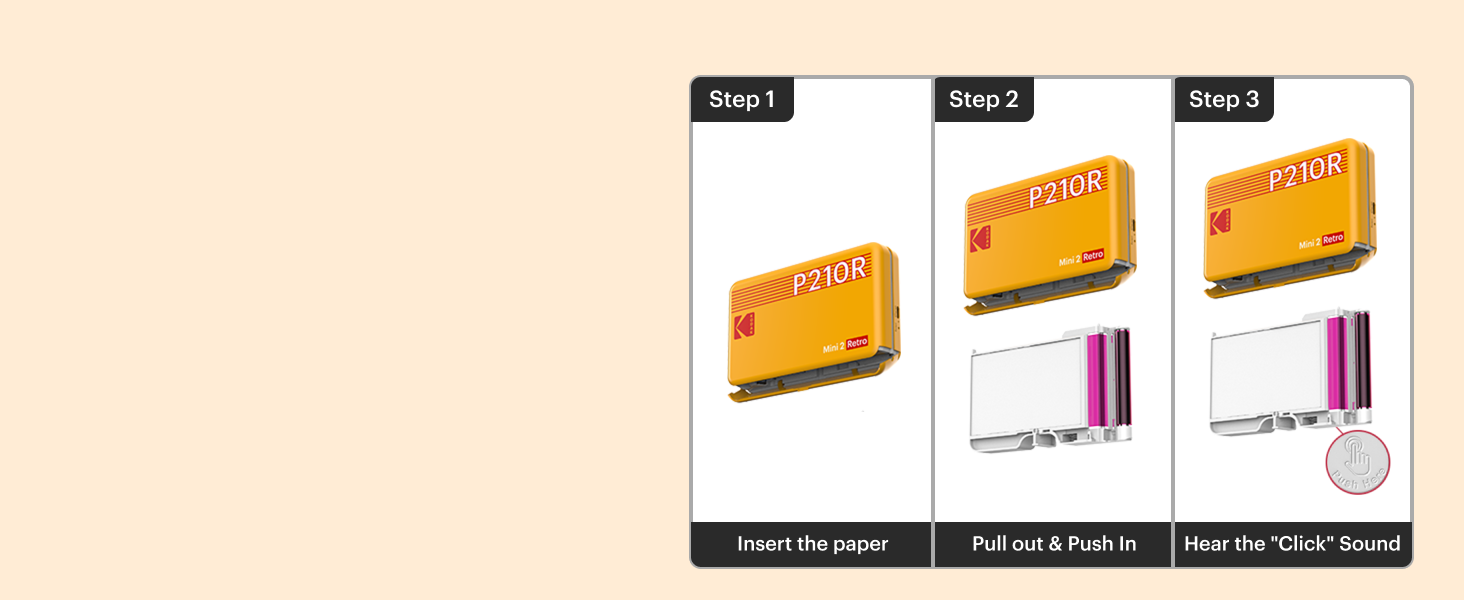
Image: Diagram illustrating the correct way to insert the KODAK 4PASS photo cartridge into the printer.
2. Operating Instructions
2.1 Printing Photos
- Open the Kodak Instant Printer app on your connected smartphone.
- Select the desired photo from your gallery.
- Use the in-app editing features to adjust, crop, add frames, or stickers to your photo.
- Choose between border or borderless photo types.
- Tap the print icon to send the photo to your KODAK Mini 2 Retro printer.

Image: Screenshot of the Kodak Photo Printer app showing options to choose frames and make edits before printing.
2.2 4PASS Printing Technology
The KODAK Mini 2 Retro utilizes 4PASS Dye Sublimation technology. This process prints photos in successive layers of yellow, magenta, and cyan, followed by a laminating layer. This ensures:
- Superior Photo Quality: Vivid, crystal-clear prints with accurate color reproduction.
- Durability: Photos are fingerprint-proof, water-resistant, and designed to last for generations.

Image: Visual representation of the 4PASS technology, showing the layering of colors for premium photo quality.
3. Maintenance
3.1 Cartridge Replacement
When the photo paper or ink ribbon runs out, the cartridge needs to be replaced. Follow these steps:
- Ensure the printer is powered off.
- Open the cartridge door on the side of the printer.
- Gently pull out the used cartridge.
- Unpack a new KODAK 4PASS CARTRIDGE (ICRG-260).
- Insert the new cartridge into the slot, ensuring it is fully seated and clicks into place.
- Close the cartridge door.
Video: How to change the cartridge. This video provides a visual guide on replacing the photo cartridge in your KODAK Mini 2 Retro printer.
3.2 Cleaning the Printer
To maintain optimal print quality, periodically clean the exterior of your printer with a soft, dry cloth. Do not use liquid cleaners or solvents.
4. Troubleshooting
4.1 Bluetooth Connection Issues
If your printer fails to connect via Bluetooth:
- Ensure the printer is powered on and fully charged.
- Verify Bluetooth is enabled on your smartphone.
- Check that you are connecting to the correct device name (e.g., "Kodak Instant-[Product Code]") in your phone's Bluetooth settings.
- Try restarting both your printer and smartphone.
- Ensure the printer is within the recommended Bluetooth range of your smartphone.
4.2 Print Quality Issues
If prints appear faded, discolored, or have streaks:
- Ensure the photo cartridge is correctly inserted and not empty.
- Avoid touching the photo paper during the printing process.
- Use original, high-resolution photos for best results. Filtered or low-resolution images may result in lower print quality.
- Clean the printer as described in the Maintenance section.
4.3 Printer Not Responding
If the printer is unresponsive:
- Check the battery level and charge the printer if necessary.
- Perform a hard reset by turning the printer off and then on again.
5. Specifications
| Feature | Specification |
|---|---|
| Brand | KODAK |
| Model Name | Mini 2 Retro |
| Model Number | P210RY |
| Connectivity Technology | Bluetooth |
| Printing Technology | 4PASS Dye Sublimation |
| Printer Output | Color |
| Maximum Print Speed (Color) | 1 ppm |
| Resolution | 291 x 300 dpi |
| Maximum Media Size | 2.1 x 3.4 inches |
| Item Weight | 255 Grams |
| Item Dimensions (D x W x H) | 3"D x 5"W x 1"H |
| Compatible Devices | Smartphones, Tablets |
| Control Method | App |
| UPC | 192143003021 |
6. Warranty and Support
Your KODAK Mini 2 Retro Portable Photo Printer comes with a limited warranty. For specific details regarding warranty coverage, please refer to the warranty information included with your product packaging or visit the official KODAK Photo Printer website.
For additional support, FAQs, and product information, please visit the KODAK Store on Amazon or the manufacturer's website.


