
1. Introduction
Thank you for choosing Twinkle Star 50 LED Battery Operated Mini String Lights. These versatile and waterproof fairy lights are designed to add a festive glow to your indoor and outdoor decorations. This manual provides essential information for safe setup, operation, and maintenance of your new string lights.
2. Safety Information
- Battery Safety: Use only the specified battery type (3 AA batteries, not included). Do not mix old and new batteries, or different types of batteries. Insert batteries with correct polarity (+/-). Remove batteries if the product is not used for an extended period.
- Waterproof Rating: The lights are designed to be waterproof for outdoor use, but the battery box should be protected from heavy rain or prolonged submersion to ensure longevity.
- Installation: Do not secure the string lights with staples or nails, as this can damage the wire insulation. Use appropriate clips or ties.
- Heat: Do not operate the lights near open flames or excessive heat sources.
- Children: Keep out of reach of small children to prevent choking hazards from small parts or battery ingestion.
3. Package Contents
Your package should contain the following items:
- 2 x Twinkle Star 50 LED Purple String Lights (16ft each)
- 2 x Battery Boxes (attached to string lights)

Image: Contents of the Twinkle Star 50 LED Mini String Lights package.
4. Product Specifications
| Brand | Twinkle Star |
| Model | B08BJ1VGQ7 |
| Light Color | Purple |
| Number of LEDs | 50 per string |
| String Length | 16 feet (each) |
| Leading Wire Length | 1 foot (from battery box to first LED) |
| Total Length | 17 feet (each) |
| Power Source | 3 AA Batteries (not included) |
| Special Features | 8 Lighting Modes, Timer Function (6 hrs ON, 18 hrs OFF) |
| Indoor/Outdoor Usage | Indoor, Outdoor |
| Material | Plastic |
5. Setup
5.1 Battery Installation
- Locate the battery box attached to the string lights.
- Open the battery compartment cover by sliding it or unlatching it.
- Insert 3 new AA batteries (not included) into the compartment, ensuring correct polarity (+ and -).
- Close the battery compartment cover securely.
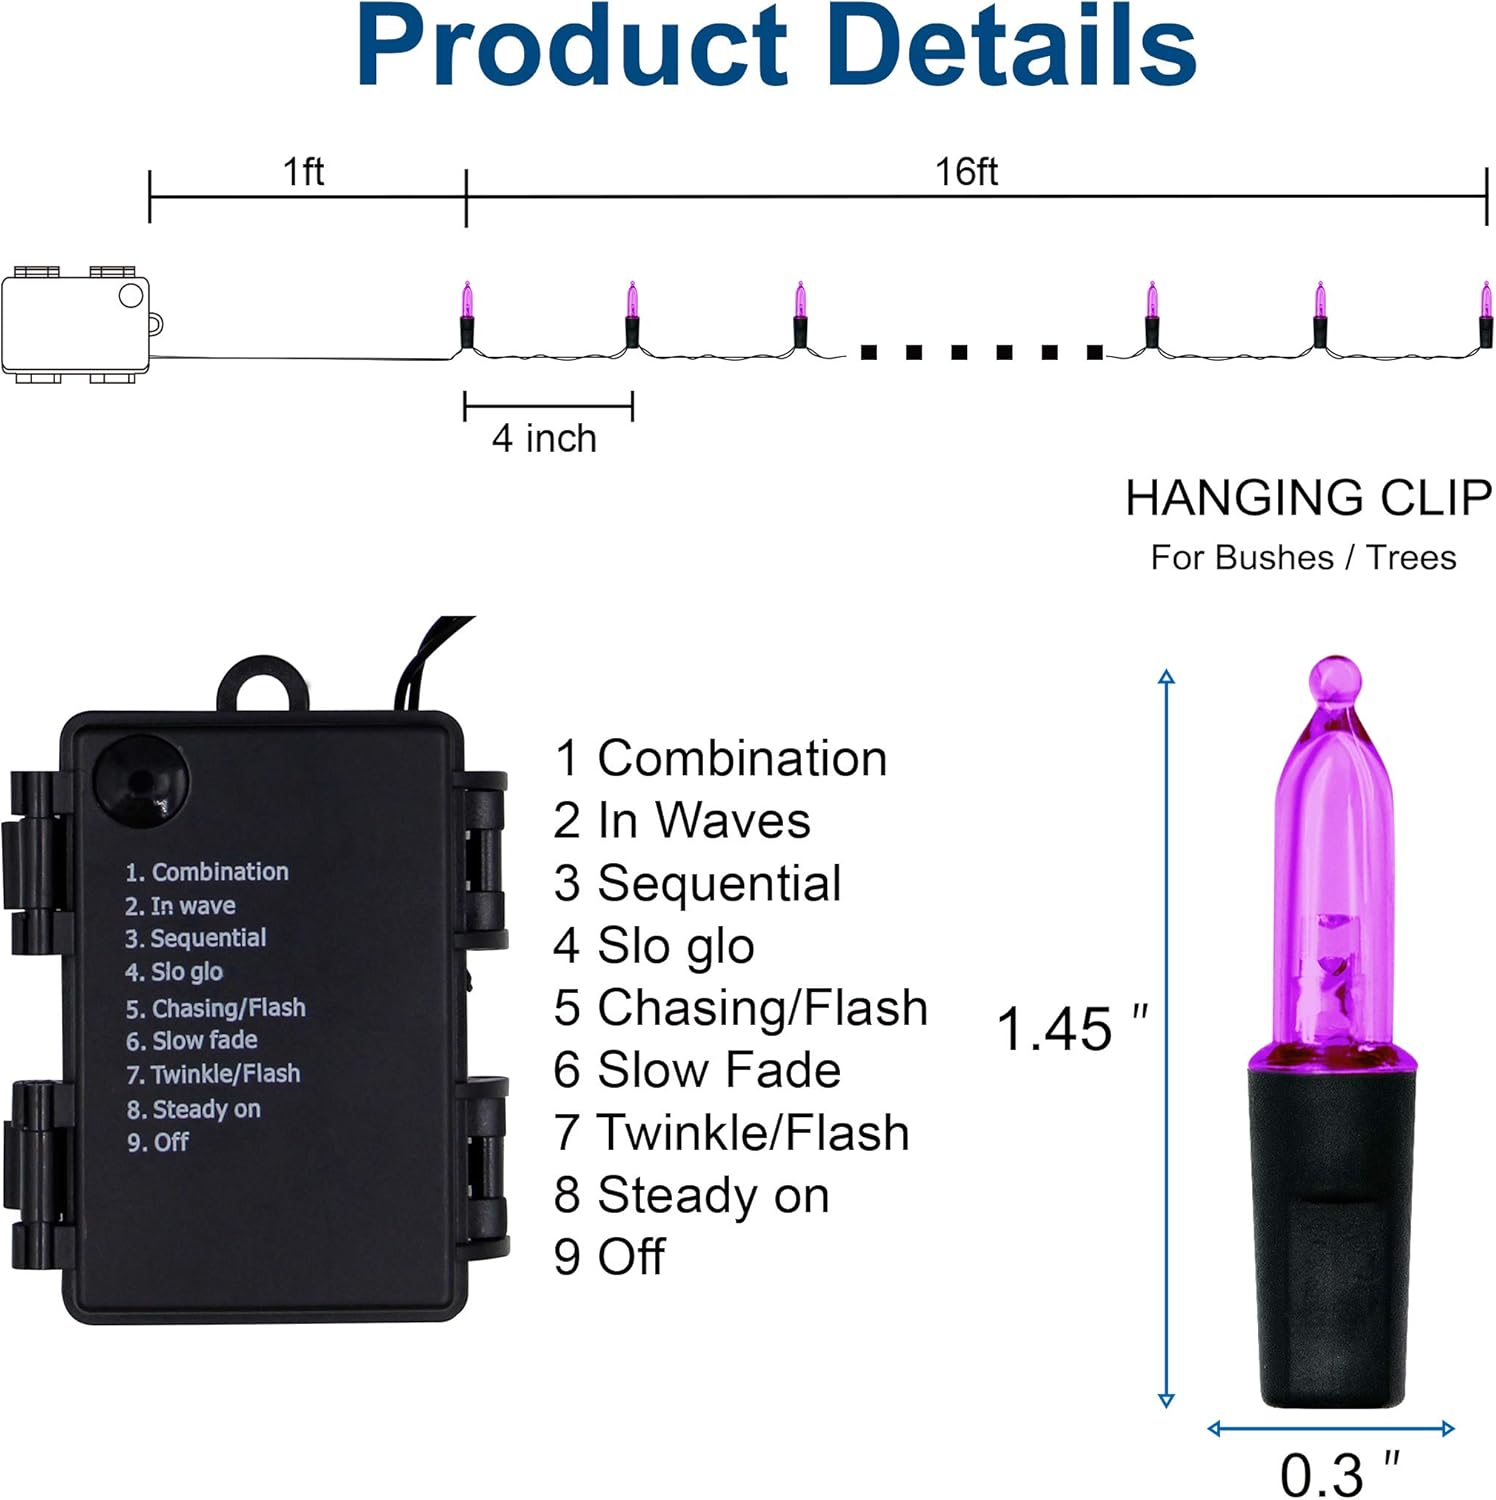
Image: Product details including the battery box and its mode list.
5.2 Placement
Once batteries are installed, you can place your string lights in your desired location. The 16-foot length and waterproof design make them suitable for various indoor and outdoor applications, such as decorating gardens, patios, wreaths, or for holiday events.

Image: Lights on a tree branch.

Image: Lights on the ground.
6. Operation
6.1 Power On/Off and Mode Selection
The battery box features a single round button to control the lights.
- To Turn On: Press the button once. The lights will start in the first mode (Combination).
- To Change Mode: Press the button repeatedly to cycle through the 8 available lighting modes.
- To Turn Off: Continue pressing the button until you reach the 'Off' setting (usually the 9th press).
6.2 Lighting Modes
The lights offer 8 distinct lighting modes:
- Combination
- In Waves
- Sequential
- Slow Glow
- Chasing/Flash
- Slow Fade
- Twinkle/Flash
- Steady On
6.3 Timer Function
The string lights include a built-in automatic timer function. Once activated, the lights will stay ON for 6 hours and then automatically turn OFF for 18 hours, repeating this cycle daily. To activate the timer, simply select your desired lighting mode. The timer will start from the moment you select the mode. To reset the timer, turn the lights off and then back on to your desired mode.
7. Maintenance
- Cleaning: Gently wipe the lights and battery box with a soft, dry cloth. Do not use harsh chemicals or abrasive cleaners.
- Storage: When not in use, store the string lights in a cool, dry place, away from direct sunlight and moisture. Remove batteries before long-term storage to prevent leakage.
- Bulb Replacement: The LED bulbs are integrated and not designed for replacement.
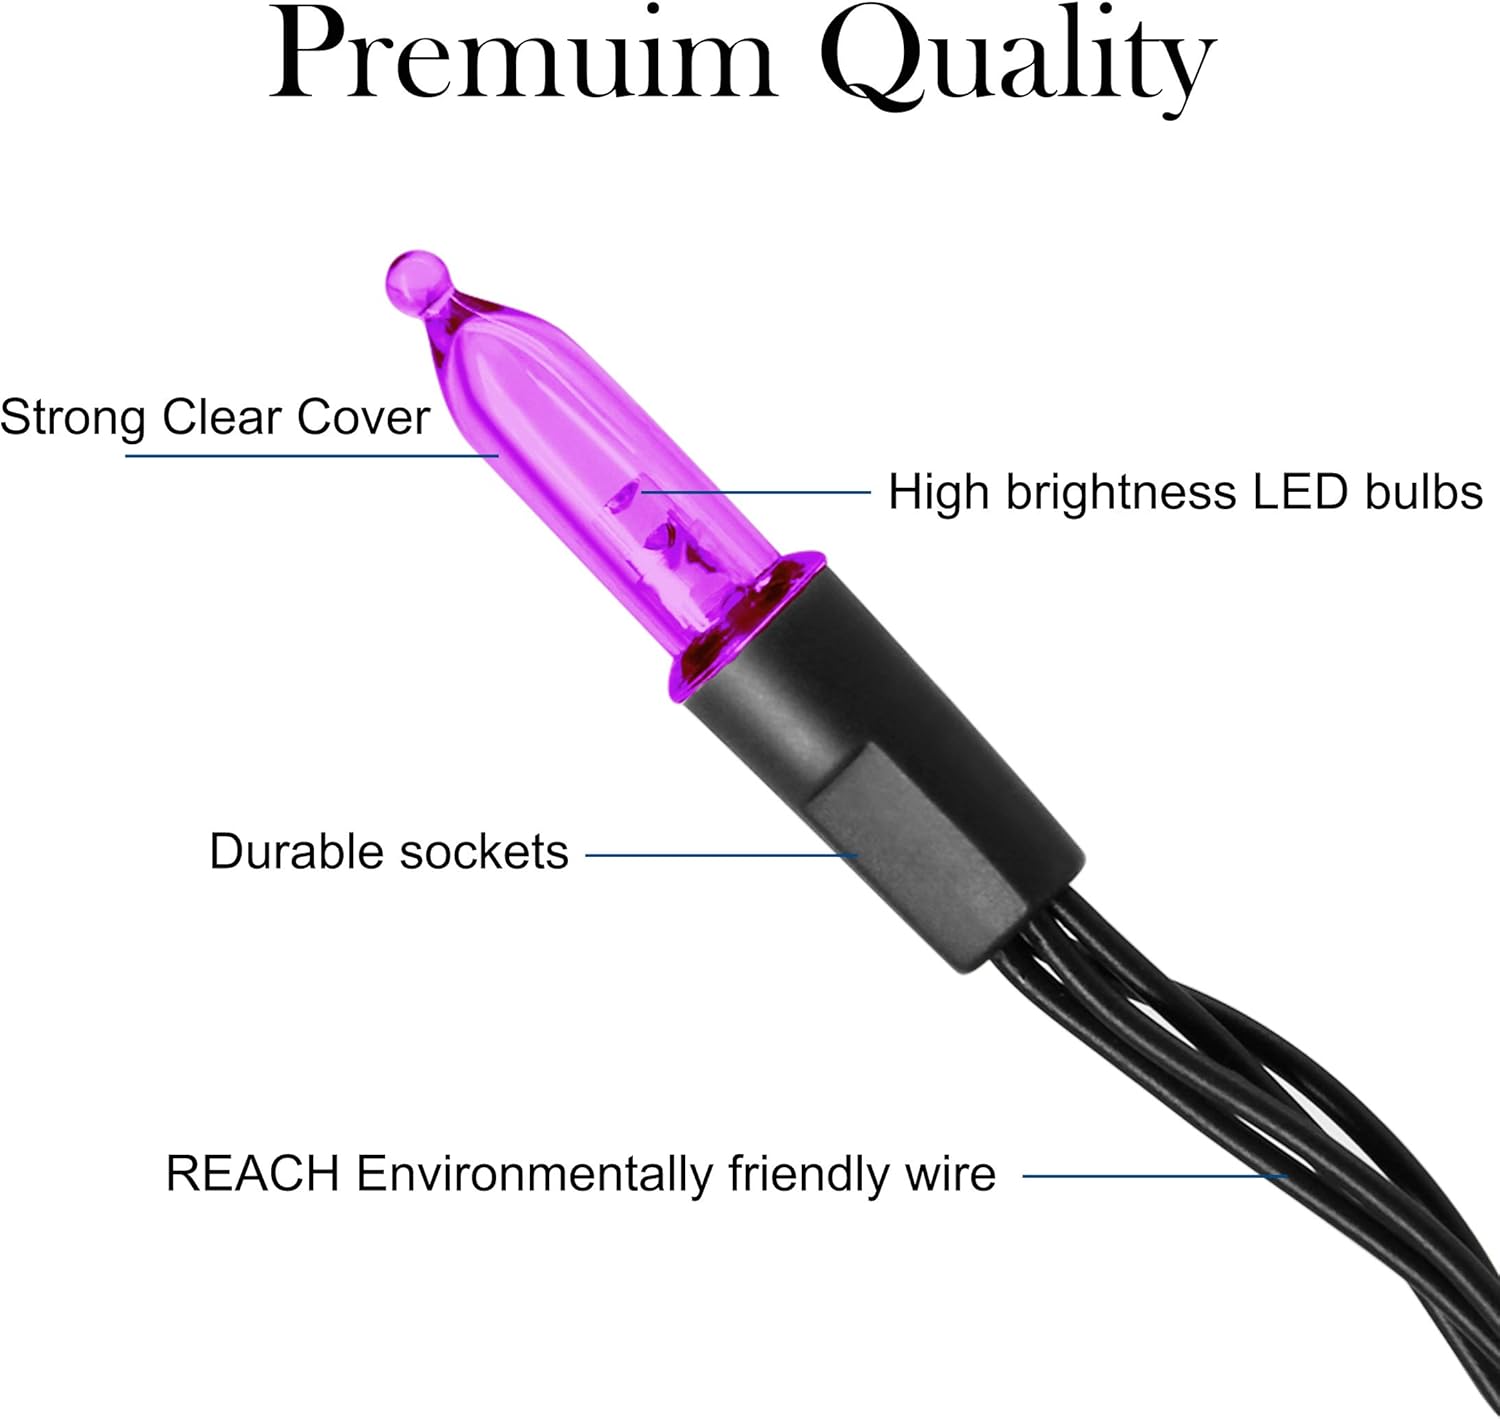
Image: Detailed view of an individual LED bulb highlighting its construction.
8. Troubleshooting
| Problem | Possible Cause | Solution |
|---|---|---|
| Lights do not turn on. | Batteries are dead or incorrectly installed. | Replace with new AA batteries, ensuring correct polarity. |
| Lights flicker or are dim. | Low battery power. | Replace with new AA batteries. |
| Timer function not working as expected. | Timer was not activated correctly or was interrupted. | Turn the lights off and then back on to your desired mode to reset the 6-hour timer cycle. |
| Some LEDs are not lit. | Individual LED failure (rare). | The bulbs are not replaceable. If a significant portion of the string is affected, contact customer support. |
9. Warranty & Support
Twinkle Star products come with full product warranties. For any questions, concerns, or support needs regarding your 50 LED Battery Operated Mini String Lights, please contact our 24/7 customer support team. Refer to the product packaging or the Twinkle Star official website for contact details.
We are committed to ensuring your satisfaction with our lighting products.