1. Introduction
This manual provides essential instructions for the safe and efficient use of your SHNITPWR 12V 10A Power Supply Transformer, Model SNT1210T. This universal switching mode power supply converts AC input (110V/220V) to a stable DC 12V output, suitable for various electronic devices. Please read this manual thoroughly before installation and operation.
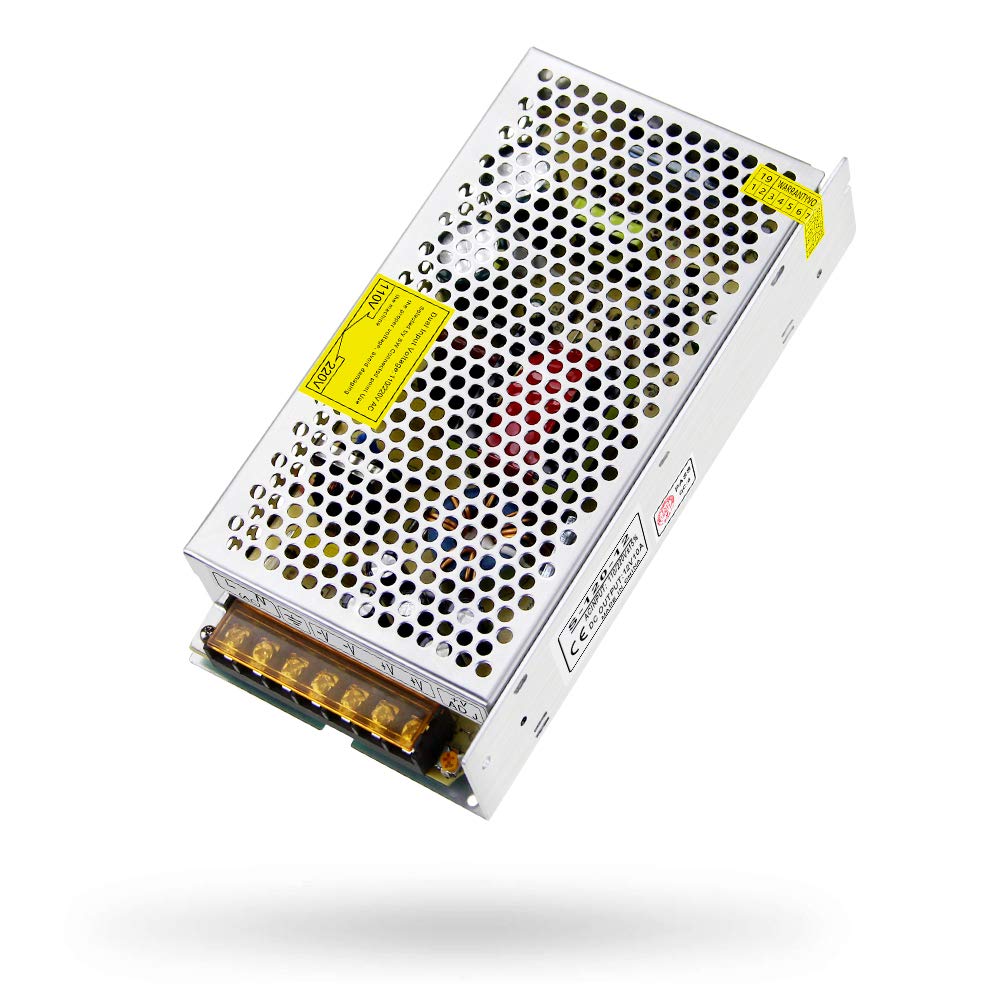
Image 1.1: Overview of the SHNITPWR 12V 10A Power Supply.
2. Safety Information
Always observe the following safety precautions to prevent injury or damage to the device:
- Electrical Hazard: This unit operates with high voltage. Do not open the casing unless you are a qualified technician.
- Input Voltage Selection: Ensure the 110V/220V switch is set correctly for your local power supply before connecting to AC power. Incorrect setting can cause severe damage.
- Overload Protection: Do not exceed the maximum output current of 10A. Overloading will damage the power supply and connected devices.
- Proper Grounding: Always connect the ground terminal (GND) to a proper earth ground.
- Ventilation: Ensure adequate airflow around the unit. Do not cover ventilation holes.
- Environment: Avoid installation in damp, dusty, or high-temperature environments.
- Professional Installation: If you are unsure about wiring, consult a qualified electrician.

Image 2.1: Built-in safety protections including short circuit, overcurrent, over-voltage, and over-temperature protection.
4. Setup & Installation
Follow these steps for proper installation:
4.1. Input Voltage Selection
Before connecting any wires, ensure the input voltage switch is set to match your local AC power supply (110V or 220V). The switch is located inside the casing and may require careful access. For users in the USA, set the switch to 110V.

Image 4.1: Input voltage selector switch. Ensure it matches your local power supply.
4.2. Wiring Connections
Refer to the diagram below for correct wiring. Ensure all connections are secure and insulated.
- AC Input (L, N, GND):
- Connect the AC Live wire to the 'L' terminal.
- Connect the AC Neutral wire to the 'N' terminal.
- Connect the Earth Ground wire to the 'GND' terminal (marked with ⏚ symbol).
- DC Output (+V, -V):
- Connect the positive (+) lead of your 12V device to the '+V' terminals.
- Connect the negative (-) lead of your 12V device to the '-V' terminals.
- The unit provides two sets of output terminals for connecting multiple devices, provided the total current draw does not exceed 10A.

Image 4.2: Detailed wiring diagram for AC input and DC output terminals.
Note: Power cords and extension wires are not included.

Image 4.3: Example of power supply connected to devices (CCTV cameras).
4.3. Output Voltage Adjustment
The output voltage can be fine-tuned within a range of 10.8V to 13.2V using the 'ADJ' potentiometer. Use a small screwdriver to turn the potentiometer clockwise to decrease voltage or counter-clockwise to increase voltage. Always use a voltmeter to verify the output voltage before connecting sensitive devices.

Image 4.4: Location of the output voltage adjustment potentiometer ('ADJ').
5. Operation
Once properly installed and wired, the power supply is ready for operation. Connect your 12V devices to the DC output terminals. The green indicator light will illuminate when the unit is powered on and functioning correctly.
- Current Draw: The power supply can deliver any current up to its maximum rating of 10A. If your device requires less than 10A (e.g., 5A), the power supply will provide only the required current.
- Avoid Overload: Never connect devices that collectively draw more than 10A. Exceeding this limit will trigger protection mechanisms or damage the unit.
- Silent Operation: This model features passive cooling and does not include a fan, ensuring silent operation.
6. Maintenance
The SHNITPWR power supply is designed for reliable, long-term operation with minimal maintenance.
- Cleaning: Periodically clean the exterior of the unit with a dry, soft cloth. Do not use liquid cleaners or solvents.
- Ventilation: Ensure that the ventilation holes on the casing remain clear of dust and debris to maintain optimal heat dissipation.
- Connection Checks: Occasionally inspect all wiring connections to ensure they remain tight and secure.
- Storage: If storing the unit, do so in a cool, dry place away from direct sunlight and extreme temperatures.
8. Warranty and Support
SHNITPWR products are designed for quality and reliability. This product is covered by a 24-month warranty from the date of purchase, covering manufacturing defects. For technical support, warranty claims, or any questions regarding your power supply, please contact SHNITPWR customer service through your purchase platform or the official SHNITPWR website.
Please retain your proof of purchase for warranty service.

