
Introduction
This manual provides detailed instructions for the setup, operation, and maintenance of your Folgtek 64MP 1296P Trail Camera. Please read this manual thoroughly before using the camera to ensure optimal performance and longevity. This camera is designed for outdoor monitoring, including wildlife observation, hunting, and property surveillance.
Product Overview
The Folgtek Trail Camera is a high-performance device featuring advanced imaging and motion detection capabilities. Key features include:
- 64MP High-Quality Photos: Equipped with a Sony Starlight sensor and F1.6 aperture lens for clear photos in various lighting conditions.
- 1296P Sharper Video: Records high-definition video with sound.
- Super Clear Motion-Activated Night Vision: Features 36pcs no-glow 940nm infrared LEDs for a 100ft night vision range, invisible to human eyes.
- IP66 Waterproof Design: Ensures durability and resistance against rain and snow for outdoor use.
- 0.1s Faster Trigger Time: Captures fast-moving subjects with a rapid trigger time and quick recovery.
- 120° Wide Angle Detection: Provides a broad field of view for comprehensive monitoring.
- Longer Battery Life: Up to 8 months in standby with 8 AA batteries (not included).

Image: The Folgtek Trail Camera highlighting its 64MP photo, 1296P video, 512GB SD card support, and IP66 waterproof features.
Package Contents
Verify that all items are present in your package:
- Folgtek Trail Camera (x1)
- Mounting Strap (x1)
- Mini USB Cable (x1)
- Instruction Manual (x1)

Image: The camera, instruction manual, USB cable, and mounting strap included in the package.
Camera Components
Familiarize yourself with the various parts of your trail camera:

Image: Detailed diagram showing the 2.4-inch LCD color screen, operation buttons, waterproof apron, battery compartment, mini USB port, SD card holder, light sensor, lens, center PIR motion sensor, side PIR motion sensors, lock buckle, strap hole, indicator, no glow 940nm IR LEDs, microphone, lock hole, and tripod base.
Setup
1. Battery Installation
- Open the camera housing by releasing the side latches.
- Locate the battery compartment.
- Insert 8 AA batteries (not included) according to the polarity markings (+/-) inside the compartment.
- Close the battery compartment cover securely.
2. SD Card Installation
- Ensure the camera is powered off.
- Locate the SD card slot.
- Insert a standard SD card (up to 512GB, not included) into the slot with the metal contacts facing down until it clicks into place.
- To remove, press the card gently until it springs out.

Image: Illustration showing compatibility with standard SD cards and Micro SD cards with an adapter, emphasizing that the SD card is not included.
3. Mounting the Camera
- Use the provided mounting strap to secure the camera to a tree or pole. Thread the strap through the slots on the back of the camera and fasten it tightly.
- Alternatively, use the 1/4"-20 threaded insert on the bottom for tripod mounting or other compatible accessories.
- Position the camera to cover the desired monitoring area, ensuring no obstructions block the PIR sensors or lens.
Operating Instructions
1. Powering On/Off
To power on the camera, slide the mode switch from OFF to SETUP or ON. To power off, slide the switch to OFF.
2. Menu Navigation
In SETUP mode, use the navigation buttons (UP, DOWN, LEFT, RIGHT, OK) to access and adjust camera settings on the built-in LCD screen. The MENU button typically accesses the main settings, and the OK button confirms selections.
3. Photo and Video Modes
The camera supports 64MP photos and 1296P video resolution. You can select your preferred mode and resolution in the settings menu.

Image: Examples of clear 48MP images and 1296P video resolution captured by the trail camera, showing a deer in daylight and a deer running in snow.
4. Motion Detection and Trigger Time
The camera features a 0.1s trigger time and 120° wide-angle detection. Adjust PIR sensitivity (High/Normal/Low) in the settings to suit your environment and minimize false triggers.

Image: A coyote in motion, demonstrating the camera's 0.1s trigger time to capture fast-moving subjects.
5. Night Vision
The camera automatically switches to night vision mode in low light conditions, utilizing 36pcs no-glow 940nm IR LEDs for clear black and white images and videos up to 100ft (30m).

Image: A fox captured by the trail camera's clear night vision, illustrating the effectiveness of the 36pcs no-flash LEDs up to 100ft/30m in darkness.
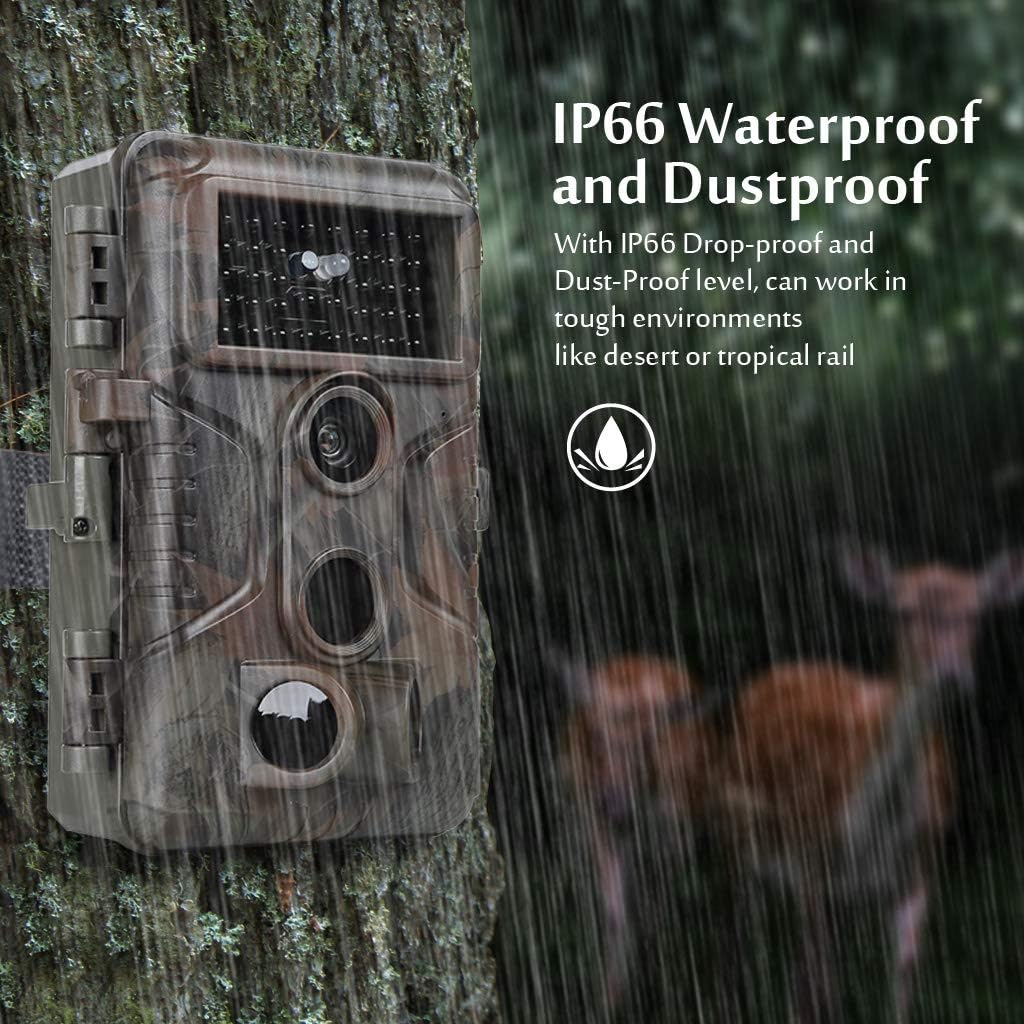
Image: Comparison of a 120° wide detecting angle versus a narrower angle, showing the camera's broad coverage and 100ft night vision flash range.
6. Video Example
Video: A black bear captured by the trail camera in a forest setting, demonstrating the camera's ability to record wildlife activity.
Maintenance
Proper maintenance ensures the longevity and performance of your camera:
- Cleaning: Use a soft, dry cloth to clean the lens and PIR sensors. Avoid abrasive cleaners.
- Battery Replacement: Replace all batteries when the low battery indicator appears. Do not mix old and new batteries or different battery types.
- SD Card Management: Regularly format your SD card to prevent data corruption and ensure optimal recording. Back up important files before formatting.
- Waterproof Seal: Ensure the waterproof apron and latches are securely closed to maintain the IP66 rating, especially after accessing the battery or SD card compartments.

Image: The Folgtek Trail Camera mounted on a tree in a rainy environment, illustrating its IP66 waterproof and dustproof capabilities for tough outdoor conditions.
Troubleshooting
| Problem | Possible Cause | Solution |
|---|---|---|
| Camera not powering on | Low or incorrectly installed batteries; faulty SD card. | Check battery orientation and charge level. Replace batteries. Remove SD card and try powering on. |
| No photos/videos captured | Incorrect settings; full or corrupted SD card; PIR sensor blocked or sensitivity too low. | Check mode settings (Photo/Video). Format SD card. Clear obstructions from PIR sensors. Increase PIR sensitivity. |
| Poor night vision quality | IR LEDs blocked; low battery power; camera too far from subject. | Ensure IR LEDs are clear. Replace batteries. Position camera closer to the target area (within 100ft). |
| False triggers | PIR sensitivity too high; heat sources (e.g., sun, moving branches) in detection zone. | Decrease PIR sensitivity. Reposition camera to avoid direct sunlight or moving foliage. |
Specifications
| Feature | Detail |
|---|---|
| Effective Still Resolution | 64 MP |
| Video Capture Resolution | 1296p/1080p/720p @ 30 fps |
| Night Vision Range | 100 Feet (30m) |
| PIR Sensing Angle | 120 Degrees (Total) |
| Trigger Time | Approx. 0.1-0.6 seconds |
| Waterproof Rating | IP66 |
| Storage | SD Card (up to 512GB) |
| Power Source | 8x AA Batteries (not included) or 12V DC |
| Connectivity Technology | USB |
| Operating Temperature | -4~140°F / -20~60°C |
| Recommended Uses | Game, Hunting, Outdoor Monitoring |
Warranty and Support
Folgtek products are designed for reliability and performance. For any technical assistance, troubleshooting not covered in this manual, or warranty inquiries, please refer to the contact information provided with your purchase or visit the official Folgtek website. Please retain your proof of purchase for warranty claims.


