1. Introduction
The JBL Club A600 is a mono subwoofer amplifier designed to deliver 600 Watts RMS of power. Utilizing a Class D amplifier design, it ensures high output with minimal current draw. This amplifier is engineered for seamless integration into various car audio systems, including those with factory radios, thanks to its speaker-level inputs. Advanced features such as a low-pass filter, variable bass boost, and phase control allow for precise tuning to optimize subwoofer performance and blend with full-range speakers.
Key Features:
- 600W x 1 RMS output for powerful bass.
- Compact size for flexible installation.
- High and low-level inputs for broad compatibility.
- Variable crossover and bass boost for audio customization.
- Wired remote bass control for convenient adjustment.
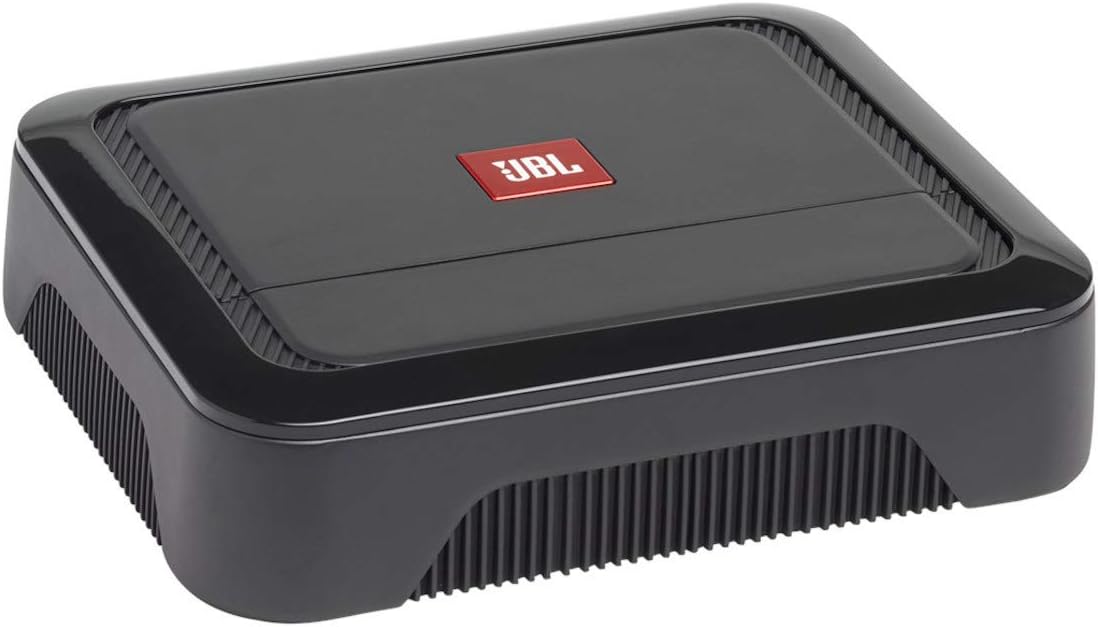
Figure 1: Front view of the JBL Club A600 Mono Amplifier.
2. What's in the Box
Upon unpacking your JBL Club A600 amplifier, please verify that all components are present:
- One Club A600 mono subwoofer car amplifier
- Four 30A ATO fuses
3. Product Overview
The JBL Club A600 features a sleek, low-profile design with controls discreetly located under a removable panel for a clean aesthetic. The rear panel provides all necessary connections for power, signal input, and speaker output.

Figure 2: Top view of the JBL Club A600 Mono Amplifier, showing the removable panel.
Control Panel and Connections:

Figure 3: Rear panel of the JBL Club A600, detailing controls and connection terminals.
Controls (under panel):
- GAIN: Adjusts the input sensitivity to match the output of your source unit.
- FREQ (Frequency): Sets the low-pass filter crossover point (32Hz - 320Hz).
- BASS BOOST: Provides adjustable bass equalization (0dB - 12dB).
- PHASE: Selects the phase of the subwoofer output (0° or 180°).
- TURN-ON MODE: Configures the amplifier's turn-on behavior (DC offset or Remote).
Connections:
- INPUT (RCA): Low-level signal input from your source unit.
- REMOTE CONTROL: Port for connecting the wired remote bass control.
- SPEAKER OUTPUT: Terminals for connecting your subwoofer(s).
- FUSE: Two 30A ATO fuses for circuit protection.
- +12V: Positive power input terminal.
- REM: Remote turn-on input terminal.
- GND: Ground connection terminal.
4. Setup and Installation
Proper installation is crucial for optimal performance and safety. It is recommended to have this amplifier installed by a qualified professional.
General Installation Guidelines:
- Disconnect Battery: Before starting any wiring, disconnect the vehicle's negative battery terminal to prevent electrical shorts.
- Mounting Location: Choose a dry, well-ventilated location for mounting the amplifier, away from heat sources and moisture. Ensure adequate airflow around the amplifier for cooling.
- Power Wiring: Connect a heavy-gauge power cable (typically 8-gauge or larger, depending on cable length) from the vehicle's positive battery terminal to the amplifier's +12V terminal. Install an appropriate fuse (not supplied, typically 60A) within 18 inches (45 cm) of the battery.
- Ground Wiring: Connect a heavy-gauge ground cable (same gauge as power cable) from the amplifier's GND terminal to a clean, unpainted metal point on the vehicle's chassis. Ensure a solid electrical connection.
- Remote Turn-On: Connect a remote turn-on wire from your source unit's remote output to the amplifier's REM terminal. If using speaker-level inputs without a remote output, set the TURN-ON MODE switch to 'DC'.
- Signal Input:
- Low-Level Input (RCA): Connect RCA cables from your source unit's subwoofer output to the amplifier's INPUT terminals.
- High-Level Input (Speaker-Level): If your source unit does not have RCA outputs, connect the speaker wires directly to the amplifier's high-level input terminals (often integrated with the RCA inputs or via an adapter, refer to specific wiring diagram in full manual).
- Speaker Output: Connect your subwoofer(s) to the amplifier's SPEAKER OUTPUT terminals. Ensure correct polarity (+ to + and - to -).
- Remote Bass Control: Connect the wired remote bass control to the 'REMOTE CONTROL' port for convenient bass level adjustment.
- Reconnect Battery: Once all wiring is complete and secured, reconnect the vehicle's negative battery terminal.
5. Operation
After installation, adjust the amplifier settings to achieve optimal audio performance. All adjustment controls are located under the removable top panel.
Adjusting Amplifier Settings:
- GAIN: Start with the GAIN control at minimum. Play a dynamic piece of music and slowly increase the GAIN until you hear distortion, then back off slightly. This matches the amplifier's input to your source unit's output.
- FREQ (Low-Pass Filter): Adjust the FREQ knob to set the upper frequency limit for your subwoofer. A common starting point is between 80Hz and 120Hz, but this may vary based on your subwoofer and full-range speakers.
- BASS BOOST: Use the BASS BOOST control to enhance low-frequency output. Start at 0dB and increase gradually if more bass is desired. Excessive bass boost can lead to distortion.
- PHASE: Experiment with the PHASE switch (0° or 180°) to determine which setting provides the most cohesive bass response with your other speakers. This often involves listening from the driver's seat.
- TURN-ON MODE: Set to 'REM' if using a remote turn-on wire from your head unit. Set to 'DC' if using speaker-level inputs and your head unit provides a DC offset on its speaker outputs when turned on.
- Remote Bass Control: The wired remote allows for convenient, real-time adjustment of the bass level from the driver's seat without needing to access the amplifier directly.
6. Maintenance
Regular maintenance helps ensure the longevity and consistent performance of your JBL Club A600 amplifier.
- Cleaning: Periodically wipe the amplifier's exterior with a soft, dry cloth. Avoid using harsh chemicals or abrasive cleaners.
- Ventilation: Ensure that the amplifier's cooling fins are free from dust and debris to maintain proper heat dissipation.
- Connections: Occasionally check all power, ground, signal, and speaker connections to ensure they are secure and free from corrosion.
- Fuses: The amplifier uses two 30A ATO fuses. If a fuse blows, replace it only with a fuse of the same type and rating. Never use a higher-rated fuse.
7. Troubleshooting
This section addresses common issues you might encounter with your amplifier.
| Problem | Possible Cause | Solution |
|---|---|---|
| No power/No sound | Blown fuse; Loose power/ground/remote connection; Amplifier in protection mode. | Check and replace fuses; Verify all connections are secure; Check for shorts in speaker wiring. |
| Distorted sound | Gain set too high; Improper crossover settings; Speaker impedance mismatch. | Reduce gain; Adjust FREQ and BASS BOOST settings; Verify speaker impedance is compatible. |
| No bass output | Subwoofer not connected; Low-pass filter set too high/low; Phase incorrect. | Check subwoofer connections; Adjust FREQ setting; Toggle PHASE switch. |
| Amplifier gets hot | Inadequate ventilation; Overdriving amplifier; Low impedance load. | Ensure proper airflow; Reduce volume/gain; Verify speaker impedance. |
8. Specifications
| Feature | Detail |
|---|---|
| Brand | JBL |
| Model Number | AMPCBA600AM |
| Number of Channels | 1 (Mono) |
| Output Power | 600 Watts |
| Product Dimensions (L x W x H) | 8.94 x 11.02 x 4.45 inches |
| Item Weight | 6.67 pounds |
| Mounting Type | Surface Mount |
| UPC | 050036369176 |
| Date First Available | May 27, 2020 |
9. Warranty and Support
JBL products are designed for durability and performance. For specific warranty information, including terms and conditions, please refer to the warranty card included with your product or visit the official JBL website. For technical support, service, or additional product information, please contact JBL customer service or visit their support portal online.


