Introduction
This manual provides detailed instructions for the installation, operation, and maintenance of your GIGABYTE B460 AORUS PRO AC motherboard. Please read this manual thoroughly before beginning the installation process to ensure proper setup and to maximize the performance and longevity of your system.
The GIGABYTE B460 AORUS PRO AC is an ATX form factor motherboard designed for Intel LGA1200 processors, featuring the Intel B460 chipset. It supports DDR4 memory, dual M.2 slots, SATA 6Gb/s, USB 3.2 Gen 2, Intel 802.11ac wireless, and 2.5 GbE LAN, providing a robust foundation for your personal computer.
Package Contents
Verify that all items listed below are present in your motherboard package. If any items are missing or damaged, contact your retailer.
- GIGABYTE B460 AORUS PRO AC Motherboard
- SATA Cables
- User Manual
- Wi-Fi Antenna
- I/O Shield (if not pre-mounted)
- M.2 Screw Package
- Driver CD/DVD (or link to download drivers)
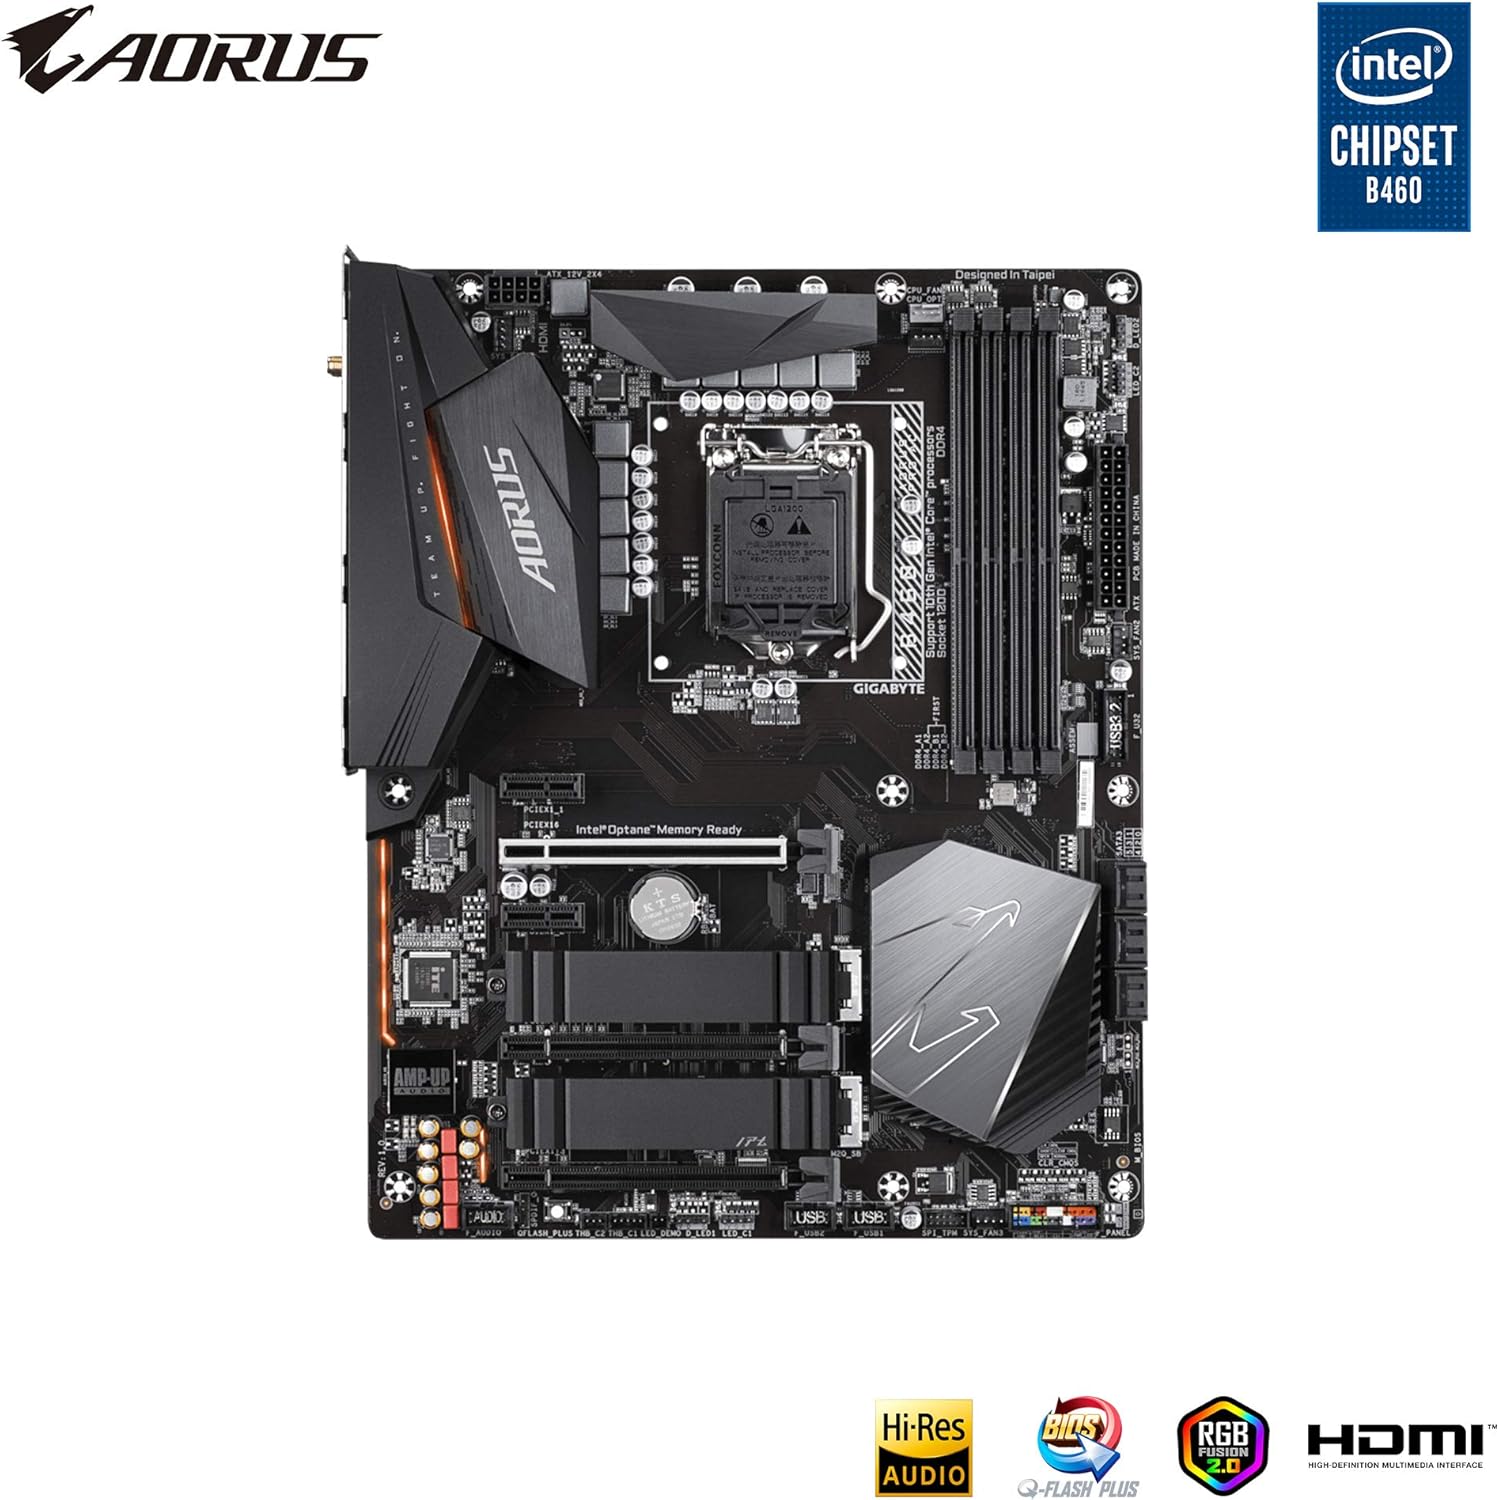
Figure 1: Top-down view of the GIGABYTE B460 AORUS PRO AC Motherboard, showing CPU socket, RAM slots, and M.2 slots.
Setup and Installation
Before installing the motherboard, ensure your workspace is clean, well-lit, and free of static electricity. Use an anti-static wrist strap or frequently touch a grounded metal object to discharge static electricity.
1. Prepare the Chassis
Install the I/O shield into the chassis's rear opening. If your chassis has a pre-mounted I/O shield, skip this step.
2. Install the CPU
- Locate the LGA1200 CPU socket on the motherboard.
- Gently push down the load lever and pull it out to open the CPU socket cover.
- Align the triangular mark on the CPU with the corresponding mark on the socket. Carefully place the CPU into the socket without forcing it.
- Close the load plate and push the load lever back into place until it clicks.
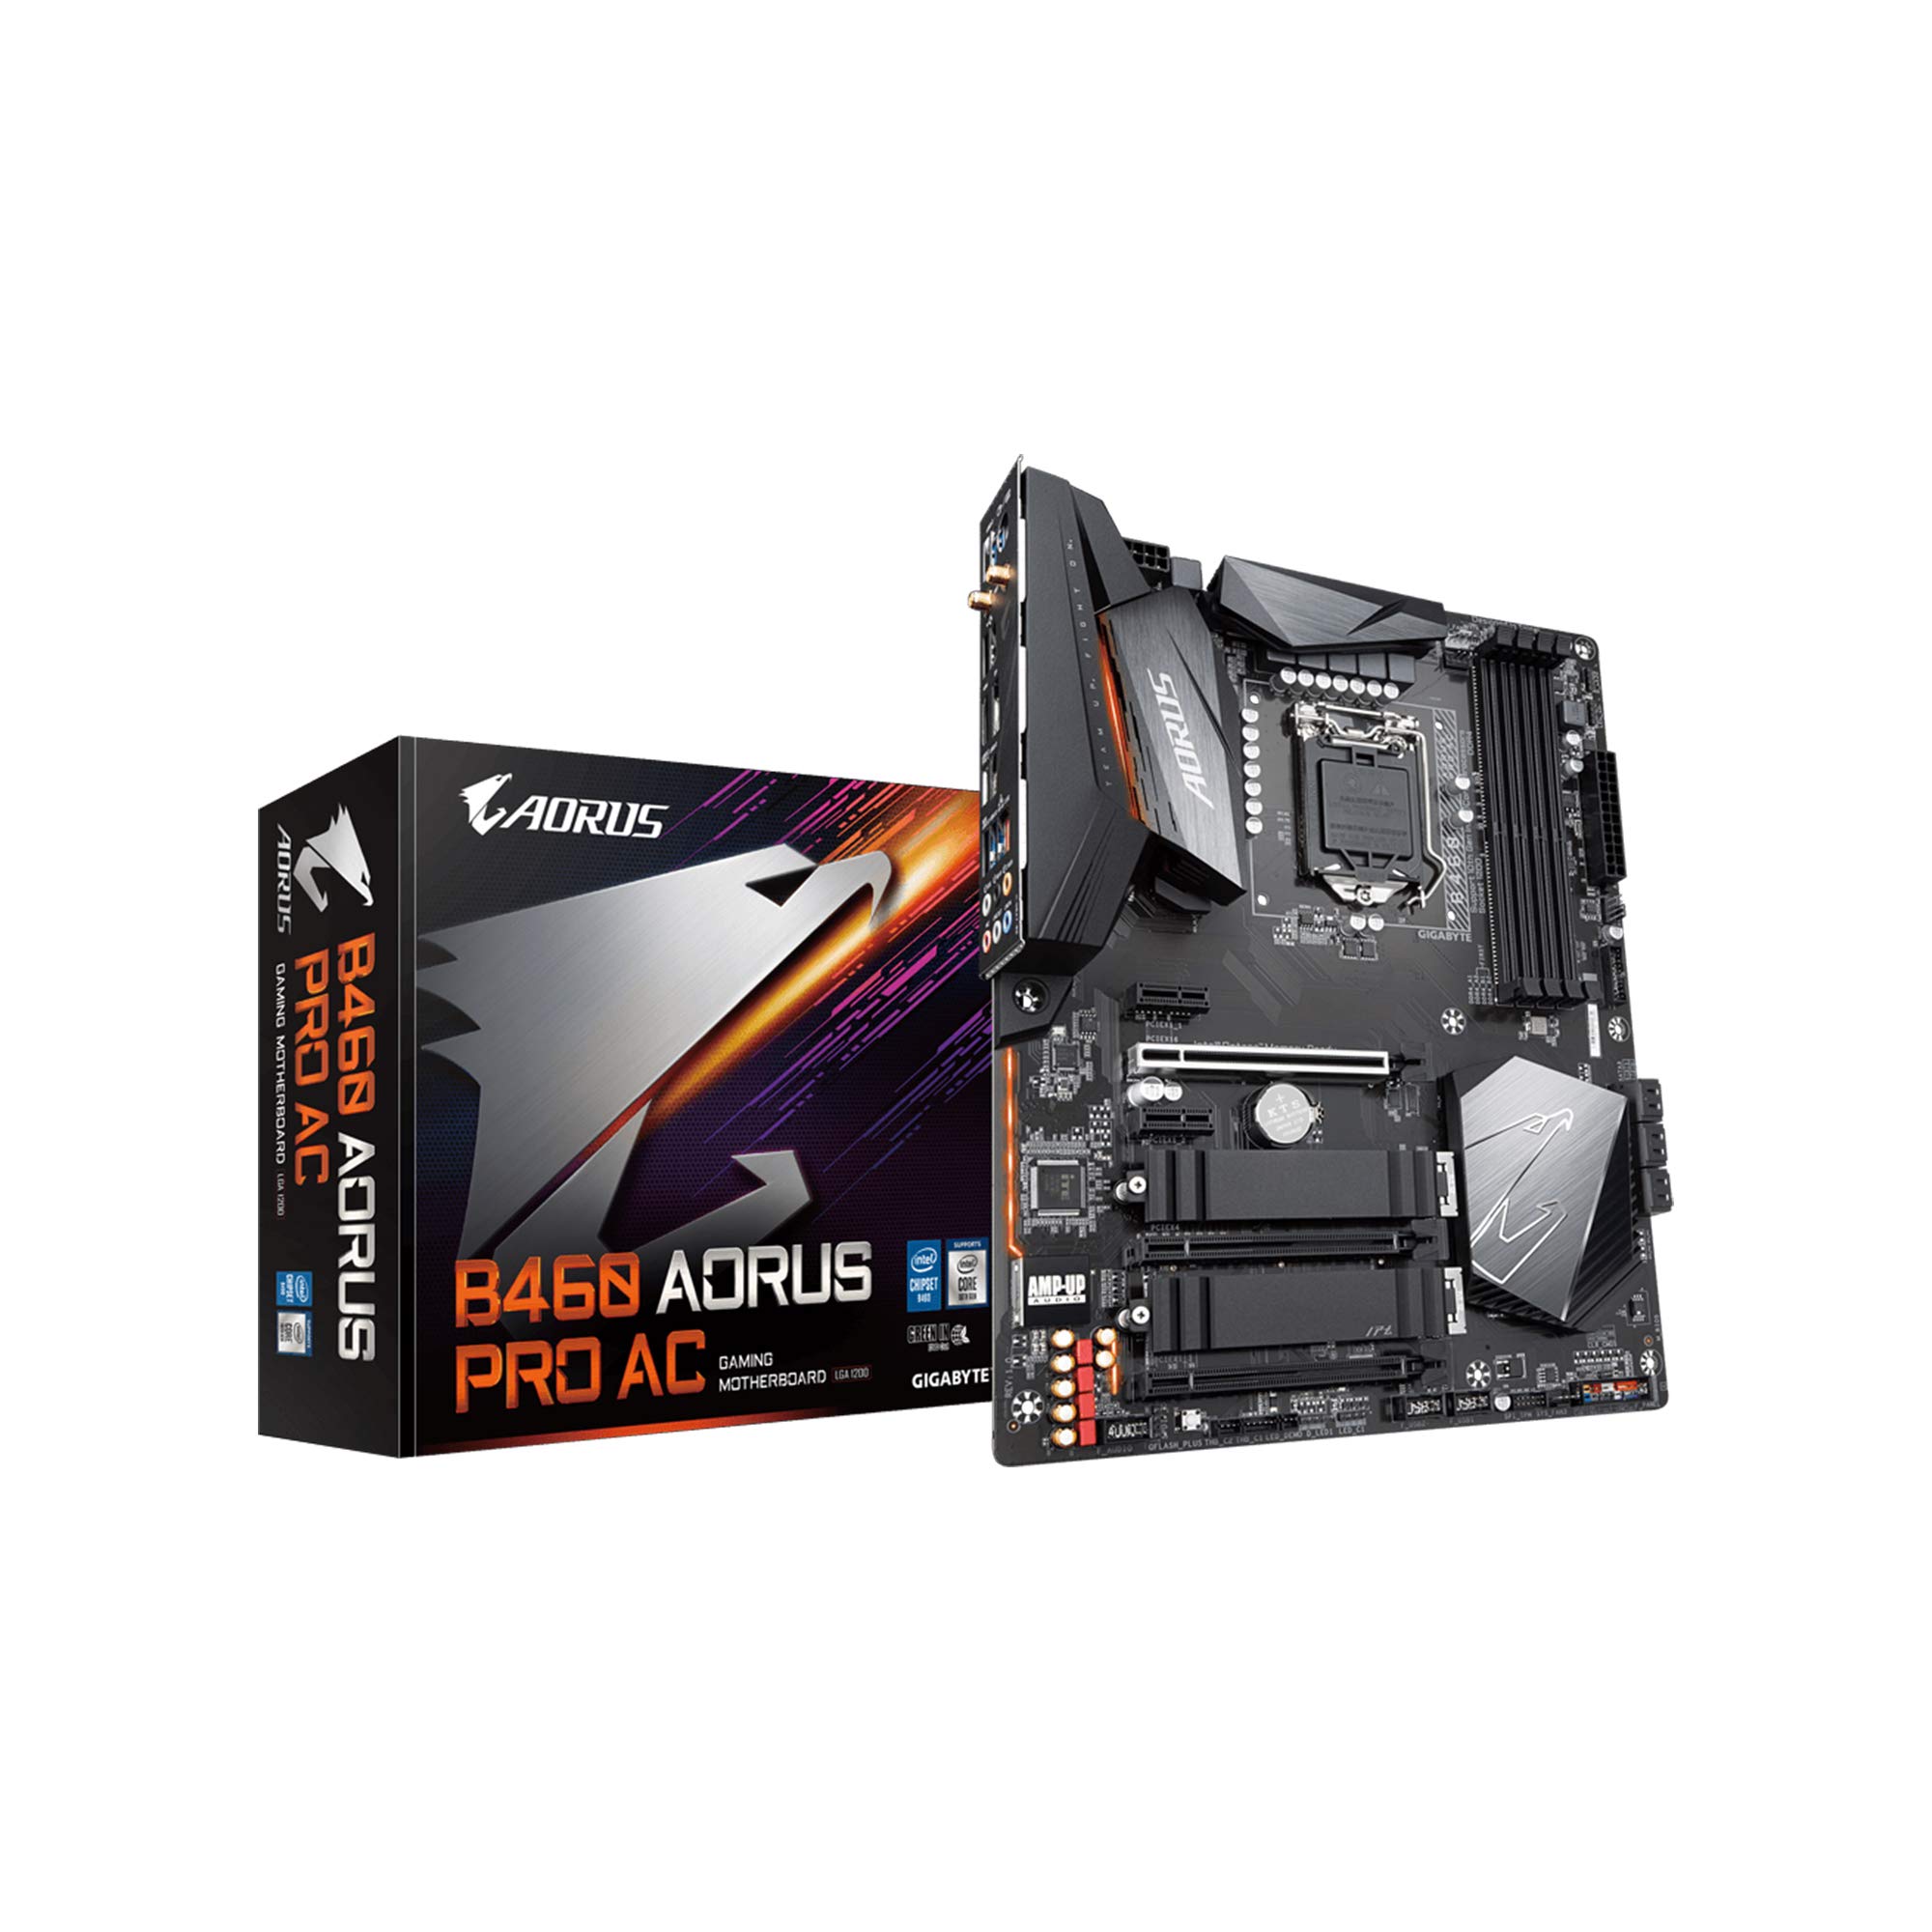
Figure 2: Close-up of the motherboard showing the LGA1200 CPU socket area.
3. Install the CPU Cooler
Follow the instructions provided with your CPU cooler to install it securely onto the motherboard. Ensure proper thermal paste application for optimal cooling.
4. Install Memory Modules (RAM)
- Open the clips at both ends of the DIMM slots.
- Align the notch on the DDR4 memory module with the key in the DIMM slot.
- Insert the module firmly into the slot until the clips snap into place. Install modules in the recommended slots for dual-channel operation (refer to the motherboard's printed manual for specific slot order).
5. Install M.2 SSDs
- Locate the M.2 slots on the motherboard.
- Remove the M.2 heatsink (if present) and the standoff screw from the desired M.2 slot.
- Insert the M.2 SSD into the slot at a 30-degree angle.
- Gently push down the SSD and secure it with the standoff screw. Reinstall the M.2 heatsink if applicable.
6. Mount the Motherboard
Carefully place the motherboard into the chassis, aligning the screw holes with the standoffs. Secure the motherboard with screws, ensuring it is firmly seated but not overtightened.
7. Connect Power Cables
- Connect the 24-pin ATX main power connector from your power supply to the motherboard.
- Connect the 8-pin (or 4+4-pin) ATX 12V CPU power connector to the motherboard.
8. Connect Front Panel Cables
Connect the power switch, reset switch, HDD LED, and power LED cables from your chassis to the corresponding pins on the motherboard's front panel header. Refer to the motherboard's printed manual for the exact pin layout.
9. Connect Storage Devices
Connect SATA data cables from your storage drives (HDDs, SSDs) to the SATA ports on the motherboard. Connect the power cables from your power supply to these drives.
10. Install Expansion Cards (e.g., Graphics Card)
Insert your graphics card into the primary PCIe x16 slot. Ensure it is fully seated and secured with the chassis latch or screw. Connect any required PCIe power cables from your power supply to the graphics card.

Figure 3: Angled view of the motherboard, showing PCIe slots for expansion cards.
Operating Instructions
1. First Boot and BIOS Setup
- After connecting all components and peripherals, power on your system.
- Press the DEL key repeatedly during startup to enter the BIOS/UEFI setup utility.
- Configure essential settings such as boot order, date/time, and enable XMP for memory if desired. Save changes and exit.
2. Operating System Installation
Insert your operating system installation media (USB drive or DVD) and follow the on-screen prompts to install your preferred operating system.
3. Driver Installation
After OS installation, install the necessary drivers for your motherboard components. You can find the latest drivers on the official GIGABYTE website for the B460 AORUS PRO AC model. Install chipset drivers, LAN drivers, audio drivers, and Wi-Fi drivers.

Figure 4: Rear I/O panel, showing various ports including USB, LAN, Wi-Fi antenna connectors, and audio jacks.
Maintenance
Regular maintenance helps ensure the stability and longevity of your motherboard and system.
- Dust Removal: Periodically clean dust from the motherboard and components using compressed air. Ensure the system is powered off and unplugged before cleaning.
- BIOS Updates: Check the GIGABYTE website for the latest BIOS updates. BIOS updates can improve system stability, compatibility, and performance. Follow the instructions carefully when updating the BIOS.
- Driver Updates: Keep your drivers updated to ensure optimal performance and compatibility with new software and hardware.
- Cable Management: Ensure internal cables are neatly routed to improve airflow and prevent interference.
Troubleshooting
If you encounter issues with your system, refer to the following common troubleshooting steps:
- No Power:
- Check all power connections (24-pin ATX, 8-pin CPU, GPU power).
- Ensure the power supply switch is in the ON position.
- Test the power supply with another system or a power supply tester.
- No Display:
- Ensure the monitor is connected to the graphics card (not the motherboard's integrated graphics ports if a dedicated GPU is installed).
- Reseat the graphics card and RAM modules.
- Try booting with only one RAM stick.
- System Instability/Crashes:
- Check CPU and GPU temperatures.
- Run memory diagnostic tools to check for RAM errors.
- Ensure all drivers are up to date.
- Verify BIOS settings are stable (e.g., disable XMP temporarily).
- Peripheral Not Detected:
- Try connecting the peripheral to a different port.
- Install or update relevant drivers.
- Check BIOS settings for port enablement.
For more advanced troubleshooting or persistent issues, consult the comprehensive user manual provided with your motherboard or visit the GIGABYTE support website.
Specifications
Key technical specifications for the GIGABYTE B460 AORUS PRO AC Motherboard:
| Feature | Specification |
|---|---|
| Brand | GIGABYTE |
| Model Number | B460 AORUS PRO AC |
| CPU Socket | LGA1200 |
| Chipset | Intel B460 |
| Form Factor | ATX |
| RAM Type | DDR4 SDRAM |
| Memory Speed | Up to 2933 MHz (with compatible CPU) |
| Wireless Type | 802.11ac |
| LAN | 2.5 Gigabit Ethernet |
| USB Ports | USB 3.2 Gen 2, USB 2.0 |
| Storage Interface | Dual M.2, SATA 6Gb/s |
| Product Dimensions (LxWxH) | 13.18 x 10.62 x 3.14 inches |
| Item Weight | 4.41 pounds |
Warranty and Support
For warranty information, technical support, driver downloads, and BIOS updates, please visit the official GIGABYTE website. You can find detailed support resources specific to the B460 AORUS PRO AC model.
GIGABYTE Support Website: www.gigabyte.com/support
Always refer to the latest information available on the manufacturer's website for the most accurate and up-to-date support details.


