
Princess 01.182075.01.001
Princess Deluxe Mini-Oven and Air Fryer User Manual
Model: 01.182075.01.001
1. Important Safety Instructions
Before using your Princess Deluxe Mini-Oven and Air Fryer, please read all instructions carefully and retain them for future reference. Always follow basic safety precautions to reduce the risk of fire, electric shock, and injury to persons.
- Do not touch hot surfaces. Use handles or knobs.
- To protect against electric shock, do not immerse cord, plugs, or the appliance in water or other liquid.
- Close supervision is necessary when any appliance is used by or near children.
- Unplug from outlet when not in use and before cleaning. Allow to cool before putting on or taking off parts.
- Do not operate any appliance with a damaged cord or plug or after the appliance malfunctions or has been damaged in any manner.
- The use of accessory attachments not recommended by the appliance manufacturer may cause injuries.
- Do not use outdoors.
- Do not let cord hang over edge of table or counter, or touch hot surfaces.
- Do not place on or near a hot gas or electric burner, or in a heated oven.
- Extreme caution must be used when moving an appliance containing hot oil or other hot liquids.
- Always attach plug to appliance first, then plug cord into the wall outlet. To disconnect, turn any control to "off", then remove plug from wall outlet.
- Do not use appliance for other than intended use.
2. Product Overview
The Princess Deluxe Mini-Oven and Air Fryer is a versatile kitchen appliance designed for roasting, grilling, frying, and dehydrating food. It features a digital touch screen, 10 pre-programmed settings, and a generous 11-liter capacity, making it suitable for preparing meals for up to 7 people. Its compact design offers the functionalities of an oven within the footprint of an air fryer.

Figure 2.1: Front view of the Princess Deluxe Mini-Oven and Air Fryer, showing the open door and a rotating basket filled with fries.

Figure 2.2: The appliance displayed with various cooked foods like chicken, fries, vegetables, and accessories such as racks and a rotisserie basket.
Included Accessories:
- Rotating Basket
- Rotisserie Spit
- 3 Grilling Racks
- Handle for accessories
- Drip Tray
- Recipe Book

Figure 2.3: A visual representation of the appliance's dimensions (46cm H x 28cm W x 38cm D) and its various accessories, including the rotating basket, rotisserie spit, and multiple racks.
3. Setup and First Use
3.1 Unpacking
- Carefully remove the appliance and all accessories from the packaging.
- Remove any packaging materials, stickers, or labels.
- Wipe the exterior of the appliance with a damp cloth.
- Wash all removable parts (basket, racks, drip tray, etc.) in warm, soapy water. Rinse thoroughly and dry completely before use.
3.2 Placement
- Place the appliance on a stable, heat-resistant surface.
- Ensure there is adequate space (at least 10 cm) around the appliance for proper ventilation.
- Do not place the appliance directly against a wall or under cabinets during operation.
3.3 Initial Operation (Burn-in)
Before cooking food, it is recommended to run the appliance for a short period to eliminate any manufacturing odors.
- Plug the appliance into a grounded electrical outlet.
- Set the temperature to 180°C (350°F) and the timer to 10-15 minutes.
- Allow the appliance to run. A slight odor or smoke may be present; this is normal and will dissipate.
- Once complete, unplug the appliance and allow it to cool down completely.
4. Operating Instructions
4.1 Control Panel Overview
The appliance features a digital touch screen for easy operation. The display shows temperature, time, and selected program icons.
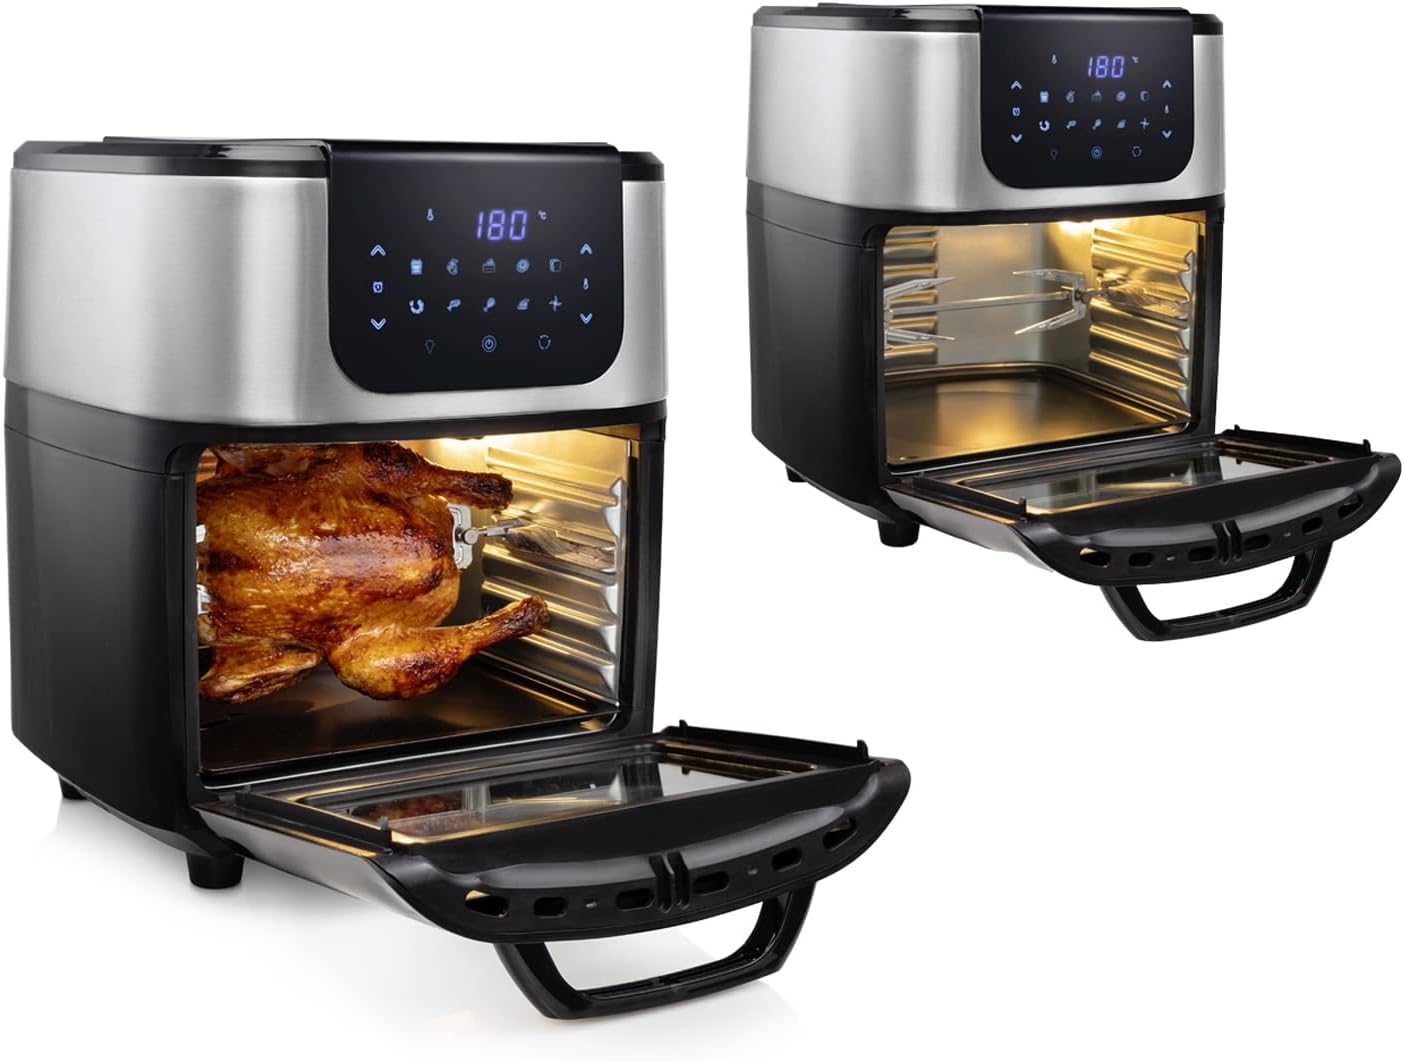
Figure 4.1: The digital control panel with temperature and time display, along with various program icons.
4.2 Using Pre-programmed Settings
The appliance comes with 10 pre-programmed settings for common dishes. These settings automatically adjust time and temperature for optimal results.
- Press the 'Menu' button to cycle through the pre-programmed settings.
- Once the desired program icon is selected, press the 'Start/Pause' button to begin cooking.

Figure 4.2: Icons representing various pre-programmed cooking functions such as fries, cake, pizza, shrimp, poultry, steak, fish, and dehydrator.
4.3 Manual Operation
For custom cooking, you can manually set the temperature and time.
- Press the 'Temperature' button and use the '+' and '-' buttons to adjust the temperature (up to 200°C / 400°F).
- Press the 'Time' button and use the '+' and '-' buttons to adjust the cooking time (up to 60 minutes).
- Press the 'Start/Pause' button to begin cooking.
4.4 Using Accessories
The appliance supports various cooking methods with its included accessories.
4.4.1 Rotisserie Function (for whole chicken or large roasts)
- Secure the food onto the rotisserie spit.
- Insert the rotisserie spit into the designated slots inside the appliance.
- Select the appropriate pre-programmed setting or set manual temperature and time.
- Press the 'Rotisserie' button (if available on the control panel) to activate rotation.

Figure 4.3: The appliance with a whole chicken roasting on the rotisserie spit, demonstrating its oven-like capabilities.
4.4.2 Rotating Basket (for fries, nuts, etc.)
- Place food into the rotating basket.
- Insert the basket into the rotisserie slots.
- Select the desired cooking program or manual settings.
- Activate the rotation function.

Figure 4.4: The appliance with the rotating basket in use, showing fries being cooked evenly.
4.4.3 Grilling Racks (for multiple layers of food)
- Place food on the grilling racks.
- Slide the racks into the internal grooves at desired heights.
- Select the appropriate cooking program or manual settings.
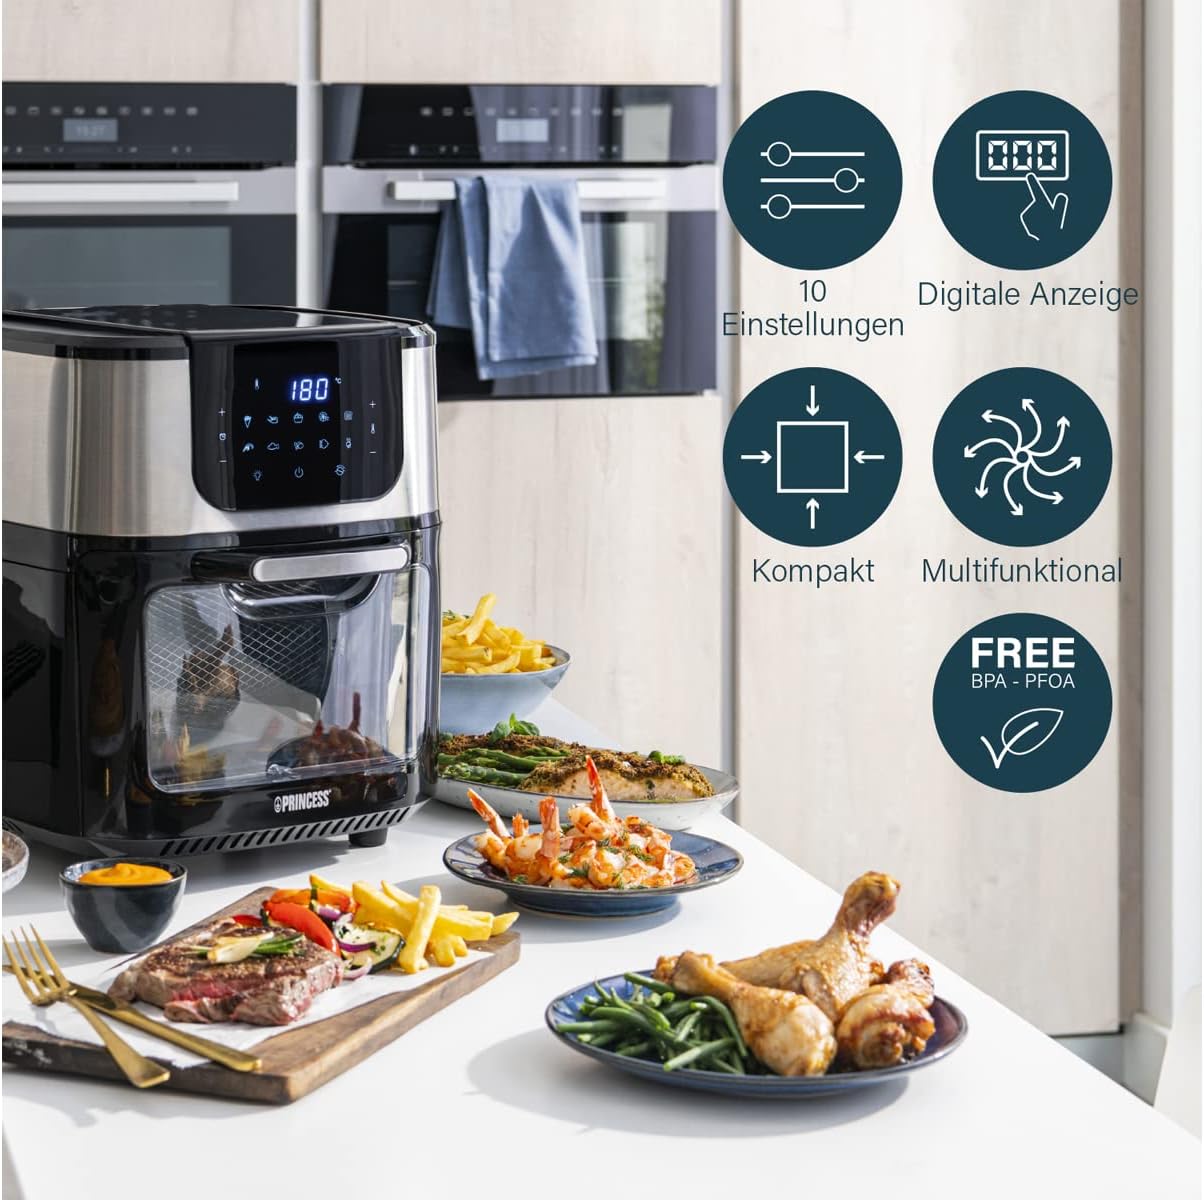
Figure 4.5: The appliance demonstrating the use of multiple grilling racks for cooking different types of food simultaneously, such as chicken, vegetables, and sweet potato fries.
4.5 Energy Saving Tips
This appliance is designed for energy efficiency. Compared to a traditional 3300W oven, you can save up to 60% energy. Its smaller size allows for faster preheating and cooking times, consuming only 1800W.
- Preheat only when necessary for specific recipes.
- Avoid opening the door frequently during cooking to maintain internal temperature.
- Cook multiple items at once if possible to maximize efficiency.
5. Cleaning and Maintenance
Regular cleaning ensures optimal performance and extends the lifespan of your appliance.
5.1 Before Cleaning
- Always unplug the appliance from the power outlet and allow it to cool down completely before cleaning.
5.2 Cleaning the Interior and Exterior
- Wipe the exterior with a damp cloth and mild detergent. Do not use abrasive cleaners.
- Clean the interior with a damp cloth and mild, non-abrasive cleaning solution. For stubborn stains, a soft brush may be used.
- Ensure no water enters the electrical components.
5.3 Cleaning Accessories
- All removable accessories (rotating basket, rotisserie spit, grilling racks, drip tray) are dishwasher safe.
- Alternatively, wash them in warm, soapy water, rinse thoroughly, and dry completely.
5.4 Storage
- Store the appliance in a cool, dry place when not in use.
- Ensure all parts are clean and dry before storage.
6. Troubleshooting
| Problem | Possible Cause | Solution |
|---|---|---|
| Appliance does not turn on. | Not plugged in; power outlet not working; appliance not switched on. | Ensure plug is securely in outlet; check power outlet with another appliance; press power button. |
| Food is not cooked evenly. | Overloaded basket/racks; incorrect temperature/time; food not shaken/turned. | Do not overload; adjust temperature/time; shake or turn food halfway through cooking. |
| White smoke coming from appliance. | Grease residue from previous use; fatty food being cooked. | Clean the appliance and accessories thoroughly; ensure drip tray is in place for fatty foods. |
| Fries are not crispy. | Too much oil; not enough oil; wrong potato type; not dried properly. | Use minimal oil (1 tablespoon); ensure potatoes are dry before adding oil; use starchy potatoes. |
7. Specifications
| Feature | Detail |
|---|---|
| Brand | Princess |
| Model Number | 01.182075.01.001 |
| Capacity | 11 Liters |
| Power | 1800 Watts |
| Voltage | 230 Volts |
| Material | Stainless Steel |
| Dimensions (L x W x H) | 45 x 38.6 x 46.6 cm (Product: 39.7D x 31W x 37.8H cm) |
| Weight | 7.71 Kilograms |
| Special Features | Rotating Basket, 10 Cooking Programs, Digital Touch Screen |
8. Warranty and Support
Princess products adhere to strict European Union standards, ensuring safety and durability. For warranty claims or technical support, please contact your local Princess service center or the retailer where the product was purchased.
For more information and support, you may visit the official Princess brand store: Princess Brand Store
Ask a question about this manual
Ask about setup, troubleshooting, compatibility, parts, safety, or missing instructions. Manuals+ will review the question and use this page’s manual context to help answer it.