1. Introduction
This manual provides detailed instructions for the installation, operation, and maintenance of your Aigostar Wireless Doorbell 2HQEZ. Please read it carefully before use to ensure proper functionality and safety. Keep this manual for future reference.
2. Product Overview
The Aigostar Wireless Doorbell 2HQEZ is a convenient and reliable doorbell system designed for homes, offices, and various other settings. It features a plug-and-play receiver and a waterproof push-button transmitter.
Key Features:
- 36 Unique Melodies: Choose from a wide selection of pleasant chimes.
- 3 Adjustable Volume Levels: Customize the sound level to your preference, including a silent mode.
- Strong Wireless Signal: Offers a transmission distance of up to 150 meters (500 feet) in open areas.
- IP44 Waterproof Transmitter: Designed to withstand rain and various weather conditions.
- Easy Installation: Simple setup with double-sided adhesive tape or screws.
- Versatile Application: Suitable for homes, offices, hospitals, factories, hotels, and more.
Components:
- 1 x Wireless Transmitter (Push Button)
- 1 x Plug-in Receiver
- Mounting Accessories (Double-sided adhesive tape, screws)

Image: Dimensions of the Aigostar Wireless Doorbell transmitter and receiver.

Image: The Aigostar Wireless Doorbell featuring an acrylic panel for enhanced durability.
3. Setup
Follow these steps for quick and easy installation and pairing of your Aigostar Wireless Doorbell.
3.1. Transmitter Battery Installation
The transmitter requires a battery (included). Use a small screwdriver to open the back cover, insert the battery, and close the cover securely.
3.2. Receiver Placement
Plug the receiver into a standard AC power outlet in a location where the chime can be easily heard throughout your home or desired area.
3.3. Transmitter Installation
Choose a suitable location for the transmitter (push button) near your door. Ensure the surface is clean and dry. You can install it using:
- Double-sided adhesive tape: Peel off the protective film from the adhesive tape on the back of the transmitter and firmly press it onto the desired surface.
- Screws: For a more secure installation, use the provided screws to mount the transmitter to the wall.
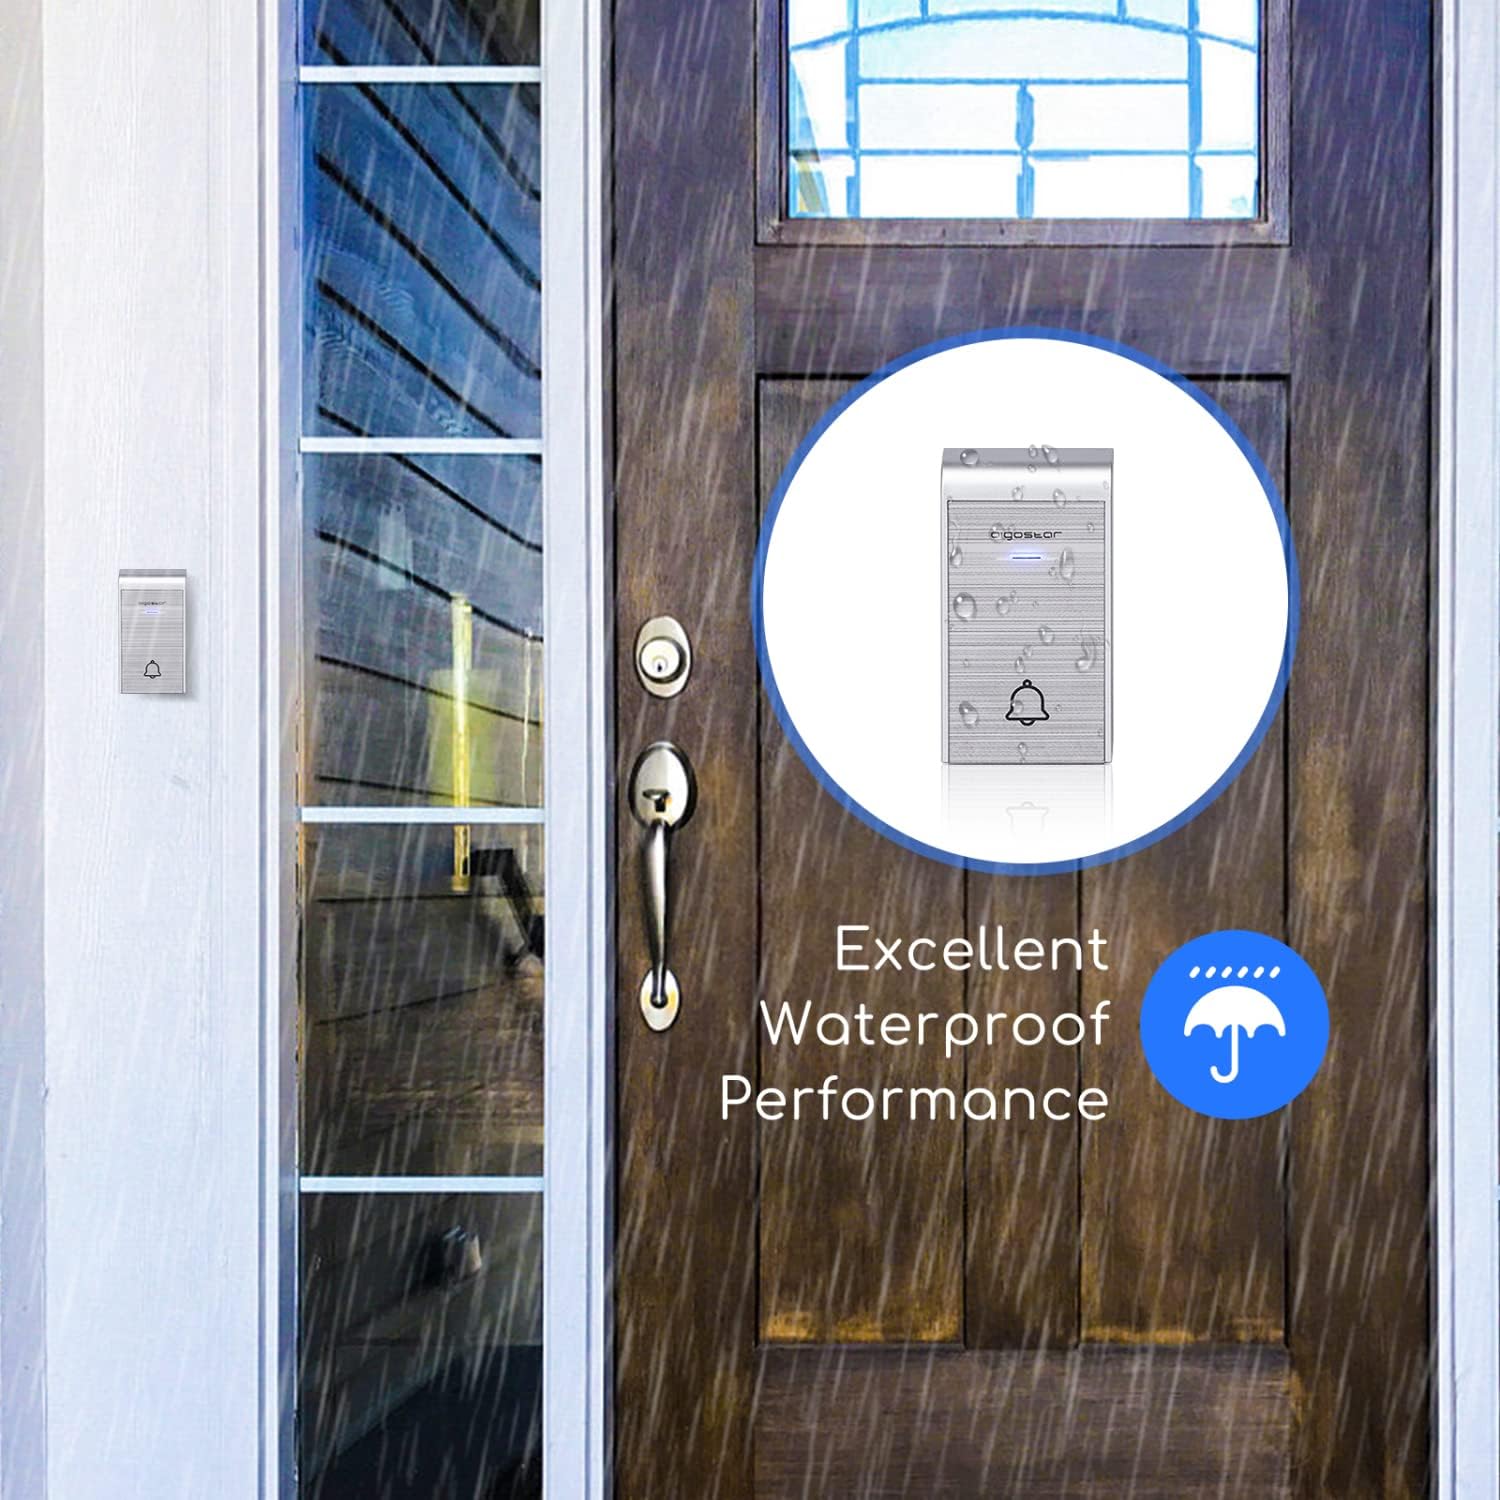
Image: The IP44 waterproof transmitter installed outside, demonstrating its resistance to rain.
3.4. Pairing Instructions
The doorbell system is typically pre-paired. If re-pairing is needed or you are adding additional transmitters/receivers, follow these steps:
- Pairing a single transmitter with a single receiver:
a. Plug in the receiver.
b. Press and hold the volume button on the receiver until it beeps twice.
c. Immediately press the transmitter button. The receiver will chime, indicating successful pairing. - Pairing multiple transmitters with a single receiver:
a. Plug in the receiver.
b. Press and hold the volume button on the receiver until it beeps twice.
c. Press each transmitter button one by one. The receiver will chime for each successful pairing. - Pairing one transmitter with multiple receivers:
a. Plug in all receivers.
b. For each receiver, press and hold its volume button until it beeps twice.
c. Immediately press the transmitter button. Each receiver will chime, indicating successful pairing.
Video: Tutorial demonstrating how to connect the doorbell transmitter and receiver, including single and multiple unit pairings.
4. Operating Instructions
Once installed and paired, your Aigostar Wireless Doorbell is ready for use.
4.1. Adjusting Volume
The receiver has a volume control button. Press this button repeatedly to cycle through 3 different volume levels (low, medium, high) and a silent mode. Select the volume that best suits your environment.
4.2. Changing Melodies
The receiver offers 36 different melodies. Press the melody selection button on the receiver to preview and choose your preferred chime. The selected melody will be saved even after the receiver is unplugged.

Image: Close-up of the receiver showing buttons for volume adjustment and melody selection.

Image: Illustration of various scenarios where the one-click calling feature of the doorbell is beneficial, such as for elderly individuals, pregnant women, or patients.
5. Maintenance
To ensure the longevity and optimal performance of your doorbell, follow these maintenance guidelines:
- Cleaning: Wipe the transmitter and receiver with a soft, dry cloth. Do not use abrasive cleaners or solvents.
- Transmitter Battery: If the transmitter stops working or the signal weakens, replace the battery. Ensure the new battery is correctly oriented.
- Transmitter Placement: Periodically check the transmitter's mounting to ensure it remains securely attached, especially if using adhesive tape. Consider using screws for a more permanent fixture.
6. Troubleshooting
If you encounter issues with your Aigostar Wireless Doorbell, refer to the following common problems and solutions:
| Problem | Possible Cause | Solution |
|---|---|---|
| Doorbell does not chime. | Transmitter battery is low or dead. Receiver is unplugged or not powered. Transmitter and receiver are not paired. | Replace the transmitter battery. Ensure the receiver is securely plugged into a working outlet. Follow the pairing instructions in Section 3.4. |
| Short transmission range or intermittent signal. | Obstructions (thick walls, metal objects). Interference from other wireless devices. Low transmitter battery. | Relocate the receiver or transmitter to minimize obstructions. Ensure the transmitter battery is fresh. Avoid placing near large metal structures or strong electromagnetic fields. |
| Transmitter falls off the wall. | Adhesive tape not strong enough or improper surface preparation. | Clean the surface thoroughly before applying adhesive. For a more secure installation, use the provided screws. |
| Transmitter is damaged by rain. | Improper installation or extreme weather conditions exceeding IP44 rating. | Ensure the transmitter is installed in a location that minimizes direct exposure to heavy rain or extreme elements, despite its IP44 rating. Check for any cracks or damage to the casing. |
7. Specifications
| Model Name | 2HQEZ |
| Part Number | 197926 |
| Brand | Aigostar |
| Color | Silver |
| Receiver Power Source | AC (Plug-in) |
| Transmitter Power Source | Battery (Included) |
| Waterproof Rating (Transmitter) | IP44 |
| Wireless Range | Up to 150m (500ft) in open areas |
| Melodies | 36 selectable tunes |
| Volume Levels | 3 adjustable levels + Silent Mode |
| Package Dimensions | 15.1 x 14 x 6.8 cm |
| Package Weight | 60 g |

Image: Illustration showing the 150m (500ft) transmission distance of the Aigostar Wireless Doorbell.
8. Warranty and Support
Aigostar products are designed and manufactured to the highest quality standards. For warranty information or technical support, please refer to the contact details provided on the product packaging or visit the official Aigostar website. Please retain your proof of purchase for any warranty claims.


