
Introduction
This manual provides detailed instructions for the setup, operation, and maintenance of your CROWN SHADES 10x10 Pop Up Canopy, designed for easy outdoor sun shade. Please read this manual thoroughly before assembly and use to ensure proper function and safety.
Safety Information
Handle the steel frame with care during assembly, disassembly, and transportation. Ensure the canopy is properly secured during use and avoid overloading the canopy with more than the recommended weight limit. Always secure the canopy with stakes and guy ropes, especially in windy conditions. Do not use in severe weather conditions such as heavy rain, strong winds, or snow. Keep away from open flames and heat sources.
Packing List
Before beginning assembly, verify that all components are present:
- 1x Steel Frame
- 1x Cover Bag (with integrated wheels)
- 1x Canopy Top (Red, Silver Coated)
- 4x Guy Ropes
- 4x Empty Sandbags
- 1x Repair Patch
- 8x Spikes
- 1x Hexagon Spanner

Image: Contents of the CROWN SHADES 10x10 Pop Up Canopy package, including the folded steel frame, cover bag, canopy top, guy ropes, sandbags, repair patch, spikes, and hexagon spanner.
Setup Instructions
The CROWN SHADES 10x10 Pop Up Canopy features a patented one-push center lock technology for quick and easy setup.
- Step 1: Open the Canopy Frame
With two people, grasp two opposite outer legs of the folded frame. Slowly pull the frame outwards, partially expanding it. Do not fully extend the legs yet.
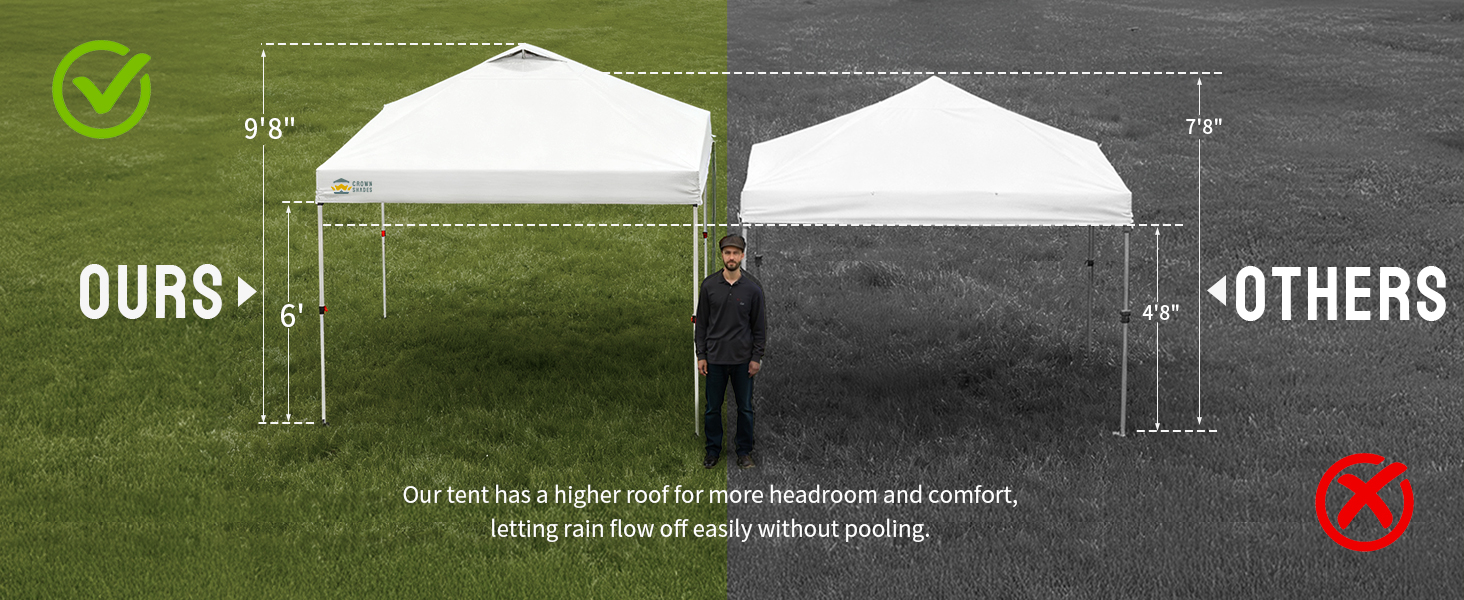
Image: Visual guide for the three main setup steps: expanding the frame, placing the canopy top and engaging the center lock, and adjusting the leg height.
- Step 2: Attach the Canopy Top and Engage Center Lock
Unfold the canopy fabric and place it over the partially expanded frame. Ensure the corners of the fabric align with the frame's corners. Locate the patented one-push center lock mechanism in the middle of the frame. Push the central hub upwards until it locks the poles in place. The new clip system allows for easy attachment of the canopy fabric to the frame, securing it in seconds.
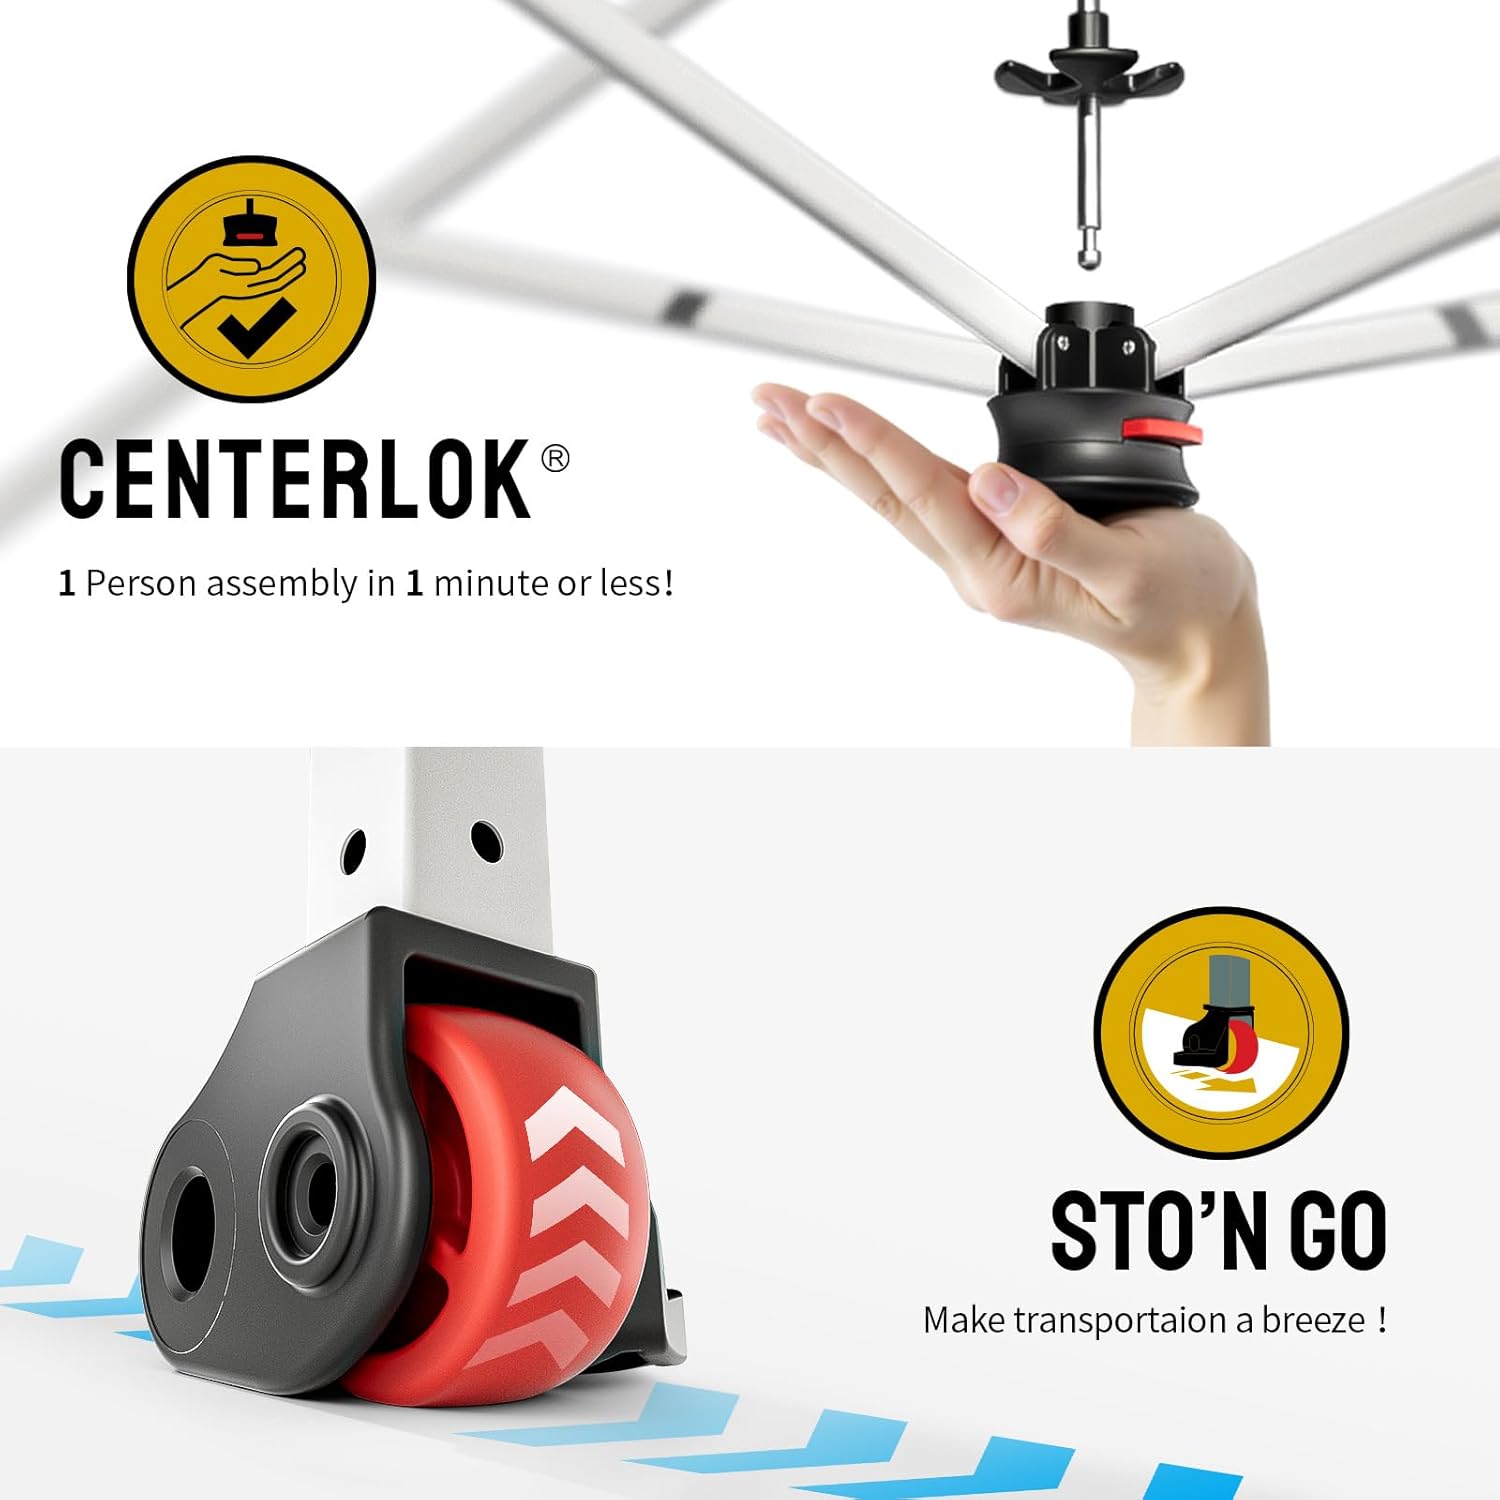
Image: Detailed view of the CENTERLOK mechanism, highlighting its function for quick and easy assembly.

Image: Illustration of the Fast Clip system, demonstrating how to secure the canopy fabric to the frame quickly and effectively.
- Step 3: Extend Legs and Adjust Height
Extend each leg downwards until it clicks into place. The canopy features three adjustable height settings with soft, pinch-free buttons. Press the button on each leg to select your desired height. Ensure all legs are set to the same height for stability.

Image: A person adjusting the height of a canopy leg using the push-button mechanism, illustrating the adjustable leg feature.
- Step 4: Secure the Canopy
For optimal stability, especially in outdoor conditions, utilize the included sandbags, stakes, and guy ropes. Fill the empty sandbags with sand and attach them to the canopy legs. Use the spikes to anchor the canopy feet to the ground and attach the guy ropes to the canopy corners, securing them to the ground with additional stakes. This prevents wind lift and enhances overall stability.
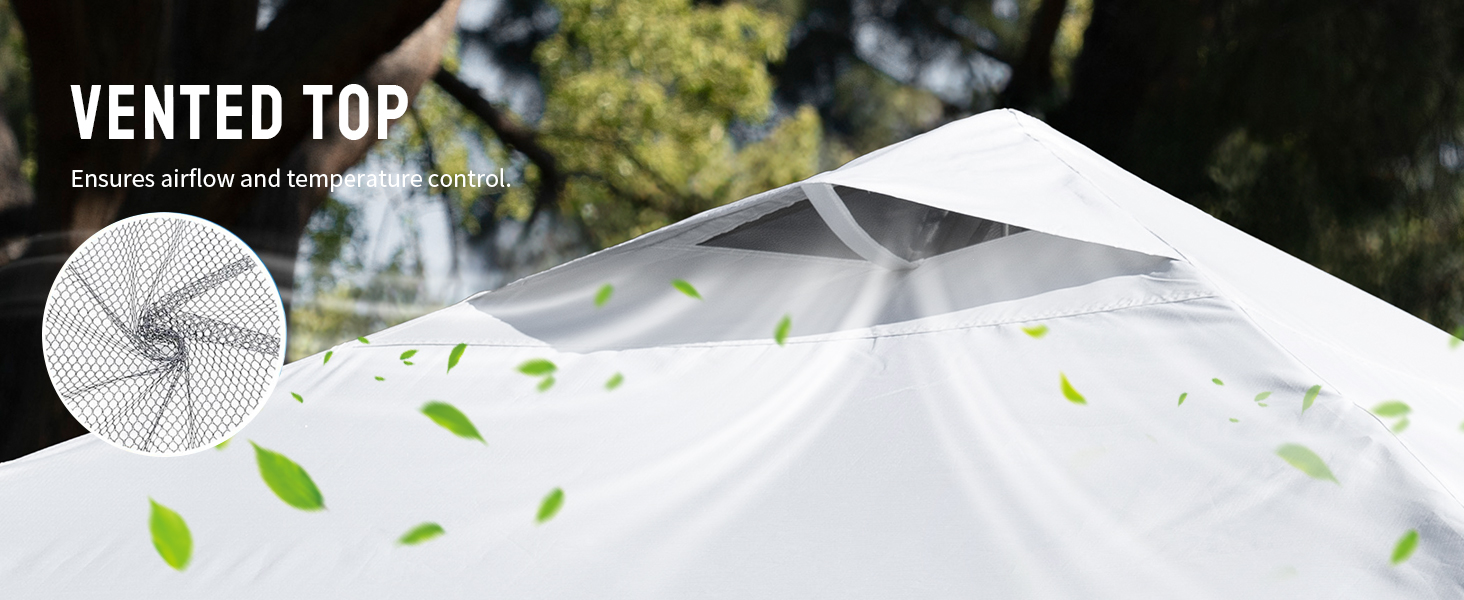
Image: A close-up view of an anchoring spike driven into the ground next to a tent leg, demonstrating how to secure the canopy.
Operating Instructions
Adjusting Height
To adjust the canopy height, press the pinch-free buttons on each leg and slide the inner leg to one of the three available height settings. Ensure all legs are adjusted to the same level for a stable setup.
Transporting with STO’ N GO System
The STO’ N GO system allows for easy collapsing, storing, and transporting. The canopy can be stored with the fabric attached. The cover bag has integrated wheels, allowing you to easily roll the folded canopy. For movement when set up, simply lift the side without wheels and roll it to the desired location.
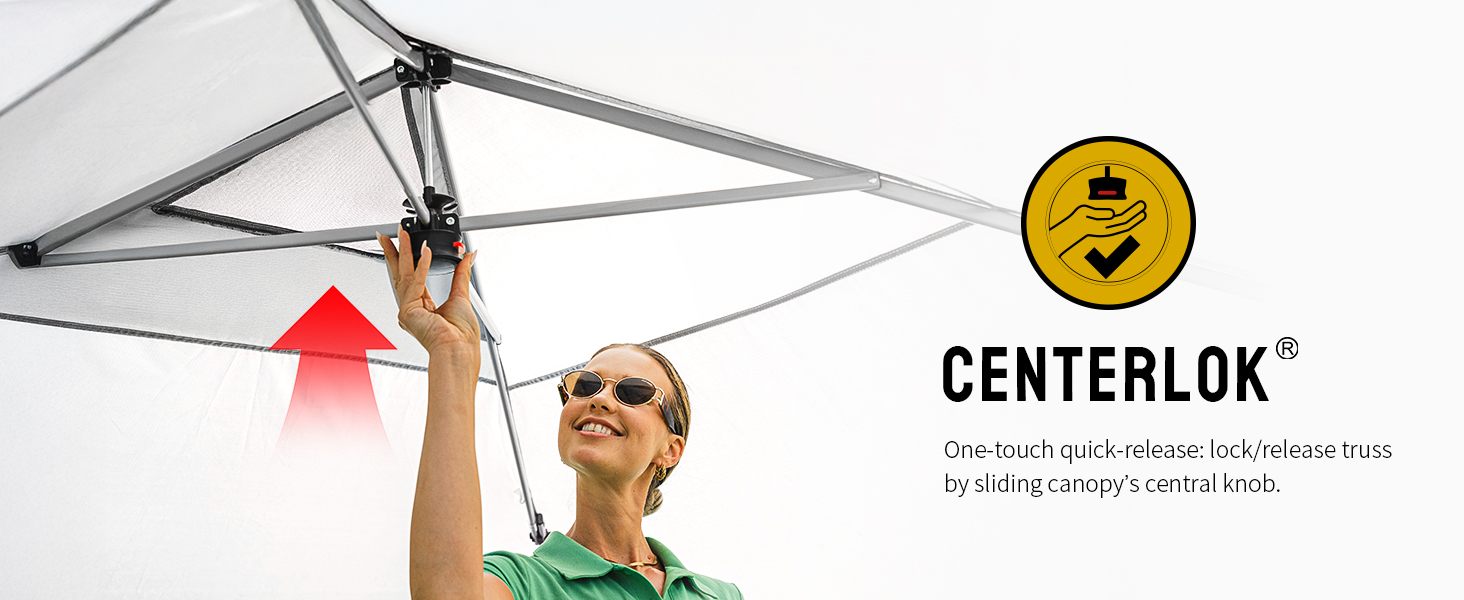
Image: A person effortlessly transporting the folded canopy using its integrated wheeled cover bag, demonstrating the STO'N GO system.
Vented Top for Airflow
The canopy features a vented top design to ensure proper airflow and temperature control, enhancing comfort underneath the shade.

Image: A detailed view of the canopy's vented top, showing the mesh opening designed for air circulation.
Maintenance
Cleaning the Canopy Fabric
The canopy top is made from rugged 150D fabric with a silver-coated interior, providing UPF 50+ UV protection and water resistance. To clean, gently wipe with a damp cloth and mild soap. Do not use harsh chemicals or abrasive cleaners. Allow the fabric to air dry completely before folding and storing to prevent mildew.
Frame Care
The frame is constructed from durable, high-grade, corrosion-resistant steel. Periodically inspect the frame for any signs of damage or wear. Clean any dirt or debris from the frame using a damp cloth. Ensure all moving parts operate smoothly.
Storage
When not in use, collapse the canopy using the STO’ N GO system and store it in its cover bag. Keep the canopy in a dry, cool place away from direct sunlight to prolong its lifespan.
Troubleshooting
- Issue: Canopy is unstable or sways in light wind.
Solution: Ensure all legs are fully extended and locked at the same height. Always use the provided sandbags, stakes, and guy ropes to secure the canopy to the ground. For gusty conditions, consider additional weights.
- Issue: Water pooling on the canopy top during rain.
Solution: The canopy is designed with an upgraded high peak to facilitate rainwater runoff. Ensure the canopy fabric is properly stretched and secured with the Fast Clips to prevent sagging. If pooling occurs, gently push up from underneath to release accumulated water.
- Issue: Difficulty collapsing the frame.
Solution: Ensure the center lock mechanism is disengaged. Press the buttons on the legs to retract them to their lowest setting before attempting to fully collapse the frame. Refer to the STO’ N GO system instructions.
Specifications
| Feature | Detail |
|---|---|
| Brand | CROWN SHADES |
| Material | Alloy Steel, Polyester (150D fabric) |
| Color | Red |
| Item Weight | 36 Pounds |
| Product Dimensions (Packed) | 45”L x 8.5”W x 8.5”H (approx.) |
| Product Dimensions (Set Up) | 10'L x 10'W x up to 9'8"H |
| Ultraviolet Light Protection | UPF 50+ (95%) |
| Water Resistance Level | Water Resistant |
| Floor Area | 100 Square Feet |
| Occupancy | Up to 10 people (comfortably 6) |
| Assembly Required | No (pre-assembled frame) |

Image: Product dimensions for both the set-up canopy (10x10 feet with 3 height levels) and its compact packed size (45" x 8.5" x 8.5").
Warranty and Support
For warranty information or customer support, please contact CROWN SHADES directly through their official website or the retailer where the product was purchased. Keep your purchase receipt as proof of purchase.


