
1. Important Safety Information
Please read all instructions carefully before using the Salon Sundry Portable Electric Hot Wax Warmer Machine. Failure to follow these instructions may result in electric shock, fire, or serious injury.
- This appliance is intended for professional use or by individuals with proper training in wax treatments.
- Do not immerse the unit in water or any other liquid.
- Always unplug the appliance from the power outlet immediately after use and before cleaning.
- Do not operate the appliance with a damaged cord or plug, or if it malfunctions or has been damaged in any manner.
- Keep the appliance away from children.
- Do not leave the appliance unattended when plugged in.
- Use caution when handling hot wax and the removable pot liner. Hot wax can cause burns.
- Ensure the appliance is placed on a stable, heat-resistant surface.
- This product is not a medical device and is not intended to diagnose, treat, cure, or prevent any diseases.
2. Product Overview
The Salon Sundry Portable Electric Hot Wax Warmer Machine is designed for heating various types of wax for hair removal and therapeutic applications. It features an adjustable thermostat and a removable wax pot liner for convenience.
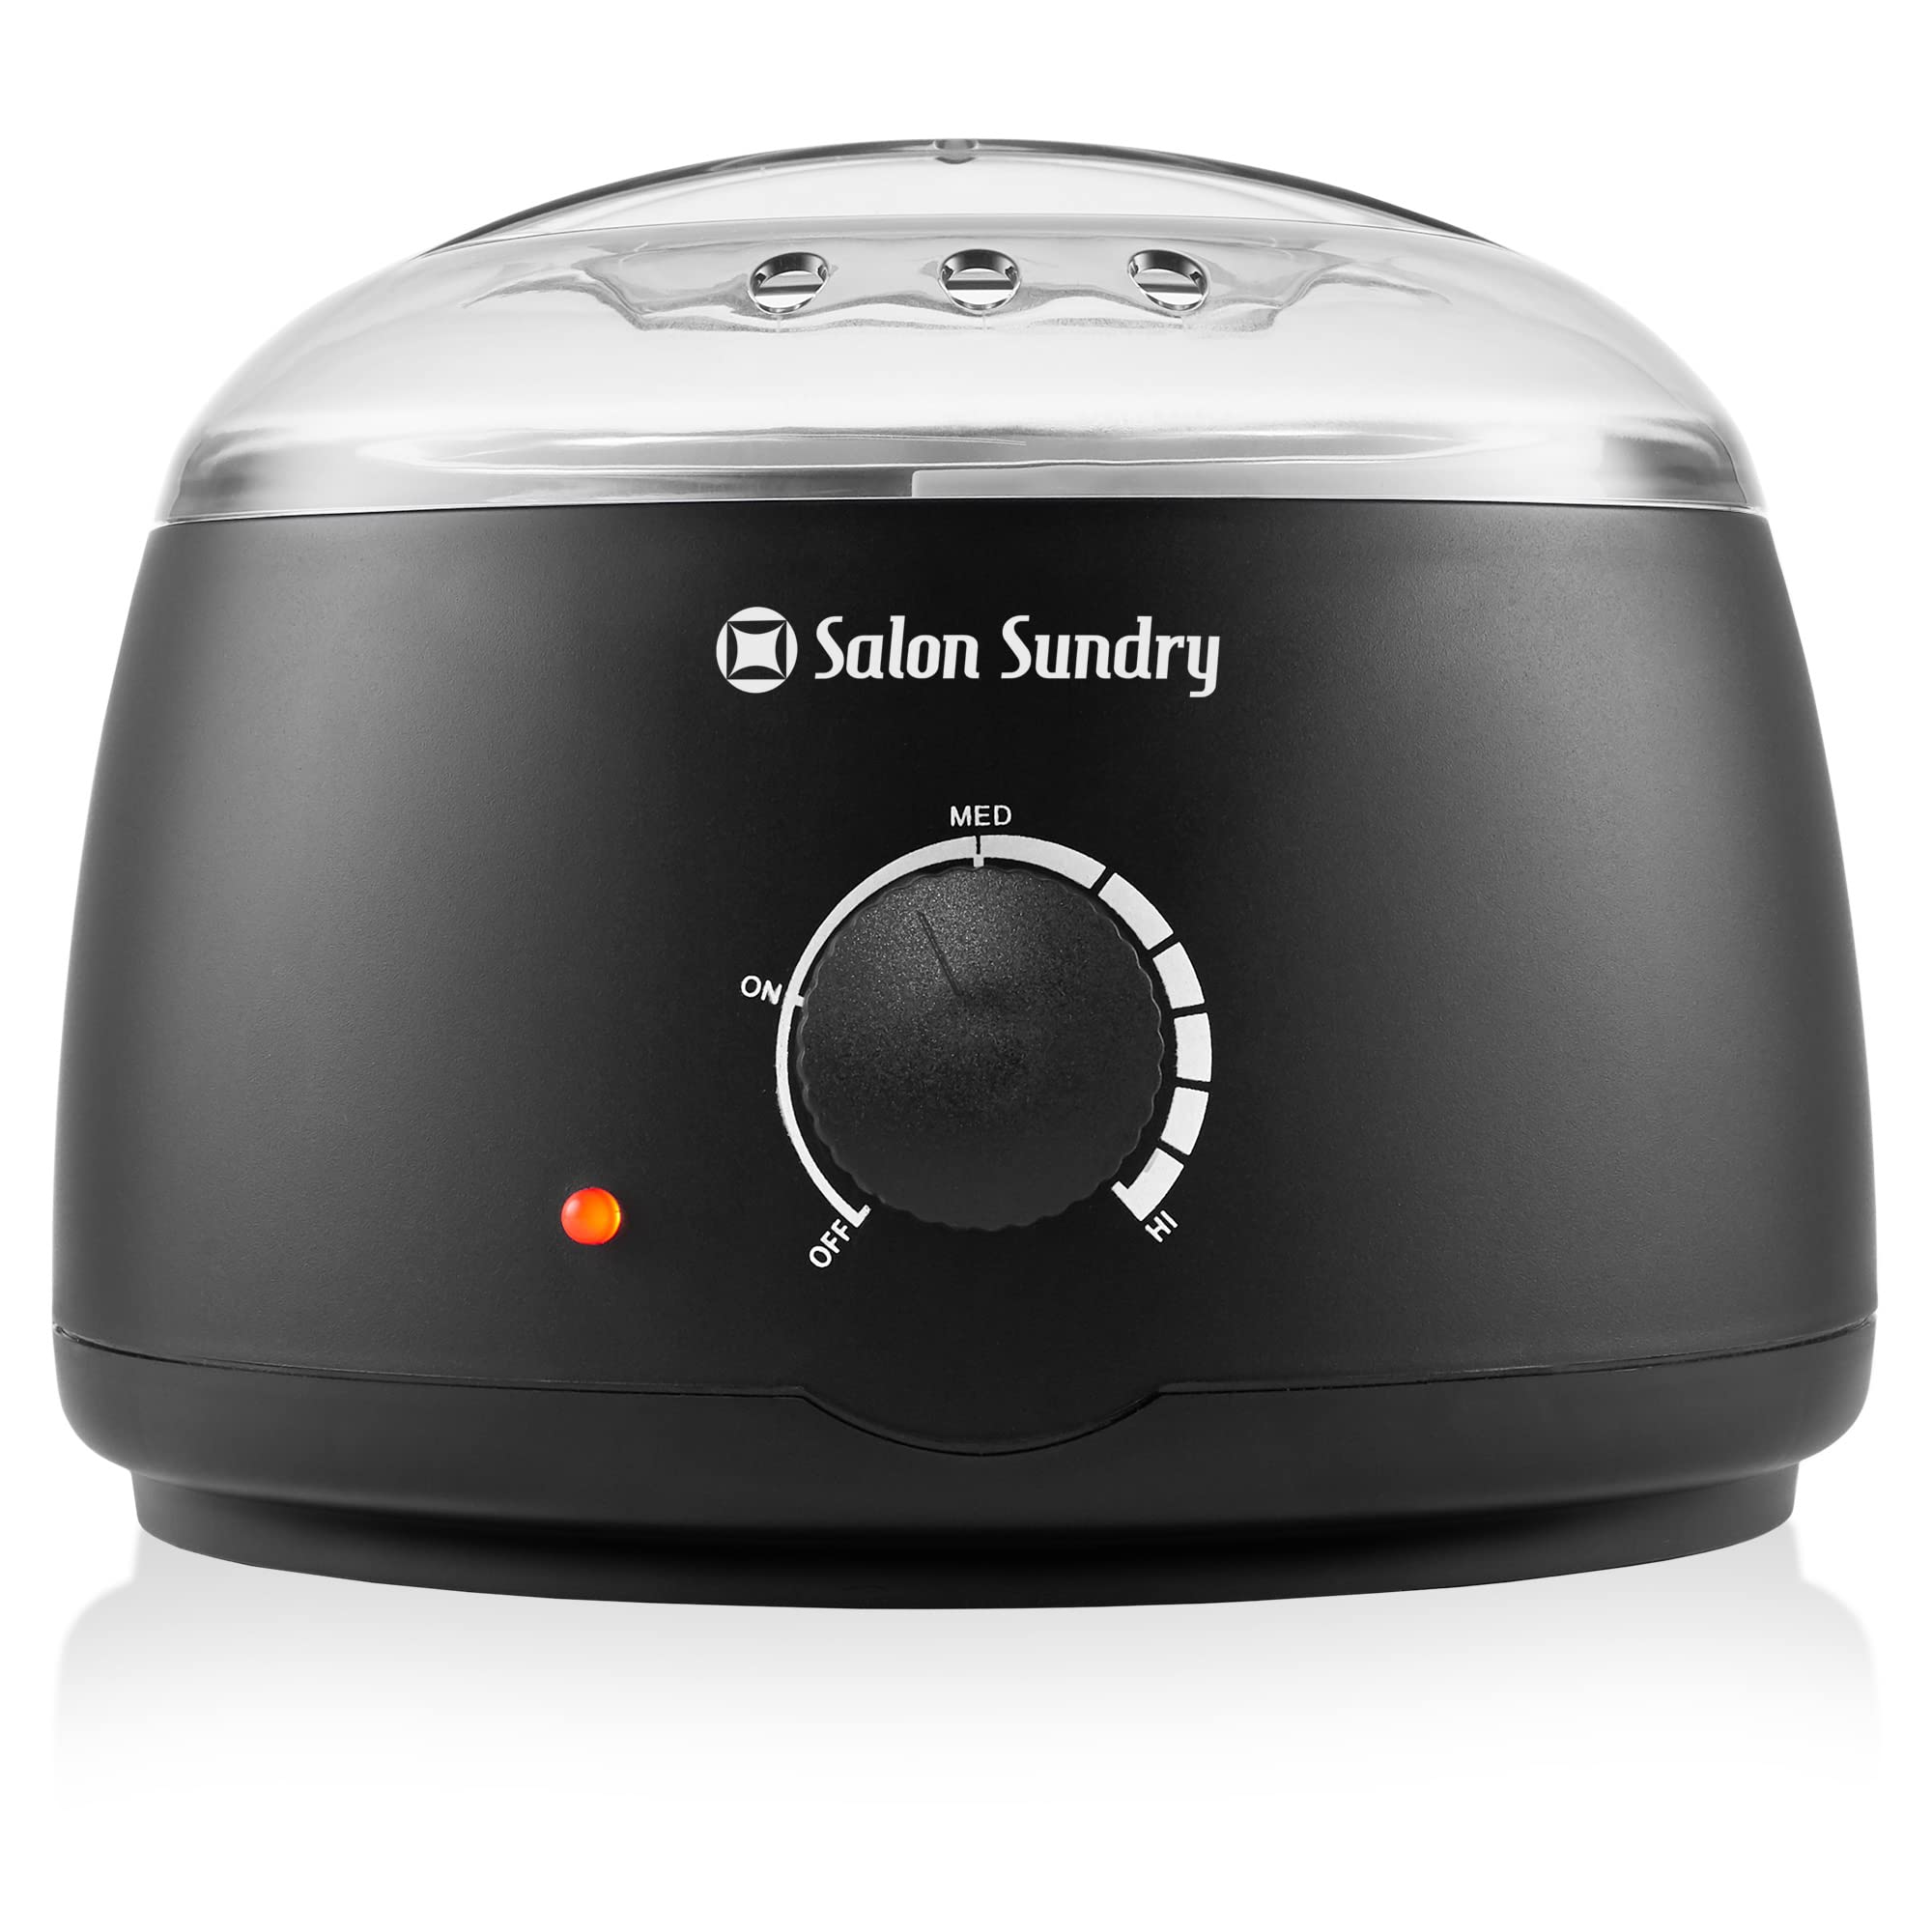
Image 2.1: Salon Sundry Portable Electric Hot Wax Warmer Machine.
2.1 Components
- Wax Warmer Unit
- Removable Metal Wax Pot Liner with Handle
- See-through Vented Cover
- US Standard 110-120 Volt Grounded Power Cord

Image 2.2: The wax warmer unit, removable pot liner, and clear lid shown separately.
3. Setup Instructions
- Unpack the Unit: Carefully remove all components from the packaging. Inspect the unit for any damage.
- Placement: Place the wax warmer unit on a stable, flat, and heat-resistant surface. Ensure there is adequate ventilation around the unit.
- Insert Wax Pot Liner: Place the removable metal wax pot liner into the main warmer unit.
- Add Wax: Place your desired wax (standard 14-ounce wax cans, loose wax, or bricks) into the removable pot liner. If using a 14-ounce can, remove its lid before placing it in the warmer.
- Secure Lid: Place the see-through vented cover onto the warmer unit. This helps maintain heat and prevents contamination.
- Connect Power: Plug the grounded power cord into a standard 110-120 volt electrical outlet.

Image 3.1: Key features including the transparent cover, removable wax bucket, temperature control knob, and 3-pin plug.
4. Operating Instructions
- Turn On and Set Temperature: Rotate the thermostat control knob to the 'HI' setting to begin melting the wax. The red indicator light will illuminate, indicating the unit is heating.
- Monitor Wax: Observe the wax through the clear lid. Melting time will vary depending on the type and quantity of wax.
- Adjust Temperature: Once the wax has melted to the desired consistency, rotate the control knob to a lower setting (e.g., 'MED') to maintain the wax at a working temperature. The thermostat will cycle on and off to maintain the set temperature, and the indicator light will turn off when the heating element is not active.
- Test Wax Temperature: Before applying wax to skin, always test a small amount on a discreet area (e.g., inner wrist) to ensure it is not too hot.
- Application: Use appropriate applicators to apply the wax according to the wax manufacturer's instructions.
- After Use: When finished, turn the control knob to the 'OFF' position and unplug the unit from the power outlet. Allow the unit and wax to cool completely before cleaning or storage.

Image 4.1: The wax warmer in an operational setting.
5. Cleaning and Maintenance
Regular cleaning ensures optimal performance and extends the life of your wax warmer.
- Cool Down: Ensure the unit is unplugged and completely cool before attempting any cleaning.
- Remove Wax Pot Liner: Carefully remove the metal wax pot liner using its handle.
- Clean Pot Liner: If there is residual wax, allow it to solidify and then gently peel it out. The pot liner can be cleaned with a wax cleaner or warm soapy water. Ensure it is thoroughly dry before reinserting.
- Clean Warmer Unit: Wipe the exterior of the warmer unit with a damp cloth. Do not use abrasive cleaners or immerse the unit in water.
- Clean Lid: Wash the clear vented cover with warm soapy water and dry thoroughly.
- Storage: Store the clean and dry wax warmer in a cool, dry place.
6. Troubleshooting
- Unit Not Heating:
- Ensure the power cord is securely plugged into a working electrical outlet.
- Check if the thermostat control knob is turned to an 'ON' position (HI or MED).
- Verify that the power outlet is functional by testing it with another appliance.
- Wax Not Melting Properly:
- Ensure the thermostat control knob is set to 'HI' for initial melting.
- Allow sufficient time for the wax to melt. Melting times vary by wax type and quantity.
- Ensure the clear lid is properly placed to retain heat.
- Wax Too Hot/Too Cold:
- Adjust the thermostat control knob to a higher or lower setting as needed.
- Remember to test wax temperature on a small skin area before full application.
7. Specifications
| Feature | Specification |
|---|---|
| Model Number | WAX-2083-CLR |
| Product Dimensions | 7.25 x 7.25 x 5.38 inches |
| Item Weight | 1.25 Pounds |
| Heating Power | 75 Watts |
| Voltage | 110-120 Volt (US Standard) |
| Max Temperature | Up to 65°C (149°F) |
| Pot Liner Capacity | Up to 18 fluid ounces |
| Pot Liner Diameter | 4-1/4 inches (interior) |
| Pot Liner Depth | 2-1/2 inches |
| Material Features | Highly Durable Composite Construction |
8. Warranty and Support
For information regarding warranty coverage, product support, or replacement parts, please contact Salon Sundry customer service. Refer to the original product packaging or the Salon Sundry official website for contact details.