1. Product Overview
The GIGABYTE Z490 Vision G is an ATX motherboard designed to support 10th Gen Intel Core Series Processors, utilizing the LGA 1200 socket. It features a robust power delivery system with Direct 12 Phases Digital VRM and 50A Smart Power Stage, ensuring stable performance for high-end components. The motherboard incorporates advanced thermal design elements, including a Micro-Block Surface Heatsink and Next Generation Direct Touch Heatpipe, to maintain optimal temperatures.
Key features include Dual Channel Non-ECC Unbuffered DDR4 memory support across 4 DIMMs, Intel 2.5 GbE LAN for high-speed networking, and dual M.2 slots with Thermal Guard for efficient storage solutions. Audio is handled by the Realtek ALC1220-VB2 120dB codec with Nichicon MW capacitors, providing high-fidelity sound. The board also supports RGB Fusion 2.0 for customizable lighting and Smart Fan 5 for comprehensive fan control, including Fan Stop and PWM functions.
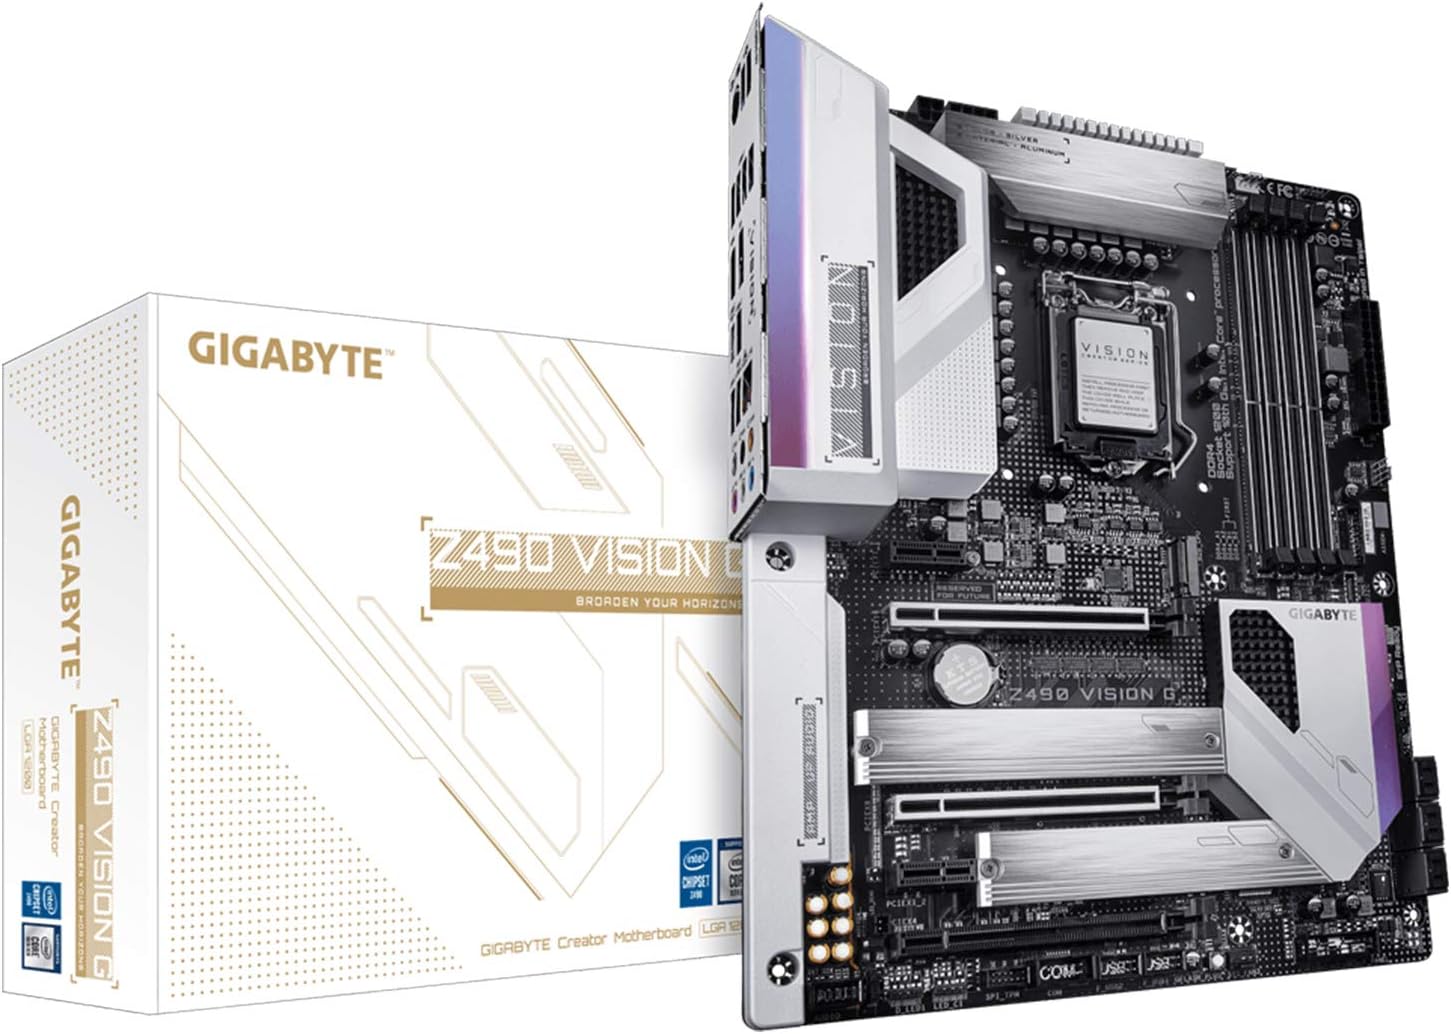
Image 1.1: GIGABYTE Z490 Vision G Motherboard and its retail packaging.
2. Setup and Installation
2.1. Component Installation
Before beginning installation, ensure your system is powered off and unplugged from the wall outlet. Handle components with care and consider using an anti-static wrist strap.
- Motherboard Installation: Carefully align the motherboard with the standoffs in your PC case. Secure it with the appropriate screws.
- CPU Installation: Open the LGA 1200 socket lever. Align the triangular mark on the Intel 10th Gen Core processor with the mark on the socket. Gently place the CPU into the socket without forcing it. Close the lever to secure the CPU.
- CPU Cooler Installation: Install your compatible CPU cooler according to its manufacturer's instructions. Ensure proper thermal paste application.
- Memory (RAM) Installation: Open the clips on the DDR4 DIMM slots. Align the notch on the DDR4 memory module with the key in the slot. Press down firmly on both ends of the module until the clips snap into place. The Z490 Vision G supports Dual Channel Non-ECC Unbuffered DDR4 across 4 DIMMs.
- M.2 SSD Installation: The motherboard features two M.2 slots with Thermal Guard. Insert the M.2 SSD into the slot at an angle, then gently push it down and secure it with the provided screw. Ensure the Thermal Guard is properly installed over the M.2 drive for optimal cooling.
- Graphics Card Installation: Insert your PCI Express graphics card into the primary PCIe x16 slot. Ensure it is fully seated and secure the retention clip.
- Power Supply Connections: Connect the 24-pin ATX main power connector and the 8-pin CPU power connector from your power supply to the corresponding ports on the motherboard. Connect power cables to your graphics card and storage drives as needed.

Image 2.1: Top-down view of the GIGABYTE Z490 Vision G Motherboard, highlighting key component locations.
2.2. External Connections
Connect your peripherals to the rear I/O panel:
- USB Ports: Connect keyboards, mice, and other USB devices. The rear panel includes 3x USB 3.2 Gen2 (Type-A), 1x USB 3.2 Gen2 (Type-C), 4x USB 3.2 Gen1, and 2x USB 2.0 ports. Front panel headers support 1x USB 3.2 Gen2 (Type-C), 2x USB 3.2 Gen1, and 4x USB 2.0 ports.
- HDMI Port: Connect your display monitor to the HDMI port if using integrated graphics.
- LAN Port: Connect an Ethernet cable to the Intel 2.5 GbE LAN port for network access.
- Audio Jacks: Connect speakers, headphones, or microphones to the Realtek ALC1220-VB2 audio jacks.

Image 2.2: Detailed view of the GIGABYTE Z490 Vision G Motherboard's rear I/O panel, showing various connectivity options.
3. Operating Instructions
3.1. First Boot and BIOS Setup
After all components are installed and connected, power on your system. The system will typically enter the BIOS/UEFI setup utility or proceed to boot from an installed operating system.
- Accessing BIOS: During startup, repeatedly press the DEL key to enter the BIOS Setup Utility.
- BIOS Update (Q-Flash Plus): The Z490 Vision G supports Q-Flash Plus, allowing you to update the BIOS without installing a CPU, memory, or graphics card. Refer to the official GIGABYTE website for detailed instructions on using Q-Flash Plus.
- Operating System Installation: Insert your Windows 10, Windows 7, Windows 8 Pro, or Windows 8.1 installation media (USB drive or DVD) and follow the on-screen prompts to install your preferred operating system.
3.2. Software and Drivers
After operating system installation, install the necessary drivers for optimal performance. These typically include:
- Chipset Drivers
- LAN Drivers (Intel 2.5 GbE)
- Audio Drivers (Realtek ALC1220-VB2)
- Graphics Drivers (for integrated or discrete GPU)
- USB Drivers
Drivers can be found on the official GIGABYTE support website for your specific motherboard model.
3.3. Key Features and Utilities
- RGB Fusion 2.0: Customize the lighting effects of your motherboard and compatible RGB devices using the RGB Fusion 2.0 software.
- Smart Fan 5: Utilize Smart Fan 5 to monitor temperatures and adjust fan speeds for optimal cooling and noise levels. Features include Fan Stop for silent operation and precise PWM controls.
- PCIe 4.0 Grade Design: While the Z490 chipset natively supports PCIe 3.0, the motherboard's design incorporates components and traces optimized for future PCIe 4.0 compatibility with upcoming CPUs.
4. Maintenance
Regular maintenance helps ensure the longevity and stable operation of your motherboard and system.
- Dust Removal: Periodically clean dust from inside your PC case, especially from heatsinks, fans, and vents, using compressed air. Ensure the system is powered off and unplugged before cleaning.
- BIOS Updates: Check the GIGABYTE website for the latest BIOS versions. BIOS updates can improve compatibility, stability, and performance. Follow update instructions carefully.
- Driver Updates: Keep your system drivers updated to ensure compatibility with new software and hardware, and to benefit from performance improvements and bug fixes.
- Cable Management: Ensure internal cables are neatly routed to improve airflow and prevent interference.
5. Troubleshooting
If you encounter issues with your GIGABYTE Z490 Vision G motherboard, consider the following troubleshooting steps:
- No Power/No Boot:
- Verify all power cables (24-pin ATX, 8-pin CPU, GPU) are securely connected.
- Ensure the power supply is switched on and functioning correctly.
- Check front panel header connections (power button).
- No Display:
- Ensure the monitor is connected to the correct display output (either motherboard's HDMI or discrete graphics card).
- Reseat the graphics card and RAM modules.
- Test with a single RAM stick in different slots.
- System Instability/Crashes:
- Check CPU and GPU temperatures.
- Ensure all drivers are up to date.
- Run memory diagnostic tools to check for RAM errors.
- Reset BIOS settings to default.
- BIOS Corruption: If the BIOS becomes corrupted, utilize the Q-Flash Plus feature to re-flash the BIOS from a USB drive. Refer to the GIGABYTE manual or website for detailed instructions on this process.
For persistent issues, consult the detailed troubleshooting section in the full GIGABYTE user manual or contact GIGABYTE technical support.
6. Specifications
Detailed technical specifications for the GIGABYTE Z490 Vision G Motherboard:
| Feature | Specification |
|---|---|
| Brand | Gigabyte |
| Model Number | Z490 VISION G |
| Form Factor | ATX |
| Processor Socket | LGA 1200 |
| Compatible Processors | 10th Generation Intel Core |
| Chipset Type | Intel Z490 |
| Memory Technology | DDR4 |
| Memory Slots | 4 DIMMs (Dual Channel Non-ECC Unbuffered) |
| Memory Clock Speed | Up to 4400 MHz |
| Graphics Card Interface | PCI Express |
| M.2 Slots | 2x with Thermal Guard |
| LAN | Intel 2.5 GbE LAN |
| Audio | Realtek ALC1220-VB2 120dB with Nichicon MW |
| Rear USB Ports | 3x USB 3.2 Gen2 (A), 1x USB 3.2 Gen2 (C), 4x USB 3.2 Gen1, 2x USB 2.0 |
| Front USB Headers | 1x USB 3.2 Gen2 (C), 2x USB 3.2 Gen1, 4x USB 2.0 |
| HDMI Ports | 1 |
| Wireless Type | 801.11ac, 802.11a/b/g/n, 802.11a/g/n/ac, 802.11ab, 802.11abg |
| Item Weight | 1.3 Kilograms |
| Product Dimensions | 33.48 x 26.97 x 7.98 cm |
| Compatible Operating Systems | Windows 10, Windows 7, Windows 8 Pro, Windows 8.1 |
7. Warranty and Support
For information regarding product warranty, please refer to the warranty card included with your GIGABYTE Z490 Vision G motherboard or visit the official GIGABYTE website. Warranty terms and conditions may vary by region.
For technical support, driver downloads, BIOS updates, and additional resources, please visit the official GIGABYTE support website:
When contacting support, please have your motherboard model (Z490 VISION G) and serial number ready.


