
IHAYNER 94164, 97503, 36691, 06271, 68885, 68886
IHAYNER 10FT MIG Weld Gun Torch Stinger Replacement User Manual
Model: 94164, 97503, 36691, 06271, 68885, 68886
1. Introduction and Product Overview
This manual provides essential information for the safe and effective use of your IHAYNER 10FT MIG Weld Gun Torch Stinger Replacement. This product is designed to replace existing MIG weld gun stingers, offering reliable performance for various welding applications.
The one-piece design is engineered for resistance to high heat and spatter, contributing to a long service life. Its lightweight and balanced curved handle ensures a comfortable grip, reducing user fatigue during extended operation. The gun tube features an electrically insulated metal jacket, optimizing fine wire welding performance. Additionally, the cable is equipped with a strong, abrasion-resistant, extruded rubber jacket for enhanced durability.

Figure 1: IHAYNER 10FT MIG Weld Gun Torch Stinger Replacement
2. Compatibility
This MIG Weld Gun Torch Stinger is compatible with a range of Chicago Electric welder models. Please verify your welder's model number against the list below to ensure proper fitment and function.
- Model 94164, 97503, dual MIG 131 Model 36691
- Chicago Electric 151 220V 06271 welder
- Chicago Electric 151t welder
- Chicago Electric 170 (black unit) 220v 68885 welder (may require soldering or crimping of trigger wires)
- Chicago Electric Black 180 Amp 68886 (requires modifications to trigger wires, crimp or solder)
- Chicago Electric 131 Model 06098
- Chicago Electric dual MIG 132T (some rewiring may be necessary for trigger wires)
- Chicago Electric Power MIG 171-1 Item number 36693
- Chicago Electric MIG 170 Item number 68885
- Chicago Electric MIG 180 (with modification)
- Chicago Electric MIG 151t 220v welder (with minor adjustments)
- Chicago Electric MIG Item Number 62181

Figure 2: Exploded view of the nozzle and contact tip components.
3. Specifications
| Specification | Value |
|---|---|
| Rated Current | 100A |
| Welding Wire Diameter | 0.6~0.8mm (0.024"~0.031") |
| Cable Length | 10 Feet |
| Material | Rubber & Copper |
| Item Weight | 2.59 pounds |
| Package Dimensions | 12.44 x 11.26 x 2.2 inches |
4. Setup and Installation
Before beginning installation, ensure your welding machine is completely powered off and disconnected from the power source to prevent electrical hazards. Refer to your welder's specific manual for detailed safety precautions.
- Disconnect Old Torch: Carefully disconnect the existing MIG weld gun torch from your welding machine. Note the connections for the power cable, gas line (if applicable), and trigger wires.
- Prepare New Torch: Uncoil the new IHAYNER MIG weld gun torch. Inspect it for any visible damage.
- Connect Power Cable: Connect the main power cable of the new torch to the corresponding terminal on your welding machine. Ensure a secure and tight connection.
- Connect Gas Line (if applicable): If your welder uses shielding gas, connect the gas line from the new torch to the gas output on your machine.
- Connect Trigger Wires: Connect the trigger wires. For some Chicago Electric models (e.g., 170, 180, 132T), you may need to solder or crimp the trigger wires to match your welder's connector. Ensure correct polarity if specified by your welder's manual.
- Install Consumables: Ensure the correct contact tip and nozzle are securely installed on the torch head. The welding wire diameter should match the contact tip size (0.6~0.8mm).
- Test Connection: Once all connections are made, double-check their security. Reconnect your welder to power and perform a brief functional test according to your welder's manual, ensuring the trigger activates the wire feed and gas flow (if applicable).

Figure 3: Full view of the MIG Weld Gun Torch Stinger, showing the cable and connections.
5. Operating Instructions
This MIG weld gun operates in conjunction with your existing MIG welding machine. Always follow the safety guidelines and operating procedures outlined in your welding machine's user manual.
- Safety First: Always wear appropriate personal protective equipment (PPE), including a welding helmet, gloves, protective clothing, and safety shoes. Ensure adequate ventilation in your workspace.
- Prepare Welder: Set your welding machine to the appropriate voltage, wire feed speed, and gas flow (if applicable) for the material thickness and type of weld you are performing.
- Position Workpiece: Securely clamp your workpiece. Ensure a good ground connection to the workpiece.
- Initiate Arc: Position the torch nozzle approximately 3/8 to 1/2 inch from the workpiece. Press the trigger on the torch handle to initiate wire feed and arc. Maintain a consistent travel speed and torch angle for optimal weld quality.
- Maintain Arc: Continue welding, observing the arc and puddle. Adjust your technique as needed.
- Release Trigger: Release the trigger to stop the wire feed and arc. Allow the weld to cool before handling.
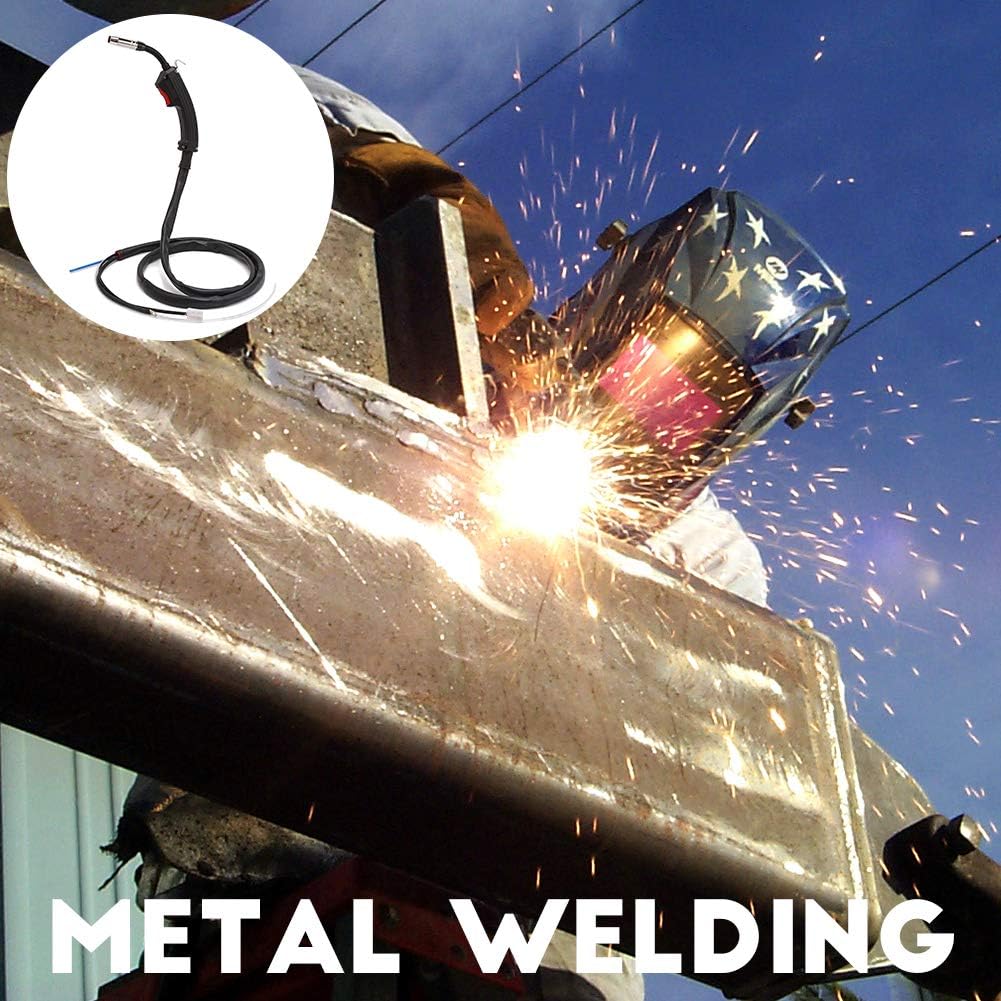
Figure 4: Example of metal welding application using a MIG gun.

Figure 5: Example of car repair application using a MIG gun.

Figure 6: Example of construction site application using a MIG gun.
6. Maintenance
Regular maintenance of your MIG weld gun torch stinger will ensure its longevity and consistent performance.
- Nozzle Cleaning: Frequently clean the inside of the nozzle to remove spatter buildup. Spatter can interfere with gas flow and arc stability.
- Contact Tip Inspection: Inspect the contact tip regularly for wear, enlargement of the wire hole, or spatter buildup. Replace the contact tip if it shows signs of wear or damage to ensure proper current transfer and wire feeding.
- Diffuser/Gas Nozzle Base: Check the gas diffuser for cleanliness and ensure it is not clogged. A clean diffuser is crucial for consistent gas shielding.
- Cable Inspection: Periodically inspect the entire length of the cable for cuts, abrasions, or kinks. Damaged cables can pose electrical hazards and affect performance.
- Trigger Mechanism: Ensure the trigger operates smoothly and returns to its original position.
- Storage: Store the torch in a clean, dry environment away from excessive heat, moisture, and corrosive materials.
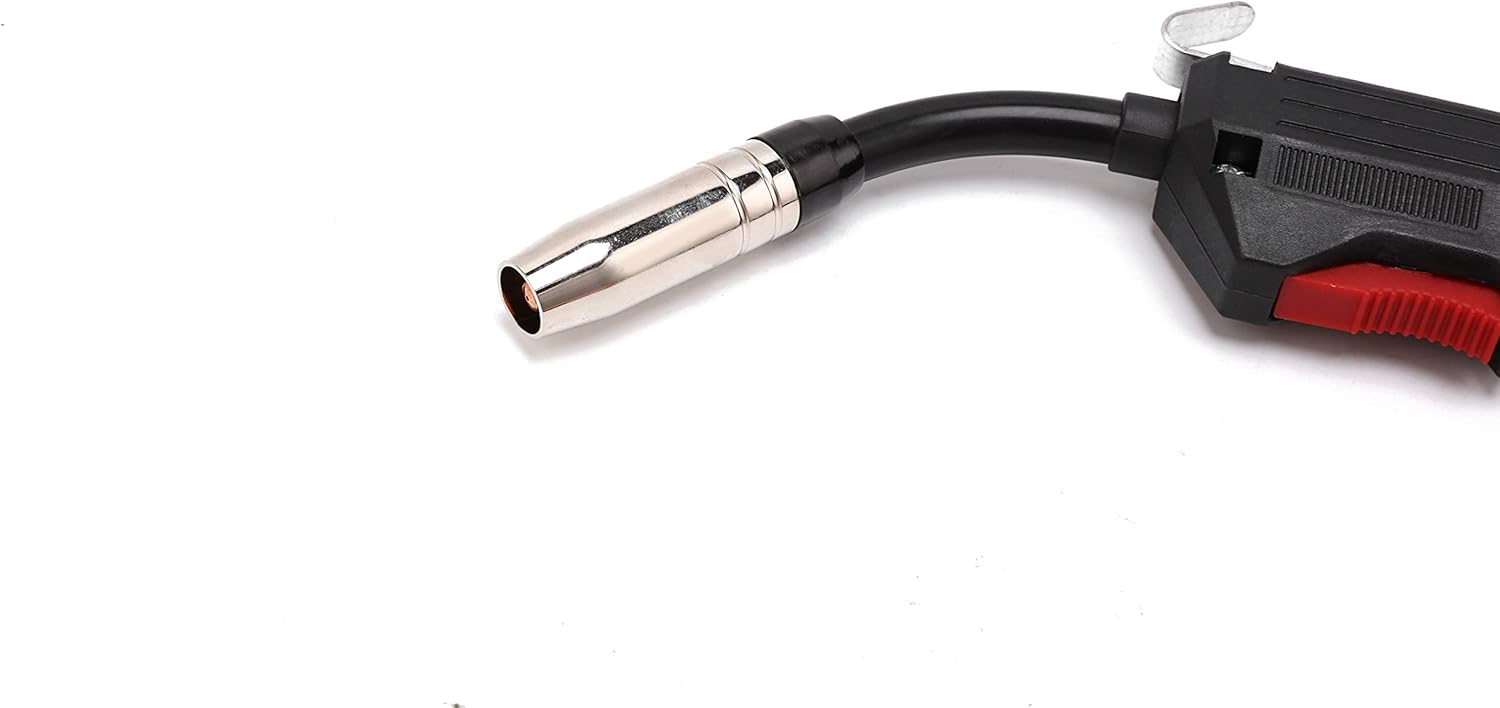
Figure 7: Close-up view of the MIG gun nozzle and contact tip, critical components for maintenance.
7. Troubleshooting
If you encounter issues with your IHAYNER MIG Weld Gun Torch Stinger, consider the following common problems and solutions. Always ensure your welding machine is disconnected from power before performing any inspections or repairs.
- No Wire Feed:
- Check trigger wire connections for looseness or damage.
- Ensure the contact tip is not clogged with spatter or worn out.
- Verify the wire spool is correctly loaded and tensioned in your welder.
- Poor Arc Stability / Excessive Spatter:
- Clean the nozzle and contact tip.
- Check for proper gas flow and ensure the gas diffuser is not clogged.
- Verify correct voltage and wire feed speed settings on your welder.
- Overheating Torch:
- Ensure the torch is not exceeding its duty cycle (refer to your welder's manual).
- Check for proper cable connections and ensure they are tight.
- Gas Leakage:
- Inspect all gas line connections for tightness.
- Check for cracks or damage in the gas hose or torch body.
For issues not resolved by these steps, or for complex repairs, it is recommended to consult a qualified welding technician or contact IHAYNER customer support.
8. Warranty and Support
IHAYNER products are manufactured to high-quality standards. For information regarding warranty coverage, technical support, or replacement parts, please refer to the warranty card included with your product or visit the official IHAYNER website. When contacting support, please have your product model number and purchase information readily available.
For further assistance, you may visit the IHAYNER Store on Amazon: IHAYNER Store
Ask a question about this manual
Ask about setup, troubleshooting, compatibility, parts, safety, or missing instructions. Manuals+ will review the question and use this page’s manual context to help answer it.