
1. Important Safety Instructions
Please read all instructions carefully before using the Usha SI 3816 Steam Iron and retain them for future reference. Failure to follow these instructions may result in electric shock, fire, or serious injury.
- Always ensure the voltage indicated on the rating label corresponds to your mains voltage.
- Do not immerse the iron, its cord, or plug in water or any other liquid.
- Unplug the iron from the power outlet when filling with water, emptying, or when not in use. Allow it to cool completely before cleaning or storing.
- Keep the iron and its cord out of reach of children and pets when it is switched on or cooling down.
- Never leave the iron unattended while it is connected to the power supply or while it is hot.
- Do not operate the iron with a damaged cord or plug, or if the iron has been dropped or damaged. Contact authorized service personnel for repair.
- Use the iron only for its intended household purpose, which is ironing garments.
- Avoid touching hot surfaces. Use handles and knobs.
- Do not use chemical descaling products in the iron.
- Always place the iron on a stable, heat-resistant surface when resting.
2. Product Overview
Familiarize yourself with the components of your Usha SI 3816 Steam Iron for optimal use.
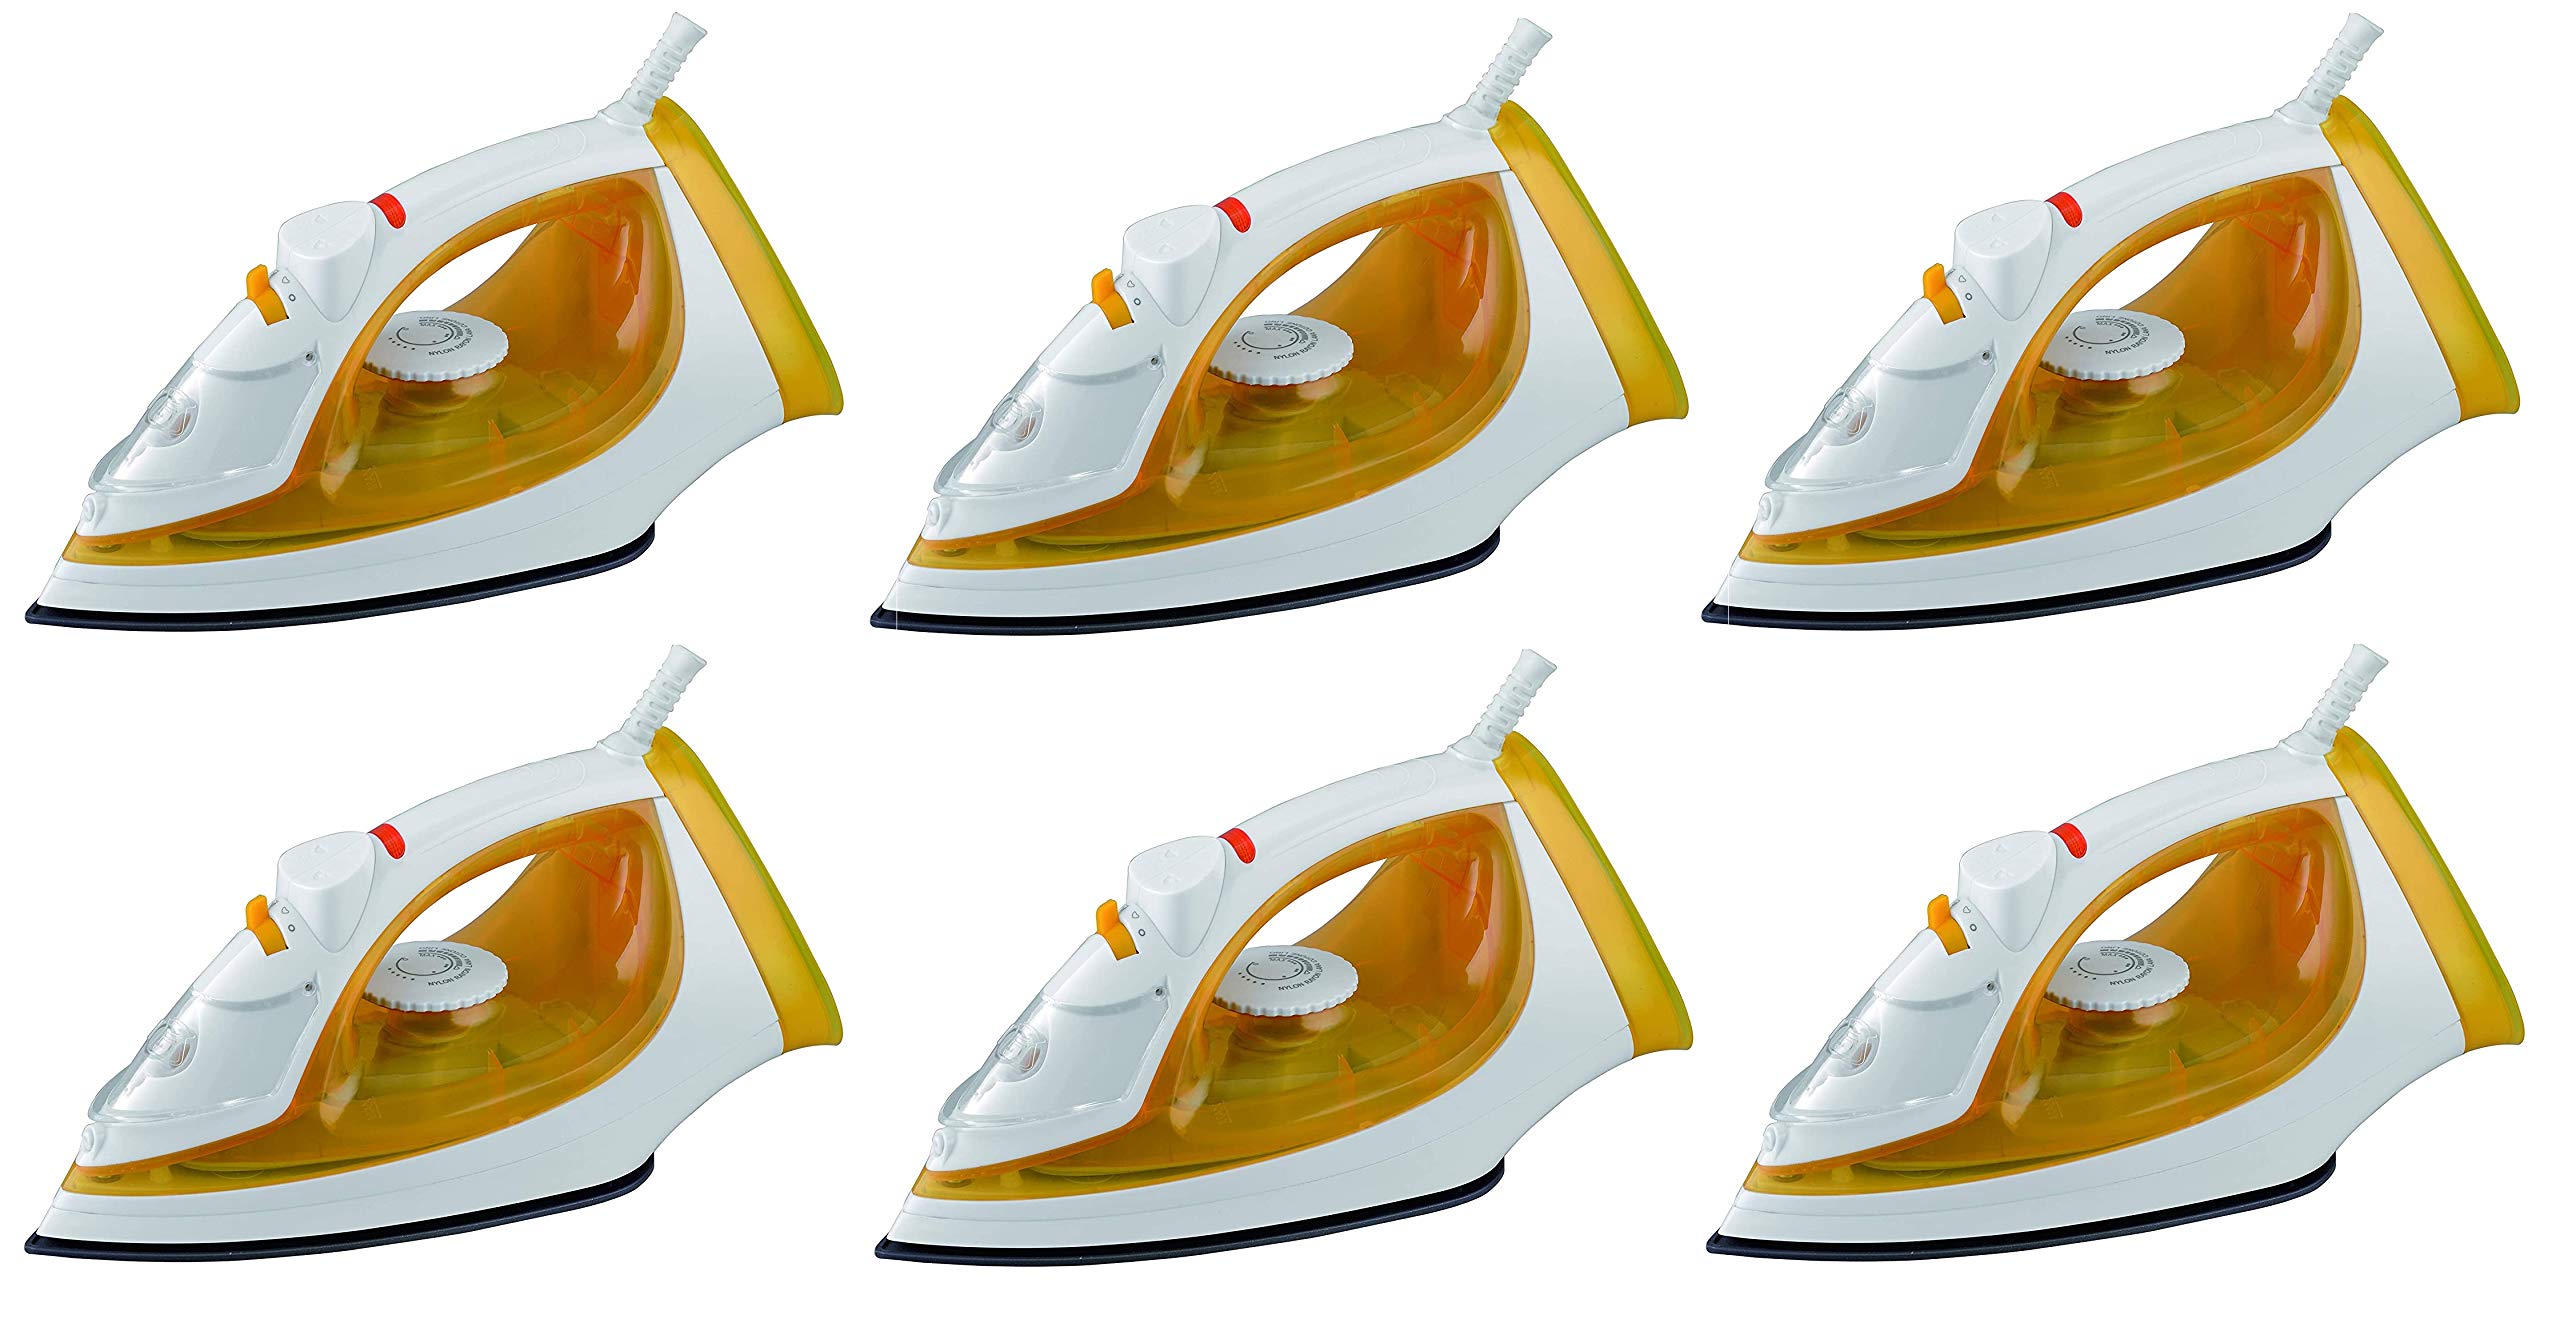
Figure 2.1: Main view of the Usha SI 3816 Steam Iron, showcasing its yellow and white design.
- Non-stick Soleplate: Ensures smooth gliding over various fabrics.
- Water Tank (280ml capacity): For holding water for steam generation.
- Water Filling Inlet: Located on top, for easy refilling.
- Spray Nozzle: Emits a fine mist for stubborn wrinkles.
- Steam Vents (21): Distribute steam evenly across the soleplate.
- Temperature Control Dial: Allows selection of 5 fabric settings.
- Steam Control Slider: Adjusts steam output or selects dry ironing.
- Self-Clean Button: Activates the self-cleaning function.
- Power Indicator Light: Illuminates when the iron is heating.
- 360-degree Swivel Cord: Provides flexibility and ease of movement during ironing.

Figure 2.2: Close-up of the non-stick soleplate with 21 steam vents, designed for efficient steam distribution.
3. Setup and First Use
3.1 Before First Use
- Remove any labels or protective film from the soleplate.
- It is normal for a slight odor or smoke to be emitted during the first few minutes of use as manufacturing residues burn off. Ensure good ventilation.
- Test the iron on an old piece of fabric to ensure no residue is transferred to your garments.
3.2 Filling the Water Tank
- Ensure the iron is unplugged from the power outlet.
- Set the steam control slider to the "Dry Ironing" position (no steam).
- Open the water filling inlet cover.
- Using a measuring cup, carefully pour clean tap water into the water tank up to the "MAX" fill line. Do not overfill.
- Close the water filling inlet cover securely.
Note: For areas with hard water, it is recommended to use distilled or demineralized water to prevent mineral buildup and prolong the life of your iron.

Figure 3.1: Illustration of filling the water tank, showing the water inlet and maximum fill level.
4. Operating Instructions
4.1 Dry Ironing
- Ensure the water tank is empty or the steam control slider is set to "Dry Ironing".
- Plug the iron into a suitable power outlet.
- Set the temperature control dial to the desired fabric setting (refer to garment care labels). The power indicator light will illuminate.
- Wait until the power indicator light turns off, indicating the iron has reached the selected temperature.
- Begin ironing.
4.2 Steam Ironing
- Fill the water tank as described in Section 3.2.
- Plug the iron into a suitable power outlet.
- Set the temperature control dial to a steam-suitable setting (usually between "••" and "•••" or "MAX" for cotton/linen). The power indicator light will illuminate.
- Wait until the power indicator light turns off, indicating the iron has reached the selected temperature.
- Slide the steam control slider to the desired steam position. Steam will start to emit from the soleplate.
- Begin ironing.
4.3 Spray Function
The powerful fine mist spray helps to moisten fabrics and remove stubborn wrinkles more effectively.
- Ensure the water tank is filled.
- Press the spray button (usually located on the handle) to release a fine mist onto the fabric.
4.4 After Ironing
- Set the temperature control dial to "MIN" and the steam control slider to "Dry Ironing".
- Unplug the iron from the power outlet.
- Allow the iron to cool down completely before emptying any remaining water from the tank and storing it.
5. Maintenance and Cleaning
5.1 Cleaning the Soleplate
- After the iron has cooled down, wipe the soleplate with a damp cloth and a non-abrasive cleaner if necessary.
- Do not use abrasive scourers or chemical cleaners as they can damage the non-stick coating.
5.2 Self-Cleaning Function
The self-cleaning function helps to remove mineral deposits and impurities from the steam chamber and vents, ensuring longer ironing life.
- Fill the water tank to the "MAX" level.
- Plug in the iron and set the temperature control dial to "MAX". Set the steam control slider to "Dry Ironing".
- Once the power indicator light turns off, unplug the iron.
- Hold the iron horizontally over a sink.
- Press and hold the self-clean button. Hot water and steam will be expelled from the soleplate, carrying impurities with them.
- Gently shake the iron back and forth until the water tank is empty.
- Release the self-clean button and plug the iron back in to dry the soleplate.
- Unplug and allow to cool before storing. Perform this function monthly or as needed.
5.3 Storage
- Ensure the iron is completely cool and dry.
- Empty any remaining water from the tank.
- Store the iron upright on its heel rest in a safe, dry place.
6. Troubleshooting
| Problem | Possible Cause | Solution |
|---|---|---|
| Iron does not heat up. | Not plugged in; power outlet faulty; temperature dial set to MIN. | Check plug connection; test outlet with another appliance; set temperature dial to desired setting. |
| No steam or insufficient steam. | Water tank empty; temperature too low; steam control set to dry; steam vents blocked. | Fill water tank; set temperature to steam-suitable level; set steam control to steam position; perform self-clean function. |
| Water leakage from soleplate. | Temperature too low for steam; water tank overfilled; self-clean button stuck. | Increase temperature; do not overfill water tank; ensure self-clean button is not pressed. |
| Iron leaves marks on fabric. | Soleplate dirty; incorrect temperature for fabric. | Clean soleplate (Section 5.1); adjust temperature according to fabric type. |
7. Specifications
- Model Number: SI 3816
- Brand: USHA
- Wattage: 1600 Watts
- Voltage: 240 Volts
- Frequency: 50 Hz
- Water Tank Capacity: 280 ml
- Steam Output: Up to 18 gm/minute
- Soleplate: Non-stick
- Steam Vents: 21
- Fabric Settings: 5
- Special Features: Temperature Control, Self-cleaning, Fine Mist Spray, Overheat Safety Shut-off, 360-degree Swivel Cord.
- Item Weight: 1300 Grams
- Manufacturer: Usha International Ltd
8. Warranty and Support
Your Usha SI 3816 Steam Iron comes with a comprehensive warranty to ensure your peace of mind.
- Warranty Period: 2 years from the date of purchase.
- This warranty covers manufacturing defects and faulty materials under normal household use.
- The warranty does not cover damage caused by misuse, neglect, unauthorized repairs, or normal wear and tear.
Customer Support
For any queries, service requests, or technical assistance, please contact Usha customer support:
- Manufacturer Contact Information: Usha International Ltd
- Please refer to the official Usha website or your purchase documentation for the most current contact details, including phone numbers and email addresses.
