
Fridgemaster FDH5020KP
Fridgemaster 50-Pint Dehumidifier User Manual
Model: FDH5020KP
1. Important Safety Instructions
Please read all instructions carefully before operating the dehumidifier. Failure to follow these instructions may result in electric shock, fire, property damage, or personal injury.
- Always plug the unit into a grounded 3-prong outlet. Do not remove the grounding prong.
- Do not operate the dehumidifier with a damaged cord or plug.
- Do not use extension cords or adapter plugs.
- Ensure the unit is placed on a level, stable surface to prevent tipping.
- Keep the dehumidifier away from heat sources and direct sunlight.
- Do not block air inlets or outlets. Maintain at least 8 inches of clearance around the unit.
- Unplug the unit before cleaning or performing any maintenance.
- This appliance is not intended for use by persons (including children) with reduced physical, sensory or mental capabilities, or lack of experience and knowledge, unless they have been given supervision or instruction concerning use of the appliance by a person responsible for their safety.
2. Product Overview
The Fridgemaster 50-Pint Dehumidifier (Model FDH5020KP) is designed to efficiently remove excess moisture from large spaces up to 4,500 square feet, helping to prevent mold, mildew, and dust mites. It features a built-in pump for continuous drainage and is Energy Star certified for efficient operation.

Figure 2.1: Front view of the Fridgemaster 50-Pint Dehumidifier, showcasing its sleek white design and compact form factor.

Figure 2.2: Key components of the dehumidifier, including the handle, removable water tank, drain hose outlet, and wheels for easy mobility.
Key Features:
- Capacity: Removes up to 50 pints of moisture per day (New DOE standard, equivalent to previous 70 Pints).
- Coverage: Suitable for areas up to 4,500 square feet.
- Built-in Pump: Allows for continuous drainage to a sink or basement window.
- Energy Star Certified: Efficient operation to minimize energy consumption.
- Humidity Control: Adjustable humidity settings from 30% to 80%.
- Modes: Auto, Continuous, and Manual operation modes.
- Fan Speeds: High, Low, or Auto fan speed options.
- Auto Shut-Off: Automatically turns off when the water tank is full.
- Portable: Equipped with 360-degree wheels for easy movement.
3. Setup and Installation
3.1 Unpacking
- Carefully remove the dehumidifier from its packaging.
- Remove all packing materials, including any tape or protective films.
- Inspect the unit for any shipping damage. If damaged, do not operate and contact customer support.
- Allow the unit to stand upright for at least 24 hours before plugging it in, especially if it was transported on its side. This allows the refrigerant to settle.
3.2 Placement
For optimal performance, place the dehumidifier in a central location within the area where moisture removal is needed. Ensure there is adequate air circulation around the unit.
- Place the unit on a firm, level surface.
- Maintain at least 8 inches (20 cm) of space from walls or furniture to allow proper airflow.
- Do not place the unit near heat-generating appliances or in direct sunlight.
- Avoid placing the unit in areas where it might be exposed to freezing temperatures.
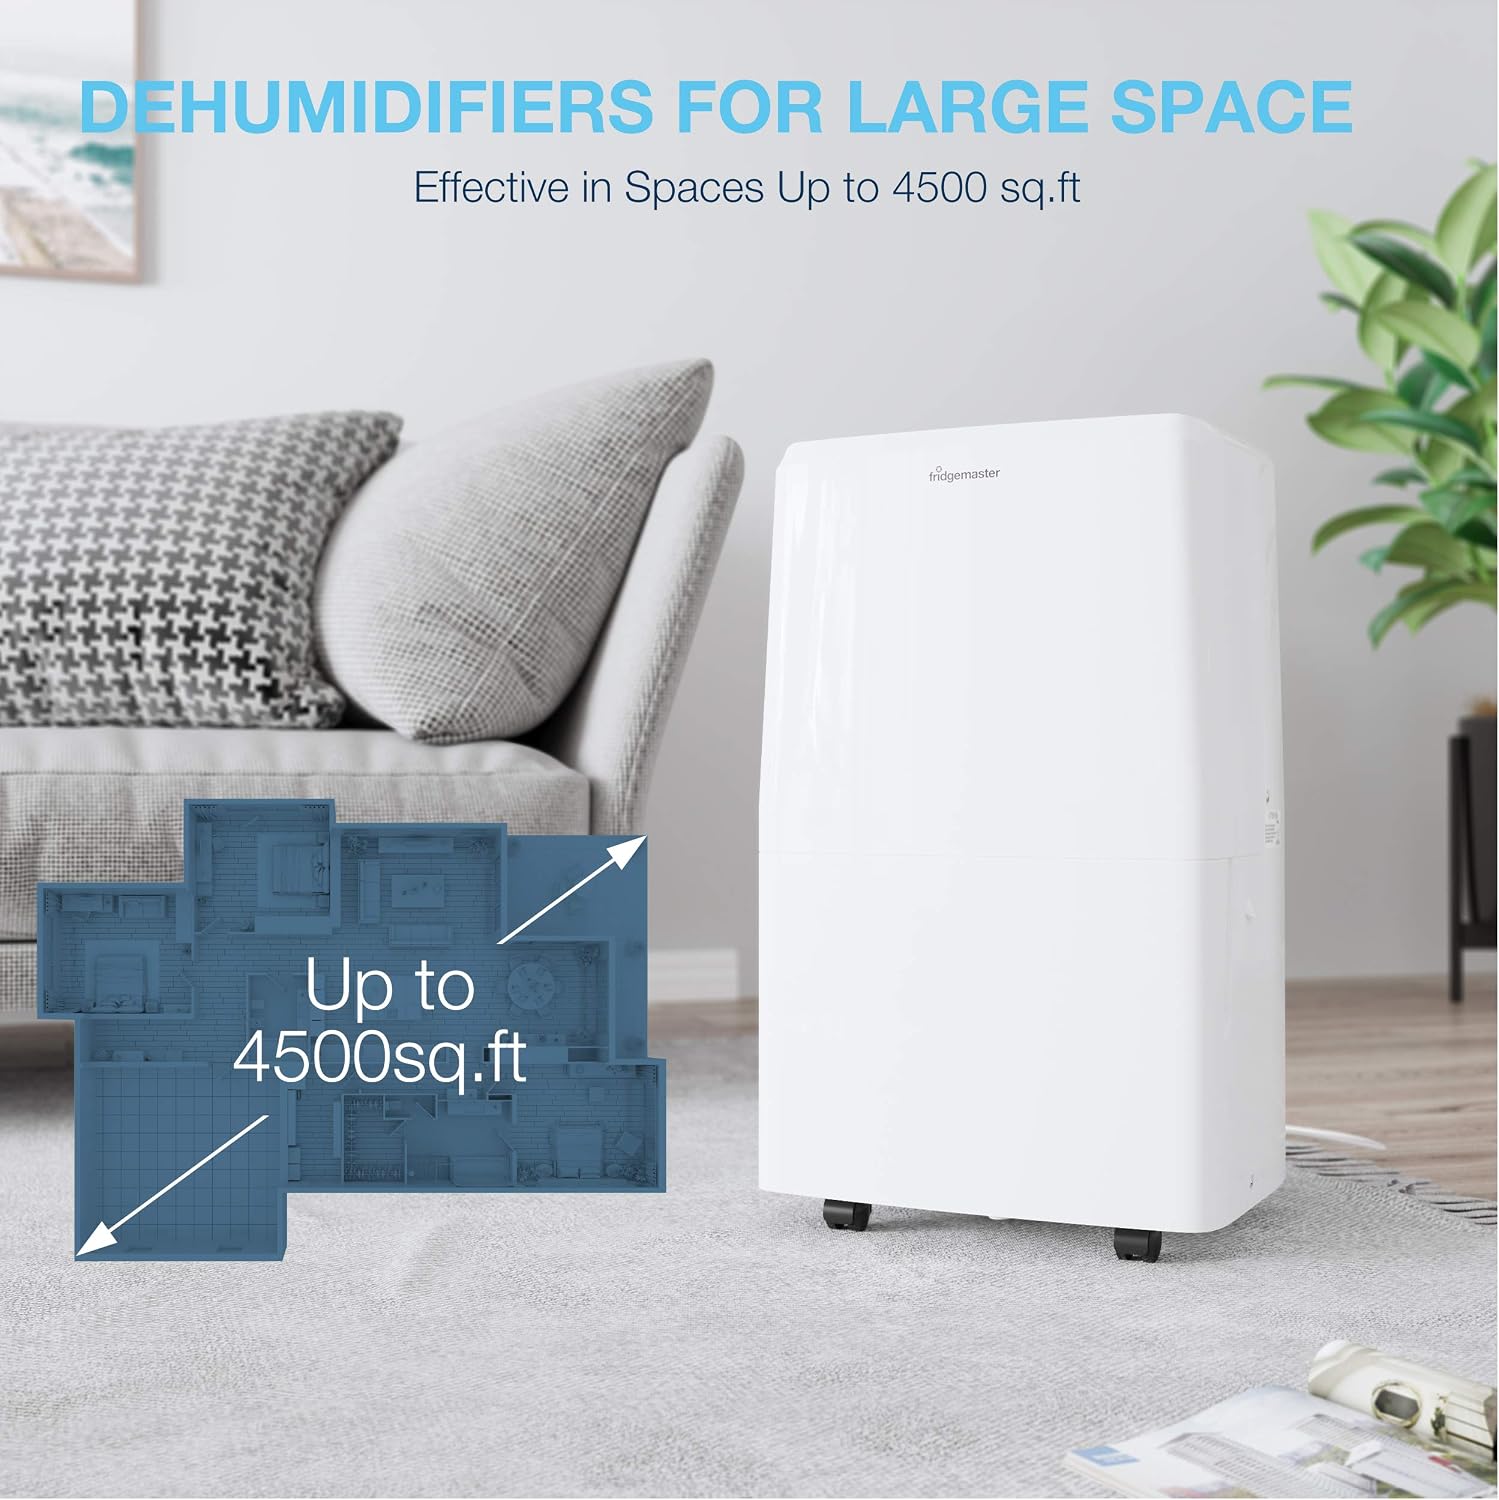
Figure 3.1: The dehumidifier positioned in a large living space, demonstrating its suitability for areas up to 4500 sq. ft.
3.3 Drainage Options
The Fridgemaster dehumidifier offers two drainage methods: manual bucket emptying or continuous drainage using the built-in pump.
3.3.1 Manual Drainage (Bucket)
The unit will collect condensed water in the internal water tank. When the tank is full, the unit will automatically shut off and an indicator light will illuminate.
- Gently pull out the water tank from the front of the unit.
- Empty the collected water into a sink or drain.
- Slide the empty water tank back into the unit until it clicks into place. The unit will resume operation.
3.3.2 Continuous Drainage (Built-in Pump)
For continuous operation without needing to empty the bucket, use the built-in pump feature. A quick-connect water hose is included for this purpose.
- Locate the drain hose outlet on the back or side of the unit (refer to Figure 2.2).
- Connect one end of the provided quick-connect hose to the drain hose outlet. Ensure a secure connection.
- Route the other end of the hose to a suitable drain location, such as a sink, floor drain, or basement window. Ensure the hose is sloped downwards to allow for proper drainage and is not kinked.
- Activate the pump function on the control panel (refer to Section 4.2).
Note: The built-in pump can discharge water vertically up to a certain height (check specifications for exact height, typically 15 feet).
4. Operating Instructions
4.1 Control Panel
The control panel is located on the top of the unit and features various buttons and an LED display for easy operation.

Figure 4.1: The multi-functional control panel, showing buttons for power, mode, fan speed, humidity adjustment, timer, clean filter, and pump.
- Power Button: Turns the unit ON or OFF.
- Mode Button: Cycles through Auto, Continuous, and Manual modes.
- Fan Speed Button: Selects High, Low, or Auto fan speed.
- Humidity Adjustment Buttons (Up/Down): Sets the desired humidity level (30% - 80% RH).
- Timer Button: Sets the auto ON/OFF timer (1-24 hours).
- Clean Filter Indicator: Illuminates when the air filter needs cleaning.
- Pump Button: Activates or deactivates the built-in pump for continuous drainage.
4.2 Operating Modes
- Auto Mode: The unit automatically adjusts fan speed and humidity settings based on the ambient humidity to maintain a comfortable level.
- Continuous Mode: The unit runs continuously regardless of the humidity level. Ideal for very damp conditions or for drying clothes.
- Manual Mode: Allows you to manually set the desired humidity level and fan speed.
4.3 Setting Desired Humidity
In Manual mode, use the Up and Down arrow buttons to set your desired humidity level. The recommended humidity level for comfort and health is between 45% and 55% Relative Humidity (RH).
4.4 Timer Function
The timer function allows you to set the unit to automatically turn ON or OFF after a specified number of hours (1-24 hours).
- Press the Timer button.
- Use the Up/Down buttons to select the desired number of hours.
- The timer will activate after a few seconds.
5. Maintenance
Regular maintenance ensures optimal performance and extends the lifespan of your dehumidifier.
5.1 Cleaning the Air Filter
The air filter should be cleaned every two weeks or when the "Clean Filter" indicator light illuminates.
- Unplug the dehumidifier from the power outlet.
- Locate the air filter, usually at the back or side of the unit. Gently slide it out.
- Wash the filter with warm, soapy water. Rinse thoroughly.
- Allow the filter to air dry completely before reinserting it. Do not use a dishwasher or hot water.
- Slide the dry filter back into its slot.
- Plug the unit back in. The "Clean Filter" light should reset.
5.2 Cleaning the Unit Exterior
Wipe the exterior of the dehumidifier with a soft, damp cloth. Do not use harsh chemicals, abrasives, or solvents.
5.3 Long-Term Storage
If the unit will not be used for an extended period:
- Unplug the unit and empty the water tank.
- Clean the air filter and allow it to dry.
- Allow the unit to run in fan-only mode for a few hours to dry out the internal components.
- Store the unit upright in a cool, dry place, away from direct sunlight and extreme temperatures.
6. Troubleshooting
| Problem | Possible Cause | Solution |
|---|---|---|
| Dehumidifier does not turn on. | No power; Water tank full; Temperature too low. | Ensure unit is plugged in; Empty water tank; Operate in temperatures above 38°F (3°C). |
| Unit runs but does not dehumidify. | Air filter clogged; Room temperature too low; Humidity setting too high. | Clean air filter; Ensure room temperature is above 38°F (3°C); Lower desired humidity setting. |
| Unit is noisy. | Unit not level; Air filter clogged; Fan obstruction. | Place on a level surface; Clean air filter; Check for obstructions around fan. |
| Water leaks from unit. | Water tank not properly seated; Drain hose kinked or disconnected (if using pump). | Reinsert water tank correctly; Check drain hose for kinks or secure connection. |
| "Clean Filter" light remains on after cleaning. | Filter not properly reinserted; Sensor issue. | Ensure filter is fully seated; If issue persists, contact customer support. |
If you encounter a problem not listed here, or if the suggested solutions do not resolve the issue, please contact Fridgemaster Customer Support.
7. Specifications
| Feature | Detail |
|---|---|
| Brand | Fridgemaster |
| Model Number | FDH5020KP |
| Moisture Removal Capacity | 50 Pints/Day (New DOE Standard) |
| Coverage Area | Up to 4500 Sq Ft |
| Power Supply | 115V / 60Hz (Typical for US market) |
| Operating Temperature Range | 38°F - 90°F (3°C - 32°C) |
| Water Tank Capacity | Approx. 2 Gallons (16 Pints) |
| Dimensions (W x D x H) | 38.61 x 29.97 x 62.74 cm (15.2 x 11.8 x 24.7 inches) |
| Net Weight | 19.8 kg (43.6 lbs) |
| Special Features | Portable, Timer, Built-in Pump, Auto Shut-Off, Energy Star Certified |
Note: Specifications are subject to change without notice for product improvement.
8. Warranty and Customer Support
Fridgemaster provides a limited warranty for this dehumidifier. Please refer to the warranty card included with your product for specific terms and conditions, or visit the official Fridgemaster website for the most up-to-date warranty information.
For technical assistance, troubleshooting not covered in this manual, or warranty claims, please contact Fridgemaster Customer Support:
- Website: www.fridgemaster.co.uk
- Email: Refer to product packaging or website
- Phone: Refer to product packaging or website
Please have your model number (FDH5020KP) and purchase date ready when contacting support.
Related documentsFDH5020KP


Ask a question about this manual
Ask about setup, troubleshooting, compatibility, parts, safety, or missing instructions. Manuals+ will review the question and use this page’s manual context to help answer it.