
JOYO JAM BUDDY
JOYO JAM Buddy Portable Guitar Amplifier Instruction Manual
Model: JAM BUDDY | Brand: JOYO
Introduction
The JOYO JAM Buddy is a versatile and portable guitar amplifier designed for practice and on-the-go use. It integrates a speaker, Bluetooth connectivity, and built-in delay effects, offering a comprehensive solution for guitarists. This manual provides detailed instructions for its setup, operation, and maintenance to ensure optimal performance.
Product Overview
Familiarize yourself with the main components and controls of your JAM Buddy amplifier.

Image: Angled view of the JOYO JAM Buddy amplifier, showcasing its compact design and control panel.

Image: Detailed close-up of the JAM Buddy's control panel, highlighting knobs and switches.
Setup
1. Unpacking and Contents
Carefully remove all items from the packaging. The box should contain:
- JAM Buddy Amplifier Body
- Power Supply
2. Charging the Battery
The JAM Buddy features a built-in rechargeable Lithium Polymer battery. Before first use, fully charge the unit.
- Connect the provided power supply to the DC 9V input port on the side of the amplifier.
- Plug the power supply into a standard electrical outlet.
- The charging indicator light will illuminate.
- Charging time is approximately 3-4 hours. A full charge provides 8-13 hours of working time, depending on usage.
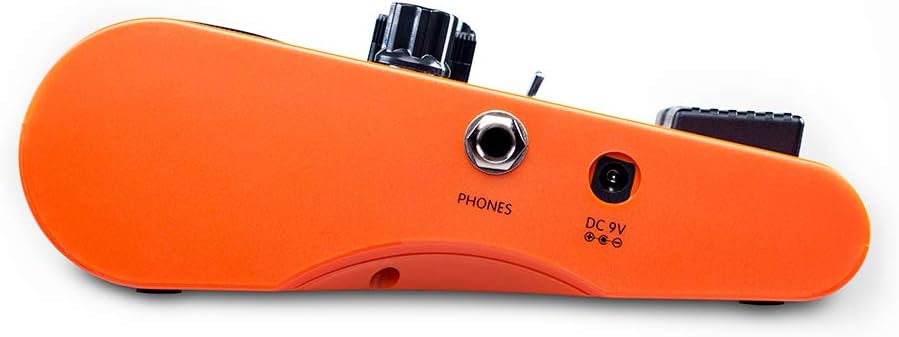
Image: Side view of the JAM Buddy, illustrating the DC 9V power input and Phones output jack.
3. Powering On/Off
Locate the POWER switch on the control panel. Flip the switch to the 'ON' position to power on the unit. Flip it to 'OFF' to power down.
4. Connecting Your Guitar
Plug your guitar cable into the input jack located on the side of the JAM Buddy.
5. Headphone Connection
For silent practice, connect standard 1/4-inch headphones to the 'PHONES' output jack on the side of the unit. This will mute the internal speaker.
Operating Instructions
1. Control Panel Overview
The JAM Buddy features several controls for shaping your sound:
- DELAY MIX: Adjusts the wet/dry balance of the delay effect.
- F.BACK (Feedback): Controls the number of delay repeats.
- TIME: Sets the delay time.
- MASTER VOLUME: Overall output volume control.
- TONE: Adjusts the overall tonal character (treble/bass balance).
- DRIVE GAIN: Controls the amount of gain for the Overdrive channel.
- CLEAN GAIN: Controls the amount of gain for the Clean channel.
- POWER Switch: Turns the unit on or off.
- BLUETOOTH Switch: Activates Bluetooth pairing mode.
- DRIVE MODE Switch: Toggles between CLASSIC OD and HI GAIN modes for the Overdrive channel.
- CHANNEL Switch: Selects between CLEAN and DRIVE channels.
2. Channel Selection
Use the CHANNEL footswitch to toggle between the CLEAN and DRIVE channels. The corresponding LED will indicate the active channel.
3. Overdrive Modes
When the DRIVE channel is active, use the DRIVE MODE footswitch to select between two distinct overdrive sounds:
- CLASSIC OD: Provides a traditional overdrive tone.
- HI GAIN: Offers a more aggressive, higher-gain distortion.
4. Delay Effect
The JAM Buddy includes a built-in delay effect with a maximum delay time of 500ms. Adjust the DELAY MIX, F.BACK, and TIME knobs to customize the delay to your preference.
5. Bluetooth Connectivity
To connect a Bluetooth audio device (e.g., smartphone or tablet) for playing backing tracks:
- Ensure the JAM Buddy is powered on.
- Flip the BLUETOOTH switch to the 'ON' position. The Bluetooth indicator light will blink, indicating pairing mode.
- On your audio device, search for Bluetooth devices and select 'JAM BUDDY'.
- Once paired, the Bluetooth indicator light will become solid. You can now play audio through the JAM Buddy's speaker.
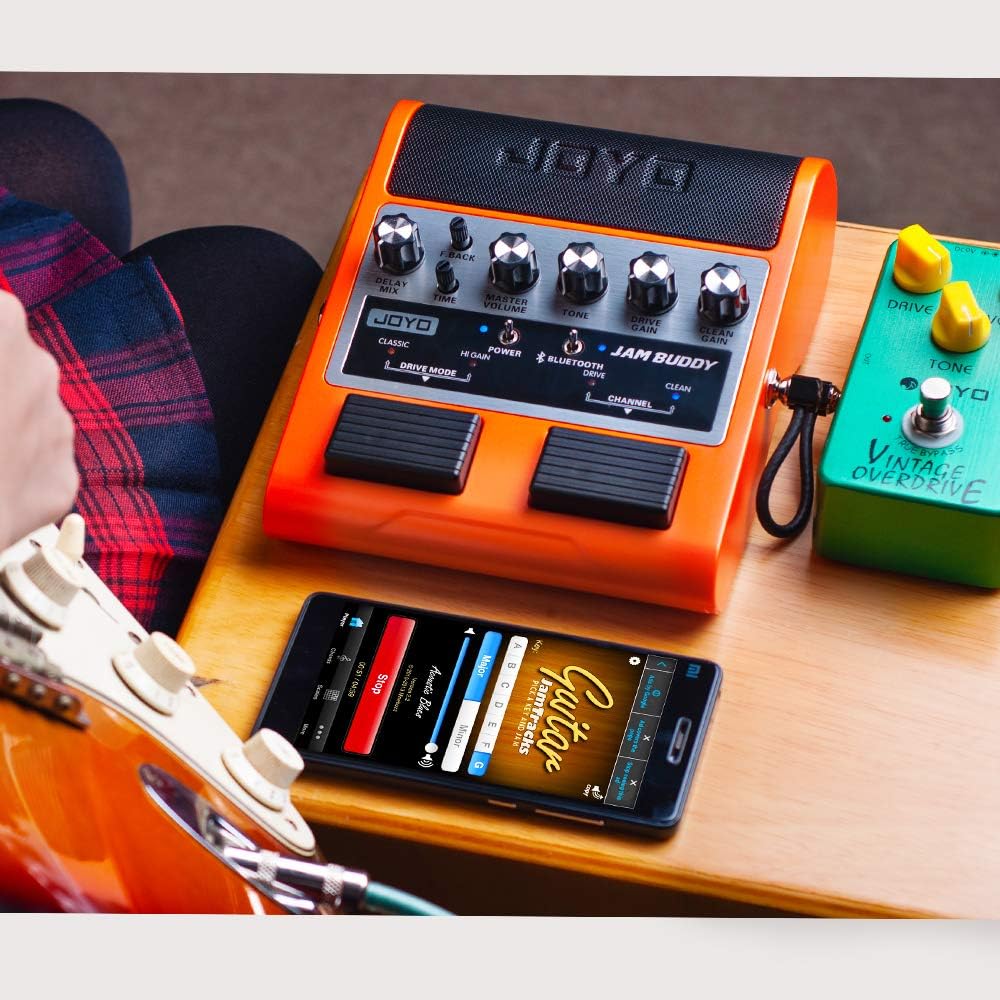
Image: The JAM Buddy in use, connected to a guitar and a smartphone for Bluetooth audio playback.
6. Using as a Pedal (External Amplifier Connection)
The JAM Buddy can also function as a guitar pedal, allowing you to utilize its effects and channels through a larger amplifier. Connect the JAM Buddy's output (guitar input jack) to the input of your external amplifier.
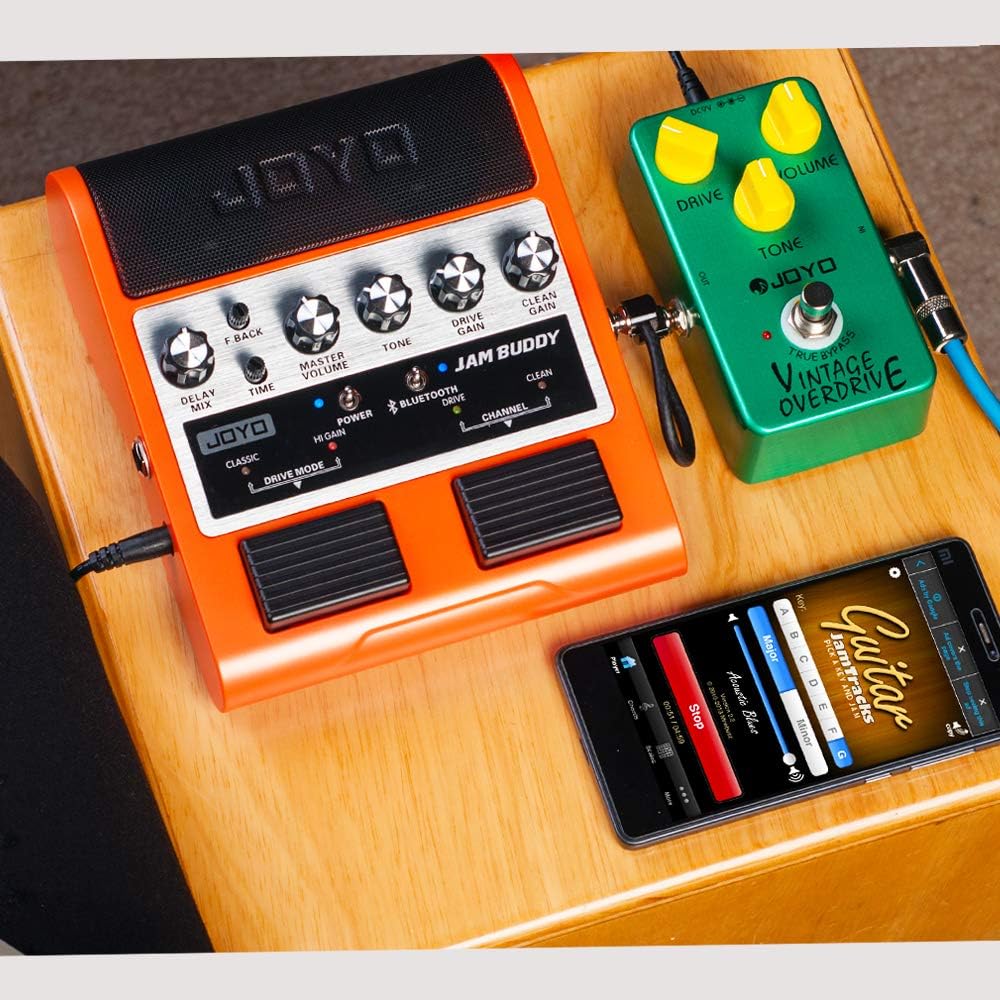
Image: The JAM Buddy integrated into a setup with an external overdrive pedal and a smartphone.
Maintenance
- Cleaning: Use a soft, dry cloth to clean the exterior of the unit. Avoid abrasive cleaners or solvents.
- Storage: Store the JAM Buddy in a cool, dry place away from direct sunlight and extreme temperatures.
- Battery Care: To prolong battery life, avoid fully discharging the battery frequently. If storing for an extended period, charge the battery to approximately 50% every few months.
- Avoid Moisture: Do not expose the unit to water or excessive humidity.
Troubleshooting
- No Sound:
- Ensure the JAM Buddy is powered on and the MASTER VOLUME knob is turned up.
- Check all cable connections (guitar, headphones).
- If using headphones, ensure they are fully plugged into the 'PHONES' jack.
- Verify the guitar's volume knob is turned up.
- Low Volume on Clean Channel:
- Adjust the CLEAN GAIN knob.
- Ensure the MASTER VOLUME is adequately set.
- Bluetooth Pairing Issues:
- Ensure the BLUETOOTH switch is in the 'ON' position and the indicator light is blinking.
- Turn off and on the Bluetooth function on your audio device.
- Move your audio device closer to the JAM Buddy.
- If previously paired, try 'forgetting' the device on your audio device and re-pairing.
- Battery Not Charging:
- Verify the power supply is correctly connected to both the JAM Buddy and a working power outlet.
- Ensure you are using the original JOYO power supply.
Specifications
| Item Weight | 1.5 pounds |
| Product Dimensions | 2.95 x 6.14 x 7.2 inches |
| Item Model Number | JAM BUDDY |
| Batteries | 1 Lithium Polymer battery required (included) |
| Body Material | ABS Plastic |
| Compatible Devices | Effect Pedal, Guitar, Guitar Amplifier |
| Connector Type | 6.35mm Jack |
| Hardware Interface | Bluetooth 4.0 |
| Output Wattage | 8 Watts |
| Battery Type | Polymer |
| Power Source | Corded Electric, Battery Powered |

Image: Diagram illustrating the dimensions of the JAM Buddy amplifier (7.2" x 6.1" x 3").
Warranty and Support
The JOYO JAM Buddy is provided directly by JOYO Technology Co., LTD, established in 2006. For any product-related issues or inquiries, please contact the seller through your order details. JOYO is committed to resolving issues within 24 hours and providing the best service.
Related documentsJAM BUDDY


Ask a question about this manual
Ask about setup, troubleshooting, compatibility, parts, safety, or missing instructions. Manuals+ will review the question and use this page’s manual context to help answer it.