
1. Introduction
Thank you for choosing the Vacmaster Orson Lite 24V Max Cordless Vacuum Cleaner. This manual provides essential information for the safe and efficient use, maintenance, and troubleshooting of your new appliance. Please read these instructions carefully before use and retain them for future reference.
Important Safety Instructions
- Always ensure the vacuum is switched off and unplugged before cleaning or performing maintenance.
- Do not use the vacuum cleaner to pick up water or wet materials.
- Keep hair, loose clothing, fingers, and all parts of the body away from openings and moving parts.
- Do not use without the dust bin and filters in place.
- Store the vacuum in a dry, indoor area.
2. Package Contents
Carefully unpack your Vacmaster Orson Lite and check that all items are present and in good condition. If any items are missing or damaged, please contact customer support.
- Main Vacuum Unit (with integrated battery)
- Extension Wand
- Powered Floor Head
- 2-in-1 Crevice Tool and Dusting Brush
- Wall Mount / Charging Dock
- Charging Adapter (UK)
- 2 Washable HEPA 13 Filters
- User Manual

Image: Overview of the Vacmaster Orson Lite cordless vacuum cleaner and its included accessories, such as the main unit, extension wand, floor head, and various attachments.
3. Assembly
Follow these steps to assemble your Vacmaster Orson Lite vacuum cleaner.
- Attach the Extension Wand: Insert the extension wand into the main vacuum unit until it clicks securely into place.
- Connect the Floor Head: Attach the powered floor head to the other end of the extension wand, ensuring it clicks firmly.
- Install Wall Mount: Choose a suitable location near a power outlet. Secure the wall mount/charging dock to the wall using appropriate screws and anchors (not included). Ensure it is mounted at a height that allows the vacuum to hang freely.

Image: The Vacmaster Orson Lite cordless vacuum cleaner securely stored on its wall-mounted charging dock, ready for use.
4. Charging the Battery
The Vacmaster Orson Lite is powered by a 24V Max lithium-ion battery. For optimal performance, fully charge the battery before first use.
- Connect Charger: Plug the charging adapter into a wall outlet and connect the other end to the charging port on the wall mount or directly to the vacuum unit.
- Charge Indicator: The LED battery display on the vacuum will show the charging status. It will illuminate progressively as the battery charges and indicate a full charge when all segments are lit.
- Charging Time: A full charge typically takes approximately 4-5 hours.

Image: Close-up of the Vacmaster Orson Lite's control panel, showing the LED battery display indicating the current charge level.
5. Operation
The Vacmaster Orson Lite offers versatile 3-in-1 cleaning for various surfaces.
Power On/Off and Speed Selection
- Press the power button on the handle to turn the vacuum on or off.
- Press the speed selection button to switch between standard and Turbo modes. Turbo mode provides increased suction for stubborn dirt and pet hair, but reduces runtime.
- The LED battery display indicates remaining power during use.
Cleaning Modes
- Upright Stick Vacuum: For cleaning hard floors and carpets. The powered floor head features LED task lights to illuminate dust and debris.
- Handheld Vacuum: Detach the extension wand and floor head to use the main unit as a handheld vacuum for furniture, car interiors, or small spills.
- With 2-in-1 Tool: Attach the crevice tool and dusting brush directly to the main unit or the extension wand for cleaning tight spaces, upholstery, or delicate surfaces.

Image: A user operating the Vacmaster Orson Lite in handheld mode, effectively cleaning stairs with its compact design.
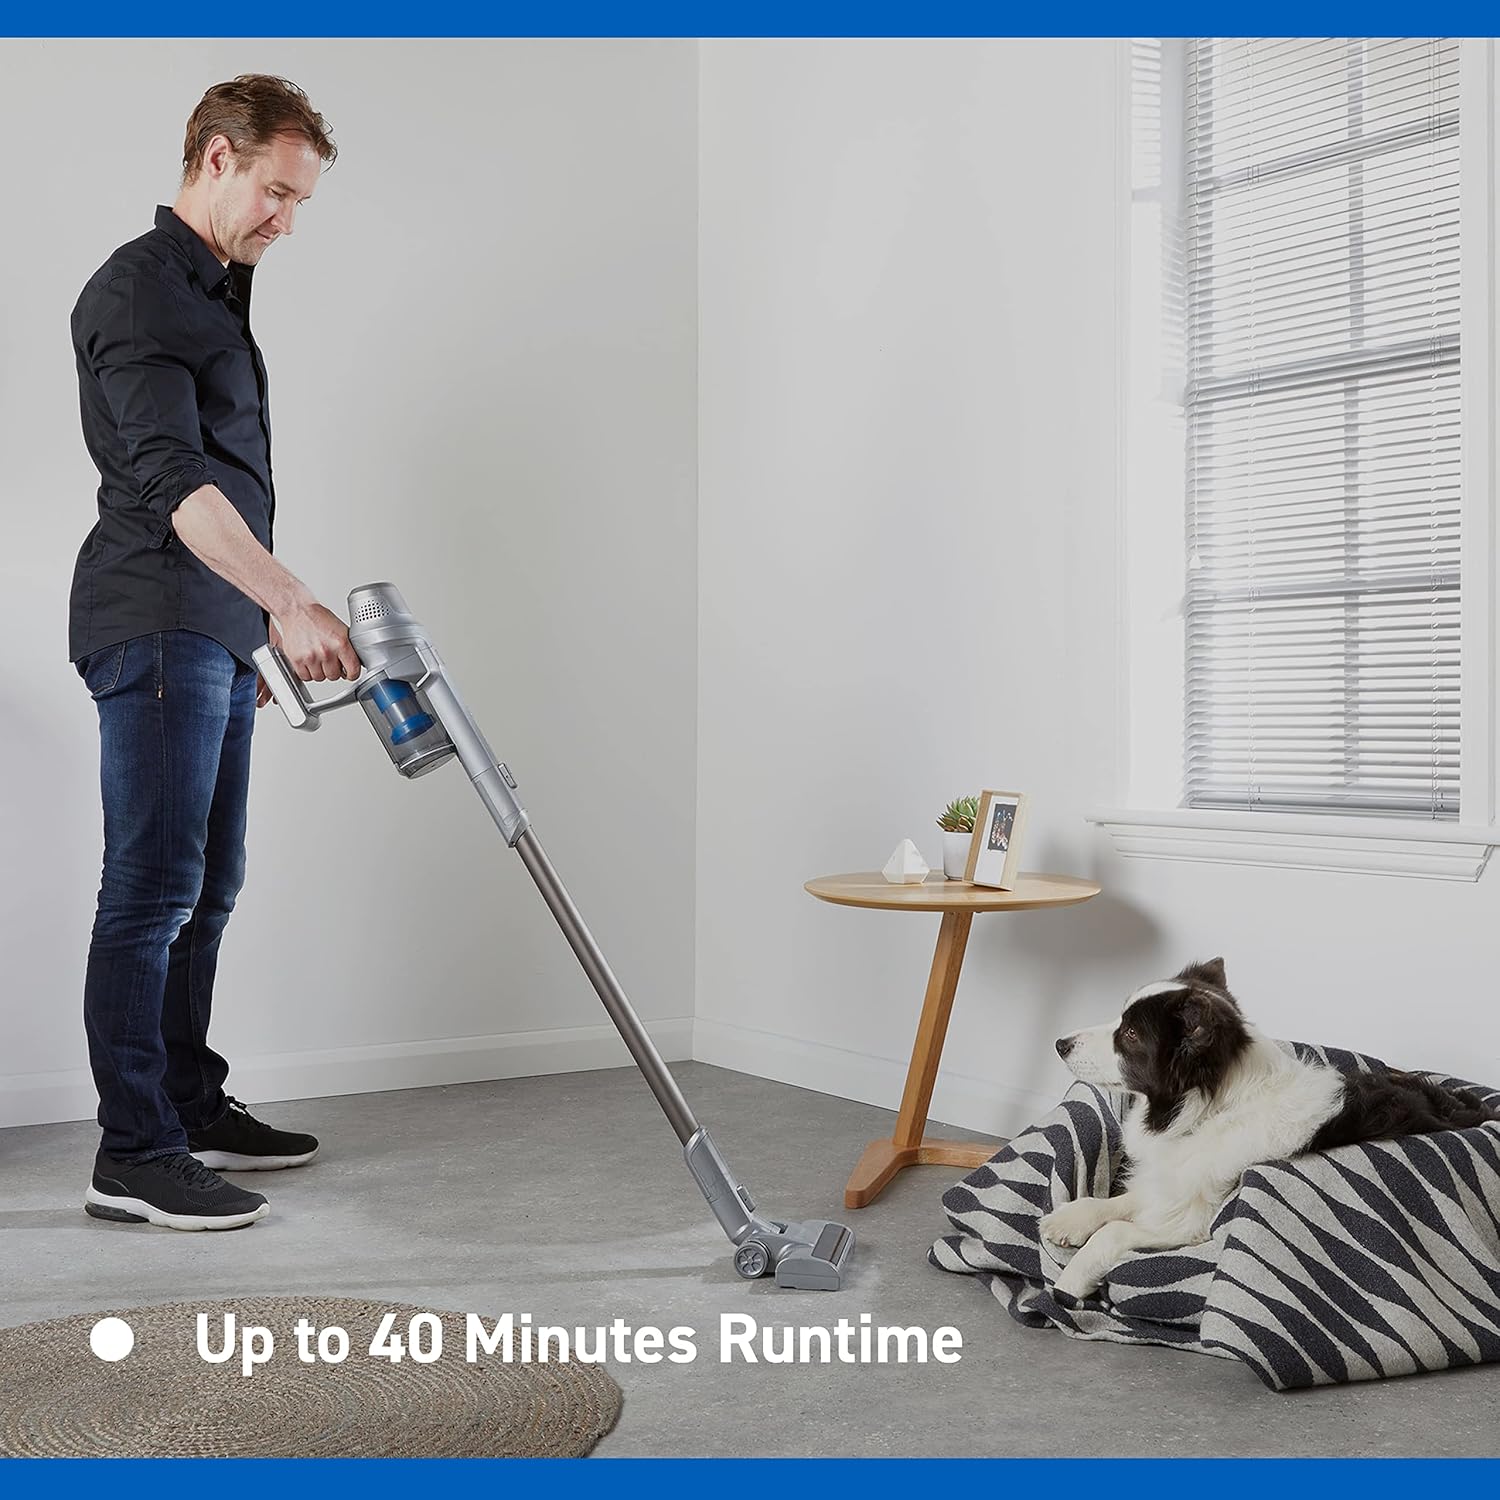
Image: Close-up of the Vacmaster Orson Lite's powered floor head, showcasing its integrated LED task lights illuminating debris on a hard floor.

Image: A man using the lightweight Vacmaster Orson Lite with its extension wand to easily clean dust from a high corner of a room.
6. Maintenance
Regular maintenance ensures your Vacmaster Orson Lite operates efficiently and prolongs its lifespan.
Emptying the Dust Bin
- Ensure the vacuum is switched off.
- Press the dust bin release button to detach the dust bin from the main unit.
- Position the dust bin over a trash receptacle and press the bottom release button to open the flap and empty the contents.
- Close the flap and reattach the dust bin to the main unit until it clicks securely.

Image: A hand demonstrating the easy-to-empty dust bin feature of the Vacmaster Orson Lite, showing debris being released into a trash can.
Cleaning the Filters
The Vacmaster Orson Lite includes 2 washable HEPA 13 filters. Clean them regularly to maintain suction power.
- Remove the dust bin as described above.
- Twist and pull out the filter assembly from the dust bin.
- Tap the filters gently to remove loose dust. For a deeper clean, rinse the filters under cold running water until the water runs clear.
- Allow the filters to air dry completely for at least 24 hours before reassembling. Do not use a dryer or heat source.
- Reinsert the dry filters into the dust bin and reattach the dust bin to the vacuum.
Cleaning the Brush Roll
Periodically check the brush roll in the powered floor head for tangled hair or debris. Use scissors to cut away any tangled material and remove it by hand.
7. Troubleshooting
If you encounter issues with your Vacmaster Orson Lite, refer to the following common problems and solutions.
| Problem | Possible Cause | Solution |
|---|---|---|
| Vacuum does not turn on | Battery is depleted Battery not properly connected | Charge the battery fully Ensure battery is securely inserted |
| Loss of suction | Dust bin is full Filters are clogged Blockage in nozzle, wand, or hose | Empty the dust bin Clean or replace filters Check and clear any blockages |
| Brush roll not spinning | Tangled debris Floor head not properly connected | Clean brush roll of hair and debris Ensure floor head is securely attached |
| Short runtime | Battery not fully charged Using Turbo mode excessively Battery degradation | Charge battery fully Use standard mode for general cleaning Contact customer support if battery life significantly decreases |
8. Specifications
| Feature | Specification |
|---|---|
| Brand | Vacmaster |
| Model Number | VSE2101EU |
| Product Dimensions (L x W x H) | 23.5 x 22.5 x 116 cm |
| Item Weight | 2.55 Kilograms |
| Power | 450 Watts |
| Voltage | 24 Volts |
| Number of Speeds | 2 |
| Sound Level | 70 Decibels |
| Runtime | Up to 40 minutes |
| Battery Type | 1 Lithium-ion (included) |
| Special Features | Lightweight, Cordless, Bagless |
| Filter Type | Washable HEPA 13 |
| Manufacturer | Cleva |
| Country of Origin | China |
9. Warranty and Support
Warranty Information
The Vacmaster Orson Lite VSE2101EU comes with a 2-year warranty on spare parts, covering defects in materials and workmanship from the date of purchase. This warranty does not cover damage caused by misuse, neglect, accident, or unauthorized modification. Please retain your proof of purchase for warranty claims.
Customer Support
For technical assistance, warranty claims, or to order replacement parts, please visit the official Vacmaster website or contact their customer service department. Contact information can typically be found on the product packaging or the brand's official website.

