
Introduction
Thank you for choosing the HammerHead Showers Solid Metal Handheld Bidet Sprayer. This manual provides essential information for the safe and efficient installation, operation, and maintenance of your new bidet sprayer. Please read these instructions thoroughly before installation and keep them for future reference.
Safety Information
- Always turn off the toilet's water supply valve before beginning installation or performing any maintenance.
- Ensure all connections are hand-tightened first, then gently tightened with a wrench to prevent cross-threading or overtightening, which can cause leaks.
- Do not leave the T-valve open when the bidet is not in use to prevent unnecessary pressure build-up and potential leaks.
- If you notice any leaks, immediately turn off the water supply and re-check all connections.
- Use only the provided components or approved replacements.
Package Contents
Verify that all components are present before beginning installation:
- Solid Metal Handheld Bidet Sprayer
- 59-Inch Flexible Metal Hose
- Leak-Proof T-Valve Adapter
- Bidet Holder (for toilet tank or wall mount)
- Rubber Washers (pre-installed in connections)
- Thread Seal Tape (optional, for stubborn leaks)

Image: The main components of the bidet sprayer kit, including the handheld sprayer, mounting bracket, flexible hose, and T-valve, laid out for easy identification.
Setup and Installation
Follow these steps for a quick and easy installation. You will need a towel and an adjustable wrench or pliers with protective caps.
Video: A step-by-step guide demonstrating the installation process of the HammerHead Showers Handheld Bidet Sprayer to a toilet.
- Turn off Water Supply: Locate the water supply valve for your toilet, usually on the wall or floor beneath the toilet tank. Turn it clockwise until the water flow stops completely. Flush the toilet to empty the tank and relieve pressure.
- Disconnect Toilet Supply Line: Place a towel underneath the toilet's water supply connection to catch any residual water. Unscrew the flexible supply line from the bottom of the toilet tank.
- Attach T-Valve: Screw the T-valve adapter onto the bottom of the toilet tank where you just removed the supply line. Ensure the rubber washer is properly seated inside the T-valve connection. Hand-tighten, then use a wrench for a snug fit, being careful not to overtighten the plastic nipple of the toilet tank. Position the T-valve so the lever is easily accessible.
- Reconnect Toilet Supply Line: Connect the original toilet supply line to the bottom of the T-valve. Hand-tighten, then use a wrench for a snug fit.
- Attach Bidet Hose: Connect the flexible bidet hose to the side outlet of the T-valve. Ensure the rubber washer is in place. Hand-tighten.
- Attach Bidet Sprayer: Connect the handheld bidet sprayer to the other end of the flexible hose. Hand-tighten only; no tools are needed for this connection.
- Attach Bidet Holder: The bidet holder can be attached to the toilet tank by sliding it under the toilet seat, or it can be wall-mounted using the included hardware (unscrew the holder from the tank hook first).
- Slowly Turn on T-Valve: Slowly turn the main water supply valve back on counter-clockwise. Check for any leaks at all connection points. If leaks occur, turn off the water, tighten the connection slightly, and re-check.
- Test for Leaks: Once the toilet tank has refilled, check all connections again for leaks.

Image: A detailed view of the proprietary T-valve, highlighting its design with a cone washer that ensures a water-tight seal and prevents backflow.
Operating Instructions
- Activate Water Flow: When ready to use, slowly turn the lever on the T-valve to open the water flow to the bidet sprayer. Adjust the lever to control the water pressure.
- Use Sprayer: Aim the sprayer and press the trigger on the handheld unit to release water. Adjust the pressure as needed for comfort and effectiveness.
- Turn Off Water: After use, release the trigger and turn the T-valve lever back to the OFF position (usually perpendicular to the water flow) to prevent continuous pressure on the hose and sprayer.

Image: Demonstrates how to adjust the water pressure using the T-valve and the handheld sprayer for personalized cleaning.
Maintenance
- Regular Cleaning: Clean the bidet sprayer and hose regularly with a mild soap and water solution. Avoid abrasive cleaners or harsh chemicals that could damage the finish.
- Check for Leaks: Periodically inspect all connections for any signs of leaks. Tighten connections as needed.
- Winterization (if applicable): If the bidet is installed in an unheated area subject to freezing temperatures, disconnect the bidet and drain the water to prevent damage.
Troubleshooting
| Problem | Possible Cause | Solution |
|---|---|---|
| Water leaking from connections | Loose connections, missing/damaged rubber washers, cross-threaded connections. | Turn off water supply. Tighten connections. Ensure rubber washers are correctly seated. Apply thread seal tape if necessary. |
| No water flow or low pressure | Water supply valve closed, T-valve closed, clogged sprayer head. | Ensure main water supply and T-valve are fully open. Check sprayer head for mineral buildup and clean if necessary. |
| Sprayer drips after use | T-valve not fully closed. | Ensure the T-valve is completely closed after each use. |
Specifications
- Brand: HammerHead Showers
- Model Name: BIDET-CH
- Material: Brass, Stainless Steel
- Finish Type: Polished
- Color: Silver
- Hose Length: 59-Inch
- Item Weight: 2.05 pounds
- Product Dimensions: 7.87 x 6.2 x 3.07 inches
- Mounting Type: Protruding (Toilet Tank or Wall)
- Included Components: Sprayer, Hose, T-Valve
Warranty and Support
HammerHead Showers products are built to last and are backed by a warranty. For specific warranty details or support, please visit the official HammerHead Showers website or contact customer service.
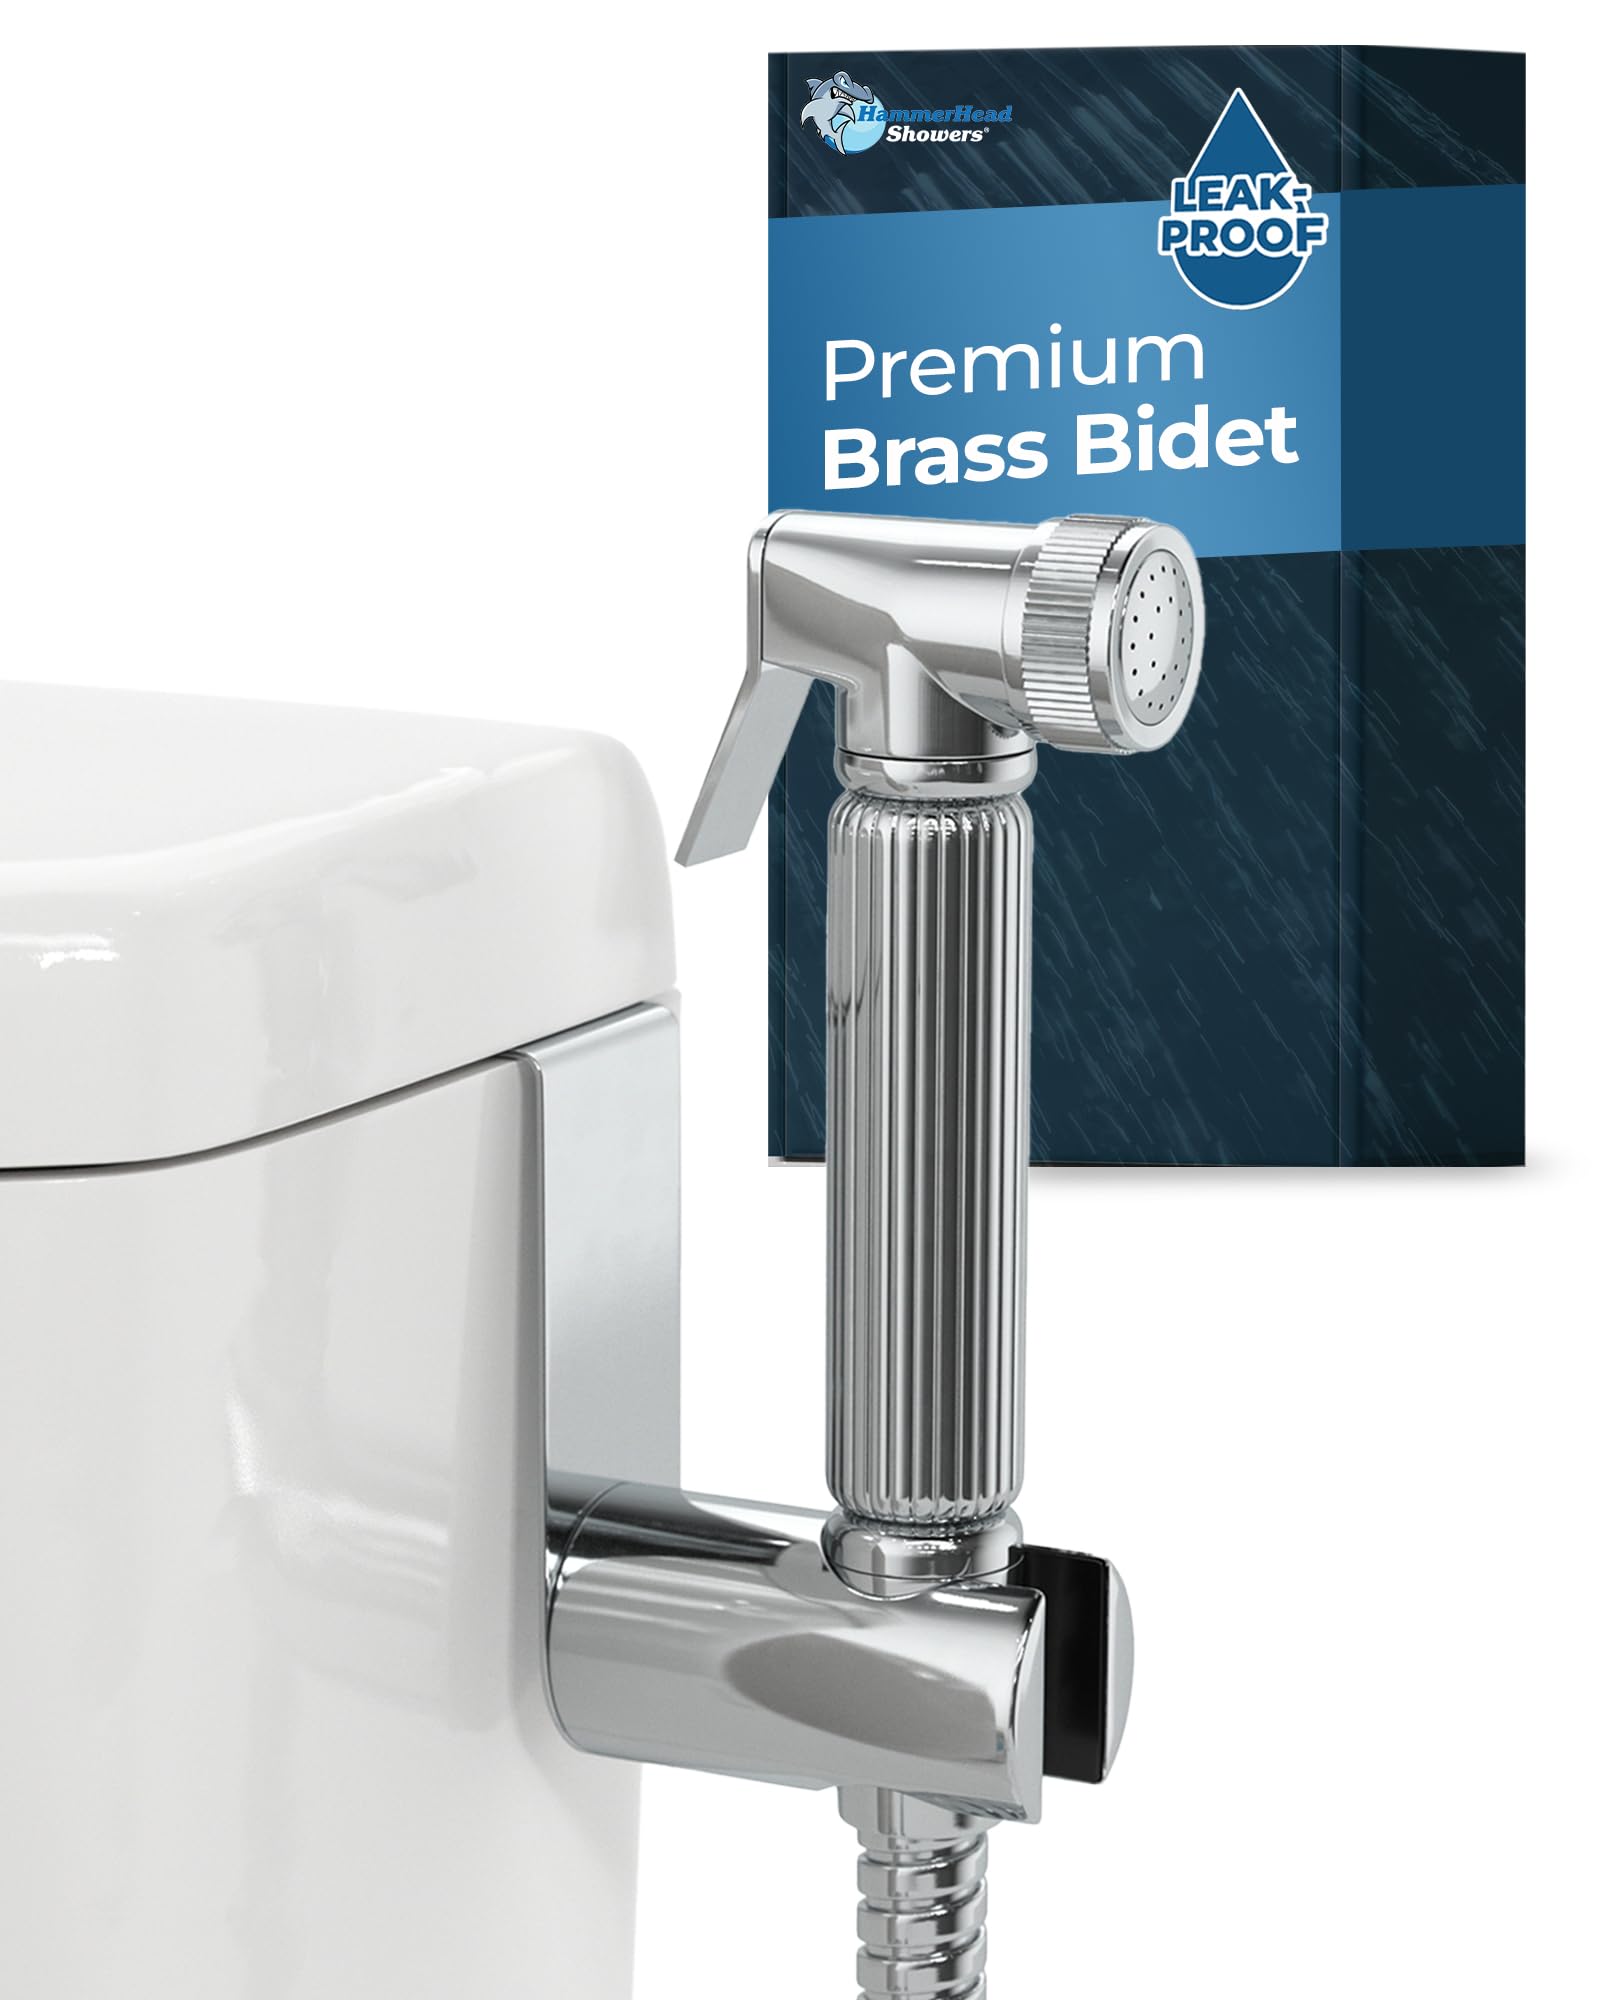
Image: An illustration emphasizing the durable, solid metal construction of the bidet sprayer and T-valve, along with a 'Backed for Life' guarantee.