
GLOBO 48383-50RGBSH
Globo 48383-50RGBSH LED Ceiling Light User Manual
Model: 48383-50RGBSH | Brand: GLOBO
1. Introduction
Thank you for purchasing the Globo 48383-50RGBSH LED Ceiling Light. This modern ceiling fixture offers versatile lighting options including dimmable daylight (CCT 3000-6500K) and a vibrant RGB starry effect. It can be conveniently controlled via the included remote control or the Tuya Smart application on your smartphone. Please read this manual thoroughly before installation and operation to ensure safe and proper use of your new light fixture.
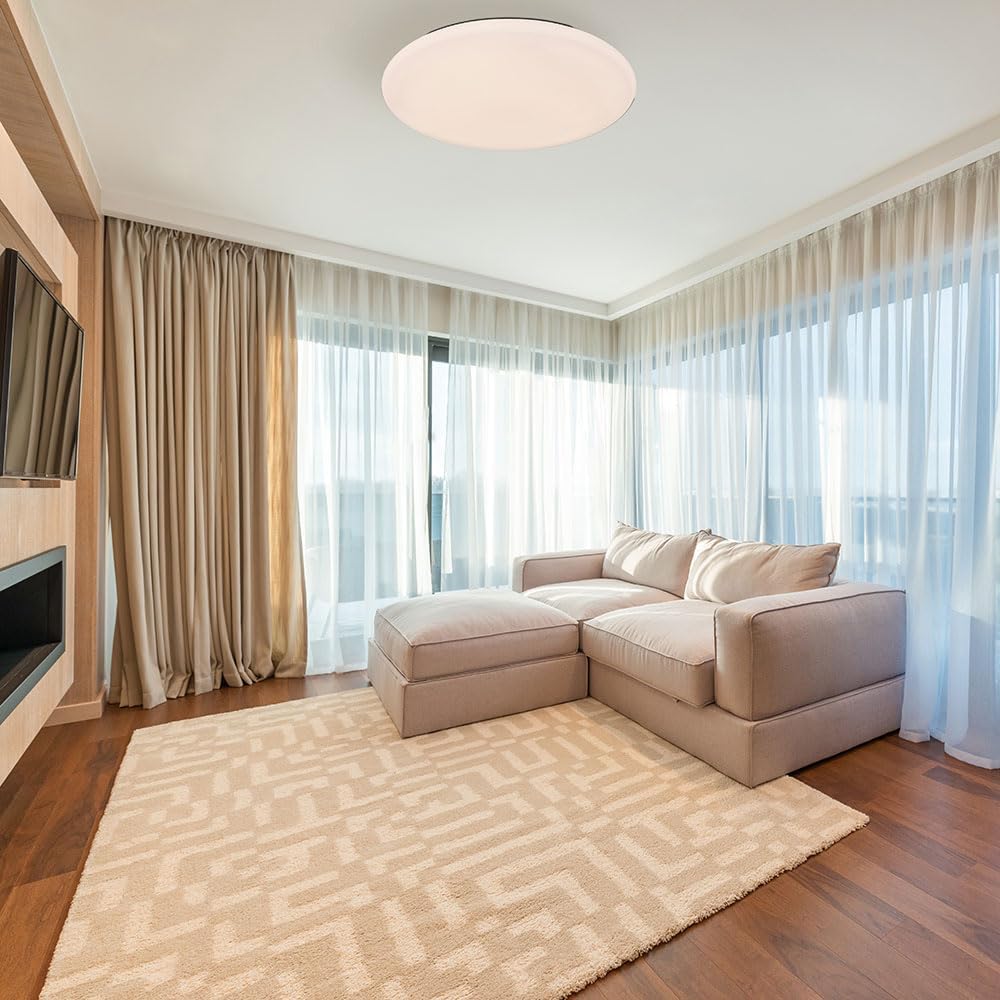
Figure 1.1: The Globo 48383-50RGBSH LED Ceiling Light elegantly installed in a living room, showcasing its sleek, round design and bright illumination.
2. Safety Information
Please observe the following safety precautions to prevent injury or damage:
- Electrical Installation: Installation must be performed by a qualified electrician in accordance with all local and national electrical codes.
- Power Disconnection: Always disconnect power at the circuit breaker or fuse box before installing, cleaning, or servicing the fixture.
- Indoor Use Only: This fixture is designed for indoor use only. Do not expose to moisture or extreme temperatures.
- Voltage: Ensure the supply voltage matches the fixture's requirements (230V).
- Handling: Handle the fixture with care. Do not drop or subject it to strong impacts.
- Cleaning: Use a soft, dry cloth for cleaning. Do not use abrasive cleaners or solvents.
- Integrated LEDs: The LED light sources are integrated and not user-replaceable. Do not attempt to open or modify the LED module.
3. Package Contents
Carefully unpack the box and ensure all items are present and undamaged:
- Globo 48383-50RGBSH LED Ceiling Light Fixture
- Remote Control
- Mounting Hardware (screws, wall anchors)
- User Manual (this document)
4. Setup and Installation
Important: Installation should only be carried out by a qualified electrician.
- Turn Off Power: Before starting, ensure the power supply to the installation area is completely turned off at the main circuit breaker or fuse box.
- Prepare Mounting Surface: Mark the desired location for the fixture on the ceiling. Use the mounting bracket (if separate) as a template to mark drilling points.
- Drill Holes: Drill holes at the marked points. Insert appropriate wall anchors if necessary.
- Attach Mounting Bracket: Secure the mounting bracket to the ceiling using the provided screws.
- Wire Connections: Carefully connect the electrical wires from the ceiling to the fixture's wires according to standard wiring practices (Live to Live, Neutral to Neutral, Ground to Ground). Ensure all connections are secure.
- Mount Fixture: Carefully lift the light fixture and align it with the mounting bracket. Secure the fixture to the bracket using the provided screws or locking mechanism.
- Restore Power: Once the fixture is securely installed and all connections are checked, restore power at the circuit breaker.

Figure 4.1: The main body of the Globo 48383-50RGBSH LED Ceiling Light, ready for installation.
5. Operating Instructions
5.1. Remote Control Operation
The included remote control allows for easy adjustment of the light's functions.

Figure 5.1: The dedicated remote control for the Globo 48383-50RGBSH LED Ceiling Light.
- Power On/Off (W button): Press to turn the light on or off.
- RGB On/Off (RGB button): Activates or deactivates the RGB color mode.
- Brightness Adjustment (+/- buttons): Increase or decrease the light intensity.
- Color Temperature (CCT) Adjustment (Sun icons): Adjust the white light from warm white (3000K) to cool white (6500K).
- RGB Color Cycle (RGB II button): Cycles through various RGB colors automatically.
- RGB Color Selection (R, G, B buttons): Directly select Red, Green, or Blue colors.
- Mode Selection (Loop icon): Cycles through pre-programmed lighting modes.
- Timer (30S button): Activates a 30-second delay off timer.
5.2. Tuya Smart App Control
For advanced control and smart home integration, download the Tuya Smart app from your device's app store.
- Download App: Search for "Tuya Smart" in the App Store (iOS) or Google Play Store (Android) and install it.
- Register/Login: Open the app and register a new account or log in if you already have one.
- Add Device: Ensure your light fixture is powered on. In the Tuya Smart app, tap "Add Device" or the "+" icon. Follow the on-screen instructions to connect the light fixture to your Wi-Fi network. This typically involves putting the light into pairing mode (often by cycling power on/off a few times).
- Control Functions: Once connected, you can control brightness, color temperature (CCT), RGB colors, set schedules, and create custom scenes directly from the app.

Figure 5.2: Controlling the light via the Tuya Smart app on a smartphone.
5.3. Light Modes and Effects
The fixture offers various lighting effects:
- Daylight (CCT): Adjustable white light from warm (3000K) to cool (6500K) to suit different moods and activities.
- RGB Colors: Access a spectrum of colors for ambient or decorative lighting.
- Starry Effect: The fixture's design incorporates a subtle starry effect when illuminated, adding a unique visual element.

Warm White (3000K)

Cool White (6500K)

RGB Pink

RGB Blue

RGB Green
Figure 5.3: Examples of various light colors and temperatures achievable with the fixture.
6. Maintenance
The Globo LED Ceiling Light requires minimal maintenance.
- Cleaning: Ensure the power is off before cleaning. Wipe the fixture with a soft, dry, or slightly damp cloth. Do not use harsh chemicals, abrasive cleaners, or sprays directly on the fixture.
- LEDs: The LED light sources are integrated and designed for a long lifespan. They are not user-replaceable.
7. Troubleshooting
| Problem | Possible Cause | Solution |
|---|---|---|
| Light does not turn on. | No power supply. Loose wiring connection. Remote control battery low/dead. | Check circuit breaker. Verify all wire connections are secure (ensure power is off first). Replace remote control batteries. |
| Remote control not working. | Batteries are dead or incorrectly inserted. Remote is too far from the fixture. Obstruction between remote and fixture. | Replace batteries, ensuring correct polarity. Move closer to the fixture. Remove any objects blocking the signal path. |
| Tuya Smart app cannot connect to the light. | Incorrect Wi-Fi password. Light not in pairing mode. Router issues (2.4GHz only). | Double-check Wi-Fi password. Follow app instructions to put light into pairing mode (e.g., power cycle). Ensure your Wi-Fi network is 2.4GHz. Restart your router if necessary. |
| Light flickers or dims unexpectedly. | Unstable power supply. Loose wiring. Fixture malfunction. | Consult a qualified electrician to check your home's electrical system. Verify wiring connections (power off first). If problem persists, contact customer support. |
8. Specifications
| Brand | GLOBO |
| Model Number | 48383-50RGBSH |
| Product Dimensions (Diameter x Height) | 70 x 8 cm (approx. 27.5 x 3.1 inches) |
| Material | Metal, Acrylic (Opal White) |
| Color | Silver |
| Light Source Type | Integrated LED |
| Number of Light Sources | 2 |
| Luminous Flux | 4000 lm |
| Color Temperature (CCT) | 3000K - 6500K (Dimmable) |
| Shade Color | RGB |
| Voltage | 230 Volts (AC) |
| Energy Efficiency Label | A |
| Control Method | Remote Control, Tuya Smart App |
| Installation Type | Ceiling Mount |
| Specific Uses | Indoor Use Only |
| Batteries Included | No (for remote control) |
| Color Rendering Index (CRI) | 5 (Note: Typical CRI for good color rendering is 80+) |

Figure 8.1: Energy Efficiency Label.
9. Warranty and Support
GLOBO products are manufactured to high-quality standards. For information regarding warranty coverage, please refer to the warranty card included with your purchase or contact your retailer. For technical support or inquiries, please reach out to the GLOBO customer service department through their official website or the contact information provided by your retailer.
Related documents48383-50RGBSH


Ask a question about this manual
Ask about setup, troubleshooting, compatibility, parts, safety, or missing instructions. Manuals+ will review the question and use this page’s manual context to help answer it.