
AIRPLUS AP10-1907EE
AIRPLUS 1,500 Sq. Ft Dehumidifier User Manual
Model: AP10-1907EE | Brand: AIRPLUS
Efficient moisture removal for basements, large rooms, and bedrooms.
1. Introduction
Thank you for choosing the AIRPLUS Dehumidifier. This manual provides essential information for the safe and efficient operation of your new appliance. Please read it thoroughly before use and keep it for future reference.
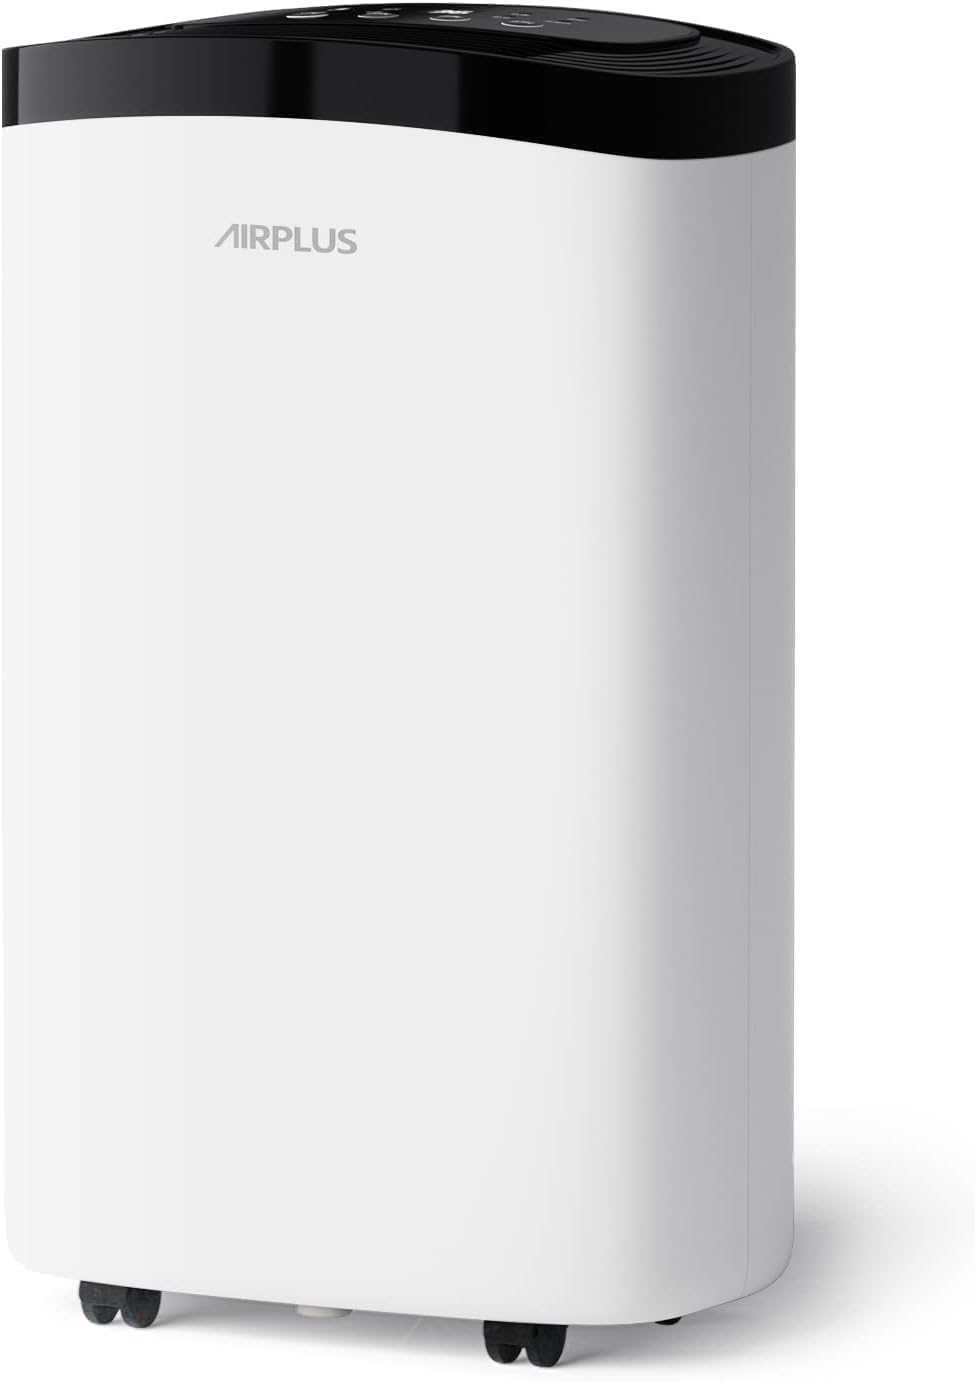
Figure 1: AIRPLUS Dehumidifier (Curved Style)
2. Important Safety Information
To reduce the risk of fire, electric shock, or injury, always follow these basic precautions:
- Always plug the unit into a grounded 3-prong outlet. Do not remove the grounding prong.
- Do not operate the unit with a damaged power cord or plug.
- Ensure the unit is placed on a level, stable surface to prevent tipping and water spillage.
- Do not use the dehumidifier in areas where flammable liquids or gases are stored.
- Keep children and pets away from the unit during operation.
- Unplug the unit before cleaning, maintenance, or when not in use for extended periods.
- Do not block air inlets or outlets. Maintain at least 8 inches of clearance around the unit.
3. Product Overview
The AIRPLUS Dehumidifier is designed to efficiently remove excess moisture from your environment, improving air quality and comfort. Key features include:
- Efficient dehumidification up to 30 Pints/Day for areas up to 1,500 sq. ft.
- Multiple operating modes: Standard, Raining, Sleep, and Drying.
- Intelligent Constant Humidity feature to maintain desired humidity levels.
- Convenient 50 OZ (1.5L) water tank with auto shut-off when full.
- Continuous drainage option with included hose.
- Portable design with 4 universal casters for easy movement.
- Quiet operation for minimal disturbance.

Figure 2: Overview of Dehumidifier Features
Control Panel
The intuitive control panel allows for easy operation and mode selection.

Figure 3: Informative Display and Control Panel
- ON/OFF Button: Powers the unit on or off.
- MODE Button: Cycles through Standard, Raining, Sleep, and Drying modes.
- HUM Button: Adjusts the target humidity level (40%-80% RH) in Standard mode.
- TIMER Button: Sets the auto-start or auto-stop timer (1-24 hours).
- Display: Shows current humidity level and selected settings.
- Indicators: Lights for Standard, Raining, Sleep, Drying, Full (water tank), Defrost, and Anion.
4. Setup
Unpacking
Carefully remove the dehumidifier from its packaging. Retain the packaging materials for future storage or transport.
Placement
Place the dehumidifier on a firm, level surface in the area where moisture removal is desired. Ensure there is at least 8 inches (20 cm) of space around all sides of the unit for proper airflow.

Figure 4: Universal Casters for Easy Movement
The unit is equipped with universal casters for easy relocation. Avoid placing the unit directly against walls or furniture that could obstruct air circulation.
Power Connection
Plug the power cord into a grounded electrical outlet. Ensure the voltage matches the specifications of the unit.
5. Operating Instructions
Turning On/Off
Press the ON/OFF button to power the unit on or off.
Selecting Operating Modes
Press the MODE button to cycle through the available modes:
- Standard Mode: Allows manual setting of desired humidity (40%-80% RH). The unit will operate to maintain this level.
- Raining Mode: Automatically sets target humidity to 45% RH, optimized for humid conditions.
- Sleep Mode: Automatically sets target humidity to 50% RH with low noise operation for undisturbed rest.
- Drying Mode (Continuous Operation): The unit runs continuously to dry the air, ideal for very damp environments or drying clothes.

Figure 5: Mode Selection on Control Panel
Setting Humidity Level (Standard Mode)
In Standard Mode, press the HUM button to adjust the desired humidity level in 5% increments from 40% to 80% Relative Humidity (RH).
Using the Timer Function
Press the TIMER button to set the auto-start or auto-stop time from 1 to 24 hours. The unit will automatically turn on or off after the set duration.

Figure 6: 24-Hour Two-Way Timing Feature
Defrost Function
The dehumidifier features an automatic defrost function. If the coils freeze, the unit will automatically enter defrost mode, indicated by the Defrost light, and resume normal operation once defrosted.
Anion Function
The Anion function helps to purify the air by releasing negative ions. This function operates automatically in certain modes or can be indicated by the Anion light.
6. Drainage
The AIRPLUS Dehumidifier offers two drainage options:
Water Tank Drainage
The unit collects moisture in a removable 50 OZ (1.5L) water tank. When the tank is full, the "Full" indicator light will illuminate, and the unit will automatically shut off to prevent overflow. Empty the tank by carefully pulling it out, discarding the collected water, and reinserting it securely.
Continuous Drainage
For continuous operation without manual emptying, connect the included 52-inch silicone drain hose to the continuous drainage port at the back of the unit. Ensure the hose is sloped downwards to allow gravity to drain the water into a suitable drain or container.

Figure 7: Water Tank and Continuous Drainage Connection
7. Maintenance
Regular maintenance ensures optimal performance and longevity of your dehumidifier.
Cleaning the Air Filter
The dehumidifier is equipped with a washable air filter located at the back of the unit. Clean the filter every two weeks or more frequently depending on usage and air quality.
- Turn off and unplug the dehumidifier.
- Remove the filter cover and carefully pull out the air filter.
- Wash the filter with warm, soapy water. Rinse thoroughly.
- Allow the filter to air dry completely before reinserting it.
- Reattach the filter cover.
Cleaning the Water Tank
Clean the water tank regularly to prevent mold and mildew growth.
- Remove the water tank from the unit.
- Wash the tank with mild detergent and warm water.
- Rinse thoroughly and dry before placing it back into the dehumidifier.
Storage
If storing the unit for an extended period, ensure the water tank is empty and clean, and the filter is clean and dry. Store the unit upright in a cool, dry place away from direct sunlight.
8. Troubleshooting
| Problem | Possible Cause | Solution |
|---|---|---|
| Unit does not turn on. | No power; Water tank full or not properly inserted. | Check power connection; Empty and reinsert water tank correctly. |
| No water collected. | Humidity level too low; Room temperature too low; Air filter clogged. | Adjust target humidity; Ensure room temp is above 41°F (5°C); Clean air filter. |
| Unit is noisy. | Unit not on a level surface; Air filter clogged. | Place on a flat, stable surface; Clean air filter. |
| Continuous drainage not working. | Hose kinked or blocked; Hose not sloped downwards. | Check and clear hose; Ensure proper downward slope for gravity drainage. |
9. Specifications
- Brand: AIRPLUS
- Model Name: Dehumidifier
- Model Number: AP10-1907EE
- Dehumidification Capacity: 30 Pints per Day
- Coverage Area: Up to 1500 Square Feet
- Water Tank Capacity: 50 OZ (1.5 Liters)
- Product Dimensions: 7"D x 11.7"W x 19.7"H
- Item Weight: 22.15 Pounds
- Wattage: 192 watts
- Operation Mode: Continuous
- Special Features: Continuous Draining, Timer, Defrost, Full-tank Reminder, Drying, Anion.

Figure 8: Product Dimensions
10. Warranty and Support
For warranty information or technical support, please refer to the official AIRPLUS website or contact their customer service. This manual does not contain specific warranty details.
You can also refer to the Official User Manual (PDF) for additional information.
Related documentsAP10-1907EE


Ask a question about this manual
Ask about setup, troubleshooting, compatibility, parts, safety, or missing instructions. Manuals+ will review the question and use this page’s manual context to help answer it.