
Introduction
The Tilcare Ear Wax Removal Kit is designed to provide a safe and effective method for ear wax removal and cleaning at home. This system utilizes ear irrigation to gently flush out wax, dirt, and debris from the ear canal. It is suitable for use by adults, teens, and children.

Image: A person using the Tilcare Ear Wax Removal Kit, demonstrating safe and effective ear cleaning at home.
What's Included
The Tilcare Ear Wax Removal Kit includes the following components:
- Ear Wash Spray Bottle with flexible tube and tip
- Wash Basin
- Bulb Syringe
- Four-piece Curette Kit (spoon and spiral tools)
- Microfiber Towel
- 30 Disposable Tips

Image: All components of the Tilcare Ear Wax Removal Kit, including the spray bottle, various tips, basin, bulb syringe, curette kit, and microfiber towel.
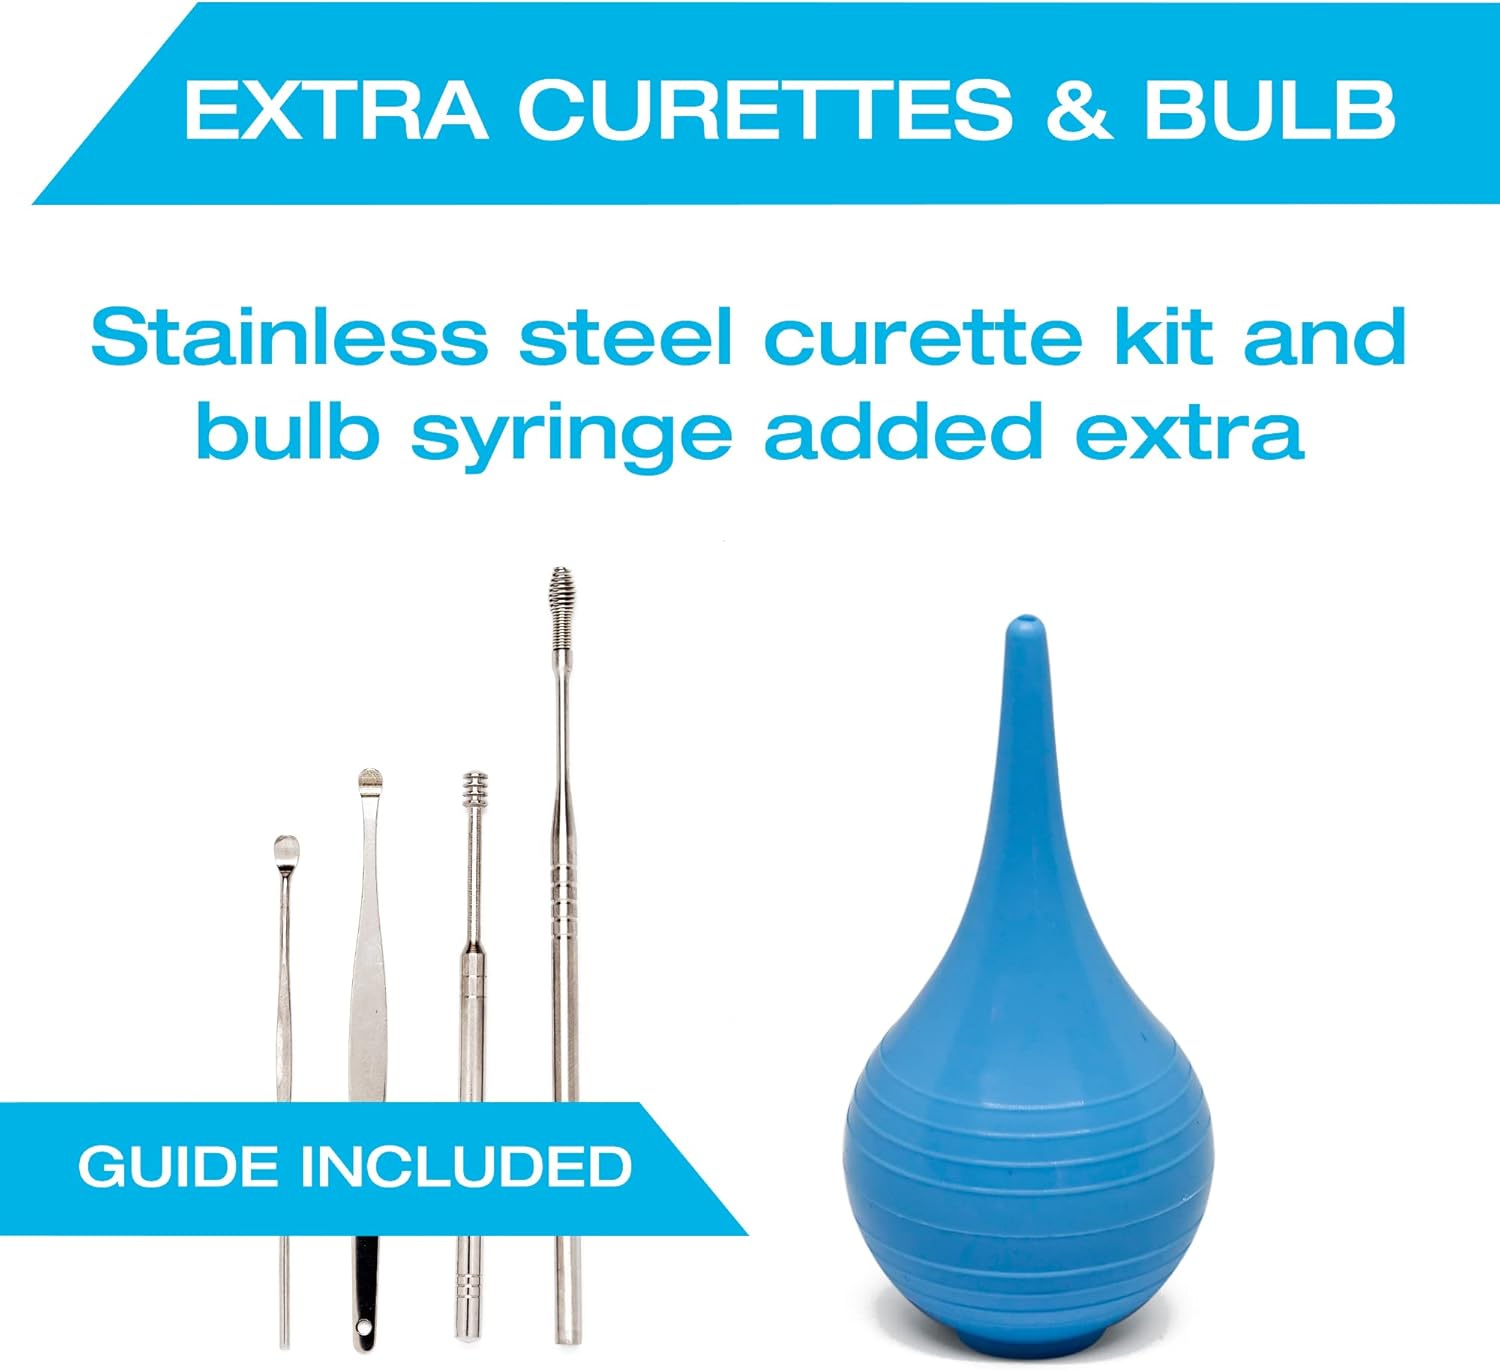
Image: The stainless steel curette kit and blue bulb syringe, provided for additional ear wax removal.
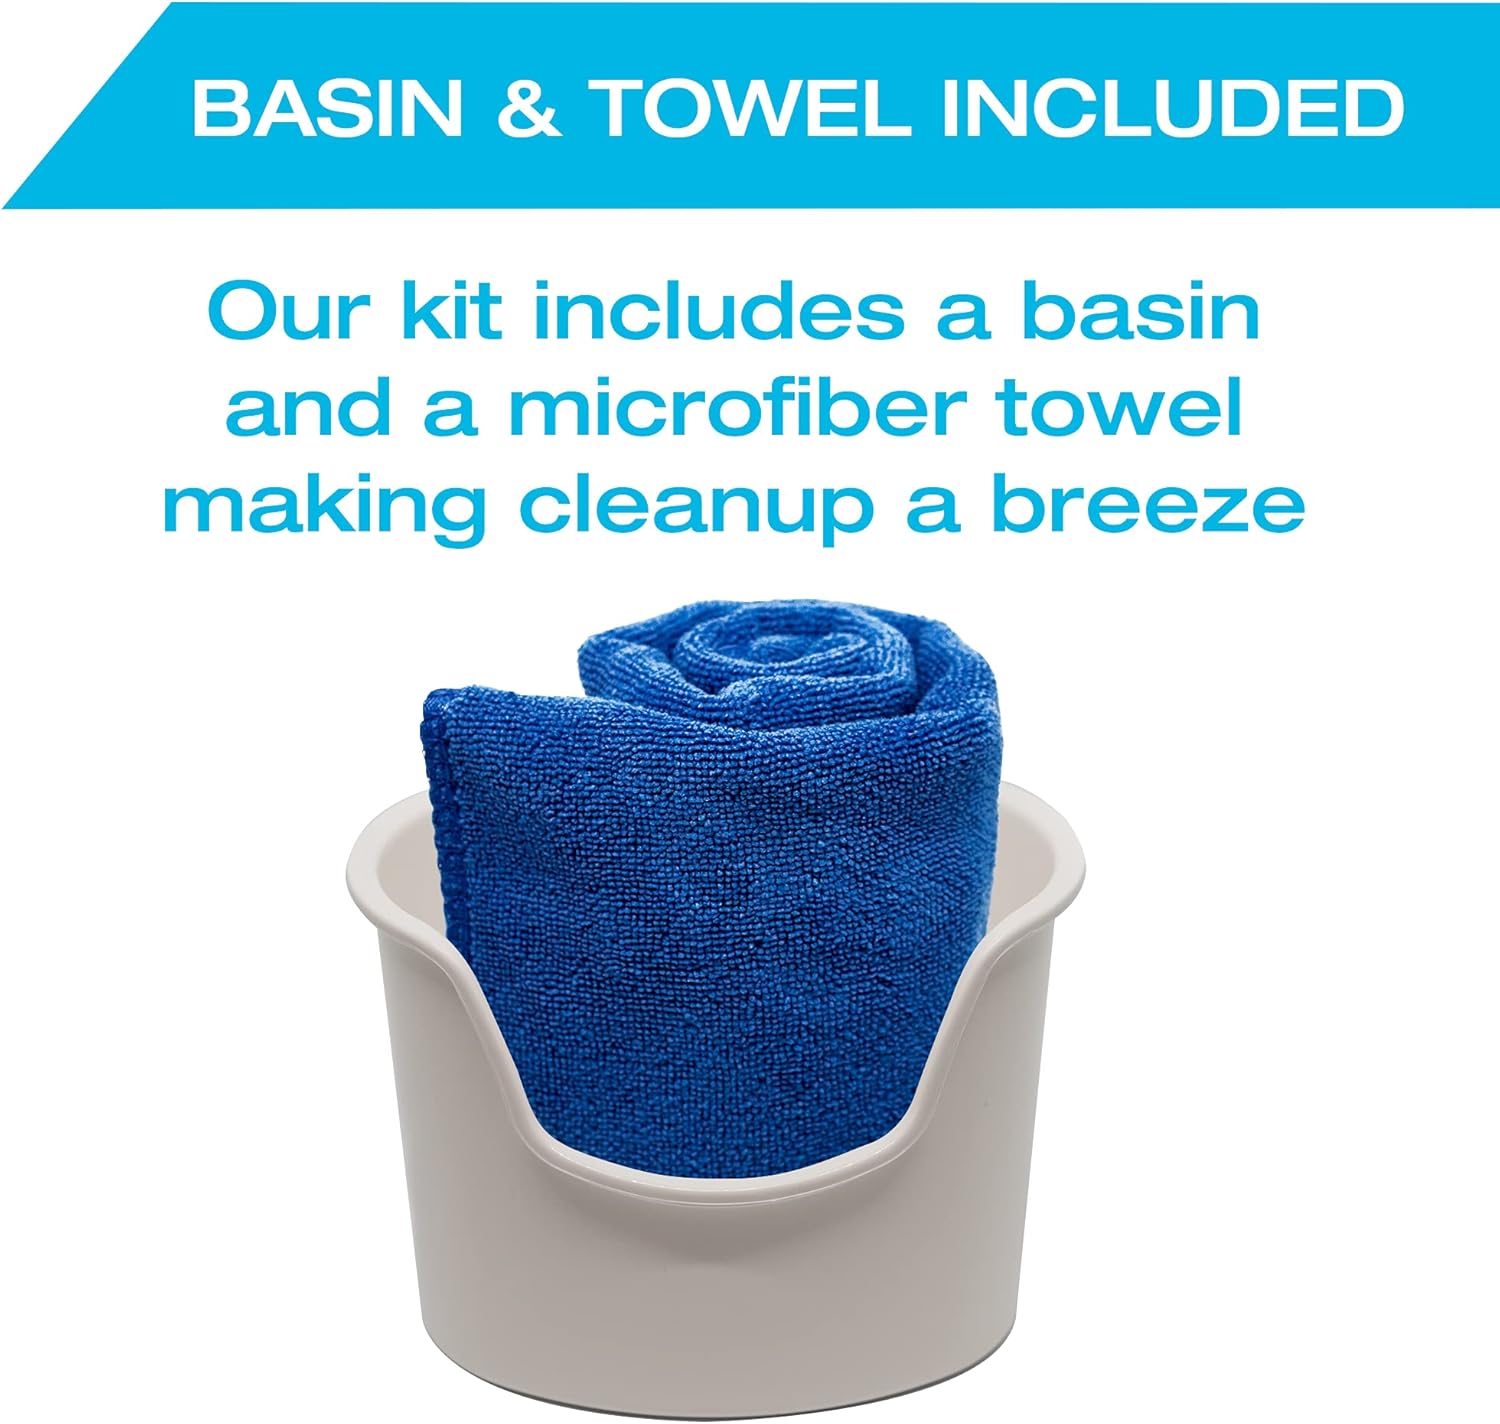
Image: The wash basin and microfiber towel, designed to facilitate a clean and easy cleanup process.
Setup
- Prepare the Spray Bottle: Fill the ear wash spray bottle with lukewarm water. Ensure the water is not too hot or too cold, as extreme temperatures can cause discomfort or dizziness.
- Attach the Hose and Tip: Securely attach the flexible hose to the spray bottle. Then, select a disposable tip and attach it to the end of the flexible hose. An alternative rigid tip is also included for a direct spray.
- Position the Basin: Hold the wash basin firmly against the ear to be cleaned, ensuring it catches any water and dislodged ear wax. For self-use, position the basin to collect runoff.
- Prepare the Bulb Syringe (Optional): If using the bulb syringe, fill it with lukewarm water.
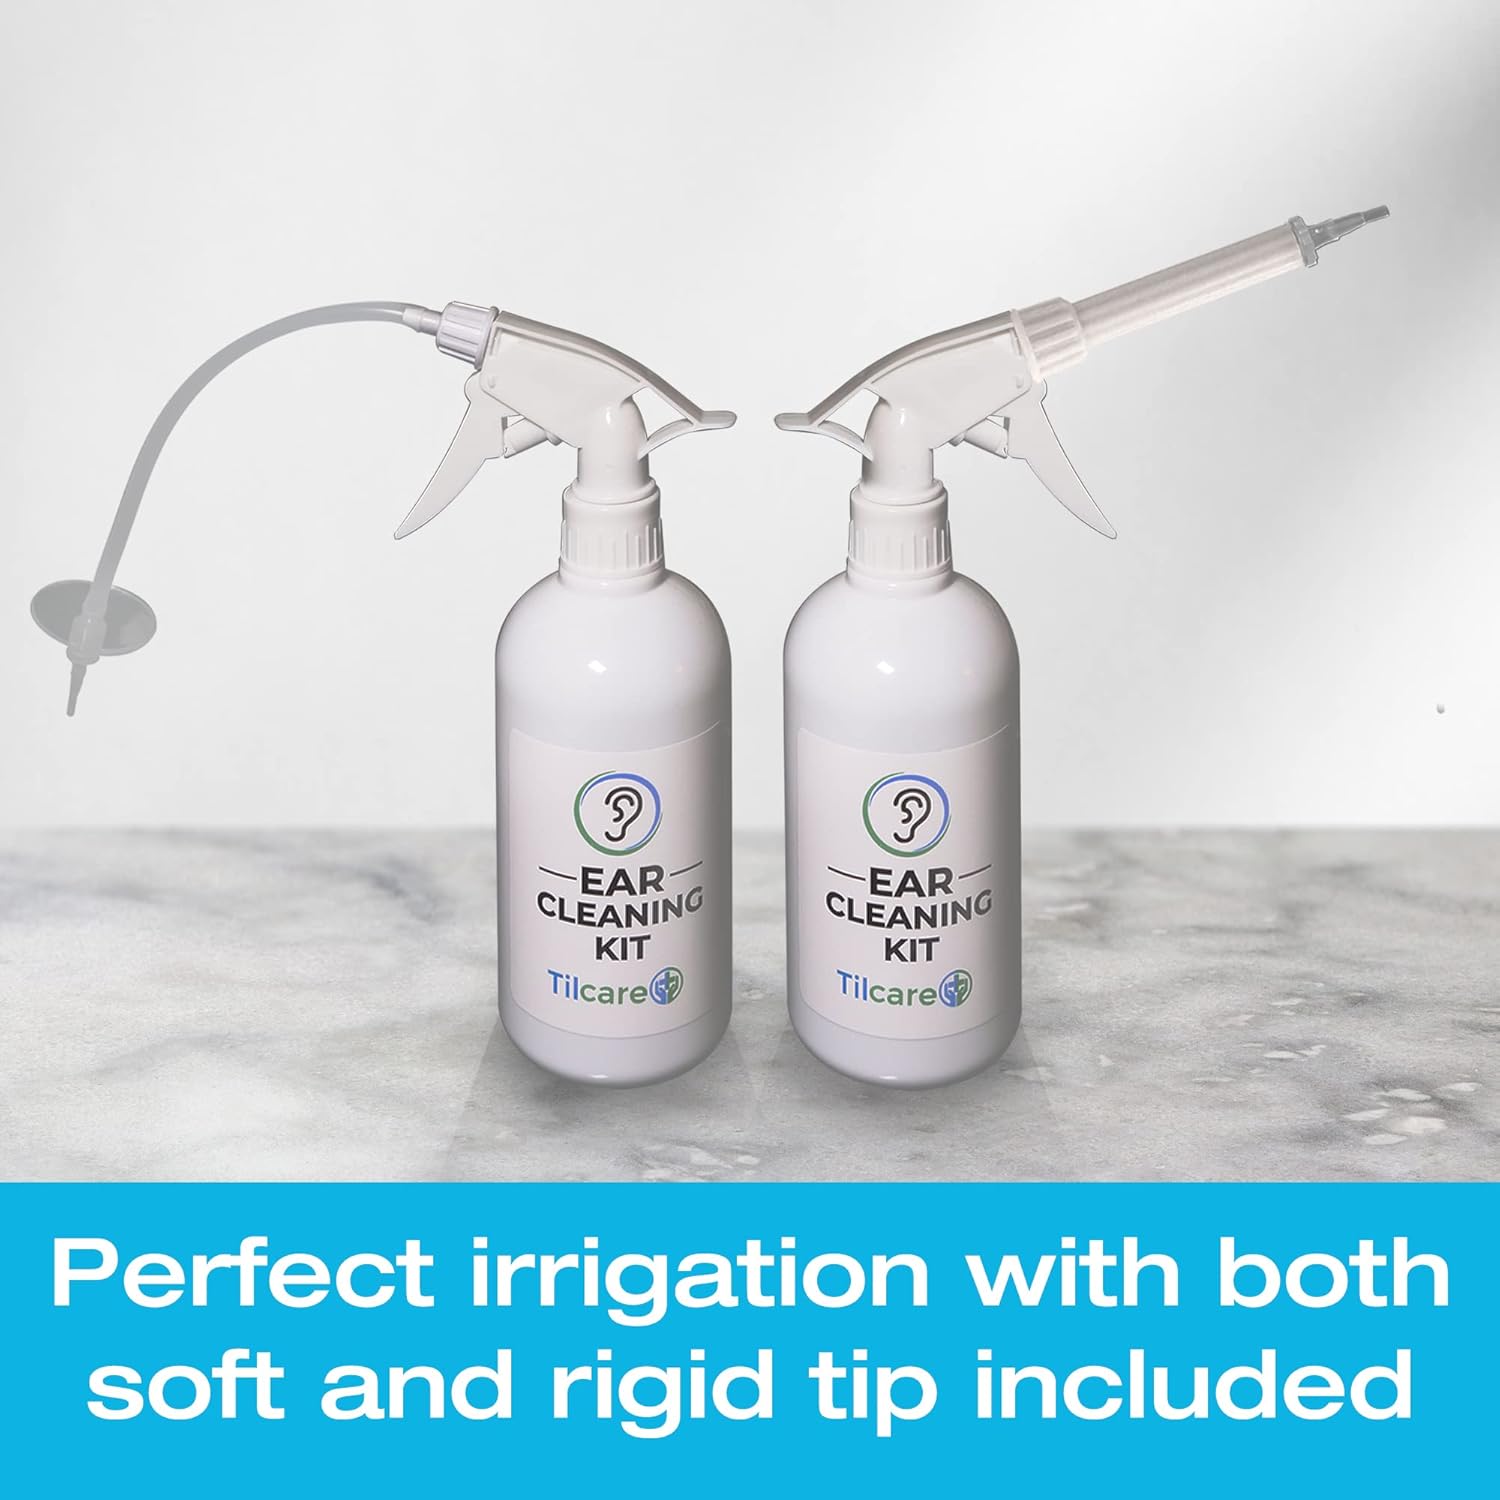
Image: Two Tilcare ear cleaning spray bottles, illustrating the flexible and rigid tip options for irrigation.
Operating Instructions
Using the Ear Irrigation System:
- Soften Ear Wax (Recommended): For best results, consider using ear wax softening drops (not included) for a few days prior to irrigation to help loosen stubborn wax.
- Positioning: Tilt your head slightly to the side, with the ear to be cleaned facing upwards. Hold the wash basin under the ear.
- Irrigation: Gently insert the tip of the flexible hose into the ear canal, ensuring it does not block the canal entirely to allow water to flow out. Press the spray bottle trigger repeatedly to introduce lukewarm water into the ear. Continue until the water flowing into the basin appears clear and free of wax.
- Drying: Use the microfiber towel to gently dry the outer ear after irrigation.
Using the Curette Kit (Caution):
The curette kit is designed for removing ear wax that is visible and close to the outer ear canal opening. Exercise extreme caution when using these tools to avoid injury to the ear canal or eardrum. Do not insert the curettes deep into the ear canal.
- Visibility: Only use curettes to remove visible ear wax. Never insert them blindly into the ear canal.
- Gentle Removal: Carefully scoop or gently dislodge visible wax using the appropriate curette tool.
Using the Bulb Syringe (Optional):
The bulb syringe can be used for a more direct, lower-pressure flush if preferred or for smaller ears.
- Fill: Squeeze the bulb to expel air, then submerge the tip in lukewarm water to draw water into the bulb.
- Flush: Gently insert the tip into the ear canal and squeeze the bulb to release water.
Video: This video demonstrates the features and benefits of the Tilcare Ear Wax Removal Kit, showing how it can be used for effective ear cleaning.
Video: This video provides a quick overview of the Tilcare Ear Wax Removal Kit, demonstrating its components and ease of use.
Maintenance and Cleaning
- After Each Use: Discard the used disposable tip.
- Cleaning Components: Wash the spray bottle, hose, basin, and curette tools with warm, soapy water. Rinse thoroughly and allow to air dry completely before storing.
- Storage: Store all components in a clean, dry place.
Troubleshooting
- Water Not Spraying: Ensure the hose is securely attached to the spray bottle and the tip is firmly in place. Check that the intake tube inside the bottle reaches the water.
- Discomfort During Use: If you experience pain or significant discomfort, stop immediately. Ensure the water temperature is lukewarm and not too hot or cold. Do not insert tips too deeply into the ear canal. Consult a medical professional if discomfort persists.
- Ear Wax Not Dislodging: For stubborn wax, consider using ear wax softening drops for a few days before irrigation. Repeat the irrigation process gently. If wax remains impacted, consult a doctor.
Specifications
- Product Dimensions: 5.91 x 4.72 x 3.53 inches
- Item Weight: 10.23 ounces
- Material: Plastic, Rubber
- Item Volume: 100 Milliliters
- Sterility Rating: Non-Sterile
Important Safety Information
The skin in your ear is sensitive and requires careful handling. This Irrigation Washer Tool is designed to wash your ears gently without causing damage. Always use lukewarm water. Do not use if you have a damaged eardrum, tubes in your ears, an ear infection, or other ear problems without consulting a doctor. Statements regarding dietary supplements have not been evaluated by the FDA and are not intended to diagnose, treat, cure, or prevent any disease or health condition.
Warranty and Support
The Tilcare Ear Wax Removal Tool kit comes with a 30-day manufacturer guarantee. For any issues, feedback, or suggestions, please contact Tilcare customer support. More information can be found on the official Tilcare website.