
Introduction
This manual provides comprehensive instructions for the safe and effective installation, operation, and maintenance of the UpStart Components 4317943 Refrigerator Ice Maker Replacement. This unit is designed to replace original ice makers in various Kenmore/Sears refrigerator models, including 106.71289100, and is compatible with W10190952 icemakers. Please read all instructions carefully before beginning installation.
Important: This is an UpStart Components brand replacement part and is not an OEM product. Compatibility is stated for reference only. Any warranties for this product are offered solely by UpStart Components.
Safety Information
- Always disconnect power to the refrigerator before attempting any installation, repair, or maintenance.
- Wear appropriate personal protective equipment, such as gloves, to prevent injury.
- Ensure the water supply valve to the refrigerator is turned off before disconnecting any water lines.
- If you are unsure about any step, consult a qualified appliance technician.
- Keep all components and tools away from children.
Package Contents
Verify that all components listed below are present in your package:
- 1x Ice Maker Assembly (Model AP-4317943-DL2934)
- Various Wiring Harnesses/Adapters
- Mounting Brackets and Screws
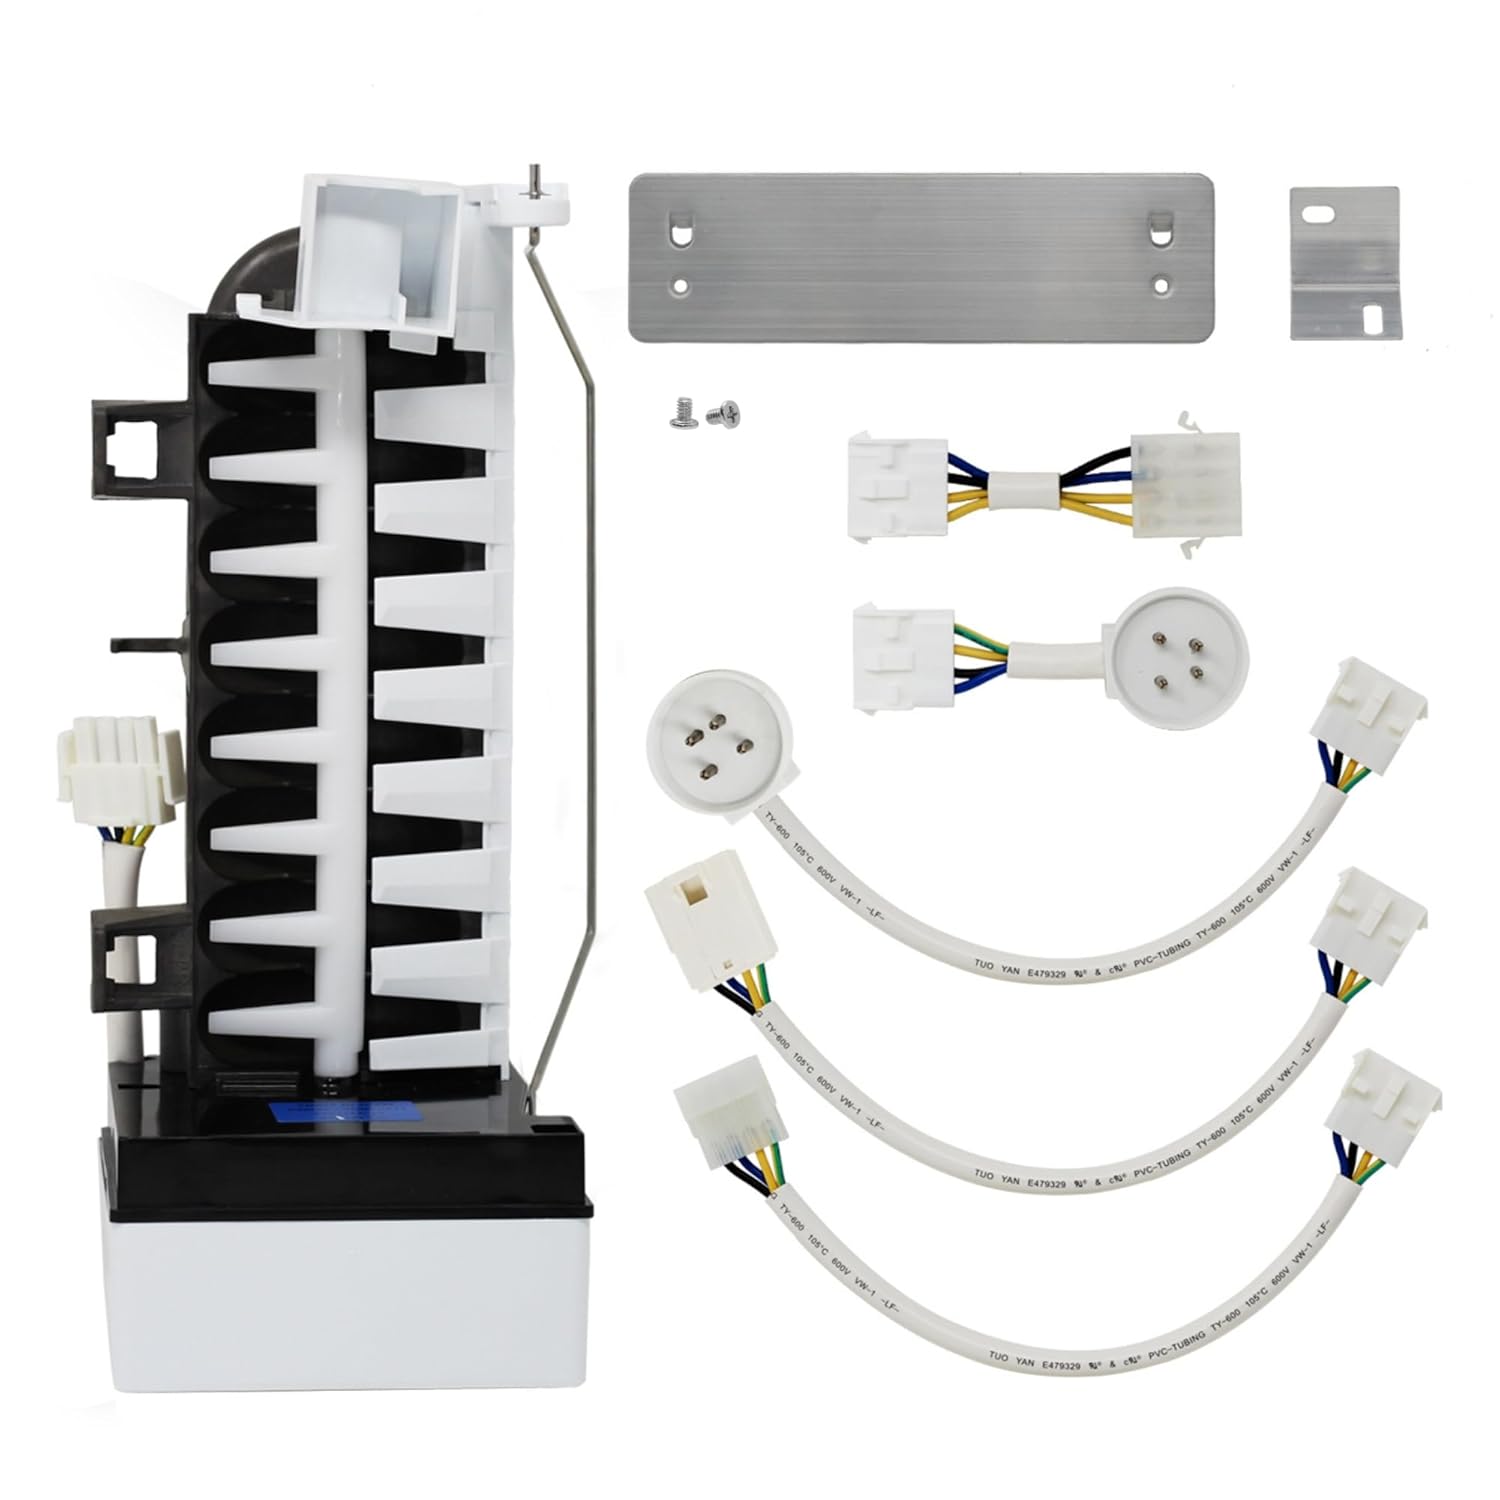
The image above displays the primary ice maker unit along with several electrical connectors and metal brackets designed for secure installation within your refrigerator's freezer compartment.
Setup and Installation
Follow these steps carefully to install your new ice maker. Refer to your refrigerator's specific service manual for detailed instructions on accessing the ice maker compartment, as procedures may vary by model.
- Disconnect Power: Unplug the refrigerator from the electrical outlet or turn off the circuit breaker supplying power to the refrigerator.
- Turn Off Water Supply: Locate the water supply valve for the refrigerator and turn it off.
- Access Old Ice Maker: Open the freezer door and locate the existing ice maker. Depending on your refrigerator model, you may need to remove shelves or other components to gain full access.
- Disconnect Wiring and Water Line: Carefully disconnect the electrical wiring harness from the old ice maker. If a water line is directly connected to the ice maker, disconnect it, being prepared for a small amount of residual water.
- Remove Old Ice Maker: Unscrew any mounting screws or release clips holding the old ice maker in place. Carefully remove the old unit from the freezer compartment.
- Prepare New Ice Maker: Compare the new ice maker with the old one. Select the appropriate wiring harness adapter and mounting brackets from the kit that match your refrigerator's configuration.
- Install New Ice Maker: Position the new ice maker in the freezer compartment. Secure it using the provided mounting brackets and screws, ensuring it is firmly attached.
- Connect Wiring: Connect the appropriate wiring harness adapter to the new ice maker and then to the refrigerator's electrical connector. Ensure all connections are secure.
- Connect Water Line (if applicable): If your old ice maker had a direct water line connection, reattach it to the new unit, ensuring a watertight seal.
- Restore Water and Power: Turn the refrigerator's water supply valve back on. Plug the refrigerator back into the electrical outlet or turn on the circuit breaker.
- Initial Check: Listen for the water fill cycle. The ice maker should begin to fill with water shortly after power is restored.

This image provides a clear side profile of the ice maker, highlighting the ice mold and the general shape of the unit, which aids in understanding its placement within the freezer.
Operating Instructions
Once installed, the ice maker operates automatically. It will cycle through filling, freezing, and ejecting ice into the ice bucket.
- First Batch of Ice: Discard the first 2-3 batches of ice produced to ensure any manufacturing residues are flushed out and the water lines are clear.
- Ice Production Time: It may take up to 24 hours for the ice maker to produce its first full batch of ice after installation, as the freezer needs to reach optimal temperature.
- Ice Level Arm: The ice maker features a shut-off arm. When the ice bucket is full, this arm will rise, stopping ice production until ice is removed. Ensure the arm can move freely.
Maintenance
- Cleaning: Periodically clean the ice bucket with mild soap and warm water. Rinse thoroughly and dry before returning it to the freezer.
- Water Filter: Ensure your refrigerator's water filter is replaced regularly according to the manufacturer's recommendations to maintain ice quality and prevent mineral buildup in the ice maker.
- Water Line Check: Occasionally inspect the water supply line for kinks, leaks, or damage.
Troubleshooting
| Problem | Possible Cause | Solution |
|---|---|---|
| No ice production |
|
|
| Small or hollow ice cubes |
|
|
| Ice tastes bad or has odor |
|
|
If troubleshooting steps do not resolve the issue, please contact UpStart Components customer support.
Specifications
| Feature | Detail |
|---|---|
| Model Number | AP-4317943-DL2934 |
| Part Number | 4317943 |
| Brand | UpStart Components |
| Compatibility | Kenmore/Sears 106.71289100, W10190952, and other cross-referenced part numbers (AP2984633, 4317943R, 4317943VP, etc.) |
| Type | Refrigerator Ice Maker Replacement |
Warranty and Support
This product is covered by a warranty provided solely by UpStart Components. For specific warranty terms, conditions, or to obtain technical support, please contact UpStart Components directly through their official channels. Please retain your proof of purchase for warranty claims.
For further assistance, please refer to the contact information provided with your purchase or visit the UpStart Components website.