
1. Introduction
This manual provides essential instructions for the proper setup, operation, and maintenance of your Midland MB400 Two-Way Radio System. This package includes six MB400 radios and a multi-charger combo, designed for reliable communication in various environments.

Image 1: Midland MB400 Two-Way Radios and Multi-Charger Combo. This image displays six black MB400 radios, a six-slot multi-charger base, and six belt clips with screws.
2. What's in the Box
Your Midland MB400X6MC package includes the following components:
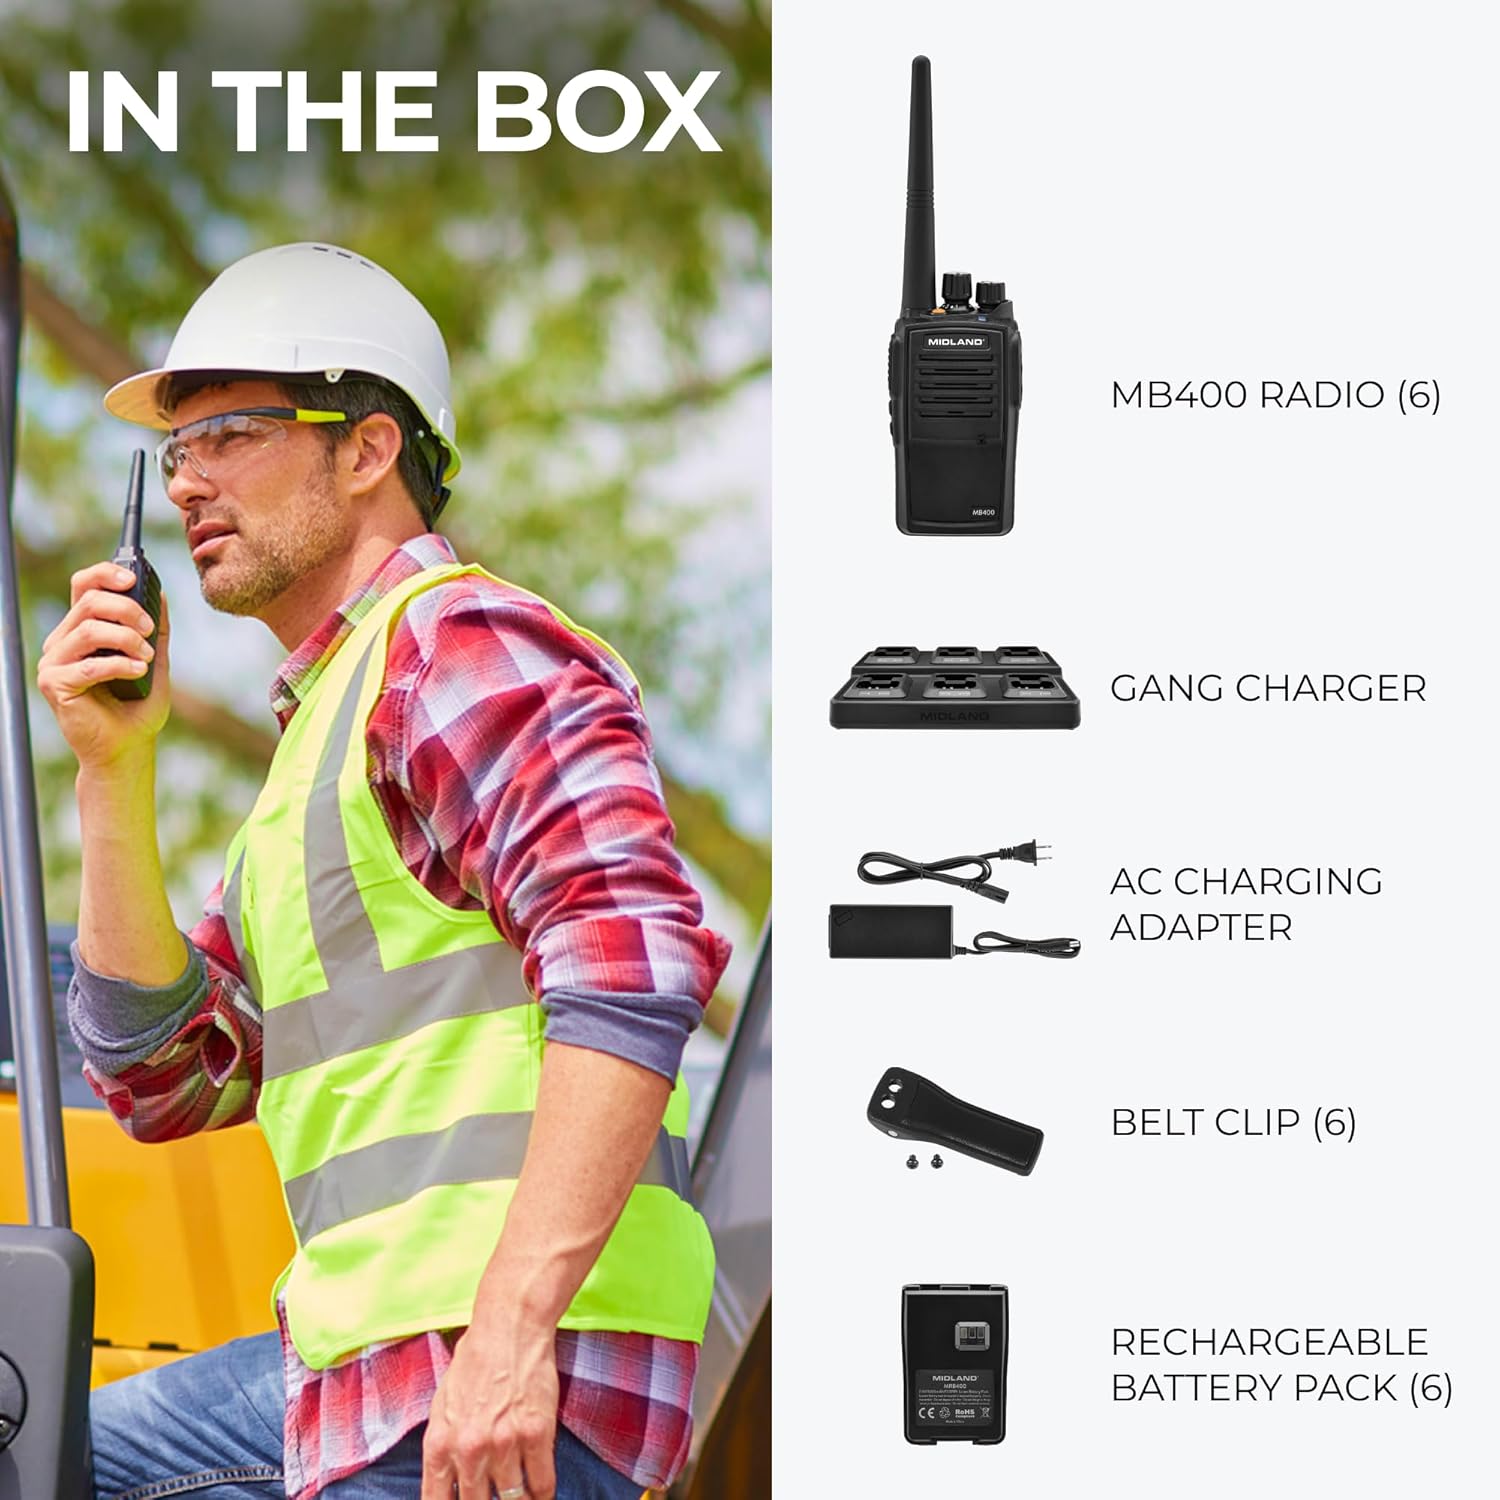
Image 2: Contents of the Midland MB400X6MC package. This image shows one MB400 radio, a gang charger, an AC charging adapter, a belt clip, and a rechargeable battery pack, with a note indicating six of each radio, belt clip, and battery pack are included.
- Midland MB400 Radio (6 units)
- Gang Charger (1 unit)
- AC Charging Adapter (1 unit)
- Belt Clip (6 units)
- Rechargeable Battery Pack (6 units)
3. Product Features
The Midland MB400 radio is designed for robust performance and ease of use. Key features include:

Image 3: Diagram of Midland MB400 radio features. This image highlights the Push to Talk button, Emergency Call button, Channel Selection knob, Low-Battery Alert indicator, Accessory Speaker/Mic Jack, and Rechargeable Battery compartment.
- Push to Talk (PTT) Button: Activates transmission.
- Emergency Call Button: For urgent communications.
- Channel Selection Knob: To select desired communication channels.
- Low-Battery Alert: Visual or audible indicator for low battery status.
- Accessory Speaker/Mic Jack: For connecting external audio accessories.
- Rechargeable Battery: Provides portable power for the radio.
- 4 Watts of Communication Power: Ensures clear and strong signal transmission.
- Waterproof Design: Offers protection against water ingress.
4. Setup
4.1 Battery Installation
- Ensure the radio is powered off.
- Locate the battery compartment cover on the back of the radio.
- Carefully remove the cover.
- Insert the rechargeable battery pack, ensuring proper alignment of the contacts.
- Replace the battery compartment cover and secure it firmly.
4.2 Charging the Batteries
Before first use, fully charge all radio batteries using the provided multi-charger.
- Connect the AC charging adapter to the gang charger.
- Plug the AC adapter into a standard wall outlet.
- Place each MB400 radio into an available slot on the gang charger. Ensure the radio makes proper contact with the charging terminals.
- A charging indicator light on the radio or charger will illuminate, typically red for charging and green for fully charged.
- Allow approximately 4-6 hours for a full charge.
4.3 Attaching the Belt Clip
The belt clip provides a convenient way to carry your radio.
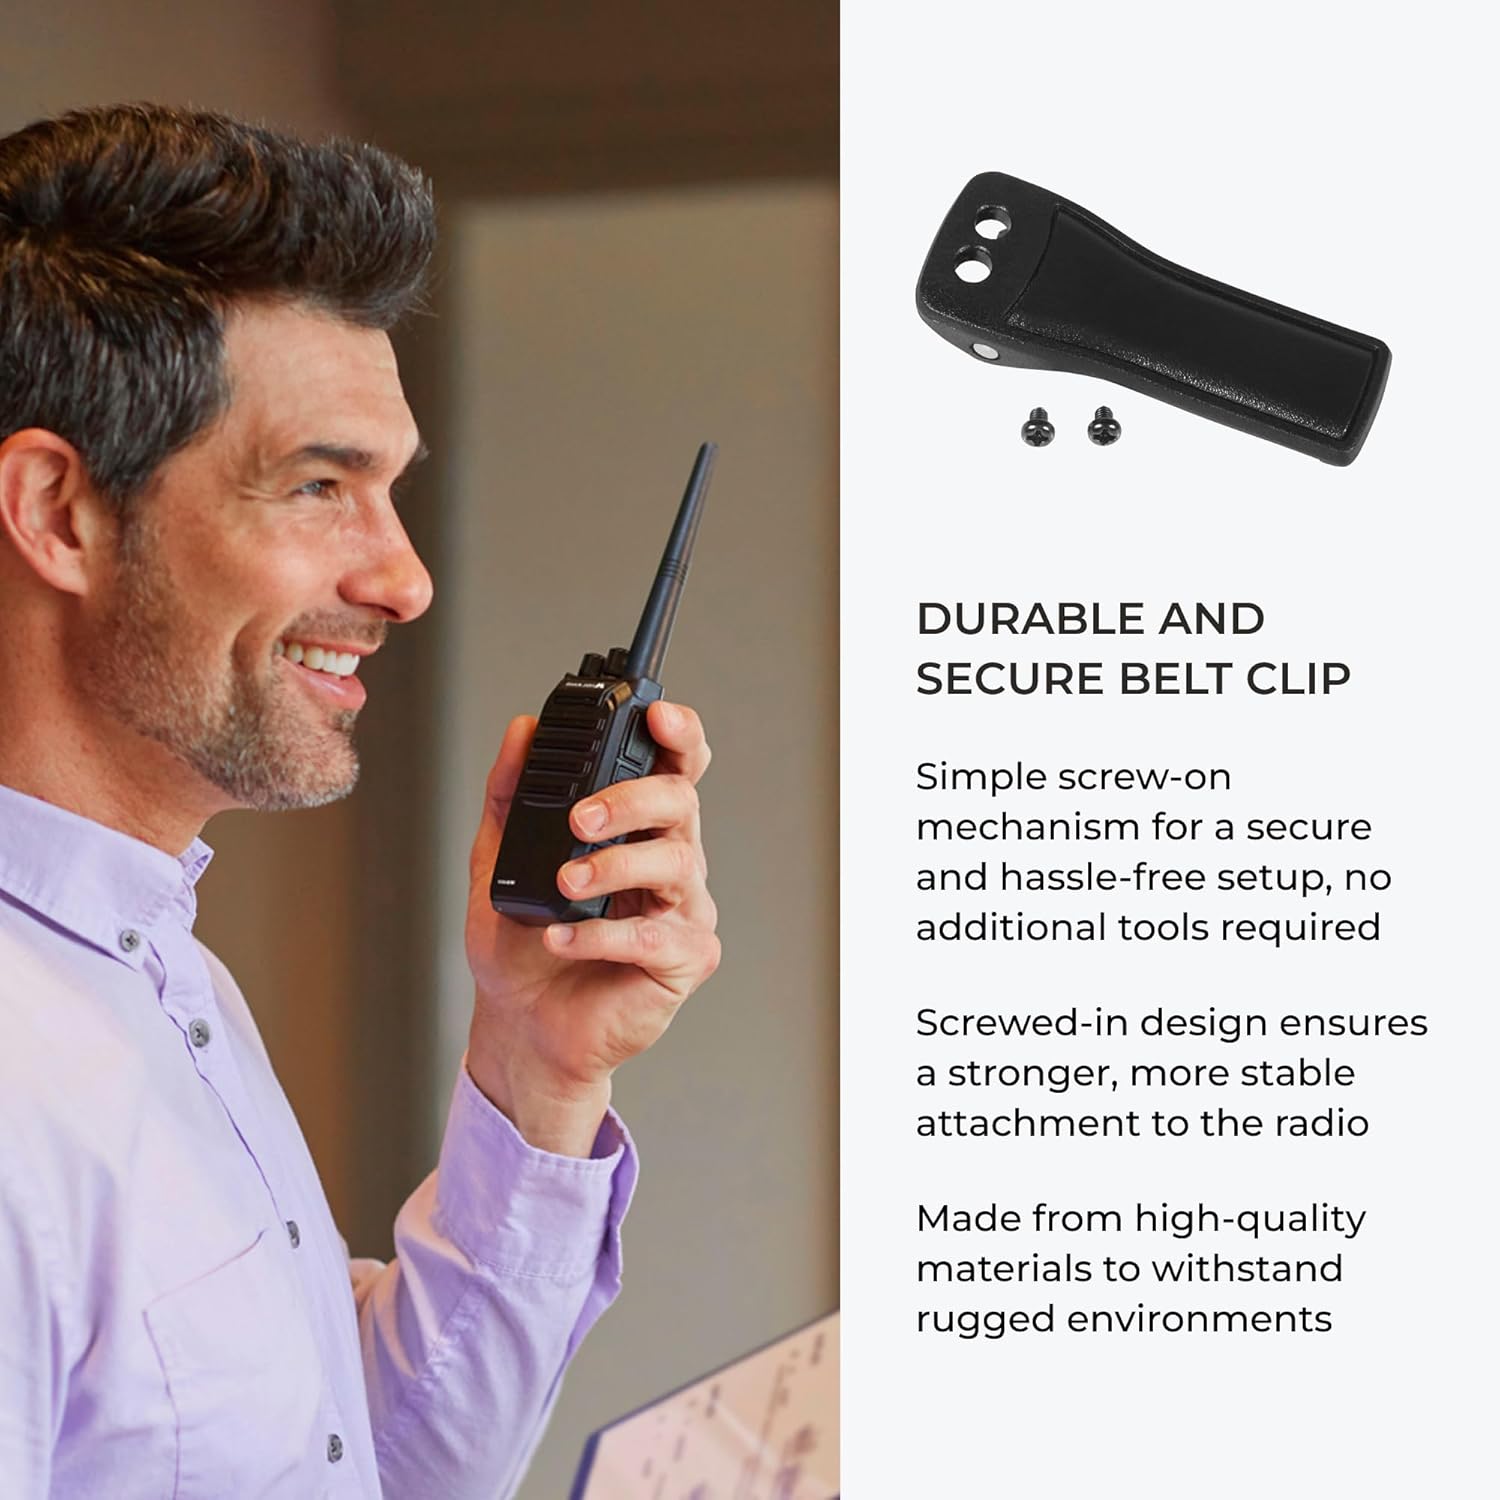
Image 4: Midland MB400 radio with belt clip and screws. This image shows a black belt clip and two small screws, indicating how the clip attaches to the radio.
- Align the belt clip with the screw holes on the back of the radio.
- Insert the provided screws into the holes.
- Tighten the screws with a small Phillips head screwdriver until the belt clip is securely attached. Do not overtighten.
5. Operating Your Radio
5.1 Power On/Off and Volume Adjustment
- To power on the radio, rotate the Power/Volume Knob clockwise until you hear a click.
- Continue rotating the knob clockwise to increase the volume. Rotate counter-clockwise to decrease volume.
- To power off, rotate the Power/Volume Knob counter-clockwise until you hear a click.
5.2 Channel Selection
- Rotate the Channel Selection Knob to choose your desired communication channel (1-16).
- Ensure all radios intended for communication are set to the same channel.
5.3 Transmitting and Receiving
- To transmit, press and hold the Push to Talk (PTT) Button on the side of the radio. Speak clearly into the microphone.
- Release the PTT button to stop transmitting and listen for a response.
- When receiving a transmission, the radio will automatically switch to receive mode.
5.4 Emergency Call Feature
In an emergency, press the Emergency Call Button to send an alert signal to other radios on the same channel. Refer to the full user manual for specific details on emergency call functionality and programming.
6. Maintenance
6.1 General Care
- Keep the radio dry. If it gets wet, wipe it dry immediately.
- Avoid exposing the radio to extreme temperatures.
- Do not attempt to disassemble the radio. This will void the warranty.
6.2 Cleaning
- Clean the radio's exterior with a soft, damp cloth.
- Do not use harsh chemicals or abrasive cleaners.
- Ensure charging contacts are clean and free of debris for optimal charging.
6.3 Battery Care
- Fully charge batteries before long periods of storage.
- Store batteries in a cool, dry place.
- Replace batteries when their operating time significantly decreases.
7. Troubleshooting
| Problem | Possible Cause | Solution |
|---|---|---|
| Radio does not power on | Battery is depleted or not installed correctly. | Charge the battery. Ensure the battery is correctly inserted. |
| Cannot transmit or receive | Radios are on different channels. Out of range. Low battery. | Verify all radios are on the same channel. Move closer to other radios. Recharge battery. |
| Poor audio quality | Volume too low. Obstructions between radios. Interference. | Adjust volume. Move to an open area. Change channels to avoid interference. |
| Battery life is short | Battery is old or not fully charged. | Ensure battery is fully charged. Consider replacing old batteries. |
8. Specifications
| Feature | Detail |
|---|---|
| Model Number | MB400X6MC |
| Item Weight | 7.63 pounds (total package) |
| Package Dimensions | 13.9 x 11.2 x 5.6 inches |
| Batteries | 6 Nonstandard Battery batteries required (included) |
| Number of Channels | 16 |
| Frequency Range | VHF Band |
| Voltage | 3.7 Volts |
| Water Resistance Level | Waterproof |
| Compatible Devices | Devices that support FRS two-way radios |
| Battery Life | Up to 10 Hours |
9. Warranty and Support
9.1 Warranty Information
The Midland MB400 Two-Way Radio System comes with a 2-Year Warranty from the date of purchase. This warranty covers defects in materials and workmanship under normal use. Please retain your proof of purchase for warranty claims.
9.2 Customer Support
For technical assistance, troubleshooting beyond this manual, or warranty service, please contact Midland customer support. Visit the official Midland website for contact information and additional resources.


