
Tymate Tymate M7-3
Tymate RV Tire Pressure Monitoring System - M7-3 User Manual
Model: M7-3
Introduction
The Tymate RV Tire Pressure Monitoring System (TPMS) M7-3 is designed to enhance your driving safety by providing real-time monitoring of your RV's tire pressure and temperature. This system features a solar-powered display, advanced external sensors, and multiple alarm modes to alert you to potential tire issues promptly.

Figure 1: Tymate RV TPMS M7-3 Monitor and External Sensors.
Key Features
- Five Alarm Modes: Fast leak, high/low pressure, high temperature, and sensor low voltage alarms.
- Solar & USB Charging: Display unit can be charged via solar panel or USB.
- High Accuracy Sensors: External sensors provide precise pressure readings (≈3psi error) and temperature.
- Auto Backlight Adjustment: Display backlight adjusts automatically for clear readability in various light conditions.
- Smart Screen Color Changes: Display changes color (blue, red, gray) based on system status.
- Power-saving Mode: Auto-sleep mode conserves battery life.
- Expandable Monitoring: Can monitor up to 7 tires (including a spare).
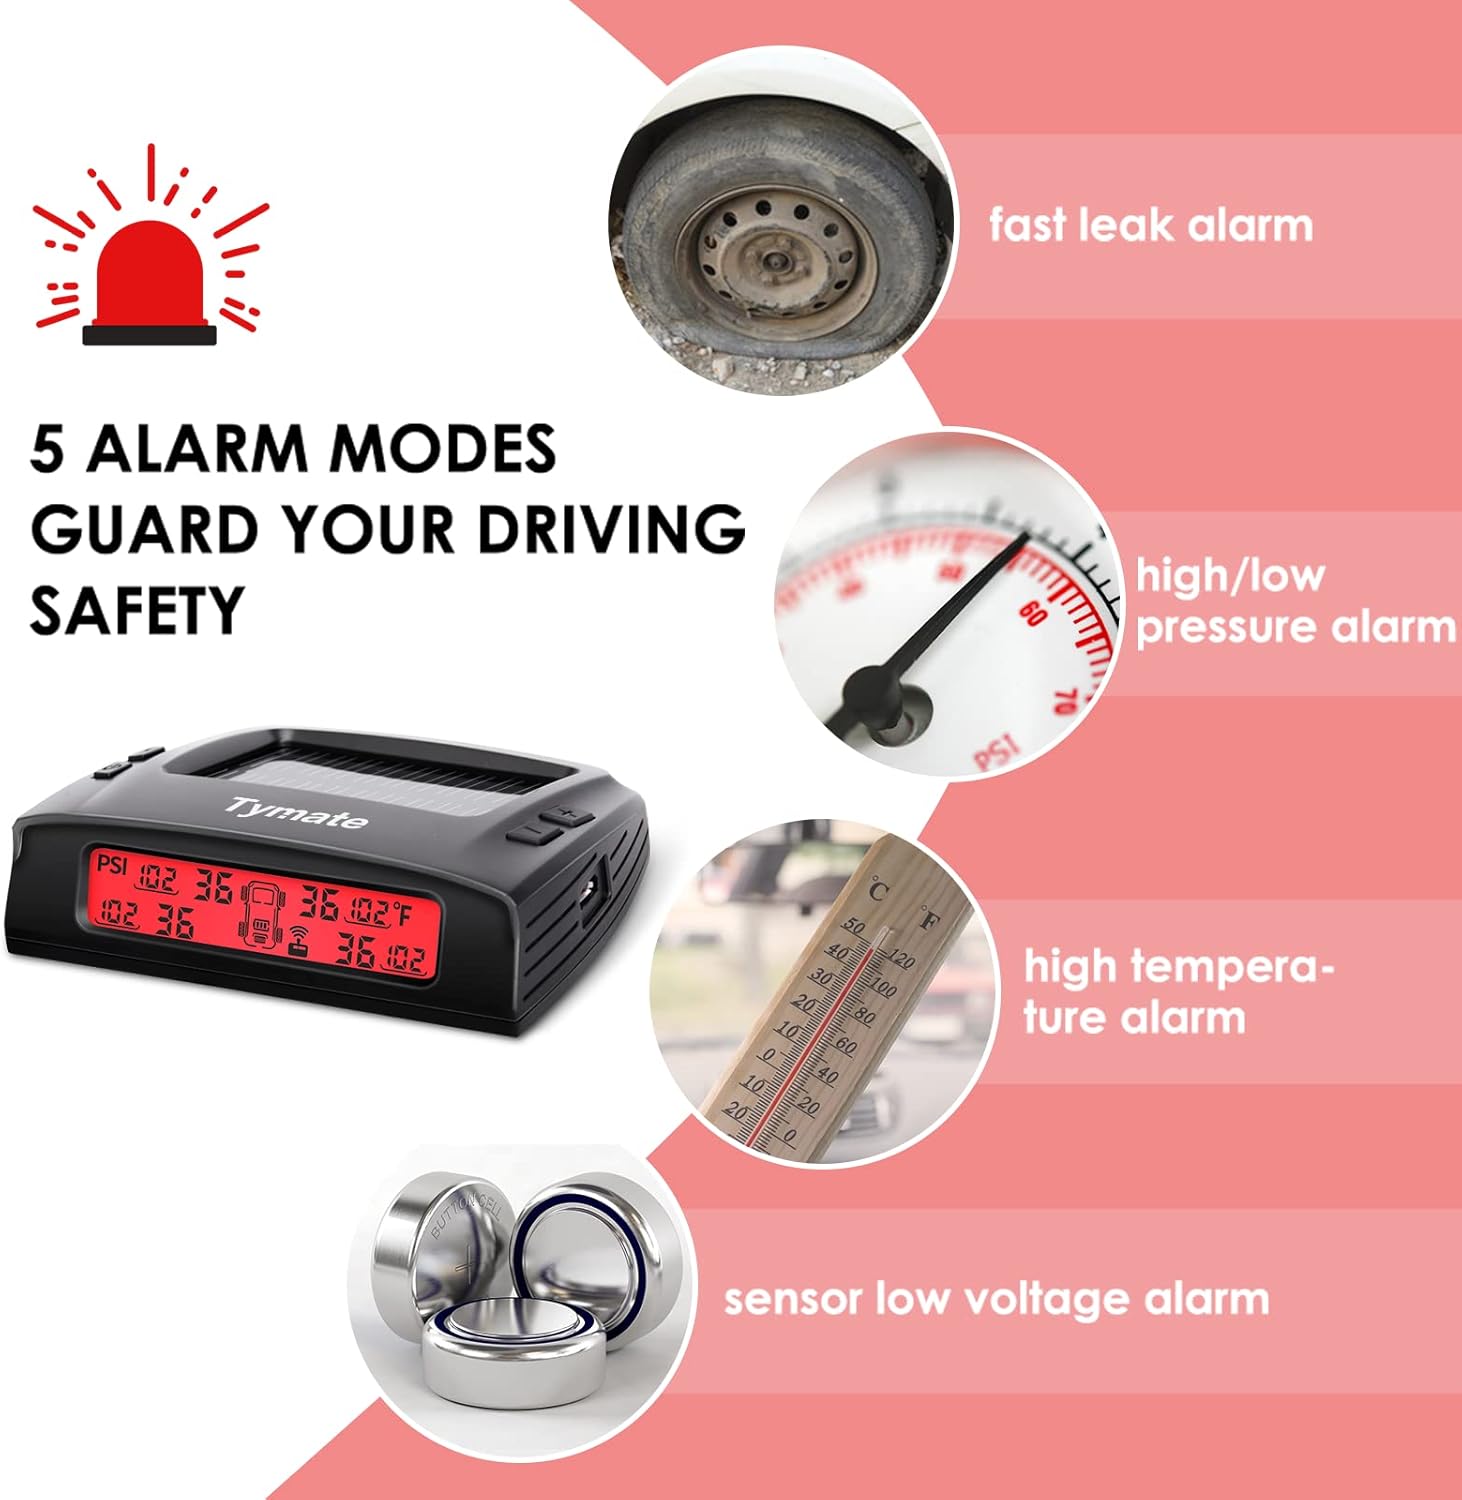
Figure 2: The system provides five distinct alarm modes for comprehensive safety monitoring.
What's in the Box
The Tymate RV TPMS M7-3 package typically includes:
- 1 x M7-3 TPMS Monitor Display
- 4 x External Tire Pressure Sensors
- 4 x Anti-theft Nuts
- 1 x Wrench for Sensor Installation
- 1 x USB Charging Cable
- 1 x User Manual (this document)
Setup
1. Initial Charging & Power On
Before first use, ensure the monitor is fully charged. It can be charged via its built-in solar panel or using the provided USB cable. The display will show a charging indicator.

Figure 3: The monitor supports both solar and USB charging for convenience.
To power on the monitor, press the power button. The display will illuminate.
2. Sensor Installation
- Unscrew the original valve cap from your tire.
- Screw on the anti-theft nut (flat side down) onto the valve stem.
- Screw the corresponding sensor (labeled LF, RF, LR, RR) onto the valve stem until it is tight. Ensure the sensor is installed on the correct tire position.
- Use the provided wrench to tighten the anti-theft nut against the sensor to secure it. This prevents accidental loosening and theft.

Figure 4: External sensors are designed for easy installation and durability.
3. Sensor Pairing / Learning
The sensors are typically pre-paired at the factory. If a sensor needs to be re-paired or replaced, follow these steps:
- Ensure the monitor is in standby mode.
- Long press the "SET" and "+" buttons simultaneously for 3 seconds to enter sensor learning mode. The left front tire icon will flash.
- Use the "+" or "-" buttons to select the desired tire position you wish to pair (e.g., Right Front). The selected tire icon will flash.
- Install the sensor onto the corresponding tire valve. The monitor will receive the sensor's data and display the pressure and temperature.
- Long press the "SET" button for 3 seconds to save the operation and exit learning mode.
Video 1: New M7-3 Sensor Pairing Guide. This video demonstrates the step-by-step process for pairing new sensors with your Tymate TPMS monitor.
Video 2: M7-3 Setup Video. This video provides a comprehensive guide to setting up your M7-3 TPMS system, including sensor installation and initial configuration.
Operating the System
1. Display Information
The LCD display shows real-time pressure (PSI/BAR) and temperature (°C/°F) for all monitored tires. The display automatically adjusts its backlight based on ambient light conditions for optimal visibility.
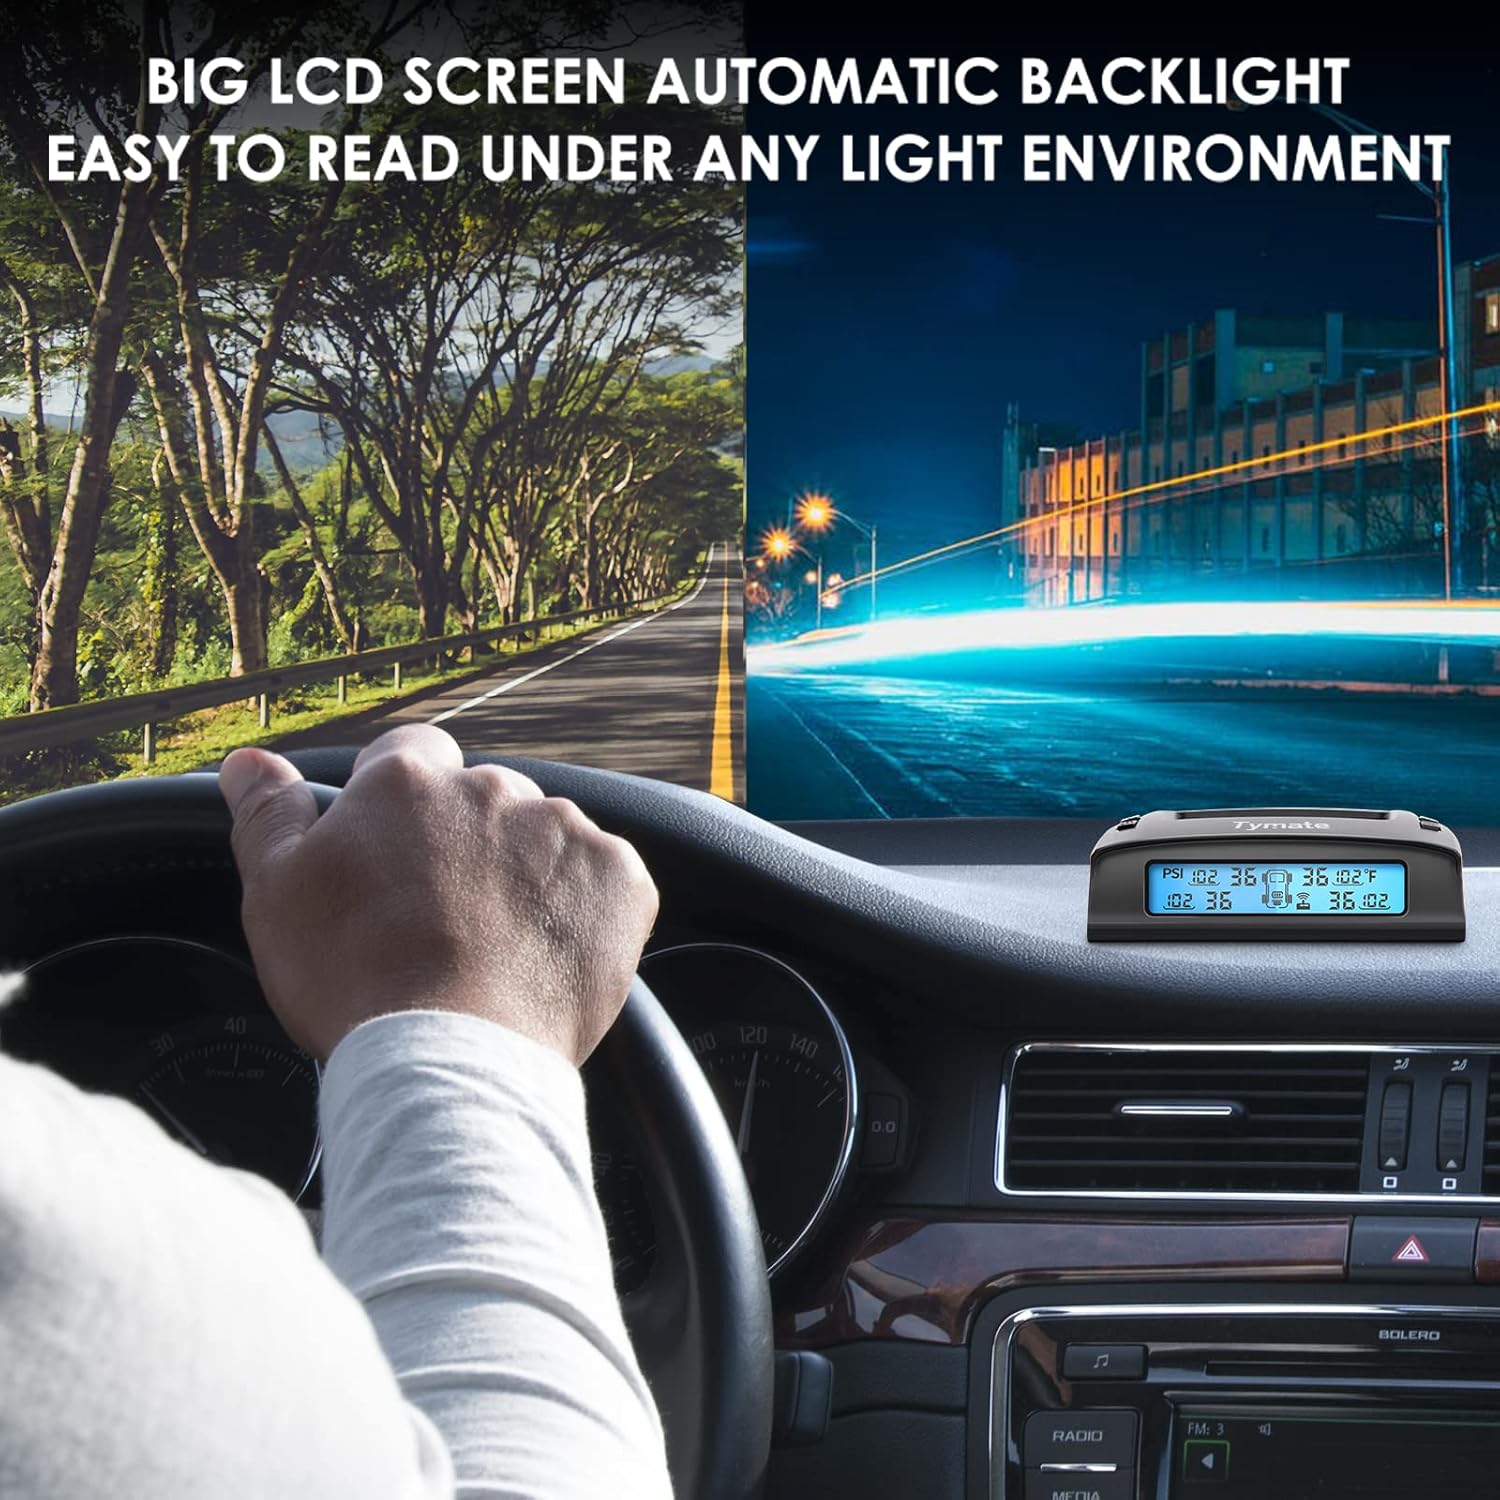
Figure 5: The large LCD screen with automatic backlight ensures easy readability in any light environment.
The display color changes to indicate status:
- Blue: Charging and normal working status.
- Red: Alert status (indicating a tire issue).
- Gray: Standby or static mode.
2. Alarm Modes
The M7-3 system provides audible and visual alerts for the following conditions:
- Fast Leak Alarm: Alerts to rapid pressure loss.
- High/Low Pressure Alarm: Alerts if pressure exceeds or falls below user-set thresholds. The system automatically sets the current pressure as reference upon sensor installation (Alarming Range: +25% PSI to -15% PSI of Reference Pressure).
- High Temperature Alarm: Alerts if tire temperature exceeds a safe limit.
- Sensor Low Voltage Alarm: Alerts when a sensor's battery is low.
3. Power-Saving Mode
The monitor features an auto-sleep mode to conserve power. It will enter this mode after a period of inactivity. The display will show gray in standby mode.

Figure 6: The power-saving mode helps extend battery life and durability.
Maintenance
Sensor Battery Replacement
The external sensors are designed for low power consumption, with a CR1632 battery lasting up to 2 years. When a sensor low voltage alarm occurs, the battery needs replacement.
- Unscrew the sensor from the tire valve.
- Use the provided tool (or a small coin) to open the sensor casing.
- Carefully remove the old CR1632 battery and insert a new one, ensuring correct polarity.
- Close the sensor casing securely and re-install it on the tire valve.
Troubleshooting
- Data displayed intermittently: Move the display away from interference sources. If the problem persists, a signal repeater may be needed for larger vehicles (e.g., RVs/trailers over 36 ft).
- No data shown after installation: Ensure the monitor is on. Sensors activate by motion; drive for 5-10 minutes for data to appear.
- Measurement error: The typical measurement error for tire pressure is within ≈3psi.
- Tire blowout/puncture: TPMS cannot prevent punctures from sharp objects or damaged tires, nor can it monitor instantaneous changes. Regular tire inspection is still recommended.
- Sensor or monitor not working: If issues persist, please contact Tymate customer support.
Specifications
| Feature | Detail |
|---|---|
| Brand | Tymate |
| Model | Tymate M7-3 |
| Item Weight | 9.9 ounces |
| Product Dimensions | 6.3 x 4.72 x 1.97 inches |
| Batteries | 4 Lithium Metal batteries (CR1632) required (included) |
| Pressure Range | 0-87 PSI (0-6 BAR) |
| First Available Date | March 2, 2020 |

Figure 7: Dimensions of the Tymate M7-3 monitor and sensors.
Warranty & Support
For warranty information or technical support, please contact the seller directly through the Amazon platform. Look for the "Contact Seller" option on the product page or in your order history.
Related documentsTymate M7-3


Ask a question about this manual
Ask about setup, troubleshooting, compatibility, parts, safety, or missing instructions. Manuals+ will review the question and use this page’s manual context to help answer it.