
1. Introduction and Overview
The TP-Link AX1500 Wi-Fi 6 Range Extender, model RE505X, is designed to expand your existing Wi-Fi network coverage, eliminating dead zones and providing a stronger, more reliable wireless signal throughout your home or office. Utilizing the latest Wi-Fi 6 technology, it offers faster speeds, increased capacity, and reduced network congestion for a smoother online experience. This device supports dual-band Wi-Fi, operating on both 2.4 GHz and 5 GHz frequencies, and is compatible with any standard Wi-Fi router or access point. It also features a Gigabit Ethernet port for wired connections and supports TP-Link OneMesh for seamless whole-home coverage.
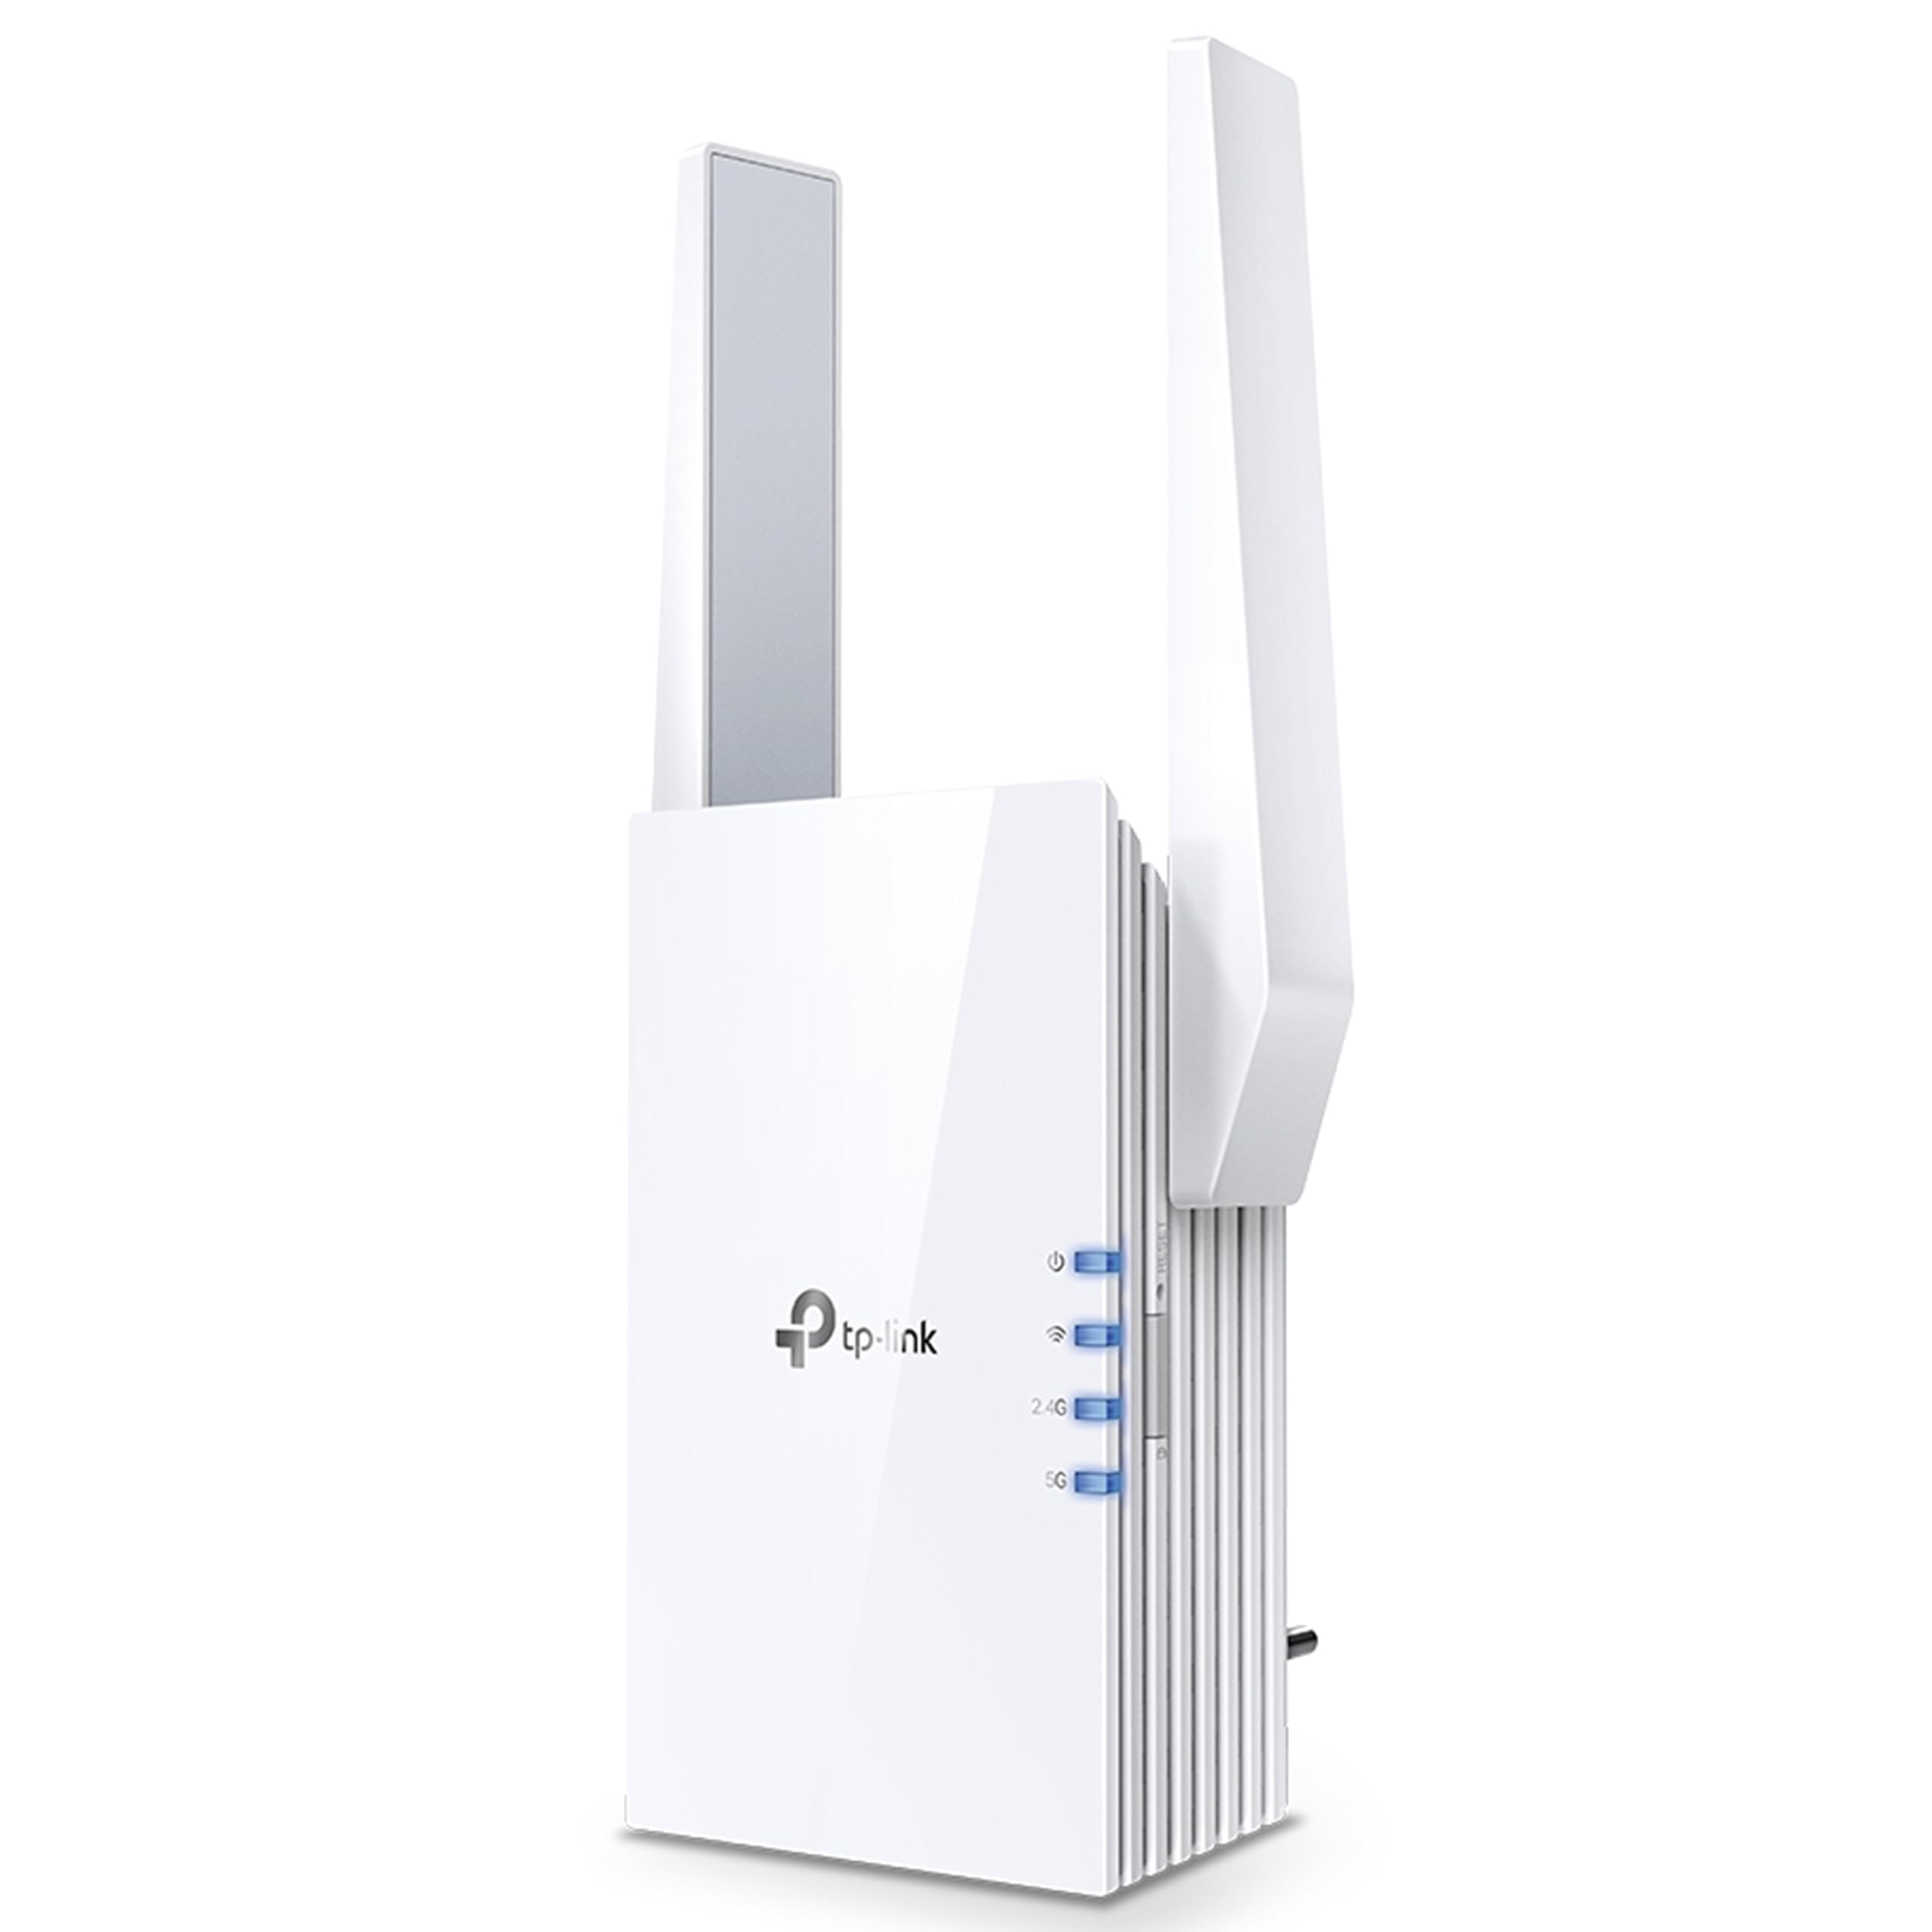
Image 1.1: Front view of the TP-Link RE505X Wi-Fi 6 Range Extender, showing its compact design and indicator lights.
2. What's in the Box
Verify that your package contains the following items:
- TP-Link RE505X Wi-Fi Range Extender
- Quick Installation Guide

Image 2.1: The retail box for the TP-Link RE505X, indicating the product and its key features.
3. Product Features
- Wi-Fi 6 Technology: Equipped with the latest wireless technology for faster speeds, greater capacity, and reduced network congestion.
- Dual-Band Speeds: Offers up to 1.5 Gbps (1200 Mbps on 5 GHz and 300 Mbps on 2.4 GHz) for smooth streaming, gaming, and downloading.
- OneMesh Compatible: Creates a seamless Mesh network when connected to a OneMesh router, providing whole-home coverage with a single Wi-Fi name.
- Gigabit Ethernet Port: Provides a fast-wired connection for devices like smart TVs, computers, and gaming consoles.
- Intelligent Signal Light: Helps determine the optimal placement for the extender by indicating the signal strength from your router.
- AP Mode: Functions as an access point, converting a wired internet connection into a dual-band wireless signal.
- TP-Link Tether App: Allows easy setup and management of your network from any iOS or Android mobile device.
- Universal Compatibility: Extends the range of any standard Wi-Fi router or wireless access point.

Image 3.1: Side view of the RE505X, highlighting the Gigabit Ethernet port for wired connections.
4. Setup
The RE505X offers two primary methods for setup: using the TP-Link Tether app or via a web browser.
4.1. Setup via TP-Link Tether App (Recommended)
- Download the Tether App: Search for "TP-Link Tether" in the Apple App Store or Google Play Store and install the app on your mobile device.
- Power On: Plug the RE505X into an electrical outlet near your main router. Wait for the Power LED to turn solid blue.
- Connect to Extender: Connect your mobile device to the RE505X's Wi-Fi network (e.g., "TP-Link_Extender"). No password is required for the initial connection.
- Launch App: Open the Tether app. The app will detect your extender. Follow the on-screen instructions to select your host Wi-Fi network and set up the extended network.
- Optimal Placement: Use the Intelligent Signal Light on the extender to find the best location. A solid blue light indicates a good connection, while a red light suggests moving closer to the router.

Image 4.1: The TP-Link Tether app interface, demonstrating the simple steps for setting up and managing the range extender.
4.2. Setup via Web Browser
- Power On: Plug the RE505X into an electrical outlet near your main router. Wait for the Power LED to turn solid blue.
- Connect to Extender: Connect your computer or mobile device to the RE505X's Wi-Fi network (e.g., "TP-Link_Extender").
- Access Web Interface: Open a web browser and type http://tplinkrepeater.net or http://192.168.0.254 into the address bar. Create a login password when prompted.
- Follow Instructions: Follow the on-screen instructions to select your host Wi-Fi network and configure the extended network settings.
- Optimal Placement: Relocate the extender to a suitable position between your router and the Wi-Fi dead zone. Ensure the Intelligent Signal Light is solid blue for optimal performance.
5. Operating the Range Extender
Once set up, the RE505X operates to extend your Wi-Fi coverage. Here are key operational aspects:
5.1. Extended Network Connection
Your devices can connect to the extended network using the same Wi-Fi name (SSID) as your main router if OneMesh is enabled, or a new SSID if configured manually. The extender will automatically choose the best band (2.4 GHz or 5 GHz) for your devices.

Image 5.1: A diagram showing how the RE505X extends Wi-Fi coverage throughout a multi-story home, eliminating dead zones.
5.2. OneMesh Functionality
If your main router supports TP-Link OneMesh, the RE505X can join the Mesh network. This creates a unified network with a single Wi-Fi name, allowing your devices to seamlessly roam between the router and extender without disconnections. To enable OneMesh, ensure your TP-Link router's firmware is updated to the OneMesh version.
5.3. Access Point (AP) Mode
The RE505X can also function as a wireless access point. Connect an Ethernet cable from your router (or any wired network source) to the Gigabit Ethernet port on the RE505X. The extender will then broadcast a new dual-band Wi-Fi network, converting your wired connection into a high-speed wireless signal.

Image 5.2: Illustration of the RE505X operating in Access Point mode, converting a wired connection into a wireless network.
5.4. Gigabit Ethernet Port Usage
The Gigabit Ethernet port can be used to provide a stable wired connection to a device such as a desktop computer, smart TV, or game console, even when the extender is operating wirelessly.
6. Maintenance
To ensure optimal performance and longevity of your RE505X, consider the following maintenance tips:
- Firmware Updates: Regularly check for and install firmware updates via the Tether app or the web management interface. Updates often include performance improvements, security patches, and new features.
- Optimal Placement: Periodically re-evaluate the extender's placement using the Intelligent Signal Light to ensure it maintains a strong connection to your router, especially if your network layout changes.
- Cleaning: Keep the device clean and free from dust. Use a soft, dry cloth to wipe the exterior. Avoid using liquid cleaners or abrasive materials.
- Ventilation: Ensure the extender's ventilation slots are not obstructed to prevent overheating.
- Restart: If you experience intermittent issues, try restarting the extender by unplugging it from the power outlet for 10 seconds and then plugging it back in.
7. Troubleshooting
If you encounter issues with your RE505X, refer to the following common troubleshooting steps:
7.1. No Internet Access After Setup
- Check Signal Light: Ensure the Intelligent Signal Light on the extender is solid blue. If it's red or off, the connection to your router is weak or non-existent. Relocate the extender closer to your router.
- Verify Router Connection: Ensure your main router is working correctly and providing internet access.
- Re-configure: Try re-configuring the extender using the Tether app or web interface.
7.2. Frequent Disconnections or Unstable Connection
- Optimal Placement: The most common cause of instability is poor placement. Ensure the extender is positioned where the Intelligent Signal Light is solid blue. Avoid placing it near large metal objects, concrete walls, or other electronic devices that may cause interference.
- Interference: Other wireless devices (cordless phones, microwaves, Bluetooth devices) can cause interference. Try changing the Wi-Fi channel on your main router.
- Firmware Update: Ensure the extender's firmware is up to date.
- Router Issues: Check if your main router is experiencing issues.
7.3. Forgot Web Management Password
If you forget the password for the web management interface, you will need to reset the extender to factory default settings. Locate the Reset button (usually a small pinhole) on the extender, press and hold it for about 5-10 seconds until the LEDs flash, then release. The extender will restart with default settings, and you can set up a new password during the re-configuration process.
7.4. Slow Speeds on Extended Network
- Placement: Ensure the extender is placed optimally. While extending range, some speed reduction is normal, but poor placement can severely impact it.
- Band Selection: For high-bandwidth activities, ensure your devices are connecting to the 5 GHz band if possible.
- Network Congestion: Too many devices on the network or heavy internet usage can slow down speeds.
8. Specifications
| Feature | Detail |
|---|---|
| Brand | TP-Link |
| Model Number | RE505X |
| Wireless Communication Standard | 802.11ax (Wi-Fi 6), 802.11ac |
| Data Transfer Rate | Up to 1500 Mbps (1200 Mbps on 5 GHz, 300 Mbps on 2.4 GHz) |
| Frequency Band Class | Dual-Band (2.4 GHz, 5 GHz) |
| Special Features | Wi-Fi 6, Gigabit Port, OneMesh Compatible, AP Mode, Intelligent Signal Light, Tether App |
| Compatible Devices | Smartphone, PC, Gaming Consoles, Smart TVs |
| Range | Up to 1500 square feet (approximate) |
| Connector Type | RJ45 (Gigabit Ethernet) |
| Item Weight | 380 Grams |
| Item Dimensions (D x W x H) | 4.6D x 7.4W x 12.5H Centimeters |
9. Warranty and Support
9.1. Warranty Information
The TP-Link RE505X comes with a standard warranty. Please refer to the specific warranty terms provided with your product or on the official TP-Link website for detailed information regarding coverage and duration.
9.2. Customer Support
For technical assistance, troubleshooting, or warranty claims, please contact TP-Link customer support:
- Toll-Free Support (India): 1800-209-4168
- Email Support: support.in@tp-link.com
- Manufacturer Contact: TP-Link Systems Inc. 10 Mauchly, Irvine, CA 92618, USA or TP-Link India Private Limited Office No.1, Tower 2, Level 2, Raiaskaran Tech Park, Andheri Kurla Road, M.V Road, Andheri East-400072
You can also visit the official TP-Link website for FAQs, updated drivers, and additional support resources.


