
HANMATEK HM305
HANMATEK HM305 DC Power Supply User Manual
Model: HM305 | Brand: HANMATEK
1. Introduction
The HANMATEK HM305 is a variable DC power supply designed for a wide range of applications, including electronics enthusiasts, researchers, and professionals. It offers adjustable voltage from 0-30V and current from 0-5A, featuring a 4-digit LED display for precise readings of voltage, current, and power. Key features include a front-panel output control button, a current lock function, and multiple built-in safety protections.

Figure 1: Front view of the HANMATEK HM305 DC Power Supply, showcasing its compact design and digital display.
2. Safety Information
To ensure safe operation and prevent damage to the device or connected equipment, please observe the following safety guidelines:
- Always connect the power supply to a grounded outlet.
- Do not operate the device in wet or damp conditions.
- Ensure proper ventilation; do not block the cooling fan or vents.
- Avoid short-circuiting the output terminals.
- Do not attempt to disassemble or modify the power supply. Refer all servicing to qualified personnel.
- The power supply includes built-in protections: Overcurrent Protection (OCP), Overvoltage Protection (OVP), and Overheating Protection.
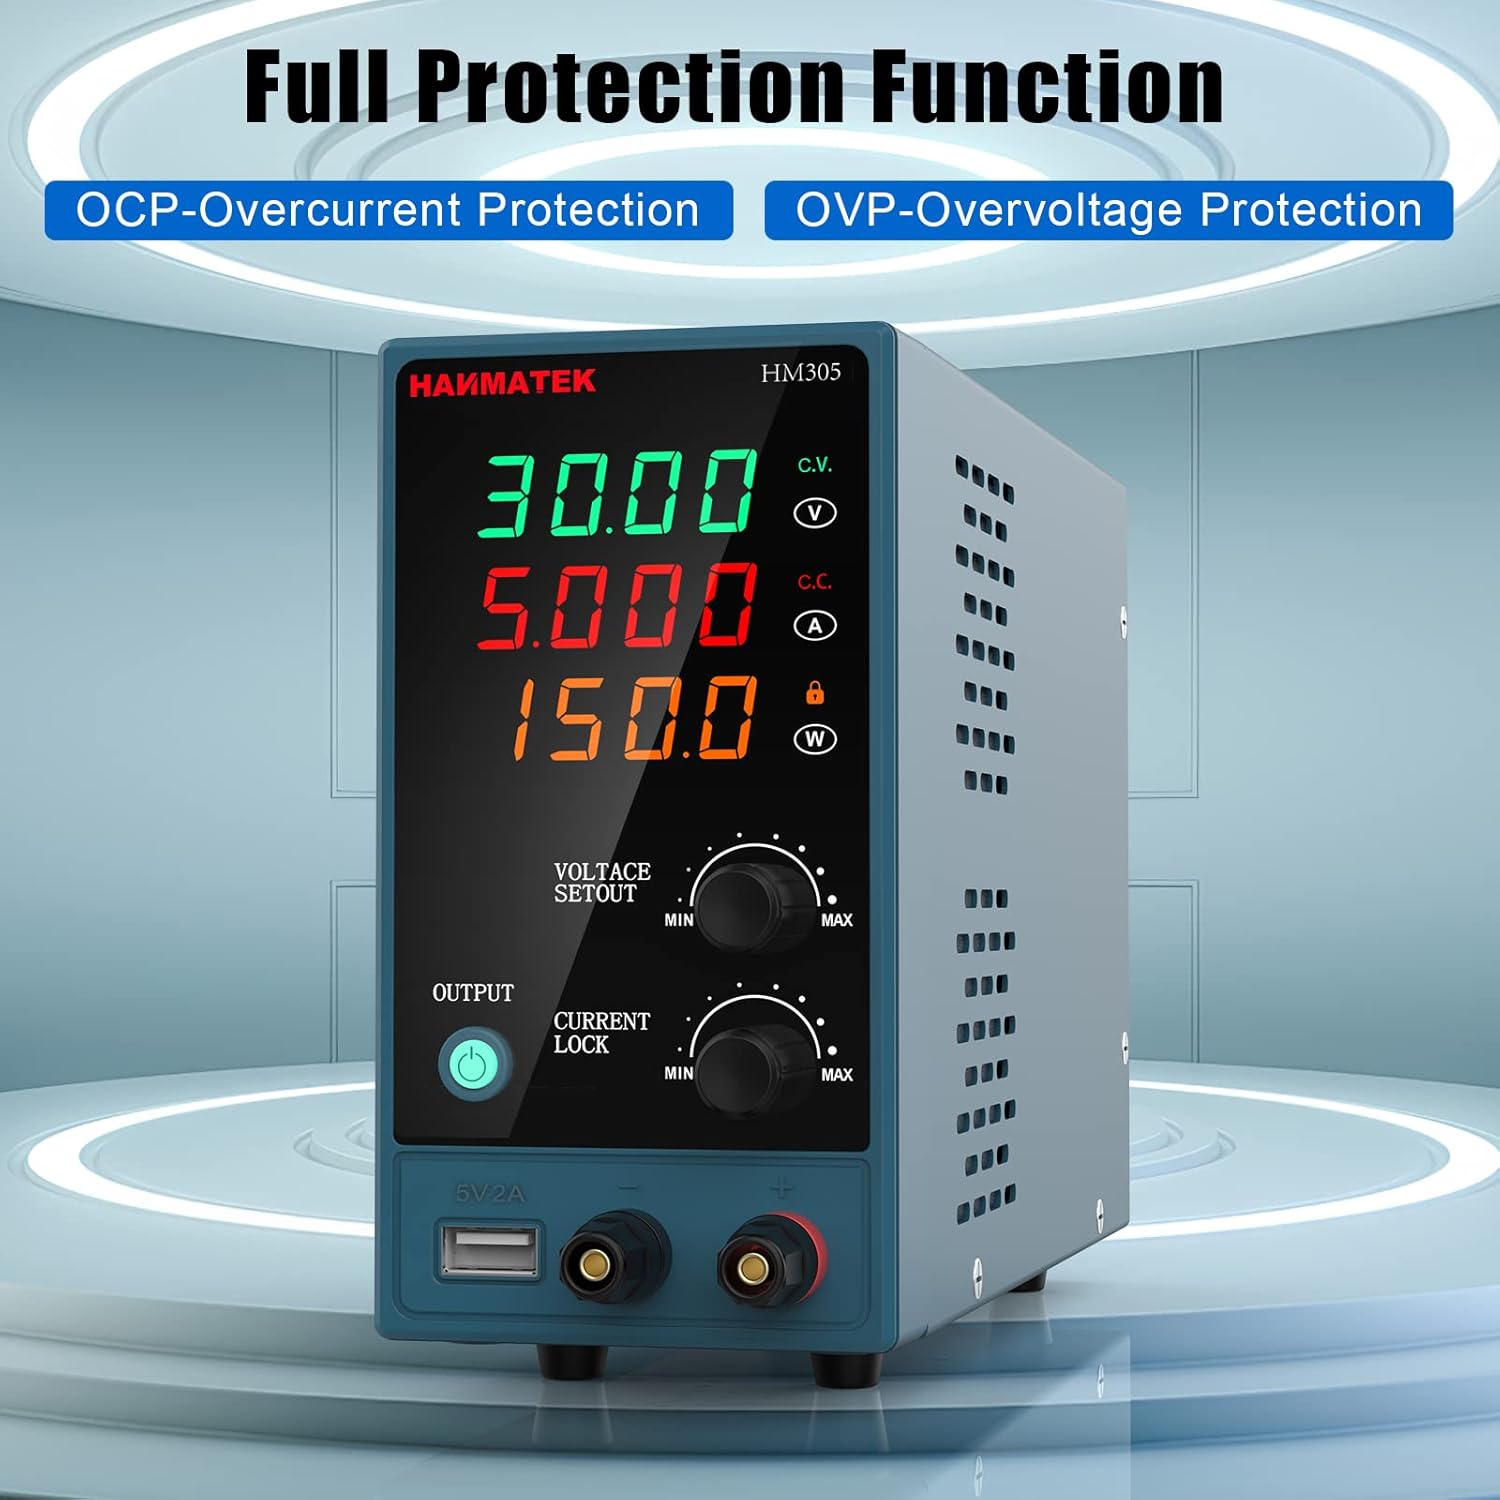
Figure 2: The HM305 features Overcurrent Protection (OCP) and Overvoltage Protection (OVP) for enhanced safety.
3. Product Overview and Components
Familiarize yourself with the various parts of your HM305 DC Power Supply:

Figure 3: Detailed diagram showing the front and rear panels of the HM305 and its key components.
Front Panel:
- Voltage Value Display Table: Shows the set or output voltage.
- Current Value Display Table: Shows the set or output current.
- Power Value Display Table: Shows the calculated output power in Watts.
- Voltage Value Adjustment Knob: Used to set the output voltage. Press to select digits for fine adjustment.
- Current Value Adjustment Knob: Used to set the output current limit. Press to select digits for fine adjustment.
- Output On/Off Button: Controls the output power to the terminals.
- Current Lock Button: Locks the adjustment knobs to prevent accidental changes.
- 5V/2A Charging Port: USB port for charging compatible devices.
- Output Terminal Positive (Red): Positive output terminal.
- Output Terminal Negative (Black): Negative output terminal.
Rear Panel:
- Power Switch Key: Main power switch for the unit.
- Cooling Fan: Activates automatically to dissipate heat.
- Power Voltage Input Socket: Connects the input power cord.
- Fuse Holder: Contains the protective fuse.
4. Setup
Follow these steps for initial setup:
- Unpack: Carefully remove the power supply and all accessories from the packaging.
- Placement: Place the unit on a stable, level surface with adequate ventilation around it. Ensure the cooling fan and vents are not obstructed.
- Connect Input Power: Insert the provided input power cord into the Power Voltage Input Socket on the rear panel and plug the other end into a suitable grounded AC outlet (110V).
- Connect Output Leads: If using, connect your output power cords to the Output Terminal Positive (Red) and Output Terminal Negative (Black) on the front panel. Ensure connections are secure.
- Power On: Flip the Power Switch Key on the rear panel to the 'ON' position. The LED display on the front panel should illuminate.
5. Operating Instructions
5.1 Power On/Off
- To turn on the main power, use the Power Switch Key on the rear panel.
- To enable or disable output to the terminals, press the green Output On/Off Button on the front panel. It is recommended to disable output before connecting or disconnecting loads.
5.2 Adjusting Voltage and Current
The HM305 allows for precise adjustment of both voltage and current limits:
- Voltage Adjustment: Rotate the Voltage Value Adjustment Knob to change the voltage. For fine adjustments, press the knob to select the specific digit (e.g., tens, units, tenths, hundredths) you wish to modify. The selected digit will flash. Rotate the knob to change its value. Press again to move to the next digit or wait a few seconds for the setting to be applied.
- Current Adjustment: Similarly, rotate the Current Value Adjustment Knob to set the current limit. Press the knob to select the digit for fine adjustment.

Figure 4: The HM305 features a high-precision 4-digit display for accurate voltage, current, and power readings.
5.3 Lock Function
To prevent accidental changes to your set voltage and current values during operation, use the Current Lock Button. Press this button to activate the lock function. The display will indicate that the controls are locked. Press it again to unlock the controls.
6. Maintenance
Proper maintenance ensures the longevity and reliable operation of your power supply:
- Cleaning: Disconnect the power supply from the main power before cleaning. Use a soft, dry cloth to wipe the exterior. Do not use abrasive cleaners or solvents.
- Ventilation: Regularly check that the cooling fan and air vents are free from dust and debris. Use compressed air to gently clear any blockages if necessary.
- Storage: When not in use for extended periods, store the power supply in a cool, dry place, away from direct sunlight and extreme temperatures.
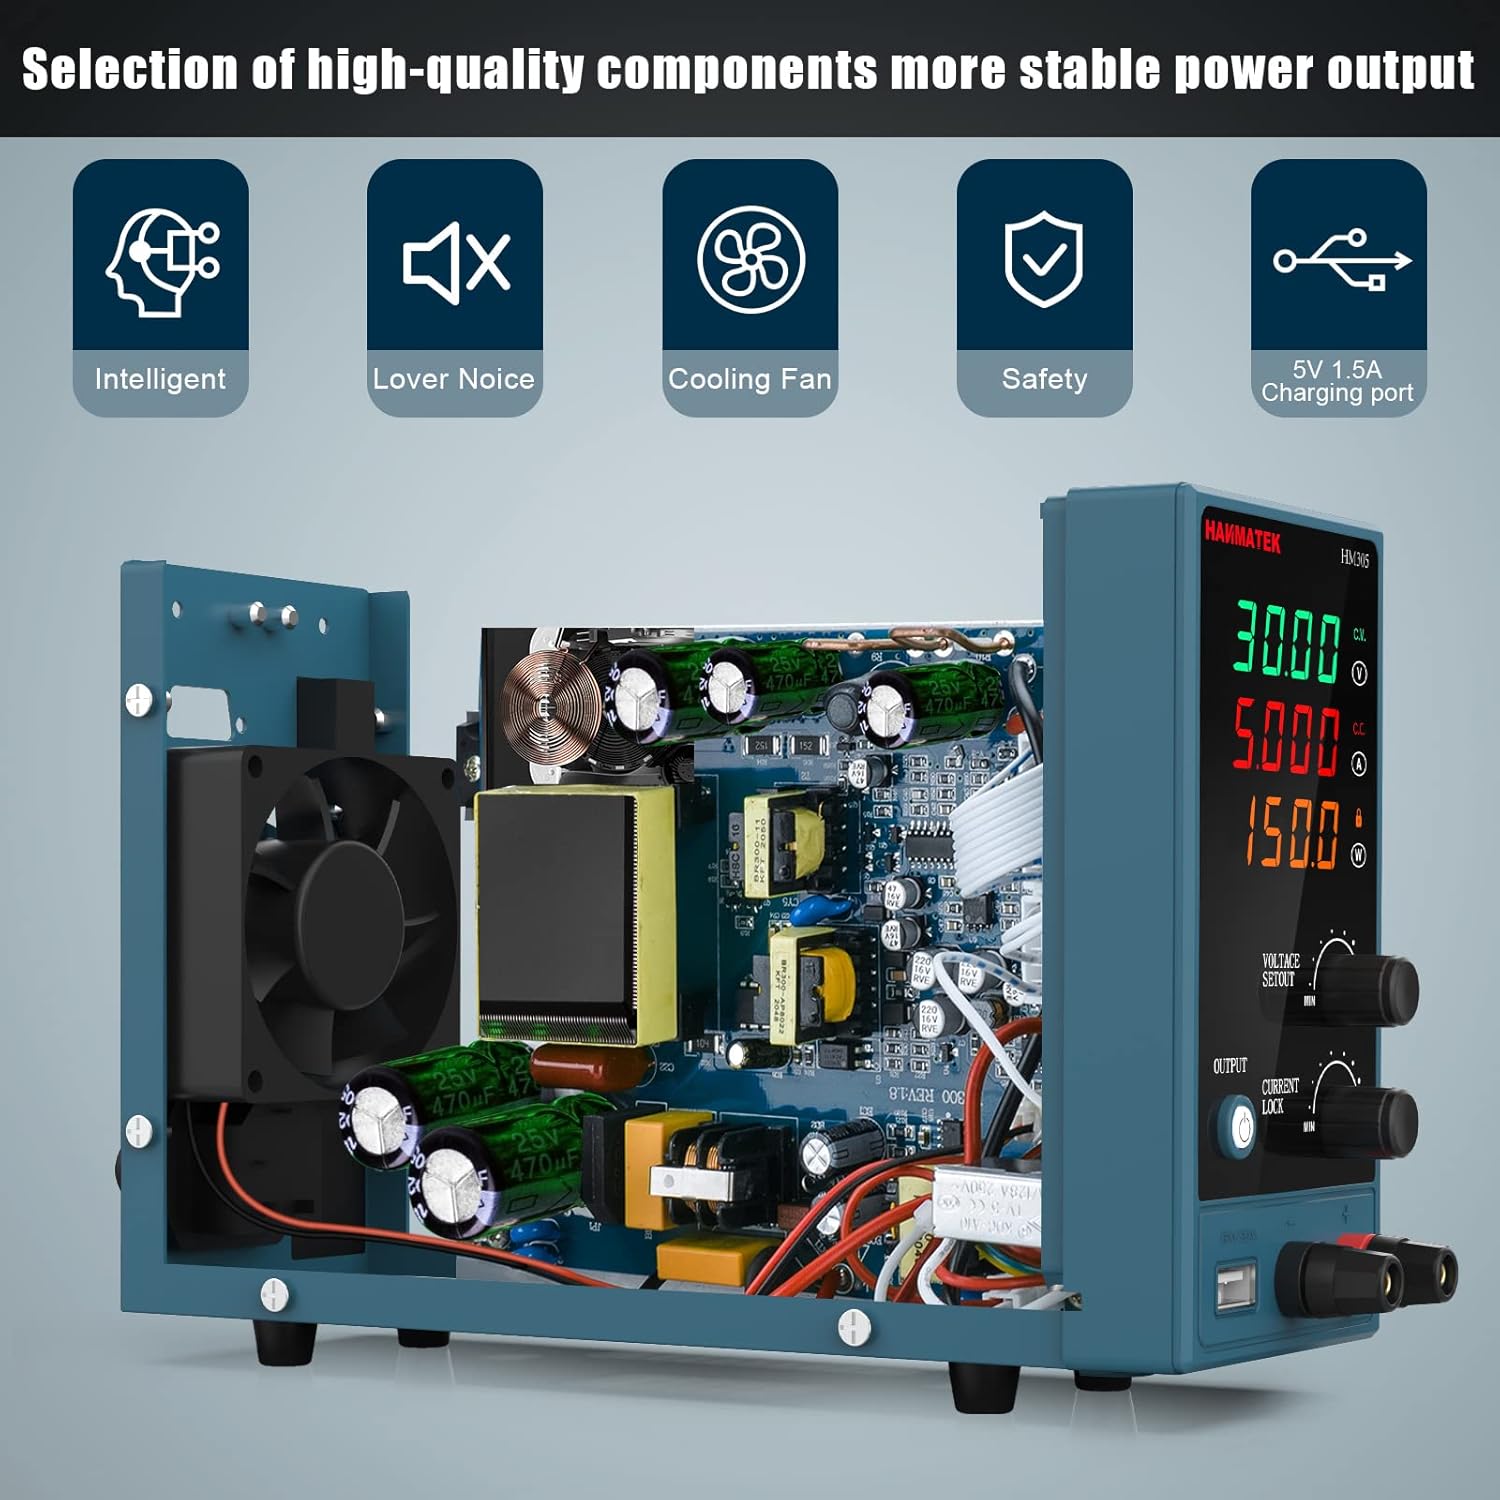
Figure 5: Internal components and cooling fan of the HM305, highlighting the importance of proper ventilation.
7. Troubleshooting
If you encounter issues with your HM305 power supply, refer to the table below for common problems and their solutions:
| Problem | Possible Cause | Solution |
|---|---|---|
| No display/No power | Power cord not connected; Rear power switch off; Blown fuse. | Check power cord connection; Ensure rear power switch is ON; Replace fuse if blown (refer to specifications for fuse type). |
| No output voltage/current | Front output button is OFF; Output terminals not connected properly; Overload protection activated. | Press the front Output button to turn ON output; Check output lead connections; Reduce load or check for short circuit. |
| Voltage/Current adjustment not working | Lock function is active. | Press the Current Lock button to deactivate the lock function. |
| Unit overheats/Fan runs constantly | Blocked ventilation; Excessive load. | Ensure vents are clear; Reduce load or operating time. |
8. Technical Specifications
Below are the technical specifications for the HANMATEK HM305 DC Power Supply:
| Specification | Value |
|---|---|
| Brand | HANMATEK |
| Model | HM305 |
| Output Voltage | 0-30V DC (Adjustable) |
| Output Current | 0-5A DC (Adjustable) |
| Output Wattage | 30 Watts |
| Display Type | 4-Digit LED (Voltage, Current, Power) |
| Input Voltage | 110V AC |
| Special Features | Lock function, Display power, Compact size |
| Material Type | Plastic |
| Form Factor | Benchtop |
| Item Weight | 1 Kilogram (approx. 1.95KG stated in feature bullets) |
| Product Dimensions | 8 x 15 x 23 cm |
9. Package Contents
The HANMATEK HM305 DC Power Supply package includes the following items:
- 1 x HANMATEK HM305 DC Power Supply Variable Unit
- 1 x Output Power Cord (test leads)
- 1 x Input Power Cord
- 1 x User Manual

Figure 6: Contents of the HM305 product package.
10. Warranty and Support
HANMATEK products are manufactured to high-quality standards. For warranty information and technical support, please refer to the contact details provided on the product packaging or the official HANMATEK website. Keep your purchase receipt as proof of purchase for any warranty claims.
Related documentsHM305


Ask a question about this manual
Ask about setup, troubleshooting, compatibility, parts, safety, or missing instructions. Manuals+ will review the question and use this page’s manual context to help answer it.