
Beats MX3X2LL/A
Beats Studio3 Wireless Headphones User Manual
Model: MX3X2LL/A
Introduction
Welcome to the user manual for your Beats Studio3 Wireless Headphones. This guide provides detailed instructions on setting up, operating, maintaining, and troubleshooting your headphones to ensure optimal performance and longevity. The Beats Studio3 headphones feature Pure Adaptive Noise Canceling (Pure ANC), real-time audio calibration, and the Apple W1 chip for seamless connectivity.

Image: Front view of the Beats Studio3 Wireless Headphones in matte black.
What's in the Box
Upon unboxing your Beats Studio3 Wireless Headphones, you should find the following items:
- Beats Studio3 Wireless headphones
- Carrying case
- 3.5mm RemoteTalk cable
- Universal USB charging cable (USB-A to USB Micro-B)
- Quick Start Guide
- Warranty Card
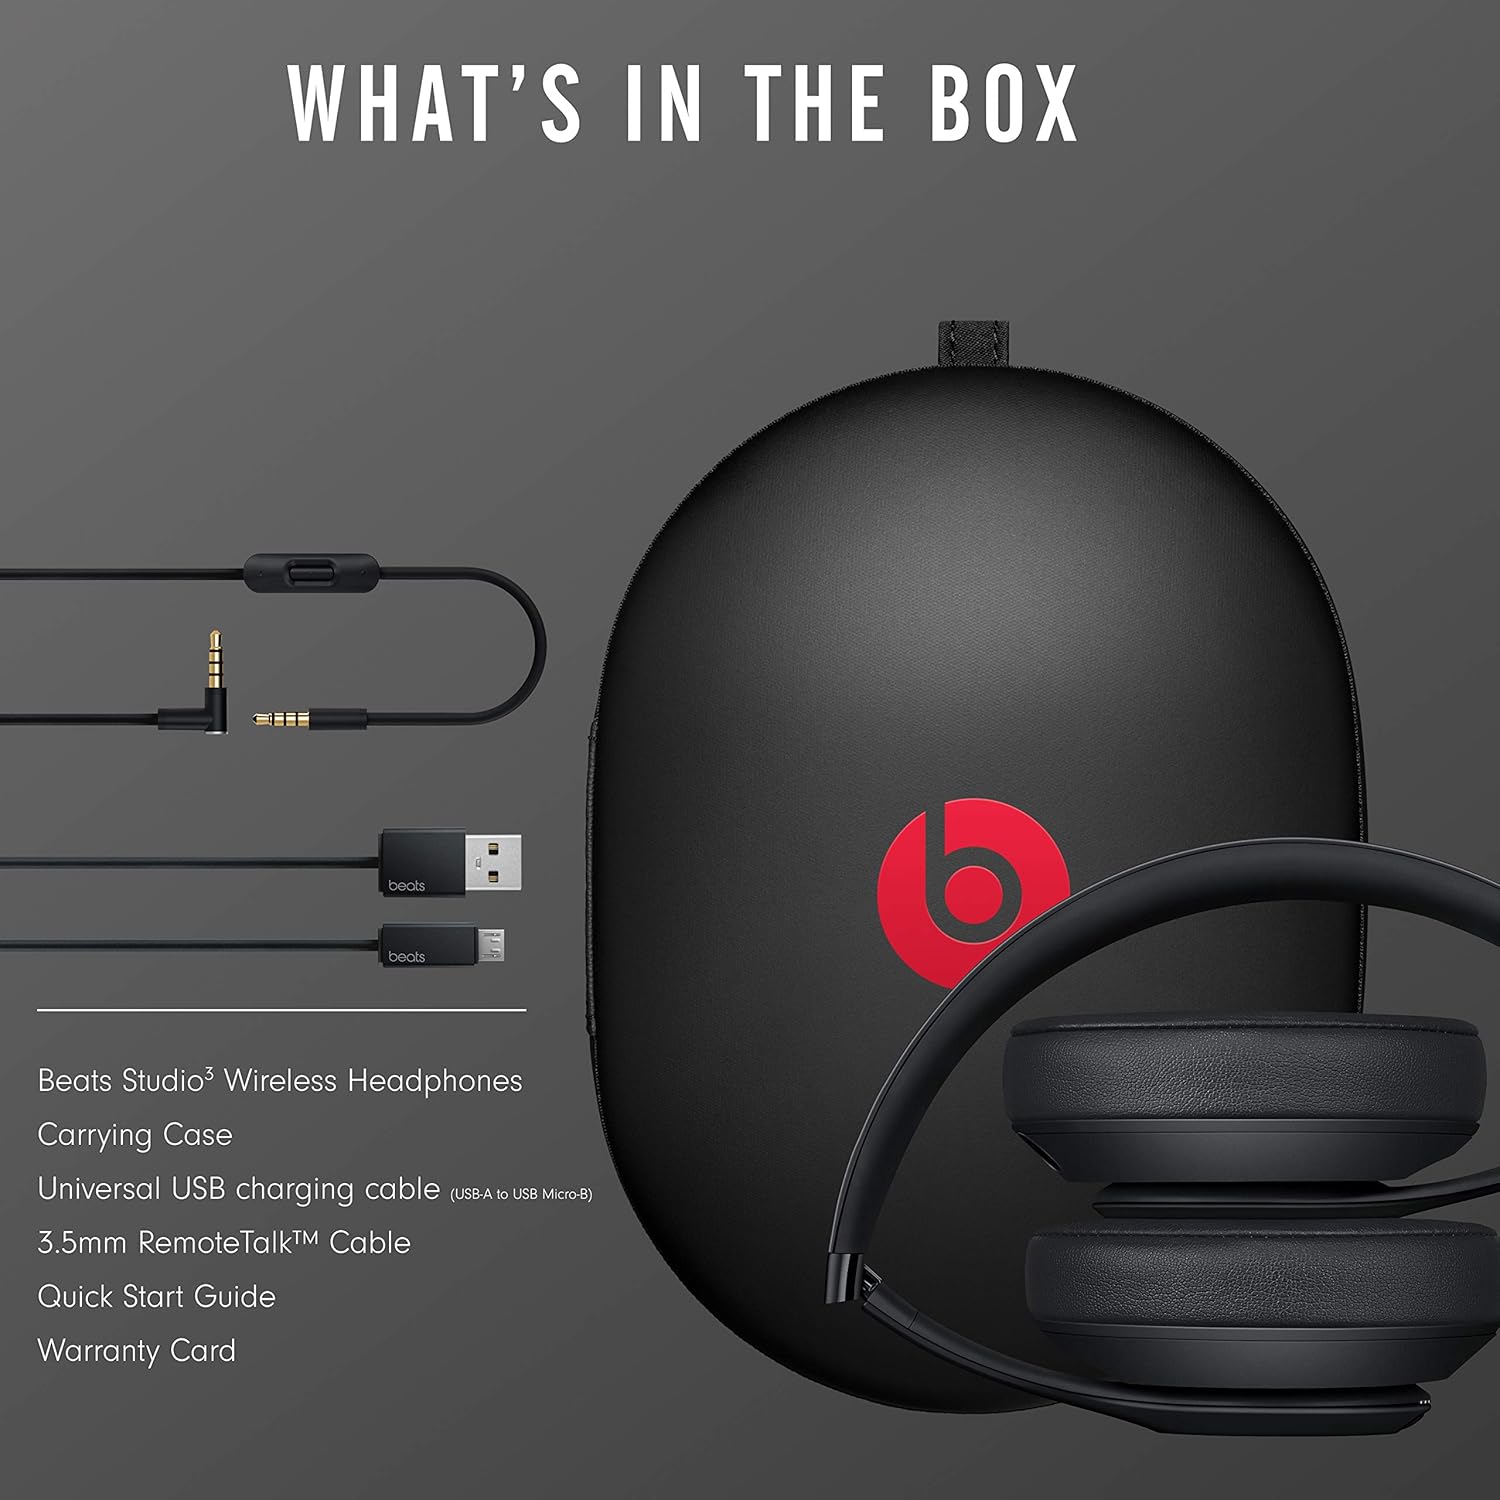
Image: All items included in the Beats Studio3 Wireless Headphones package, neatly arranged next to the carrying case.
Setup
Charging Your Headphones
Before first use, it is recommended to fully charge your Beats Studio3 Wireless Headphones. Use the included Universal USB charging cable to connect the headphones to a USB power source.
- Connect the micro-USB end of the cable to the charging port on the right earcup.
- Connect the USB-A end to a powered USB port (e.g., computer, wall adapter).
- The Fuel Gauge LEDs on the left earcup will indicate the charging status. When fully charged, all five LEDs will glow solid white.
A 10-minute charge provides 3 hours of playback when the battery is low, thanks to Fast Fuel technology.
Pairing with Your Device
The Beats Studio3 Wireless Headphones utilize the Apple W1 chip for seamless pairing with Apple devices and standard Bluetooth for other devices.
For Apple Devices (iOS 10 or later):
- Ensure your iPhone, iPad, or iPod touch is unlocked and Bluetooth is enabled.
- Hold your Beats Studio3 headphones near your unlocked Apple device.
- Press and hold the power button on the headphones for 1 second.
- A setup animation will appear on your Apple device. Follow the on-screen instructions.
- Your headphones are now connected and ready to use with all your iCloud-synced devices.

Image: Diagram illustrating the compatibility of Beats Studio3 headphones with various Apple devices including iPhone, Apple TV, iMac, Apple Watch, iPad, and Macbook, powered by the Apple W1 chip.
For Android Devices and Other Bluetooth Devices:
- Press and hold the power button on the headphones for 5 seconds until the Fuel Gauge LEDs begin to flash. This indicates pairing mode.
- On your device, go to Bluetooth settings and ensure Bluetooth is enabled.
- Select "Beats Studio3" from the list of available devices.
- Once connected, the Fuel Gauge LEDs will glow solid white.
Operating Your Headphones
Power On/Off
- To power on, press and hold the power button for 1 second.
- To power off, press and hold the power button for 1 second.
Audio Controls
The 'b' button on the left earcup controls audio playback and calls.
- Press once: Play/Pause audio, Answer/End call.
- Press twice: Skip forward (audio), Decline call.
- Press three times: Skip backward (audio).
- Press and hold: Activate voice assistant (Siri, Google Assistant, etc.).
Volume controls are located above and below the 'b' button.
- Volume Up: Press the button above the 'b' button.
- Volume Down: Press the button below the 'b' button.

Image: Close-up view of the left earcup showing the 'b' button and volume controls, with annotations for single, double, and triple presses for playback control, and hold for voice assistant activation.
Pure Adaptive Noise Canceling (Pure ANC)
Pure ANC actively blocks external noise for an immersive listening experience. It continuously calibrates audio in real-time to preserve clarity, range, and emotion.
- Pure ANC is automatically enabled when you power on your headphones.
- To turn Pure ANC off or on, double-press the power button.
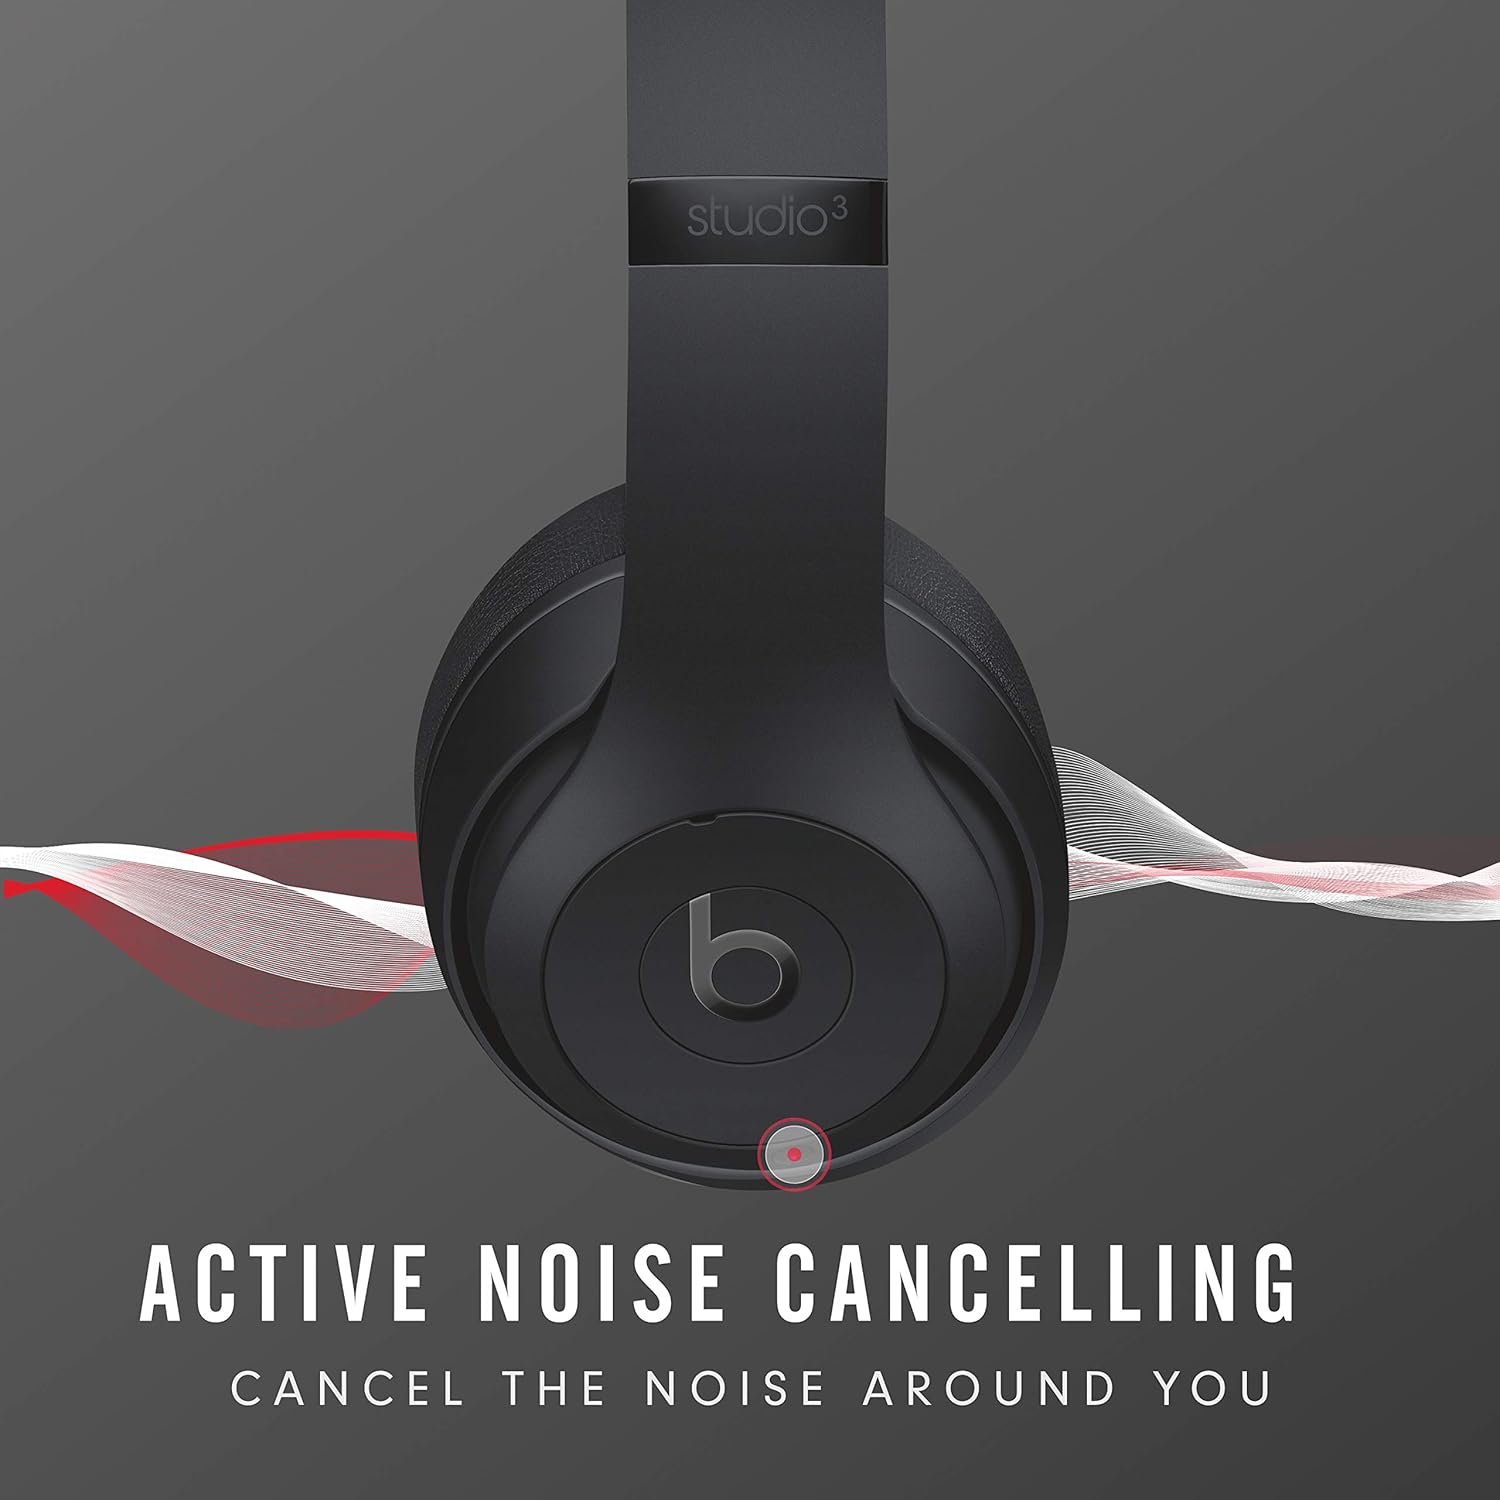
Image: Illustration of Beats Studio3 headphones with sound waves emanating from them, visually representing the Active Noise Cancelling feature.
Battery Life and Fast Fuel
Your Beats Studio3 headphones offer up to 22 hours of listening time with Pure ANC enabled, and up to 40 hours with Pure ANC off. The Fuel Gauge LEDs on the left earcup indicate battery level:
- Five white LEDs: Full charge.
- One flashing red LED: Low battery.
Fast Fuel technology allows for quick charging:
- A 10-minute charge provides 3 hours of playback when the battery is low.
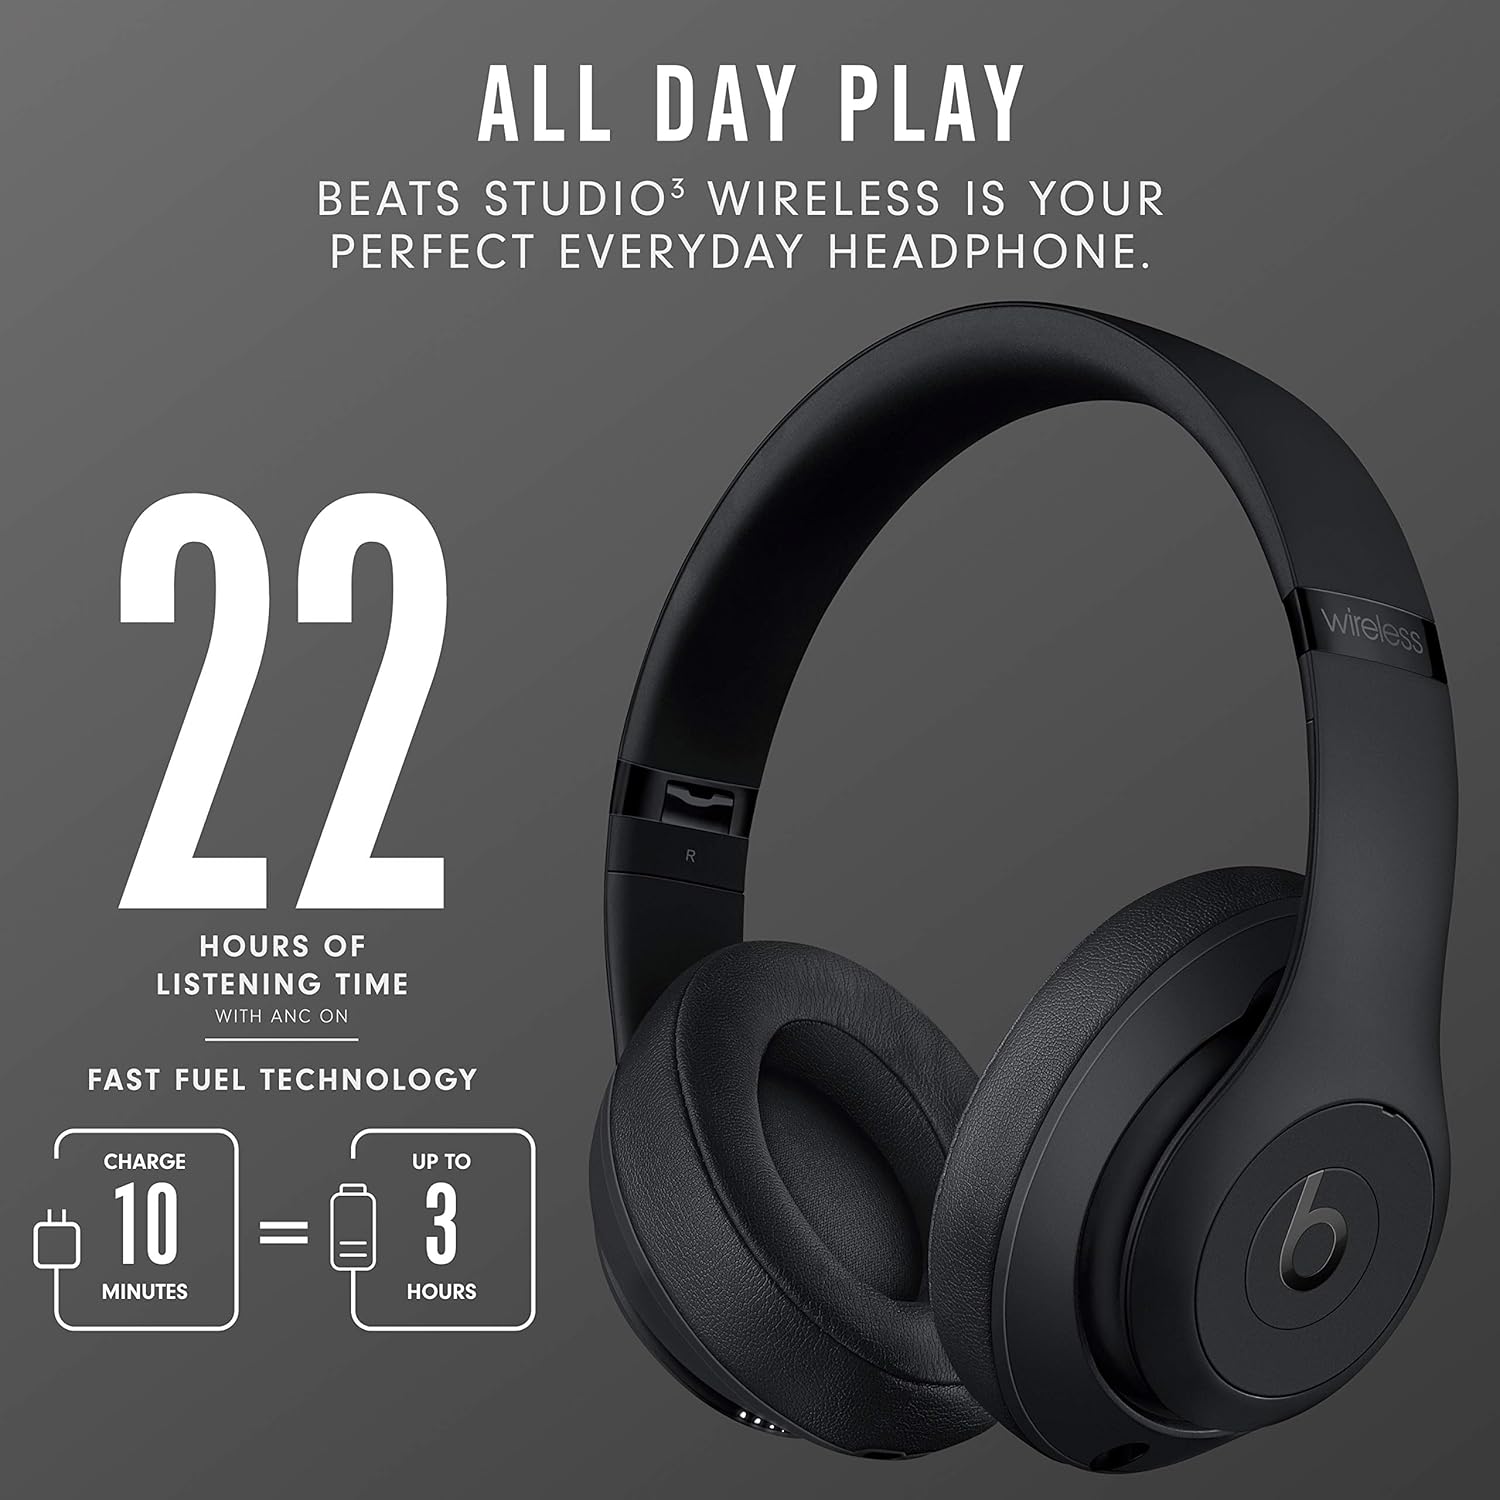
Image: Graphic showing "22 Hours of Listening Time with ANC On" and "Fast Fuel Technology" with an icon indicating "10 Minutes = 3 Hours" of play time.
Maintenance
Cleaning
To maintain the condition of your headphones:
- Wipe the earcups and headband with a soft, damp, lint-free cloth.
- Do not use abrasive cleaners, alcohol, or chemical solvents.
- Avoid getting moisture in any openings.
Storage
When not in use, store your headphones in the included carrying case to protect them from dust, scratches, and impacts. The headphones are designed to fold compactly for easy storage.
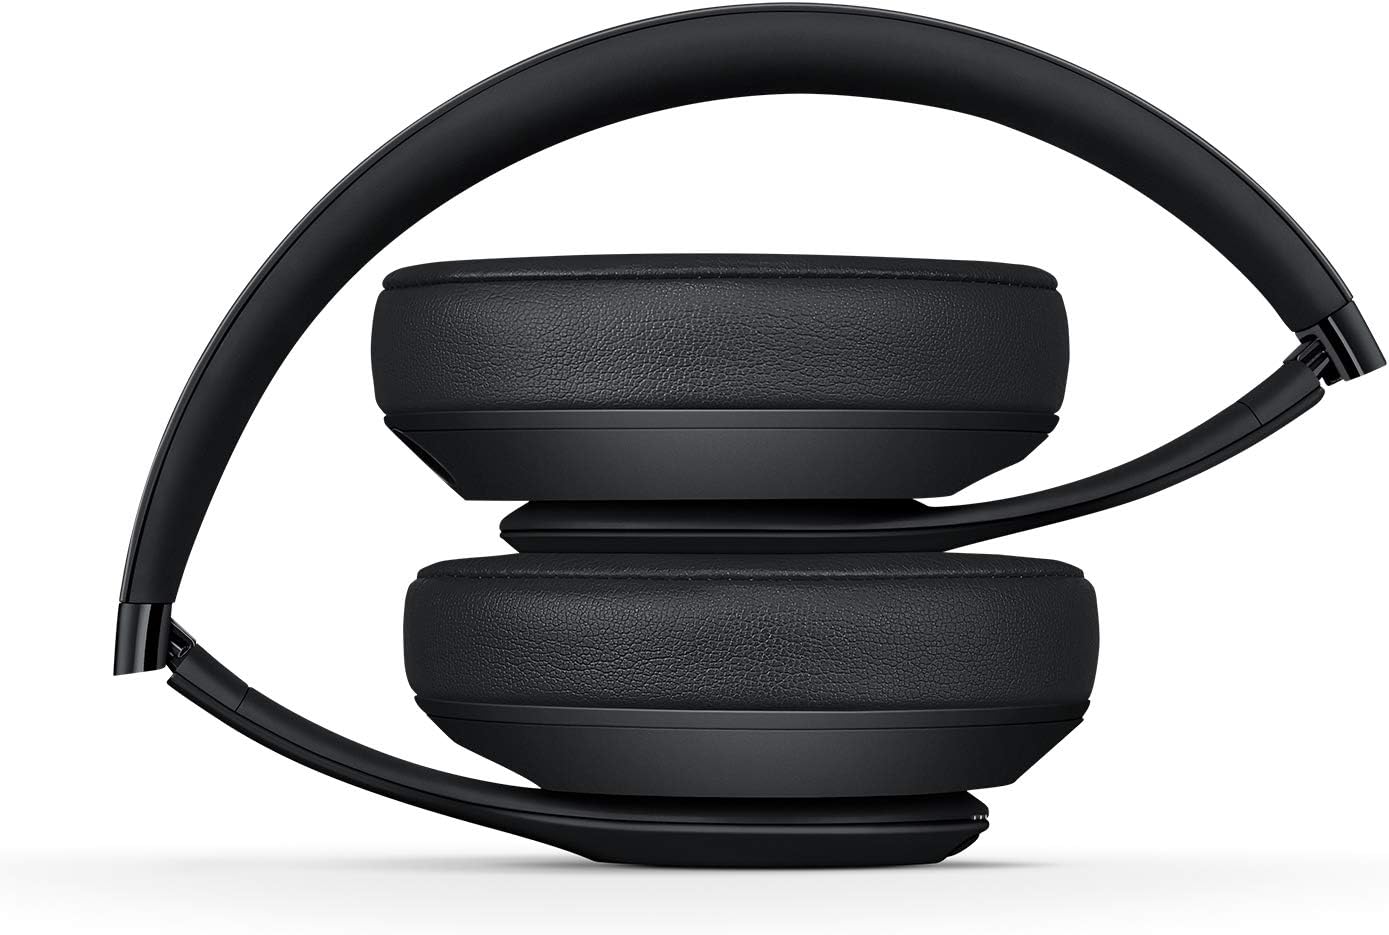
Image: Side view of the Beats Studio3 Wireless Headphones folded into a compact position, demonstrating their portability and ease of storage.
Troubleshooting
If you encounter issues with your Beats Studio3 Wireless Headphones, try the following solutions:
No Power / Not Turning On
- Ensure the headphones are charged. Connect them to a power source using the USB cable and check the Fuel Gauge LEDs.
- Try resetting the headphones: Press and hold both the power button and the volume down button for 10 seconds. Release the buttons when the Fuel Gauge LEDs flash.
Cannot Pair / Bluetooth Connection Issues
- Ensure the headphones are in pairing mode (flashing Fuel Gauge LEDs).
- Make sure Bluetooth is enabled on your device and it is within range (typically 10 meters or 33 feet).
- Forget the device from your device's Bluetooth settings and try pairing again.
- If connecting to an Apple device, ensure iCloud is enabled and your device is running iOS 10 or later.
- Try resetting the headphones as described above.
No Sound or Low Volume
- Check the volume level on both your headphones and the connected device.
- Ensure the headphones are properly connected to your device.
- If using the 3.5mm RemoteTalk cable, ensure it is fully plugged into both the headphones and your audio source.
- Try playing audio from a different application or device to isolate the issue.
Active Noise Canceling Not Working Properly
- Ensure Pure ANC is enabled (double-press the power button).
- Check that the earcups are properly sealed around your ears. Adjust the headband for a snug fit.
- Ensure there is no obstruction to the microphones on the earcups.
Specifications
| Feature | Detail |
|---|---|
| Model Name | Beats Studio3 - Matte Black (Latest Model) |
| Item Model Number | MX3X2LL/A |
| Connectivity Technology | Bluetooth, NFC |
| Wireless Communication Technology | Bluetooth |
| Noise Control | Active Noise Cancellation (Pure ANC) |
| Ear Placement | Over Ear |
| Form Factor | Over Ear |
| Headphone Jack | 3.5 mm Jack (for wired connection) |
| Battery Life | Up to 22 hours (with Pure ANC), Up to 40 hours (Pure ANC off) |
| Charging Time (Fast Fuel) | 10-minute charge for 3 hours playback |
| Battery Type | 1 Lithium Ion battery (included) |
| Product Dimensions | 16 x 12 x 22.7 cm |
| Item Weight | 453.59 g |
| Manufacturer | Beats |
| First Available Date | 1 June 2020 |
Warranty and Support
Warranty Information
Your Beats Studio3 Wireless Headphones come with a limited warranty. Please refer to the included Warranty Card for specific terms and conditions, including coverage period and what is covered. Retain your proof of purchase for warranty claims.
Customer Support
For further assistance, technical support, or warranty service, please visit the official Beats support website or contact their customer service. You can often find detailed FAQs, software updates, and contact information on their official support pages.
Note: Specific contact details are subject to change. Always refer to the latest information on the official Beats website.
Ask a question about this manual
Ask about setup, troubleshooting, compatibility, parts, safety, or missing instructions. Manuals+ will review the question and use this page’s manual context to help answer it.