
Introduction
The BodyMed All-Terrain Knee Walker is a mobility aid designed to provide a comfortable and stable alternative to crutches for individuals recovering from foot or ankle injuries. This manual provides essential information for the safe assembly, operation, and maintenance of your knee walker.

Image: Front view of the BodyMed All-Terrain Knee Walker, showcasing its four large wheels, padded knee rest, handlebars, and front-mounted basket.
Safety Information
Read all instructions before use. Failure to follow instructions may result in injury.
- Weight Capacity: Do not exceed the maximum weight capacity of 350 lb (158 kg).
- User Height: Recommended for users between 5'5" and 6'4".
- Tire Pressure: Maintain suggested tire pressure between 30-35 PSI. Maximum tire pressure is 40 PSI. Check tire pressure before each use. An air pump is not included.
- Brakes: Always engage the parking brakes when stationary. Test brakes before each use.
- Stability: Exercise caution on uneven surfaces or when making sharp turns to maintain stability.
- Assembly: Ensure all components are securely fastened before use.
Setup and Assembly
Follow these steps to assemble your BodyMed All-Terrain Knee Walker. For visual guidance, refer to the official assembly video below.
Step 1: Steering Column Assembly
- The steering column comes folded. Lift the column upwards.
- Pull the release lever up through the center notch and push it down to secure the column in the upright position.
- Pull the lever upwards and turn it clockwise to tighten the pressure. Push the lever down to lock it in place.
Step 2: Front Axle Bolt
- Rotate the front wheels so they are facing straightforward.
- Tighten the bolt in the front axle using the provided Allen wrench to set them in place.
Step 3: Knee Pad Assembly
- Loosen the lever on the knee pad column and remove the pin.
- Line up the holes at your desired height (adjustable between 19.5 and 26 inches) and insert the pin through.
- Move the U-lock back onto the other side of the pin to keep it in place.
- Tighten the lever to secure the knee pad column.

Image: Diagram illustrating the adjustable height of the knee pad (19.5" to 26") and handlebars (33" to 43") on the BodyMed All-Terrain Knee Walker.
Step 4: Handlebar Assembly
- Release the upper lever on the steering column.
- Make sure the brakes are facing the front of the walker.
- Line up the holes on the handlebars with the hole in the back of the steering column (adjustable between 33 and 43 inches, suitable for heights from 4'9" to 6'4").
- Insert the star screw and turn it clockwise.
- Lift the release lever back up to lock it in place.
Step 5: Basket Assembly
- Locate the basket anchor tabs on the front of the steering column.
- Place the two holes in the back of the basket over the anchor tabs and press firmly until the basket locks into place.
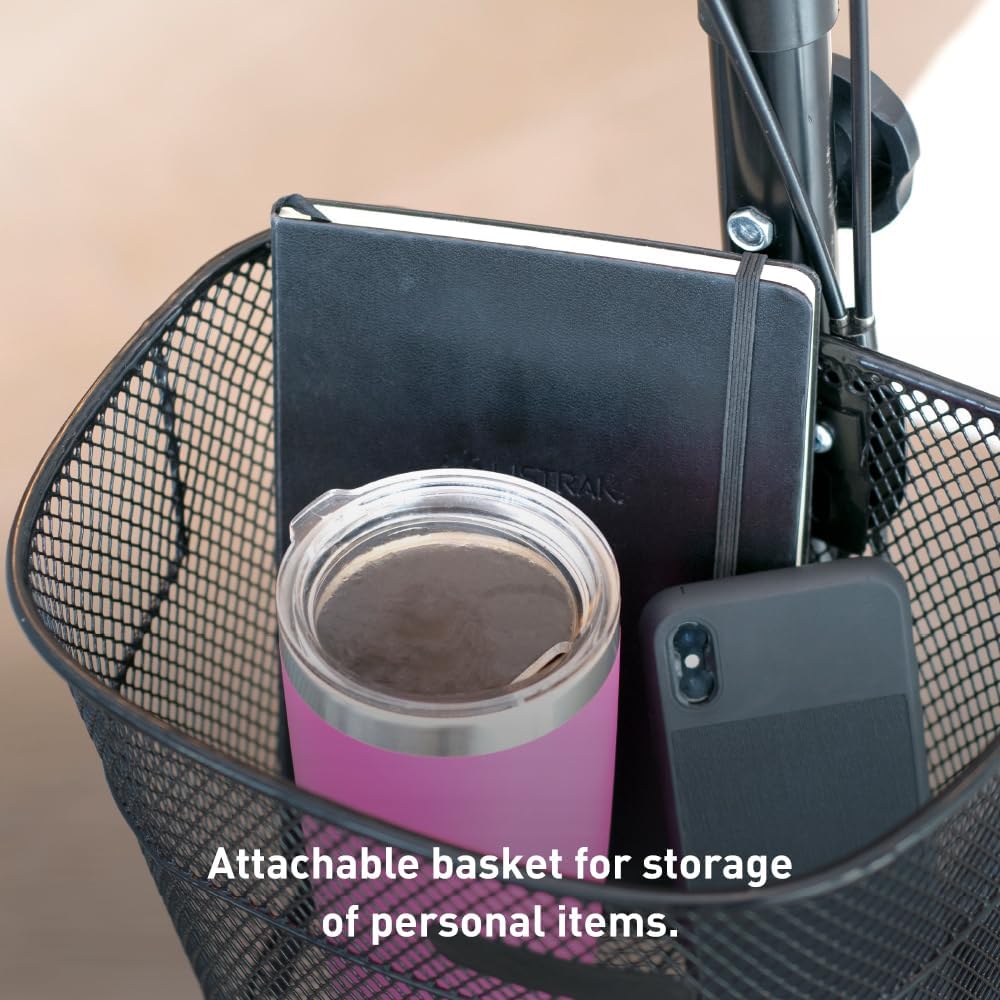
Image: Close-up of the attachable metal basket on the knee walker, shown holding a water bottle and a notebook.
Step 6: Brake Cable Ties
- Use the provided Velcro tie to secure the brake lines to the steering column, keeping them organized and out of the way.
Assembly Video
Video: Official BodyMed assembly instructions for the All-Terrain Knee Walker, demonstrating each step of the setup process.
Operating Instructions
Using the Knee Walker
- Place the injured leg's knee onto the padded knee rest.
- Use the uninjured leg to propel the walker forward.
- Steer using the handlebars. The walker has a 32-degree turn angle and a 3.986 ft turn radius for maneuverability.

Image: Diagram illustrating the 32-degree turn angle and 3.986 ft turn radius of the knee walker, indicating its maneuverability in indoor spaces.
Braking System
- The knee walker features a dual rear braking system.
- To slow down or stop, gently squeeze the hand brakes located on the handlebars.
- To engage the parking brake, pull both brake levers simultaneously and push the small pins down with your thumbs. Release the levers to lock the brakes.
- To release the parking brake, hold down both brake levers until the pins pop up, then release the levers.

Image: Close-up view of the hand brake lever on the handlebar and the corresponding dual rear braking mechanism on the wheel.
Folding and Storage
- The lower bolt on the front axle can be removed, allowing the wheels to be placed sideways for compact storage.
- The handlebar column can also be folded down for easier transport and storage in vehicles or closets.

Image: Visual demonstration of how the knee walker's front axle can be adjusted to position wheels sideways, making it more compact for storage or transport in a car trunk.
Usage Video
Video: Official BodyMed video demonstrating the use of the All-Terrain Knee Walker in various indoor and outdoor settings.
Maintenance
- Tire Care: The 12-inch air-filled tires require regular pressure checks. Maintain 30-35 PSI. Do not exceed 40 PSI. Use a standard Schrader valve pump (not included).
- Cleaning: Wipe down the frame and knee pad with a damp cloth and mild soap as needed. Avoid abrasive cleaners.
- Inspection: Periodically check all bolts, screws, and levers to ensure they are tight and secure. Inspect brake cables for wear or damage.

Image: Close-up of one of the 12-inch air-filled tires, highlighting the recommended tire pressure range of 30-35 PSI.
Troubleshooting
| Problem | Possible Cause | Solution |
|---|---|---|
| Knee walker feels unstable or tips easily. | Improper steering technique, uneven terrain, or excessive speed during turns. | Always maintain a controlled speed. Avoid sharp turns, especially on uneven surfaces. Practice steering in a safe, open area. Ensure knee pad and handlebar heights are correctly adjusted for your body. |
| Brakes are not engaging effectively. | Loose brake cables or worn brake pads. | Check brake cable tension. If cables are loose, they may need adjustment by a qualified technician. Inspect brake pads for wear and replace if necessary. |
| Tires frequently lose air. | Under-inflation or a puncture. | Ensure tires are inflated to the recommended 30-35 PSI before each use. Check for punctures and repair or replace the inner tube if damaged. |
Specifications
- Model: All-Terrain
- Brand: BodyMed
- Product Dimensions: 35"D x 17"W x 43"H (assembled)
- Product Weight: 35 lbs
- Maximum Weight Capacity: 350 lb
- Recommended User Height: 5'5" – 6'4"
- Tire Size: Four 12-inch air-filled all-terrain tires
- Suggested Tire Pressure: 30-35 PSI (Max 40 PSI)
- Braking System: Dual rear brakes with parking lock
- Knee Pad Height Adjustment: 19.5" to 26"
- Handlebar Height Adjustment: 33" to 43"
- Turning Angle: 32 degrees
- Turn Radius: 3.986 ft
- Material: Rubber (tires)
- Color: Black

Image: Overview of the knee walker's key features including anti-slip grips, detachable basket, 12" wheels, padded contoured knee pad, sturdy dual bar frame, and dual rear brake system.
Warranty and Support
For warranty information or technical support, please refer to the product packaging or contact BodyMed customer service directly. Keep your purchase receipt for warranty claims.
Legal Disclaimer: Statements regarding dietary supplements have not been evaluated by the FDA and are not intended to diagnose, treat, cure, or prevent any disease or health condition. This product is a medical device and should be used as directed by a healthcare professional.


