
Introduction
This manual provides essential information for the safe and efficient operation, maintenance, and troubleshooting of your RYOBI 18V ONE+ Battery Multicompressor R18MI-0. Please read this manual thoroughly before using the product and retain it for future reference.

Figure 1: RYOBI 18V ONE+ Battery Multicompressor R18MI-0, a versatile tool for inflation and deflation tasks.
Safety Information
Always observe basic safety precautions when using electrical appliances to reduce the risk of fire, electric shock, and personal injury. Keep the work area clean and well-lit. Do not operate power tools in explosive atmospheres, such as in the presence of flammable liquids, gases, or dust. Keep children and bystanders away while operating a power tool.
- Ensure the correct pressure setting is selected for the item being inflated to prevent over-inflation and potential damage or injury.
- Do not leave the compressor unattended while in operation.
- Always disconnect the battery pack before making any adjustments, changing accessories, or storing the tool.
- Use only RYOBI ONE+ 18V batteries and chargers with this multicompressor.
Package Contents
Verify that all items listed below are included in your package:
- RYOBI 18V ONE+ Battery Multicompressor R18MI-0 (Tool Only)
- High pressure hose
- High volume sports equipment needle
- Bicycle tire Presta valve adapter
- Quick Inflation Nozzle
Note: Battery and charger are sold separately.

Figure 2: Front view of the RYOBI R18MI-0 product packaging, indicating the tool-only purchase.
Setup
- Install Battery: Insert a fully charged RYOBI ONE+ 18V Lithium battery into the battery port at the base of the multicompressor until it clicks into place.
- Connect Hose:
- For high-pressure inflation (tires, sports equipment), connect the high-pressure hose to the designated port.
- For high-volume inflation/deflation (air mattresses, pool toys), connect the large-diameter hose to the appropriate port.
- Select Nozzle: Choose the appropriate nozzle or adapter for your inflation/deflation task and securely attach it to the end of the hose.

Figure 3: Front view of the multicompressor, showing the control panel and hose connections.
Operating Instructions
High-Pressure Inflation (Tires, Sports Balls)
- Power On: Press the MODE button to turn on the unit. The digital display will illuminate.
- Select Mode: Press the MODE button repeatedly to cycle through the inflation modes until the tire icon is displayed.
- Set Pressure: Use the + and - buttons to set the desired pressure (e.g., PSI or Bar) on the digital display.
- Connect to Item: Securely attach the high-pressure hose nozzle to the valve stem of the item to be inflated.
- Start Inflation: Press the START/STOP button to begin inflation. The compressor will automatically stop once the preset pressure is reached.
- Disconnect: Remove the nozzle from the valve stem.
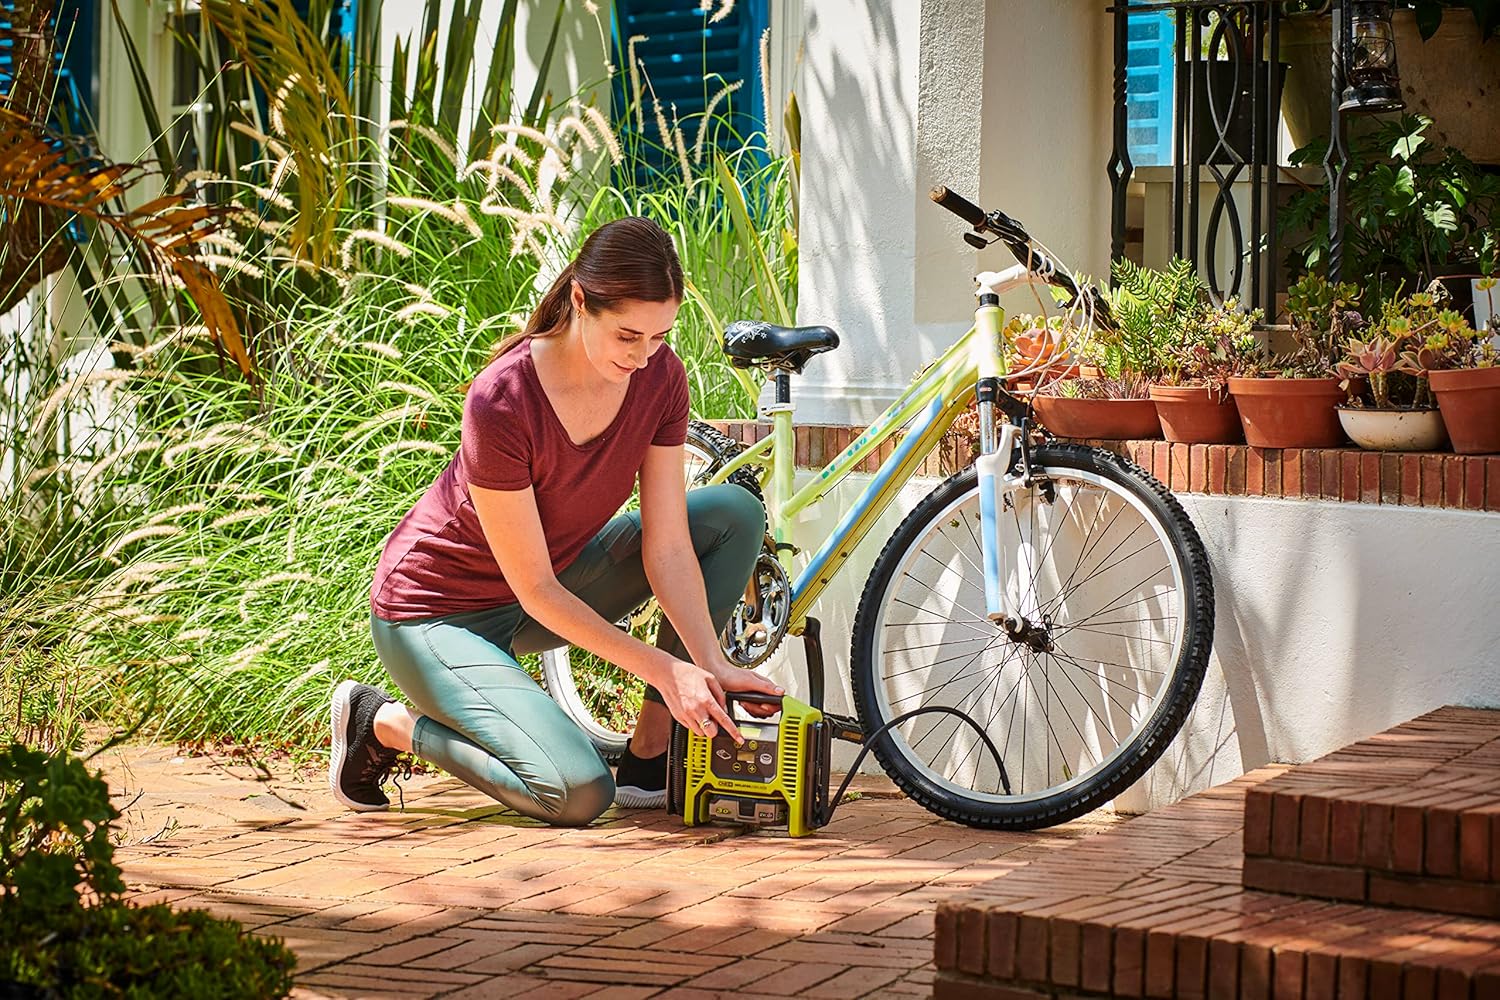
Figure 4: A user inflating a car tire using the RYOBI 18V ONE+ Multicompressor, demonstrating its portability and ease of use for automotive applications.

Figure 5: A woman inflating a bicycle tire, highlighting the compressor's utility for various personal items.
High-Volume Inflation (Air Mattresses, Pool Toys)
- Power On: Press the MODE button to turn on the unit.
- Select Mode: Press the MODE button repeatedly until the air mattress icon is displayed.
- Connect to Item: Securely attach the high-volume hose nozzle to the inflation port of the item.
- Start Inflation: Press the START/STOP button to begin inflation. Monitor the item to prevent over-inflation.
- Stop Inflation: Press the START/STOP button to stop inflation once the item is firm.
- Disconnect: Remove the nozzle from the item.

Figure 6: A user inflating a pool toy, showcasing the high-volume inflation capability for leisure items.
High-Volume Deflation (Air Mattresses, Storage Bags)
- Power On: Press the MODE button to turn on the unit.
- Select Mode: Press the MODE button repeatedly until the air mattress icon is displayed.
- Connect to Item: Securely attach the high-volume hose nozzle to the deflation port of the item.
- Start Deflation: Press and hold the START/STOP button to begin deflation.
- Stop Deflation: Release the START/STOP button to stop deflation.
- Disconnect: Remove the nozzle from the item.

Figure 7: A user deflating a storage bag, illustrating the product's utility for compacting items.
Maintenance
- Cleaning: Keep the tool's air vents clear and free of debris. Use a soft, damp cloth to clean the exterior. Do not use harsh chemicals or abrasive cleaners.
- Storage: Store the multicompressor in a dry, secure location out of reach of children. Ensure all hoses and accessories are properly stored in their designated compartments on the unit.
- Battery Care: For optimal battery life, store batteries in a cool, dry place and charge them regularly, especially if not used for extended periods.

Figure 8: Side view of the multicompressor, showing integrated storage for hoses and nozzles, promoting tidy maintenance.
Troubleshooting
| Problem | Possible Cause | Solution |
|---|---|---|
| Unit does not turn on. | Battery not inserted correctly or discharged. | Ensure battery is fully seated and charged. |
| Compressor runs but no air flow. | Hose or nozzle blocked/disconnected. | Check for blockages and ensure all connections are secure. |
| Inaccurate pressure reading. | Improper nozzle connection or faulty sensor. | Ensure tight nozzle connection. If problem persists, contact customer support. |
| Unit overheats. | Prolonged continuous use. | Allow the unit to cool down for at least 10-15 minutes before resuming use. |
Specifications
| Feature | Detail |
|---|---|
| Brand | RYOBI |
| Model Name | Akku-Multikompressor 2:1 (R18MI-0) |
| Voltage | 18 Volts |
| Power Source | Battery Powered |
| Max Pressure | 10.3 Bar / 150 PSI |
| Air Flow Capacity | 16 LPM |
| Noise Level | 48 dB |
| Item Weight | 1.57 Kilograms (3.45 pounds) |
| Product Dimensions | 19.69"L x 11.02"W x 19.69"H |
| Display Style | LCD |
| Material | Plastic Metal |
Warranty and Support
RYOBI products are designed for durability. Register your purchased product on the official RYOBI website to activate your warranty. This product typically comes with a 3-year warranty. For detailed warranty terms and conditions, please refer to the information provided at ryobitools.eu.
For technical support, spare parts, or service inquiries, please contact RYOBI customer service through their official channels. Ensure you have your model number (R18MI-0) and purchase details available when contacting support.

Figure 9: The RYOBI ONE+ 18V system logo, indicating compatibility with a wide range of tools.


