
KRUPS XN8908
KRUPS XN8908 Nespresso Atelier Coffee Capsule Machine Instruction Manual
Model: XN8908
Introduction
This manual provides comprehensive instructions for the safe and efficient operation, maintenance, and troubleshooting of your KRUPS XN8908 Nespresso Atelier Coffee Capsule Machine. Please read all instructions carefully before first use and retain this manual for future reference.
Important Safety Instructions
- Read all instructions before using the appliance.
- Do not immerse the appliance, power cord, or plug in water or other liquids.
- Keep the appliance out of reach of children.
- Unplug from outlet when not in use and before cleaning. Allow to cool before putting on or taking off parts, and before cleaning the appliance.
- Do not operate any appliance with a damaged cord or plug, or after the appliance malfunctions or has been damaged in any manner.
- Use only Nespresso capsules designed for this machine.
- Never use hot water to fill the water tank.
- Avoid contact with moving parts.
- Do not place on or near a hot gas or electric burner, or in a heated oven.
- Always attach plug to appliance first, then plug cord into the wall outlet. To disconnect, turn any control to "off", then remove plug from wall outlet.
- This appliance is intended for household use only.
Product Overview and Components
Familiarize yourself with the different parts of your Nespresso Atelier machine.

Figure 1: KRUPS Nespresso Atelier Coffee Capsule Machine with a prepared latte.

Figure 2: Exploded view showing the various components of the Nespresso Atelier machine.
Key Components:
- Water Tank: Removable tank for fresh water.
- Capsule Insertion Area: Where Nespresso capsules are placed.
- Control Panel: Buttons for various coffee and milk recipes.
- Coffee Outlet: Where brewed coffee dispenses.
- Milk Frother: Integrated system for frothing milk directly in the cup.
- Drip Tray: Collects excess liquid and supports cups.
- Used Capsule Container: Stores ejected capsules.
Setup and First Use
1. Unpacking
Carefully remove the machine from its packaging. Ensure all components are present: coffee machine, glass cup (if included), and instruction manuals.
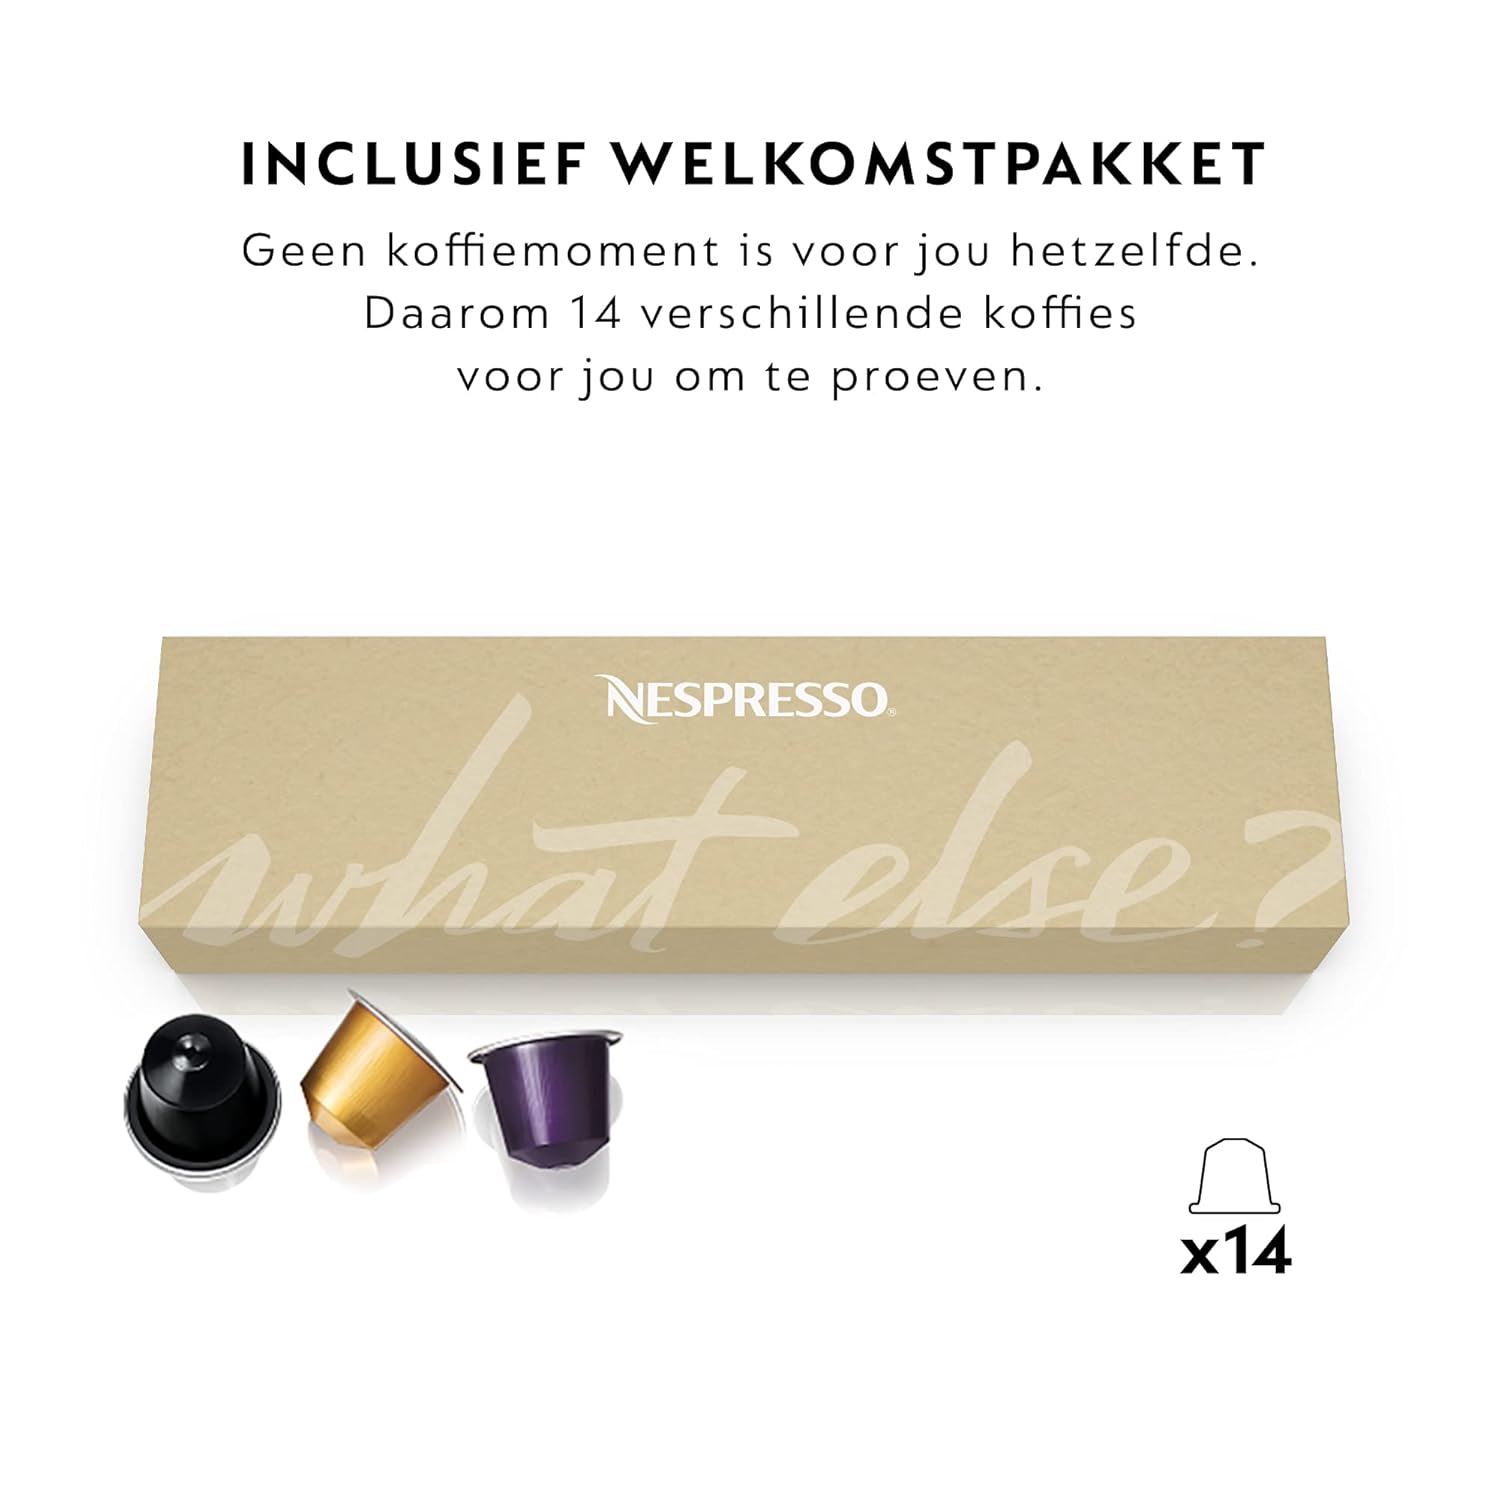
Figure 3: Example of a Nespresso welcome pack with various coffee capsules.
2. Initial Cleaning
- Wash the water tank, drip tray, and milk frother components with warm water and a mild detergent. Rinse thoroughly and dry.
- Wipe the machine's exterior with a damp cloth.
3. Filling the Water Tank
- Remove the water tank from the back of the machine.
- Fill it with fresh, potable water up to the MAX level. Do not use sparkling water or other liquids.
- Place the water tank back onto the machine securely.
4. First Use / Priming the Machine
- Plug the machine into a grounded power outlet.
- Press any coffee button to turn the machine on. The buttons will blink as the machine heats up (approximately 30 seconds).
- Place a container (at least 0.5L) under the coffee outlet.
- Press the Lungo button. The machine will dispense water. Repeat this process three times to rinse the system.
- The machine is now primed and ready for use.
Operating Instructions
Your Nespresso Atelier offers 9 one-touch coffee and milk recipes.

Figure 4: Control panel with recipe selection buttons.
1. Basic Coffee Preparation (Ristretto, Espresso, Lungo)
- Ensure the water tank is filled.
- Lift the lever and insert a Nespresso capsule. Close the lever.
- Place a cup on the drip tray.
- Press the desired coffee button (Ristretto, Espresso, or Lungo). The machine will start brewing.
- The machine will stop automatically when the selected volume is reached.
- After brewing, lift the lever to eject the used capsule into the container.
2. Milk-Based Recipes (Latte Macchiato, Cappuccino, Mocha, Chilled Frappé, Hot/Cold Milk Foam)
The integrated milk frother allows for direct preparation in your cup.

Figure 5: Machine preparing a milk-based coffee drink.
- Fill the water tank.
- Pour the desired amount of fresh, cold milk (cow, almond, soy, etc.) directly into your cup.
- Place the cup with milk on the drip tray, ensuring the milk frother is positioned inside the cup and submerged in the milk.
- For recipes requiring coffee (Latte Macchiato, Cappuccino, Mocha): Insert a Nespresso capsule and close the lever.
- Press the desired milk recipe button. The machine will first froth the milk, then brew the coffee (if applicable).
- For Chilled Frappé, ensure you add ice to your cup with milk before starting the process.
- After preparation, lift the lever to eject the used capsule.
3. Adjusting Cup Size
The drip tray is height-adjustable to accommodate various cup and glass sizes. Simply remove or reposition the drip tray as needed.
Maintenance and Cleaning
Regular cleaning ensures optimal performance and longevity of your machine.
1. Daily Cleaning
- Milk Frother: After each milk preparation, remove the milk frother and rinse it thoroughly under running water. It is also dishwasher safe.
- Drip Tray and Used Capsule Container: Empty and rinse daily.
- Machine Exterior: Wipe with a damp cloth.
2. Water Tank Cleaning
Clean the water tank weekly with warm water and mild detergent. Rinse thoroughly.
3. Descaling
Descaling is crucial to remove mineral deposits and maintain machine performance. The descaling indicator light will illuminate when descaling is required.
- Refer to the full descaling instructions provided in the separate descaling kit or on the Nespresso website.
- Use only Nespresso descaling solution.
- The process typically involves filling the water tank with descaling solution and water, then running cycles through the machine.
4. Storage
If storing the machine for an extended period, empty and clean all components. Store in a dry, dust-free environment.
Troubleshooting
| Problem | Possible Cause | Solution |
|---|---|---|
| No coffee, no water flow. | Water tank empty; machine not primed; air bubble in system; machine needs descaling. | Fill water tank; prime the machine (see Setup); run a Lungo cycle without capsule to clear air; descale the machine. |
| Coffee is cold. | Cup not preheated; machine not fully heated. | Preheat cup with hot water; allow machine to fully heat up (buttons stop blinking). |
| Milk not frothing correctly. | Milk frother dirty; incorrect milk type/temperature; frother not properly submerged. | Clean milk frother thoroughly; use fresh, cold milk (ideally semi-skimmed); ensure frother is correctly positioned in the milk. |
| Capsule not ejecting. | Lever not fully lifted. | Lift the lever completely to eject the capsule into the container. |
| Machine leaking. | Water tank not correctly positioned; drip tray full. | Ensure water tank is securely in place; empty and clean the drip tray. |
If the problem persists, please contact Nespresso or KRUPS customer service.
Technical Specifications
| Brand | KRUPS |
| Model Number | XN8908 |
| Colour | BLACK |
| Product Dimensions | 40D x 15W x 40H Centimeters |
| Special Feature | Milk Frother |
| Coffee Maker Type | Espresso Machine |
| Operation Mode | Fully Automatic |
| Pressure | 19 Bar |
| Water Tank Capacity | 1 Litre |
| Voltage | 220 Volts |
| Item Weight | 3 kg 870 g |

Figure 6: Machine dimensions for placement reference.
Warranty and Customer Support
Your KRUPS Nespresso Atelier Coffee Capsule Machine is covered by a manufacturer's warranty. Please refer to the warranty card included in your product packaging for specific terms and conditions.
For technical assistance, spare parts, or warranty claims, please contact KRUPS or Nespresso customer service. Contact details can typically be found on the official KRUPS or Nespresso websites, or in the documentation provided with your machine.
When contacting support, please have your model number (XN8908) and purchase date available.
Related documentsXN8908


Ask a question about this manual
Ask about setup, troubleshooting, compatibility, parts, safety, or missing instructions. Manuals+ will review the question and use this page’s manual context to help answer it.