
1. Introduction
Thank you for purchasing the PIFCO P55004 Mini USB Fan. This manual provides essential information for the safe and efficient operation, maintenance, and troubleshooting of your fan. Please read these instructions thoroughly before use and retain them for future reference.
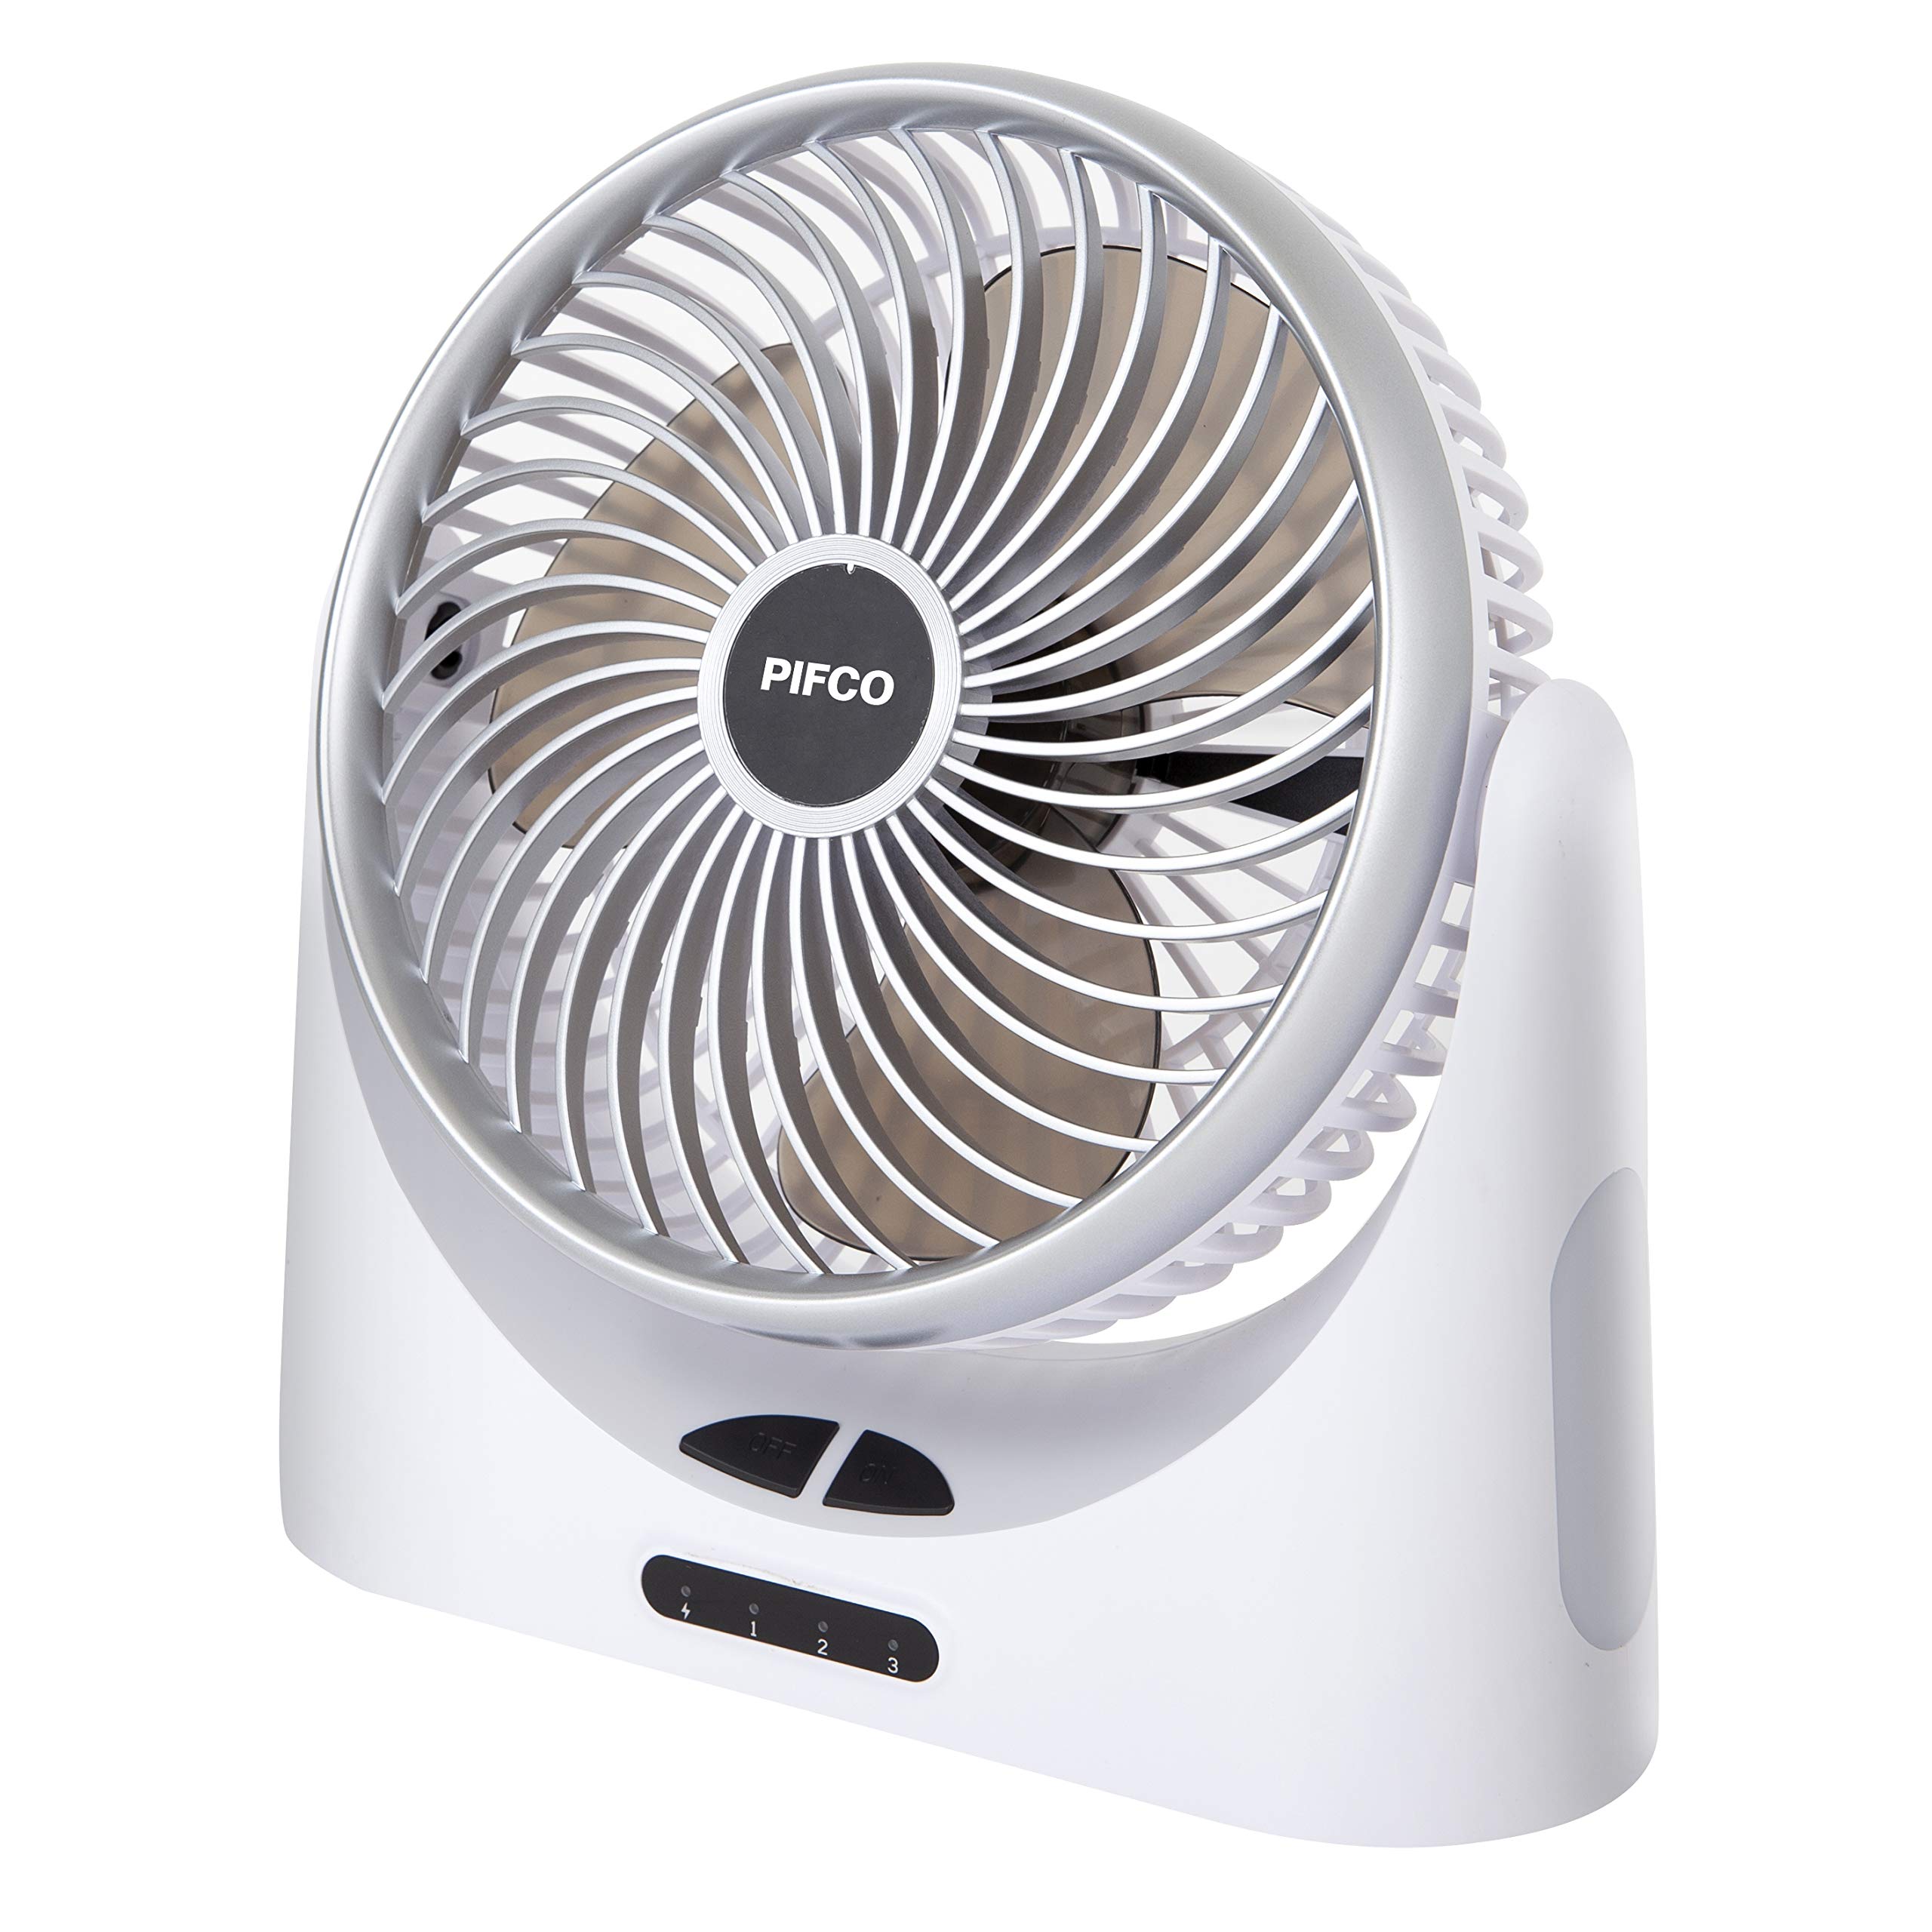
Image 1.1: The PIFCO P55004 Mini USB Fan in a typical desk environment.
2. Safety Instructions
To reduce the risk of fire, electric shock, or injury, always observe the following safety precautions:
- Do not insert fingers or any objects into the fan grille when the fan is operating.
- Do not use the fan near water or in damp environments.
- Ensure the fan is placed on a stable, flat surface to prevent it from tipping over.
- Keep the fan away from curtains, loose clothing, or other objects that may be drawn into the fan blades.
- Do not block the air inlets or outlets.
- Use only the provided USB charging cable or a compatible cable.
- Do not attempt to disassemble or repair the fan yourself. Contact qualified service personnel.
- Keep out of reach of children.
3. Package Contents
Verify that all items are present in the package:
- PIFCO P55004 Mini USB Fan
- USB Charging Cable
4. Product Overview
Familiarize yourself with the components of your fan:

Image 4.1: Front view of the fan, highlighting the grille and control buttons.
- Fan Grille: Protects the fan blades.
- Control Panel: Contains ON/OFF buttons and speed indicators.
- Night Light: Located on the side of the fan base.
- USB Input Port: For charging the fan's internal battery.
- USB Output Port: For charging external devices.

Image 4.2: Detailed view of the fan's control panel.
5. Setup
- Unpack: Carefully remove the fan and all accessories from the packaging.
- Placement: Place the fan on a stable, flat, and dry surface. Ensure there is adequate space around the fan for proper air circulation.
- Initial Charge: Before first use, it is recommended to fully charge the fan. Connect the provided USB charging cable to the fan's USB input port and to a suitable USB power source (e.g., computer, USB wall adapter). The charging indicator will illuminate.

Image 5.1: The fan ready for use on a desk.
6. Operating Instructions
6.1 Power On/Off and Speed Adjustment
- Press the ON button once to turn on the fan at speed 1 (low).
- Press the ON button again to cycle through speed 2 (medium) and speed 3 (high).
- To turn off the fan, press the OFF button.
6.2 Adjustable Tilt Angle
The fan head can be manually adjusted up to 120 degrees vertically. Gently tilt the fan head to your desired angle to direct airflow.

Image 6.1: The fan's side profile demonstrating its adjustable tilt.
6.3 Night Light Function
The fan is equipped with a night light on its side.
- To turn the night light ON, press and hold the ON button for approximately 2 seconds.
- To turn the night light OFF, press and hold the ON button again for approximately 2 seconds.
The night light can be used independently or simultaneously with the fan operation.

Image 6.2: The fan with its night light feature activated.
6.4 Charging External Devices
The fan can also function as a power bank to charge compatible mobile devices.
- Connect your mobile device's charging cable to the fan's USB output port.
- Connect the other end of the cable to your mobile device.
- Charging will begin automatically. Note that using this feature will reduce the fan's operational runtime.

Image 6.3: Charging a smartphone using the fan's USB output port.
7. Charging the Fan
When the battery is low, the fan's performance may decrease. To recharge:
- Connect the small end of the USB charging cable to the fan's USB input port.
- Connect the larger end of the USB cable to a powered USB port (e.g., computer, USB wall adapter, power bank).
- The charging indicator light will show the charging status. A full charge typically provides up to 9.5-10 hours of continuous use, depending on the speed setting.
8. Maintenance
Regular cleaning helps maintain optimal performance and extends the lifespan of your fan.
- Cleaning the Exterior: Wipe the exterior surfaces of the fan with a soft, damp cloth. Do not use abrasive cleaners or solvents.
- Cleaning the Fan Blades: The front grille can be removed for cleaning the fan blades. Carefully twist or unclip the front grille as per the design to access the blades. Wipe the blades with a dry or slightly damp cloth. Ensure the fan is completely dry before reassembling and operating.
- Storage: When not in use for extended periods, store the fan in a cool, dry place, away from direct sunlight and moisture.

Image 8.1: Front view of the fan, showing the grille that can be removed for cleaning.
9. Troubleshooting
If you encounter issues with your fan, refer to the following common problems and solutions:
| Problem | Possible Cause | Solution |
|---|---|---|
| Fan does not turn on. | Battery is depleted. | Charge the fan using the USB cable. |
| Fan does not turn on. | Power button not pressed correctly. | Ensure the ON button is pressed firmly. |
| Weak airflow. | Fan is on a low speed setting. | Press the ON button to increase the speed setting. |
| Weak airflow. | Fan grille or blades are dirty. | Clean the fan grille and blades as described in the Maintenance section. |
| Night light not working. | Night light not activated. | Press and hold the ON button for 2 seconds to activate the night light. |
10. Specifications
| Feature | Specification |
|---|---|
| Model Number | P55004 |
| Brand | PIFCO |
| Colour | White |
| Electric Fan Design | Table Fan |
| Power Source | Battery Powered, Corded Electric |
| Number of Speed Settings | 3 |
| Adjustable Tilt Angle | Up to 120 degrees |
| Runtime | Up to 9.5 hours (approx. 10 hours) |
| Special Features | Night Light, USB Charging Output |
| Material | Plastic |
| Indoor/Outdoor Usage | Indoor |
11. Warranty and Support
For warranty information or technical support, please refer to the warranty card included with your purchase or contact PIFCO customer service through their official website or contact channels. Please have your model number (P55004) and purchase details ready when contacting support.