1. Introduction
This manual provides essential information for the safe and correct installation, operation, and maintenance of your vidaXL Walk-in Shower Screen, Model 145682. This product features clear tempered glass, an aluminum frame, an adjustable profile, and a supporting bar, designed to be splash-proof and easy to clean. Please read these instructions thoroughly before beginning installation or use.
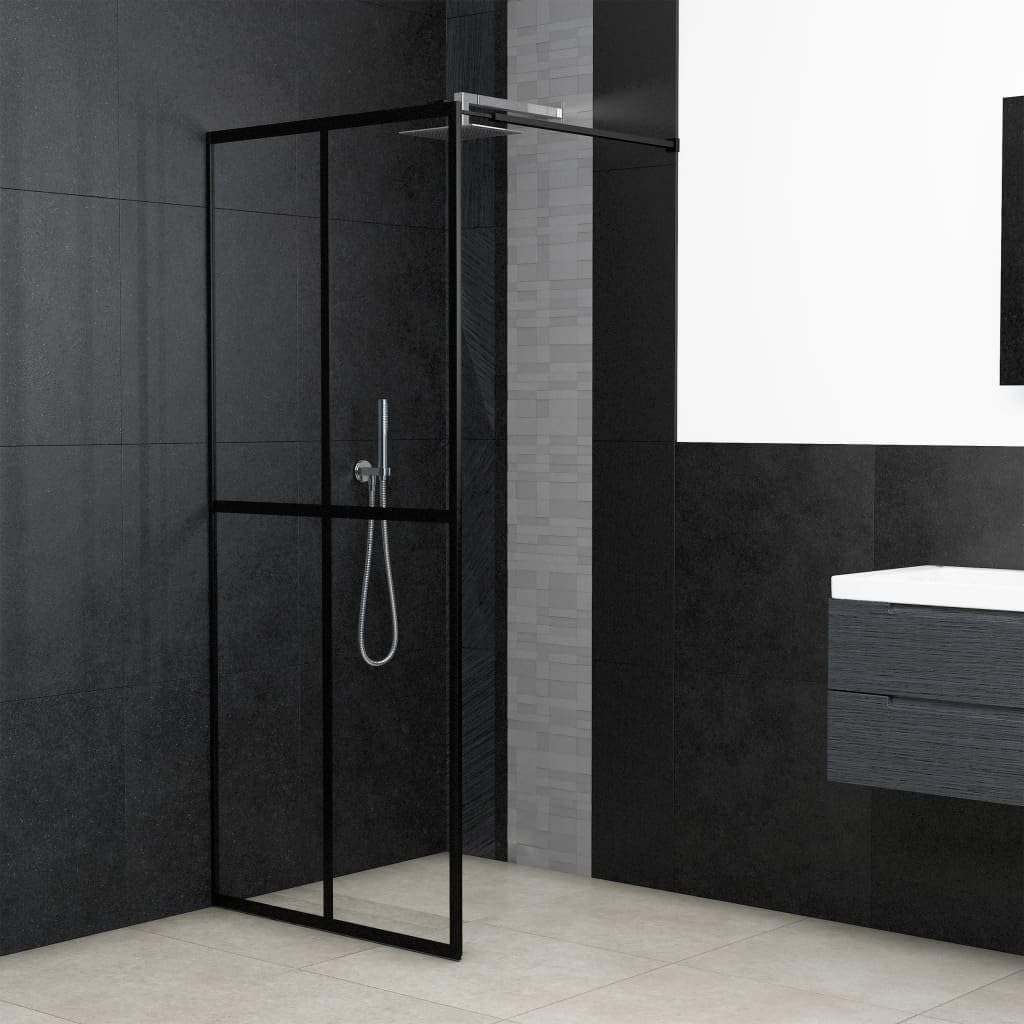
Image 1.1: The vidaXL Walk-in Shower Screen installed in a bathroom setting.
2. Safety Information
WARNING: Failure to follow these safety instructions may result in injury or damage to the product.
- Always handle glass panels with extreme care. Tempered glass, while strong, can shatter into small pieces if struck at the edges or corners.
- Wear appropriate personal protective equipment (PPE), including safety glasses and gloves, during installation.
- Ensure the wall where the shower screen will be mounted is structurally sound and capable of supporting the weight of the screen. Use appropriate wall anchors for your wall type.
- Keep children and pets away from the installation area.
- Do not use power tools near water or in damp conditions without proper safety precautions.
- Verify all components are present and undamaged before beginning assembly.
3. Package Contents
Please check that all the following components are included in your package. If any parts are missing or damaged, contact customer support before proceeding.
- Tempered Glass Panel(s)
- Aluminum Frame Profiles (vertical and horizontal)
- Adjustable Supporting Bar
- Wall Mounting Profiles
- Mounting Hardware (screws, wall plugs, gaskets, seals)
- Instruction Manual
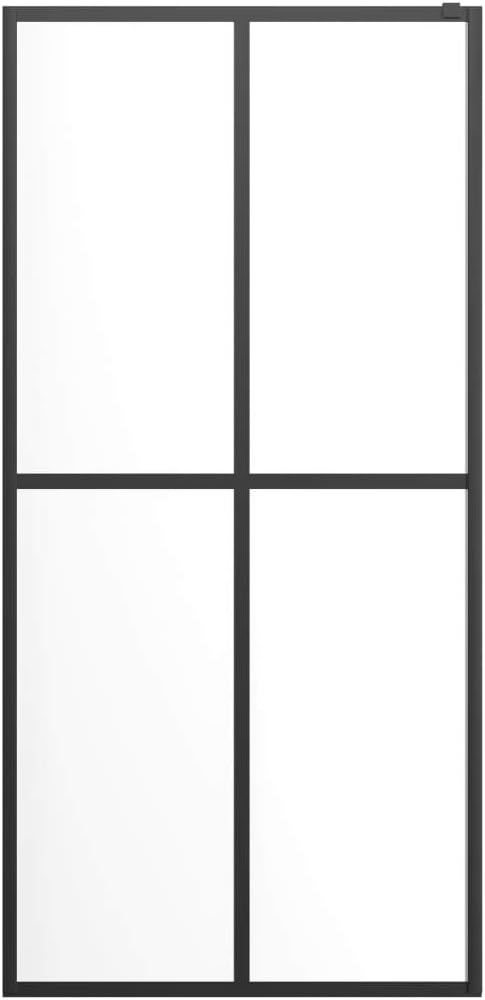
Image 3.1: Front view of the shower screen components.
4. Setup and Installation
The installation process requires careful attention to detail to ensure stability and water-tightness. It is recommended that two people perform the installation.
Required Tools (Not Included):
- Drill
- Spirit Level
- Measuring Tape
- Pencil
- Screwdriver
- Silicone Sealant and Caulking Gun
- Utility Knife
Installation Steps:
- Unpack and Inspect: Carefully remove all components from the packaging. Inspect glass panels and aluminum profiles for any damage.
- Assemble Frame and Glass: Assemble the aluminum frame profiles according to the diagrams provided in the separate assembly sheet. Carefully insert the tempered glass panel(s) into the assembled frame sections. Ensure the glass is seated correctly and evenly.
- Initial Sealing: Apply silicone sealant to the joints where the glass meets the frame profiles. Allow the silicone to cure for at least 24 hours before moving the assembly. This step is crucial for structural integrity and water resistance.
- Positioning: Once the silicone has cured, position the assembled shower screen in its desired location in the shower area. Use a spirit level to ensure it is perfectly vertical.
- Marking and Drilling: Mark the drilling points on the wall through the pre-drilled holes in the wall mounting profiles. Move the screen aside, then drill holes into the wall using an appropriate drill bit for your wall type. Insert wall plugs into the drilled holes.
- Secure Wall Profiles: Attach the wall mounting profiles to the wall using the provided screws.
- Attach Shower Screen: Carefully slide the assembled shower screen into the secured wall mounting profiles. Ensure a snug fit.
- Install Supporting Bar: Attach the adjustable supporting bar from the top of the shower screen to the adjacent wall. Adjust its length to provide maximum stability and ensure the screen is plumb. Secure both ends of the supporting bar.
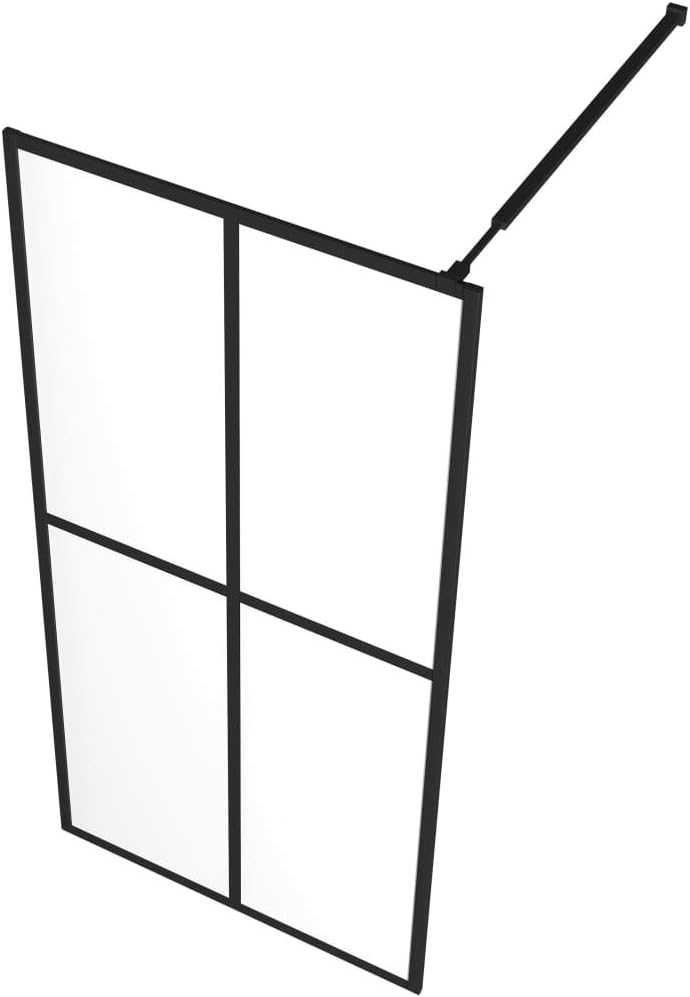
Image 4.1: Shower screen with supporting bar for stability.
- Final Sealing: Apply a continuous bead of silicone sealant along all external joints where the shower screen meets the wall and the shower tray/floor. This creates a watertight seal. Smooth the silicone for a clean finish. Allow the silicone to fully cure (typically 24-48 hours, refer to sealant manufacturer's instructions) before using the shower.

Image 4.2: Detail of the adjustable supporting bar.
5. Operating Instructions
The vidaXL Walk-in Shower Screen is a static fixture designed to contain water within the shower area. No specific operational steps are required beyond its intended use.
- Ensure proper ventilation in the bathroom during and after showering to prevent excessive moisture buildup.
- Avoid direct, forceful impact on the glass panels to prevent damage.
6. Maintenance
Regular cleaning will maintain the appearance and functionality of your shower screen.
- Daily Cleaning: After each use, wipe down the glass and aluminum profiles with a soft cloth or squeegee to remove water droplets. This helps prevent water spots and limescale buildup.
- Weekly Cleaning: Use a mild, non-abrasive glass cleaner or a solution of warm water and white vinegar to clean the glass panels. For aluminum profiles, use a soft cloth with mild soap and water.
- Avoid: Do not use abrasive cleaners, scouring pads, harsh chemicals, or ammonia-based products, as these can damage the glass surface or the aluminum finish.
- Seals: Periodically check the silicone seals for any signs of wear, cracking, or mold. Clean mold with appropriate bathroom cleaner. If seals are damaged, they should be replaced to maintain water-tightness.
7. Troubleshooting
If you encounter issues with your shower screen, refer to the following common problems and solutions:
| Problem | Possible Cause | Solution |
|---|---|---|
| Shower screen feels unstable or wobbly. | Loose mounting screws, improperly installed supporting bar, insufficient wall support. | Ensure all screws securing the wall profiles are tightened. Verify the supporting bar is correctly installed and adjusted for maximum stability. Check wall anchors for secure fit. |
| Water leaks from the base or sides of the screen. | Incomplete or damaged silicone seals. | Inspect all silicone seals for gaps, cracks, or deterioration. Clean and reapply silicone sealant as necessary, ensuring a continuous, watertight barrier. Allow adequate curing time. |
| Difficulty inserting glass into frame profiles during assembly. | Profiles not perfectly aligned, debris in channels. | Ensure aluminum profiles are correctly aligned and free of any obstructions. Apply gentle, even pressure. Do not force the glass. |
8. Specifications
| Feature | Detail |
|---|---|
| Model Number | 145682 |
| Dimensions (W x H) | 46.5" x 74.8" (118 x 190 cm) |
| Material | Tempered Glass, Aluminum Frame |
| Color | Transparent Glass, Black Frame |
| Item Weight | 66.5 pounds (30.24 Kilograms) |
| Installation Type | Freestanding (wall-mounted with supporting bar) |
| Shape | Rectangular |
| Number of Panels | 1 |
| Assembly Required | Yes |
9. Warranty and Support
For information regarding product warranty, please refer to the purchase documentation or contact your retailer. This product typically includes a 30-day return policy from the date of purchase.
If you require assistance with installation, have questions about product functionality, or need to report a missing or damaged part, please contact vidaXL customer support. You can often find contact information on the retailer's website or within your purchase confirmation.


