
1. Introduction
Thank you for choosing the Amica ED37210B X-TYPE electric oven. This manual provides essential information for the safe and efficient use of your appliance. Please read these instructions carefully before installation, operation, or maintenance, and keep them for future reference.
The Amica ED37210B X-TYPE is a 77-liter, 3600W electric oven designed for domestic use, offering various cooking functions for optimal culinary results.
2. Safety Instructions
General Safety:
- Read all instructions before using the appliance.
- This appliance is intended for household use only.
- Do not touch hot surfaces. Use oven mitts or pot holders.
- Ensure the appliance is properly earthed.
- Keep children away from the oven during operation and cooling.
- Never use water to extinguish grease fires. Smother the fire or use a dry chemical or foam-type extinguisher.
- Do not store flammable materials in or near the oven.
- Always disconnect the appliance from the power supply before cleaning or maintenance.
Electrical Safety:
- Ensure the voltage and frequency of your electrical supply match the ratings on the appliance's rating plate.
- Do not use extension cords or multiple adapters.
- If the power cord is damaged, it must be replaced by the manufacturer, its service agent, or similarly qualified persons to avoid a hazard.
3. Product Overview
The Amica ED37210B X-TYPE oven features a sleek black design with intuitive controls and a spacious interior. Below are key components and their descriptions.
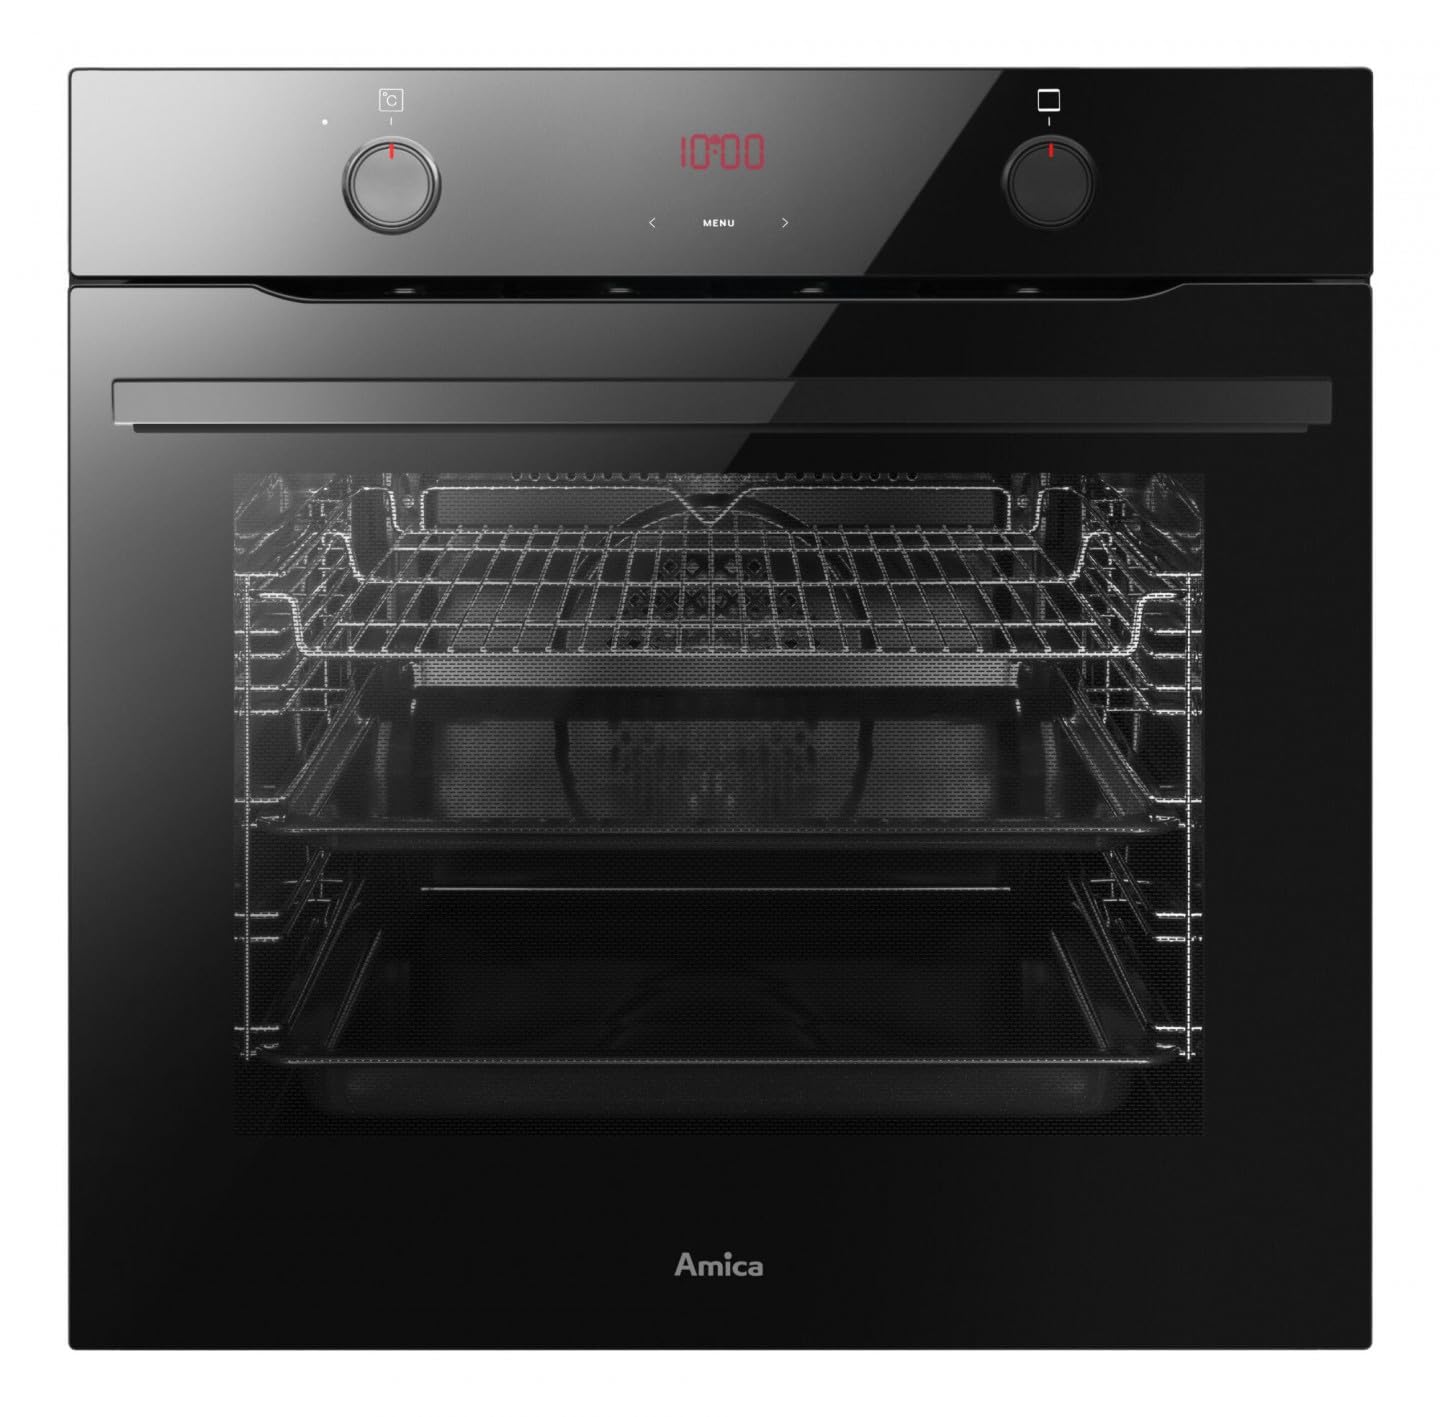
Figure 3.1: Front view of the Amica ED37210B X-TYPE oven with the door open. This image shows the oven's interior cavity, the fan at the back, and the control panel above the door.

Figure 3.2: Close-up of the oven's control panel. The panel features two rotary knobs for function and temperature selection, and a central digital display with touch controls for time and settings.

Figure 3.3: Rear view of the Amica ED37210B X-TYPE oven. This image displays the back of the appliance, including ventilation openings and the power cord connection point.
Key Components:
- Control Panel: Features rotary knobs and a digital display for setting cooking functions, temperature, and time.
- Oven Cavity: The main cooking area with multiple rack positions.
- Oven Door: Equipped with a handle and often a viewing window.
- Heating Elements: Located at the top (grill), bottom, and around the fan (convection).
- Cooling Fan: Circulates air to cool the oven's exterior during and after operation.
4. Installation and Setup
Important: Installation should only be performed by a qualified technician in accordance with local regulations and safety standards.
Unpacking:
- Remove all packaging materials from the oven and its accessories.
- Inspect the oven for any damage incurred during transit. Do not install a damaged appliance.
- Keep packaging materials out of reach of children.
Placement:
- The oven is designed for built-in installation into a kitchen cabinet.
- Ensure adequate ventilation around the appliance.
- Refer to the installation template (if provided) for precise cabinet dimensions.
Electrical Connection:
- Connect the oven to a suitable earthed electrical outlet.
- The electrical supply must be capable of handling the oven's maximum power consumption (3600W).
- Ensure the power cord is not trapped or damaged during installation.
First Use:
- Before first use, clean the oven interior with a damp cloth.
- Heat the empty oven at maximum temperature for approximately 30 minutes to burn off any manufacturing residues. This may produce a slight odor; ensure the kitchen is well-ventilated.
5. Operating Instructions
This section describes the basic operation of your Amica ED37210B X-TYPE oven.
Setting the Time:
- Upon first connection or after a power outage, the display will flash.
- Use the touch controls (usually '+' and '-') to set the current time.
- Confirm the setting (refer to specific button on display, e.g., 'OK' or 'MENU').
Selecting a Cooking Function:
- Turn the left rotary knob to select the desired cooking function (e.g., Conventional Heat, Fan Assisted, Grill).
- The selected function icon will appear on the digital display.
Setting the Temperature:
- Turn the right rotary knob to set the desired cooking temperature.
- The temperature will be displayed and the oven will begin to preheat.
Preheating:
- Allow the oven to reach the set temperature before placing food inside. An indicator light or sound will signal when the temperature is reached.
Setting the Cooking Time (Timer):
- Press the timer button on the digital display.
- Use the '+' and '-' buttons to set the desired cooking duration.
- The oven will automatically switch off when the set time expires.
Ending a Cooking Cycle:
- To manually stop cooking, turn both rotary knobs to the 'OFF' position.
- Always use oven mitts when removing hot food from the oven.
6. Maintenance and Cleaning
Regular cleaning and maintenance will ensure the longevity and optimal performance of your oven.
Before Cleaning:
- Always switch off the oven and disconnect it from the power supply.
- Allow the oven to cool completely before cleaning any surfaces.
Exterior Cleaning:
- Wipe exterior surfaces with a soft cloth dampened with warm, soapy water.
- Do not use abrasive cleaners, scouring pads, or harsh chemicals, as these can damage the finish.
- Dry thoroughly with a soft cloth.
Interior Cleaning:
- Remove all racks and accessories. These can be washed in warm, soapy water.
- For light soiling, wipe the interior with a damp cloth and mild detergent.
- For stubborn stains, use a specialized oven cleaner, following the product's instructions carefully. Ensure adequate ventilation.
- Rinse thoroughly and dry the interior.
Oven Door:
- Clean the glass door with a glass cleaner or warm soapy water.
- Avoid scratching the glass surface.
7. Troubleshooting
Before contacting customer service, please refer to the following common issues and their potential solutions.
| Problem | Possible Cause | Solution |
|---|---|---|
| Oven does not heat up. | No power supply; incorrect settings; door not closed properly. | Check power connection and circuit breaker; ensure function and temperature are set; close oven door firmly. |
| Food not cooking evenly. | Incorrect rack position; oven not preheated; overloaded oven. | Use recommended rack position; allow oven to fully preheat; avoid overcrowding the oven. |
| Excessive smoke during cooking. | Food spills or grease buildup; high-fat food. | Clean oven interior thoroughly; use a baking tray to catch drips. |
| Digital display not working. | Power outage; loose connection. | Check power supply; if issue persists, contact service. |
If the problem persists after attempting these solutions, please contact Amica customer service or a qualified technician.
8. Specifications
Technical specifications for the Amica ED37210B X-TYPE oven.
| Brand | Amica |
| Model Number | ED37210B |
| Reference Number | 56909 |
| Oven Capacity | 77 Liters |
| Power Output | 3600 W |
| Energy Efficiency Class | A |
| Heating Method | Convection |
| Color | Black |
| Product Dimensions (L x W x H) | Refer to official product documentation for accurate dimensions. |
| Weight | Refer to official product documentation for accurate weight. |
Note: Some product dimensions and weight information provided in the source data appear to be for a small component rather than the full oven. Please refer to the official product documentation or packaging for accurate appliance dimensions and weight.
9. Warranty and Support
For warranty information, technical support, or to order spare parts, please contact Amica customer service. Details can typically be found on the manufacturer's official website or on your purchase receipt.
When contacting support, please have your oven's model number (ED37210B) and serial number (if applicable) ready.


