
Introduction
The Bell + Howell Smart Solar XL Pathway Lights offer a versatile solution for outdoor lighting, combining functionality with aesthetic appeal. These 2-in-1 solar-powered LED lights provide both bright white illumination and a cozy flickering flame mode, enhancing your garden, patio, or pathways without the need for complicated wiring. Designed for ease of use and durability, they automatically charge during the day and illuminate at night, offering a convenient and energy-efficient lighting option.
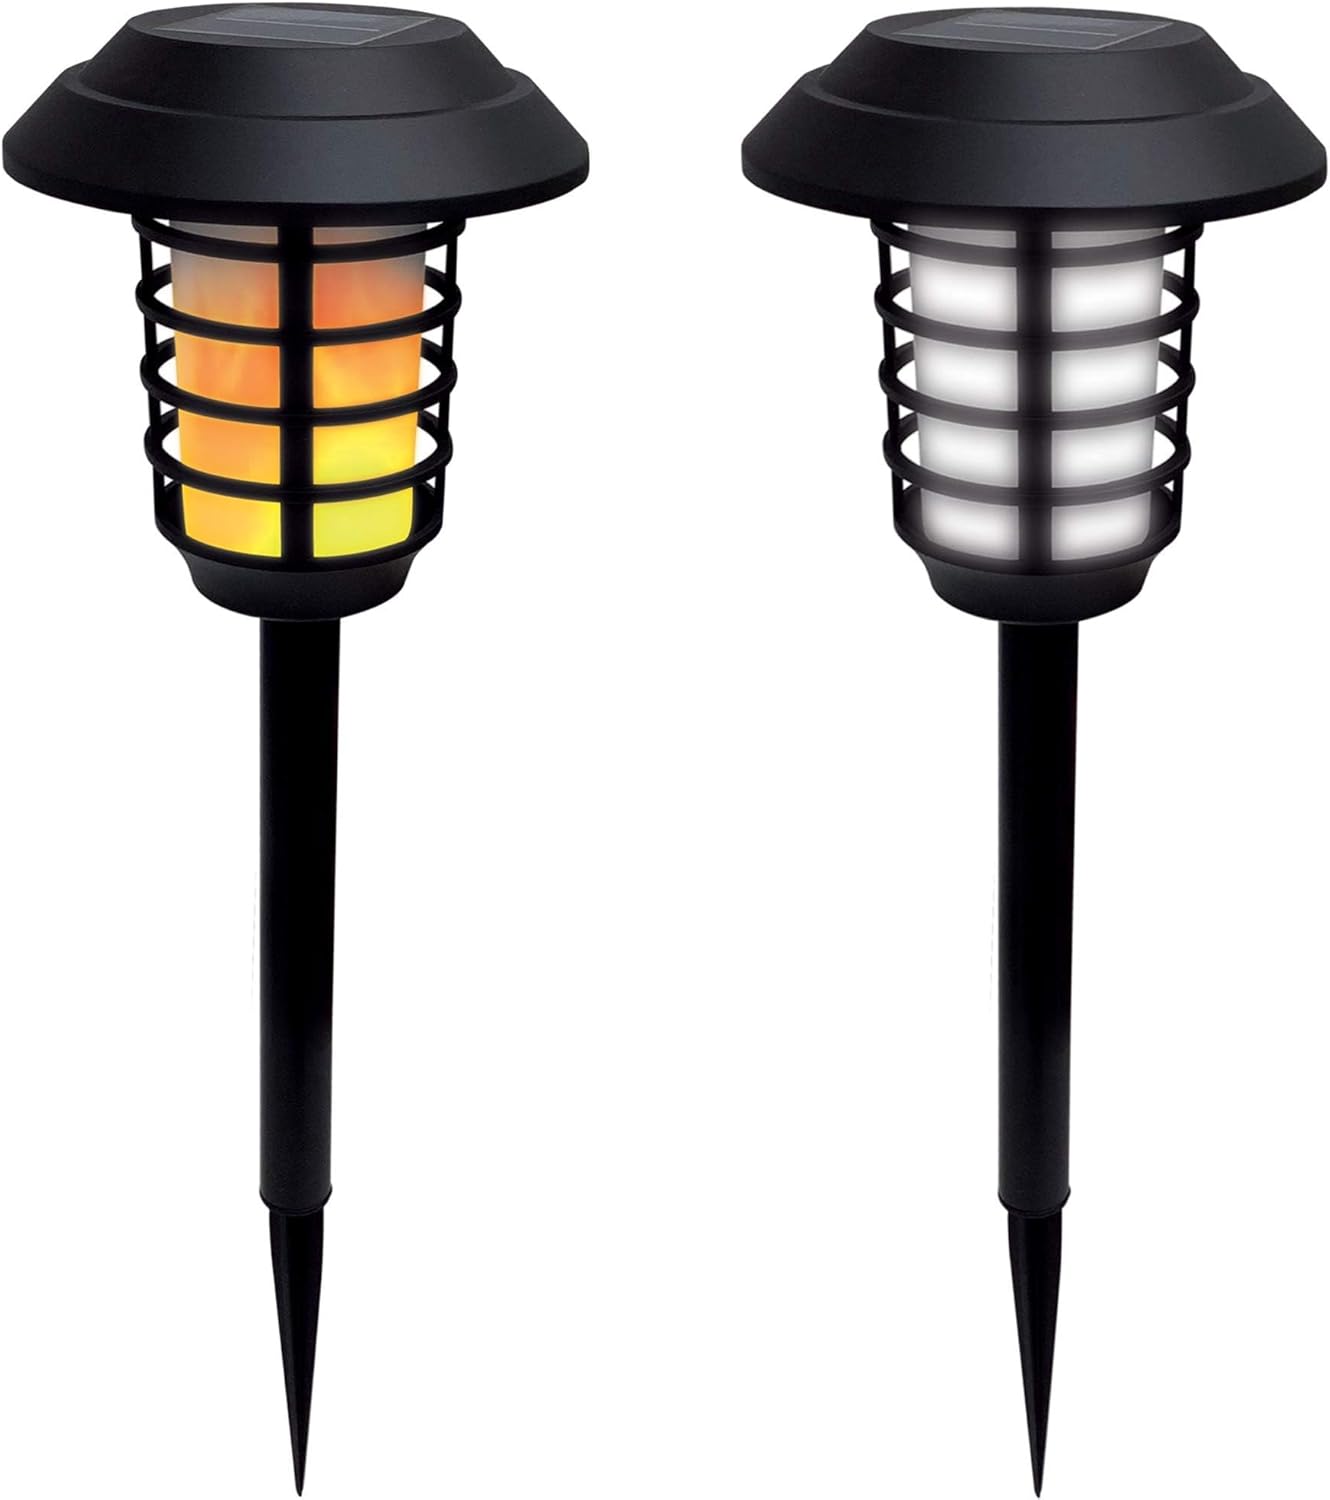
Image: Bell + Howell Smart Solar XL Pathway Lights in both bright white and flickering flame modes.
What's in the Box
Each 8-pack of Bell + Howell Smart Solar XL Pathway Lights includes the following components:
- 8 x Solar Panel Covers
- 8 x Lampshades
- 8 x Solar-Powered Rechargeable Batteries (pre-installed or separate)
- 8 x Mounting Rods
- 8 x Ground Inserts (stakes)
- 1 x User Manual
Specifications
| Feature | Detail |
|---|---|
| Brand | Bell+Howell |
| Model Number | 7210 |
| Light Source Type | LED |
| Light Color Modes | Bright White, Flickering Flame |
| Brightness | 21 Lumens |
| Power Source | Solar Powered (Battery Powered) |
| Battery | 3.2V 600mAh Rechargeable battery |
| Lasting Time | Up to 10 Hours (after full charge) |
| Charging Time | 8 hours (direct sunlight) |
| Dimensions (Total Height) | 23.5 inches |
| Water Resistance Level | IP65 (Water Resistant) |
| Material | Plastic |
Setup and Installation
Before First Use:
- Unpack Components: Carefully remove all items from the packaging.
- Remove Protective Film: Peel off the protective film from the solar panel located on top of the light unit.
- Activate Battery: Locate and pull out the battery isolator tab (if present) to allow the battery to connect.
- Assemble the Light: Attach the lampshade to the solar panel cover, then connect the mounting rod and ground insert. Ensure all parts are securely fastened.
- Initial Charge: Switch the light to the 'ON' position. Place the assembled light under direct sunlight for a minimum of 8 hours to allow the battery to fully charge.
Installation Notes:
- Optimal Placement: Position the lights in an area that receives maximum direct sunlight throughout the day. Avoid locations shaded by trees, buildings, or other obstructions.
- Avoid External Light Sources: Do not install the lights near strong external lighting sources, such as streetlights or porch lights. These can interfere with the light sensor, preventing the solar lights from activating automatically at dusk.
- Ground Insertion: Gently push the ground insert (stake) into soft soil. If the ground is hard, pre-dig a small hole to avoid damaging the stake.

Image: Solar pathway lights illuminating a garden path at night.
Video: Official product demonstration showing easy installation and automatic operation of the solar pathway lights.
Operating Instructions
The Bell + Howell Smart Solar XL Pathway Lights feature two distinct lighting modes and automatic operation:
- Automatic On/Off: The built-in solar panel charges the internal battery during daylight hours. At dusk, the lights will automatically turn on. At dawn, they will automatically turn off and begin recharging.
- Switchable Light Modes: Each light unit is equipped with a switch (typically located near the solar panel) that allows you to select between two lighting modes:
- Bright White Light: Provides clear, crisp illumination ideal for pathways and general landscape lighting.
- Flickering Flame Light: Offers a warm, ambient glow that mimics a natural flame, perfect for decorative purposes or creating a cozy atmosphere.
- Versatile Use: The lights can be used with the ground stake for pathway and garden illumination, or the stake can be removed to use the light unit as a tabletop lantern for patios, decks, or outdoor gatherings.

Image: Close-up of a light unit demonstrating the 2-in-1 switchable light modes.

Image: A light unit used as a decorative tabletop lantern on an outdoor table.
Maintenance
To ensure optimal performance and longevity of your Bell + Howell Smart Solar XL Pathway Lights, follow these simple maintenance guidelines:
- Clean Solar Panels: Regularly wipe the solar panels with a soft, damp cloth to remove dust, dirt, snow, or debris. A clean solar panel ensures efficient charging of the battery.
- Battery Replacement: While the batteries are rechargeable, their capacity may diminish over time. If you notice a significant decrease in illumination time, the rechargeable battery may need to be replaced. Refer to the product specifications for the correct battery type (3.2V 600mAh).
- Seasonal Storage: If storing the lights for an extended period, ensure they are fully charged before storage. Store them in a cool, dry place.

Image: A solar light unit absorbing sunlight for charging.
Troubleshooting
If your Bell + Howell Smart Solar XL Pathway Lights are not performing as expected, consider the following common issues and solutions:
- Light Does Not Turn On at Night:
- Check Solar Panel: Ensure the solar panel is clean and free from obstructions.
- Sunlight Exposure: Verify that the light is receiving at least 8 hours of direct sunlight daily. Relocate if necessary.
- External Light Interference: Move the light away from other strong light sources that might trigger its light sensor, causing it to remain off.
- Battery Isolator: Confirm the battery isolator tab has been fully removed.
- Switch Position: Ensure the light is switched to the 'ON' position.
- Light Does Not Last All Night:
- Insufficient Charge: The battery may not be receiving a full charge. Ensure optimal sunlight exposure and clean the solar panel.
- Battery Age: Over time, rechargeable batteries can lose capacity. Consider replacing the battery if it's several years old.
- Light Flickers or is Dim:
- Low Battery: The battery charge may be low. Allow for a full day of charging.
- Loose Connection: Check for any loose connections within the light unit.
Warranty and Support
Bell + Howell stands behind the quality of its Smart Solar XL Pathway Lights with a comprehensive warranty and dedicated customer support.
- Warranty: The product includes a 12-MONTHS WARRANTY from the date of purchase.
- Replacement Policy: A 24-MONTHS REPLACEMENT POLICY is also offered for qualifying issues.
- Customer Service: If you encounter any problems or have questions regarding your solar pathway lights, please contact our 24/7 Customer Service Team. We are committed to providing a satisfactory solution.
For assistance, please refer to the contact information provided on the product packaging or the official Bell + Howell website.
