1. Introduction
This manual provides comprehensive instructions for the installation and operation of your Start-X Remote Starter Kit. Designed for convenience and ease of use, this kit allows you to remotely start your vehicle using your existing factory key fob, ensuring a comfortable cabin temperature before you even step inside.
Please read all instructions carefully before beginning the installation process to ensure proper functionality and safety.
2. Vehicle Compatibility
This remote starter kit is compatible with the following vehicles:
- Chevy Silverado: 2007 (non-Classic), 2008, 2009, 2010, 2011, 2012, 2013
- GMC Sierra: 2007 (non-Classic), 2008, 2009, 2010, 2011, 2012, 2013
Important Vehicle Requirements:
- Ignition Type: Key blade ignition only. Not compatible with push-to-start engine vehicles.
- Transmission: Automatic transmission only.
- Fuel Type: Gas engine only.
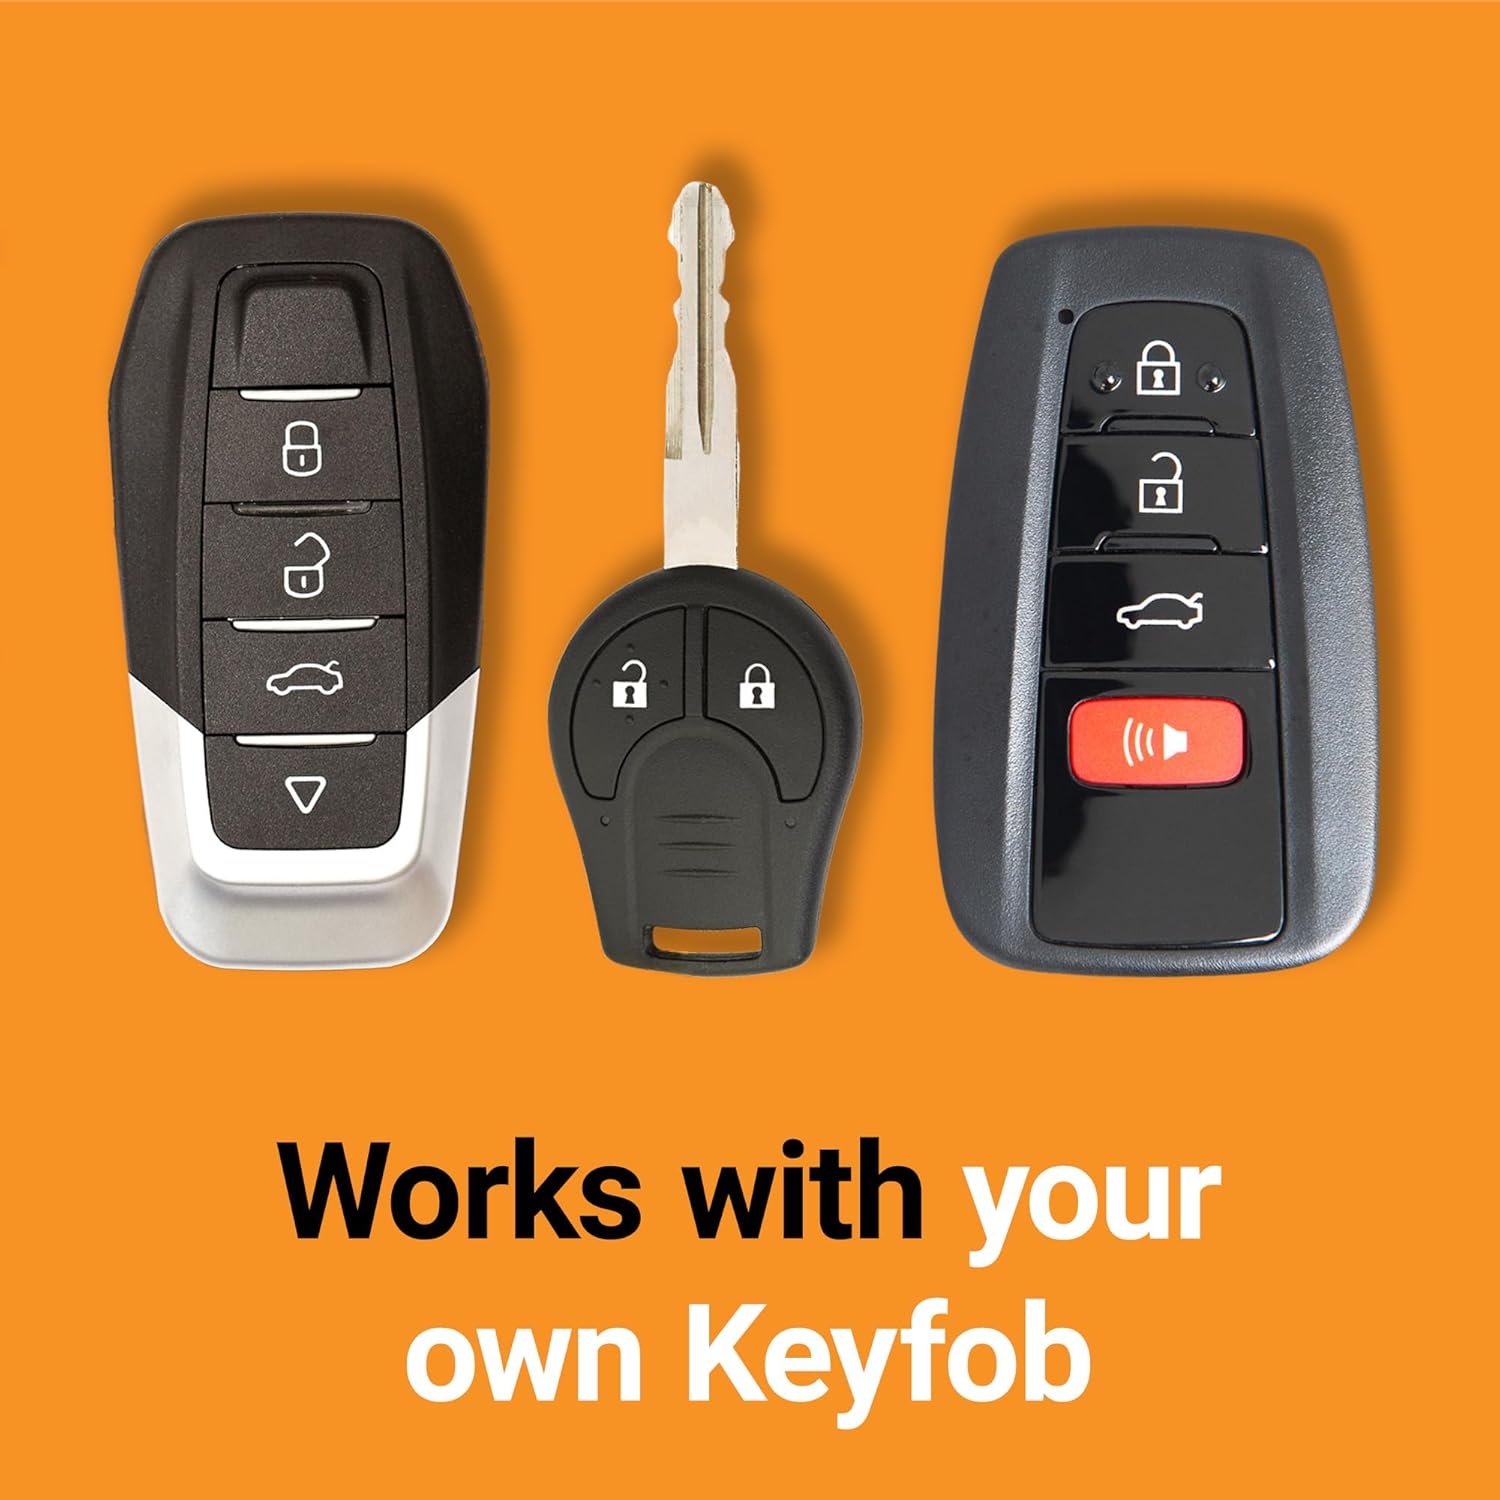
- Remote: Requires an existing factory OEM remote key fob. No new remote is included with this kit.

3. What's in the Box
Your Start-X Remote Starter Kit includes all necessary components for a seamless installation:
- Remote Start Module (pre-flashed for your vehicle's firmware)
- Vehicle-specific T-Harness
- Pry Tool
- Zip Ties
- Installation Guide
- Welcome Card
- Warning Sticker

4. Installation Guide
The Start-X Remote Starter Kit features a plug-and-play design, minimizing the need for wire cutting or splicing. Follow these steps for a successful installation:
4.1. Preparation
- Ensure your vehicle is turned off and the parking brake is engaged.
- Gather your tools: the included pry tool, zip ties, and a small screwdriver (if needed for trim removal).
4.2. Accessing the Vehicle's Wiring
You will need to access the wiring behind the steering column and near the vehicle's Body Control Module (BCM), typically located under the dashboard on the driver's side.
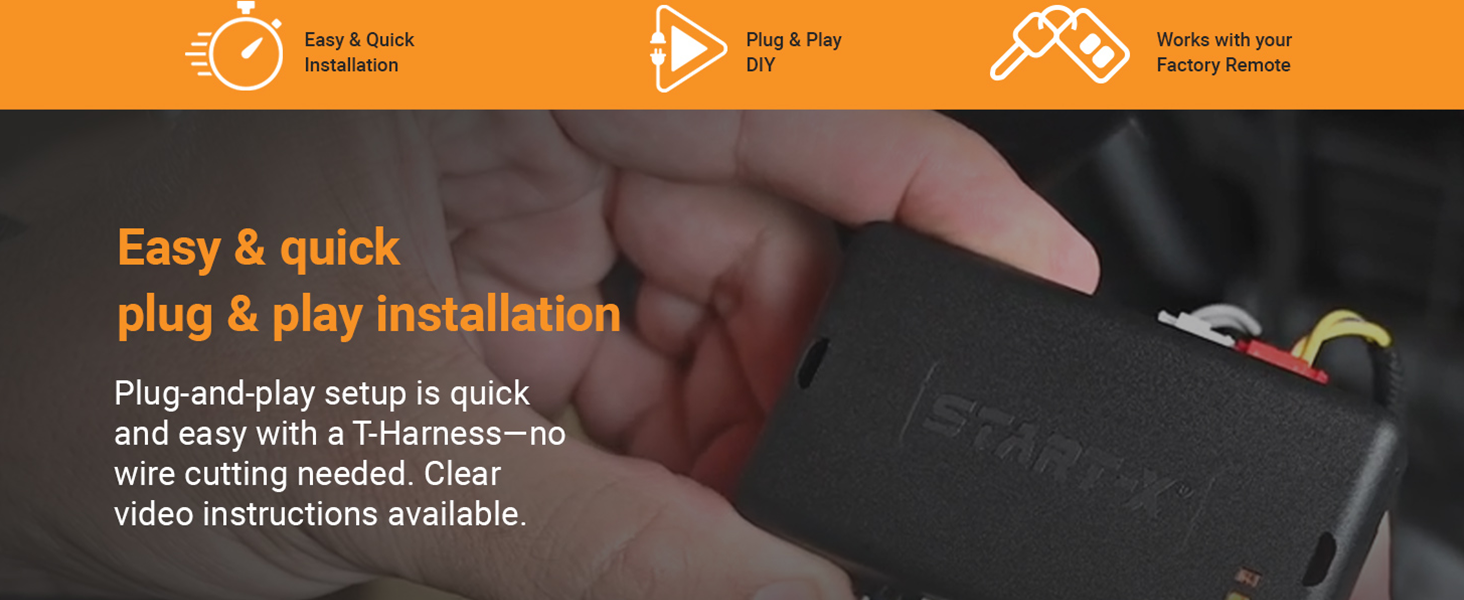
4.3. Connecting the T-Harness
- Carefully remove any necessary trim panels around the steering column and under the dash using the provided pry tool.
- Locate the vehicle's wiring harnesses that match the connectors on your Start-X T-harness.
- Disconnect the factory connectors and insert the corresponding T-harness connectors in line. Ensure each connection clicks securely into place.
4.4. Module Programming
The module comes pre-flashed, but may require a simple programming sequence in the vehicle. Refer to the detailed instructions provided in your kit for the exact programming steps for your specific vehicle model. This typically involves a sequence of key turns and button presses on the module.
4.5. Securing the Module and Wiring
- Once all connections are made and the module is programmed, use the provided zip ties to secure the module and excess wiring away from moving parts and pedals.
- Reinstall all removed trim panels.
4.6. Installation Videos
For a visual guide, please refer to the official installation videos below:
Start-X Silverado & Sierra Remote Start Install
This video provides a step-by-step guide for installing the Start-X remote starter in compatible Silverado and Sierra models.
Start-X Silverado/Sierra Remote Starter Install
A detailed installation video demonstrating the process for Silverado and Sierra remote starter kits.
5. Operating Instructions
Your Start-X Remote Starter Kit integrates seamlessly with your vehicle's existing factory key fob. No additional remote is required.
5.1. Remote Starting Your Vehicle
- Ensure your vehicle is locked.
- Press the Lock button on your factory OEM key fob three (3) times consecutively.
- The vehicle's parking lights will flash, and the engine will start.
- The vehicle will run for a preset duration (typically 15 minutes) or until turned off.
5.2. Turning Off Your Vehicle Remotely
To turn off your vehicle after remote starting, simply press the Lock button on your factory OEM key fob three (3) times consecutively again.
5.3. Entering the Vehicle After Remote Start
As a safety precaution, the vehicle will shut down when a door is opened after remote starting. You must restart the vehicle with the key before driving.
6. Maintenance
The Start-X Remote Starter Kit is designed for maintenance-free operation. Ensure all connections remain secure and free from moisture or damage. Regular vehicle maintenance, as recommended by your vehicle manufacturer, should be followed.
7. Troubleshooting
If you encounter issues with your remote starter, please review the following common solutions:
- Vehicle Does Not Start:
- Ensure all T-harness connections are fully seated and secure.
- Verify the module was programmed correctly according to the included instructions.
- Check your vehicle's battery. A low battery can prevent remote start.
- Inspect the 2A fuse (fuse number 35) in the engine bay if the truck does not crank over.
- Remote Start Range is Limited:
- The remote start range is limited to the effective range of your factory key fob. Obstructions or interference can reduce this range.
- Vehicle Shuts Down Unexpectedly:
- The system is designed to shut down if a door is opened or the brake pedal is pressed before the key is inserted and turned to the ON position. This is a safety feature.
If problems persist, please contact Start-X customer support for assistance.
8. Product Specifications
| Feature | Detail |
|---|---|
| Manufacturer | Start-X |
| Brand | Start-X |
| Item Model Number | GMO-1 |
| Manufacturer Part Number | GMO-1 |
| Item Weight | 10.8 ounces |
| Package Dimensions | 8.58 x 4.41 x 2.44 inches |
| ASIN | B0844MCF47 |
9. Customer Support & Warranty
9.1. Technical Support
Start-X offers a dedicated technical and customer support team to assist with any questions or issues you may encounter during installation or operation. Please refer to the contact information provided in your kit or on the official Start-X website for support.
9.2. Warranty Information
For detailed warranty information regarding your Start-X Remote Starter Kit, please consult the documentation included with your product or visit the official Start-X website. Warranty terms and conditions may vary.


