Introduction
Thank you for choosing the SEVERIN KA 4813 Coffee Maker with Integrated Grinder. This appliance is designed to provide you with a rich and aromatic coffee experience from freshly ground beans. It also offers the flexibility to use pre-ground coffee. Please read this manual carefully before first use to ensure proper operation, maintenance, and safety.
For optimal performance and longevity of your appliance, adhere to the instructions provided herein.
Safety Instructions
Always observe the following safety precautions to prevent injury or damage to the appliance:
- Ensure the voltage indicated on the rating label matches your mains voltage.
- Do not immerse the appliance, power cord, or plug in water or other liquids.
- Keep the appliance out of reach of children.
- Unplug the appliance from the power outlet when not in use, before cleaning, and before assembling or disassembling parts.
- Do not operate the appliance with a damaged cord or plug, or after the appliance malfunctions or has been damaged in any manner.
- Use only original accessories and spare parts.
- Avoid contact with moving parts.
- Do not place the appliance on or near a hot gas or electric burner, or in a heated oven.
- Always ensure the carafe is properly placed before brewing.
- Do not open the filter holder during the brewing cycle.
- This appliance is intended for household use only.
Product Overview
The SEVERIN KA 4813 coffee maker combines a high-quality grinder with a drip coffee machine, offering versatility and convenience.

Image: Front view of the SEVERIN KA 4813 Coffee Maker, showing the bean hopper, LED display, control panel, and glass carafe.
Key Components:
- Bean Hopper with Lid
- Integrated Conical Grinder (Stainless Steel)
- Water Tank with Level Indicator
- LED Touch Screen Display
- Control Panel Buttons
- Swiveling Filter Holder with Drip-Stop System
- Removable Filter Basket (1x4 size)
- Permanent Filter
- Glass Carafe (1.25 L / 10 cups capacity)
- Warming Plate
Setup
Before first use, follow these steps to prepare your coffee maker:
- Unpacking: Carefully remove all packaging materials and check for any damage. Keep packaging for future storage or transport.
- Initial Cleaning:
- Wash the glass carafe, lid, filter holder, and permanent filter in warm, soapy water. Rinse thoroughly and dry.
- Wipe the exterior of the appliance with a damp cloth. Do not immerse the main unit in water.
- First Brew Cycle (Cleaning):
- Fill the water tank with fresh cold water up to the MAX mark (1.25 L).
- Place the empty glass carafe with its lid on the warming plate.
- Insert the filter holder with the permanent filter (or a paper filter 1x4) into its position.
- Plug the appliance into a power outlet.
- Run a full brewing cycle without coffee beans or ground coffee. This helps to clean the internal components and remove any manufacturing residues.
- Discard the water and repeat the process once or twice if necessary.
- Positioning: Place the coffee maker on a stable, flat, heat-resistant surface, away from walls or cabinets to allow for proper ventilation.
Operating Instructions
This section details how to operate your SEVERIN KA 4813 coffee maker for both whole beans and pre-ground coffee.
Brewing Coffee from Whole Beans:

Image: The coffee maker highlighting its ability to brew from freshly ground beans and traditional filter coffee.
- Fill Water Tank: Open the water tank lid and fill with fresh, cold water up to the desired level, indicated by the cup markings (up to 10 cups / 1.25 L). Close the lid securely.
- Add Coffee Beans: Open the lid of the bean hopper and pour whole coffee beans into the hopper. The maximum capacity is approximately 200g. Close the lid.
- Insert Filter: Place the permanent filter (or a paper filter 1x4) into the swiveling filter holder. Ensure the filter holder is correctly seated.
- Place Carafe: Position the glass carafe with its lid on the warming plate.
- Power On: Plug the appliance into a power outlet. The LED display will illuminate.
- Adjust Settings (LED Touch Screen):
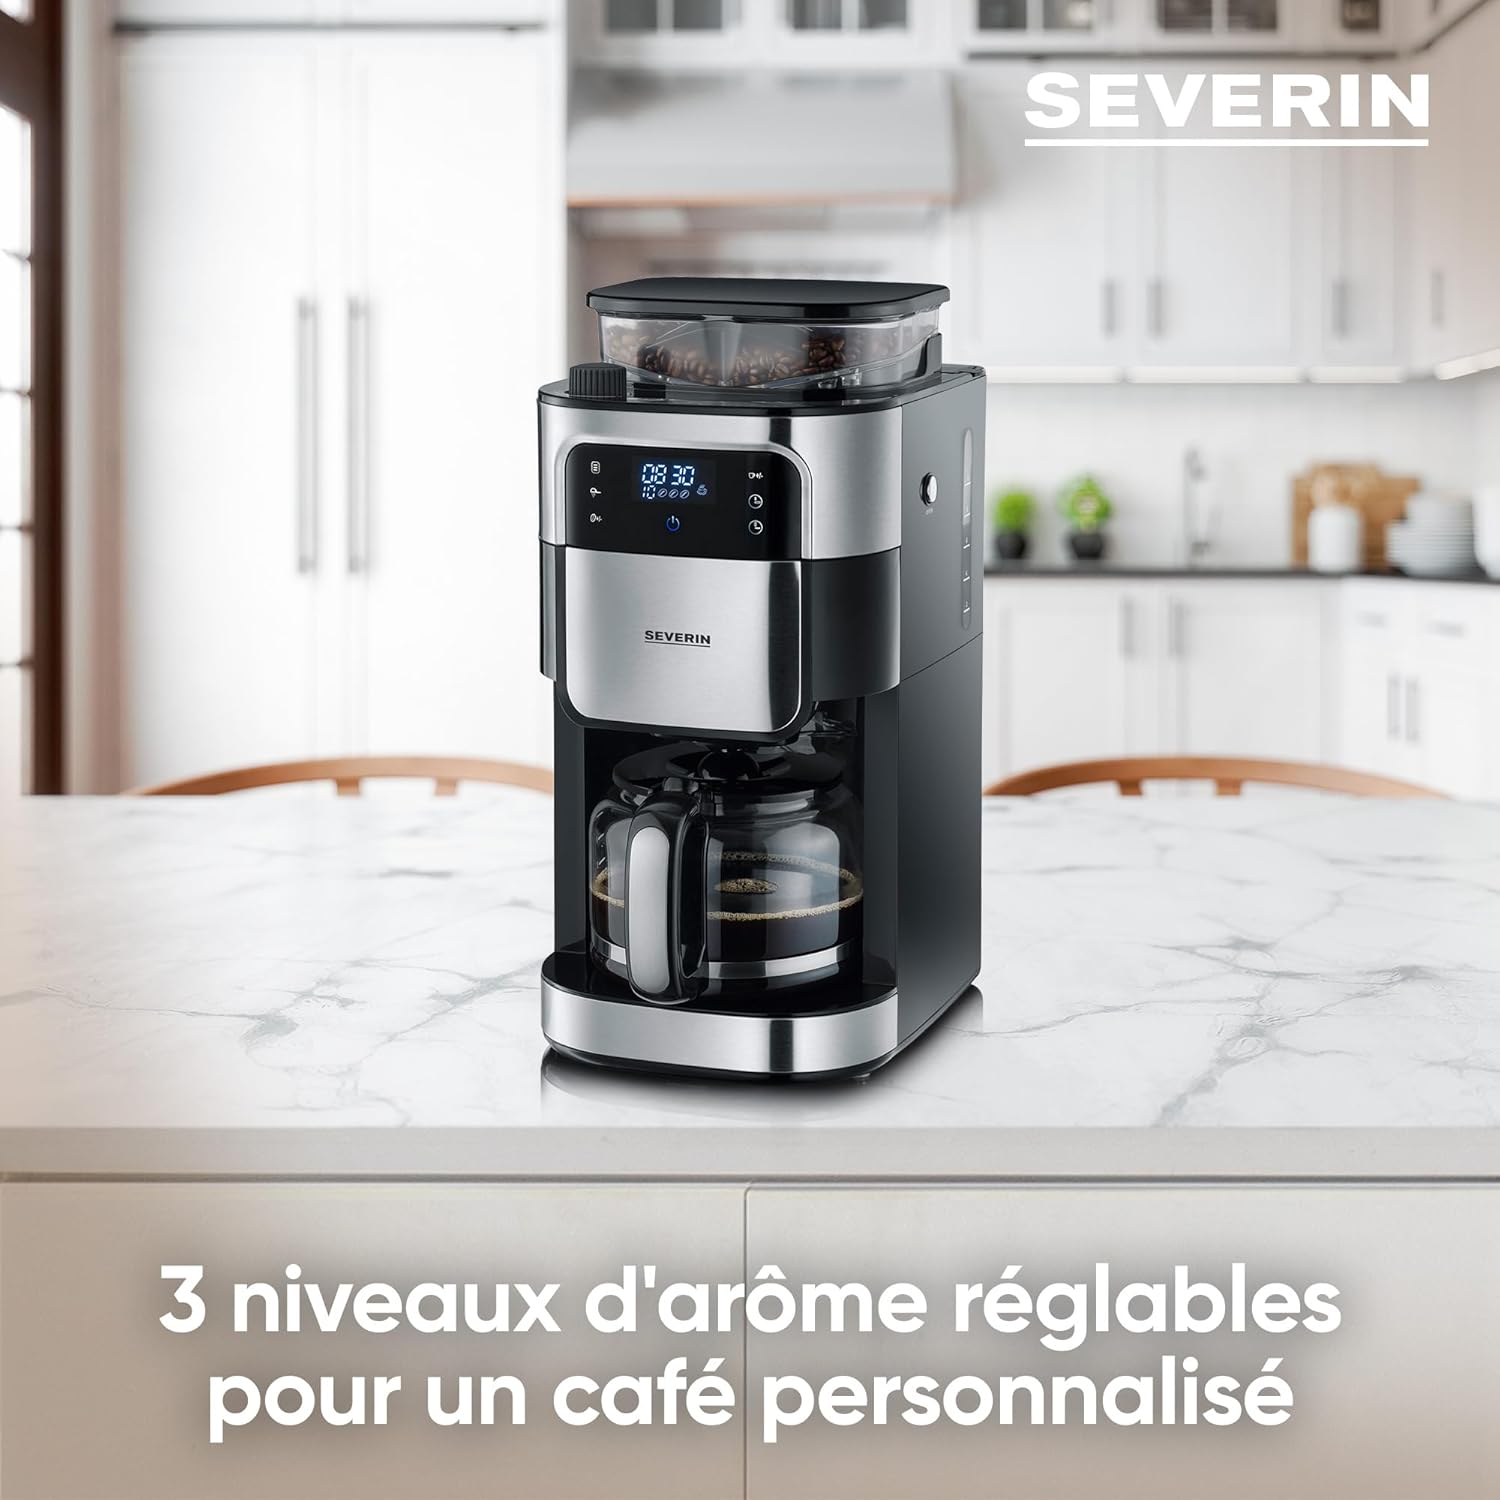
Image: Close-up of the LED touch screen showing adjustable aroma levels for personalized coffee.
- Aroma Level: Use the aroma button to select one of three aroma levels (mild, medium, strong) to suit your preference.
- Grind Level: Adjust the grind level knob, usually located near the bean hopper, to select your desired fineness of grind. Finer grind for stronger coffee, coarser for milder.
- Coffee Quantity: Use the quantity buttons on the touch screen to select the number of cups you wish to brew.
- Blooming Function: Activate the blooming function for a more intense flavor extraction. This pre-wets the coffee grounds before the main brew cycle.
- Timer Function: To set a delayed start, press the timer button and use the time adjustment buttons to set the desired brewing time. Confirm the setting.
- Start Brewing: Press the Start/Stop button to begin the brewing process. The grinder will activate first, followed by the brewing cycle.
- Keep Warm: After brewing, the warming plate will automatically keep the coffee warm for up to 60 minutes. The auto shut-off feature will turn off the appliance after this period.
Brewing Coffee from Pre-Ground Coffee:
The integrated grinder can be deactivated for use with pre-ground coffee.
- Fill Water Tank: Fill the water tank with fresh, cold water to the desired level.
- Deactivate Grinder: Locate the grinder deactivation button/setting on the control panel or LED screen and activate it. This prevents the grinder from operating.
- Add Ground Coffee: Place the permanent filter (or a paper filter 1x4) into the swiveling filter holder. Add the desired amount of pre-ground coffee directly into the filter.
- Place Carafe: Position the glass carafe with its lid on the warming plate.
- Power On & Start: Plug in the appliance and press the Start/Stop button. The machine will brew coffee using the pre-ground coffee without activating the grinder.

Image: Diagram showing programmable features, adjustable grind and quantity, 10-cup capacity, and the swiveling filter with drip-stop and permanent filter.
Maintenance
Regular cleaning and maintenance will ensure the longevity and optimal performance of your coffee maker.
Daily Cleaning:
- Always unplug the appliance before cleaning.
- Remove the glass carafe, lid, filter holder, and permanent filter. Wash them with warm, soapy water and rinse thoroughly. These parts are generally dishwasher-safe, but hand washing is recommended for longevity.
- Wipe the exterior of the coffee maker with a soft, damp cloth. Do not use abrasive cleaners or scouring pads.
- Clean the warming plate with a damp cloth.
- Empty and clean the bean hopper regularly to prevent oil buildup from coffee beans.
Descaling:
Depending on water hardness, descaling should be performed regularly (e.g., every 2-4 months) to prevent mineral buildup, which can affect performance and taste.
- Prepare a descaling solution according to the manufacturer's instructions (e.g., white vinegar or a commercial descaling agent).
- Pour the descaling solution into the water tank.
- Place the empty carafe on the warming plate.
- Run a brewing cycle with the descaling solution. If using a commercial descaler, follow its specific instructions for cycle duration.
- After the descaling cycle, discard the solution.
- Rinse the appliance by running at least two full brewing cycles with fresh, cold water to remove any residual descaling agent.
Troubleshooting
Refer to the table below for common issues and their solutions.
| Problem | Possible Cause | Solution |
|---|---|---|
| Coffee does not brew. | No water in tank; appliance not plugged in; power outage. | Fill water tank; check power connection; check circuit breaker. |
| Coffee tastes weak. | Insufficient coffee grounds/beans; grind setting too coarse; aroma level too low. | Add more coffee; adjust grind to finer setting; select higher aroma level. |
| Coffee overflows from filter. | Too much coffee grounds; filter clogged; carafe not properly placed. | Reduce coffee amount; clean filter; ensure carafe is centered on warming plate. |
| Grinder is not working. | No beans in hopper; grinder deactivation function is active; grinder is clogged. | Fill bean hopper; deactivate grinder function; clean grinder (refer to maintenance). |
| Appliance is noisy. | Normal operation of grinder; mineral buildup (descaling needed). | Grinder noise is normal; descale the appliance if noise is excessive during brewing. |
Specifications
- Model Number: KA 4813
- Brand: SEVERIN
- Power: 1000 W
- Voltage: 240 Volts
- Capacity (Carafe): 1.25 Liters (approx. 10 cups)
- Bean Hopper Capacity: Approx. 200g
- Dimensions (L x W x H): 27 x 22 x 43.5 cm
- Weight: 4.43 kg
- Material: Stainless Steel, Plastic
- Color: Brushed Stainless Steel/Black
- Special Features: Integrated Grinder, LED Touch Screen, Timer Function, Adjustable Aroma Levels, Blooming Function, Grinder Deactivation, Drip-Stop System, Permanent Filter, Automatic Shut-off.
Warranty and Support
SEVERIN products are manufactured to high quality standards. In the unlikely event of a defect, please contact your retailer or the official SEVERIN customer service for assistance.
Please retain your proof of purchase for warranty claims. Warranty terms and conditions may vary by region. For detailed warranty information and support, please visit the official SEVERIN website or contact their customer service department.
Contact Information: Refer to the contact details provided with your product packaging or on the official SEVERIN website (www.severin.com).


