
1. Introduction
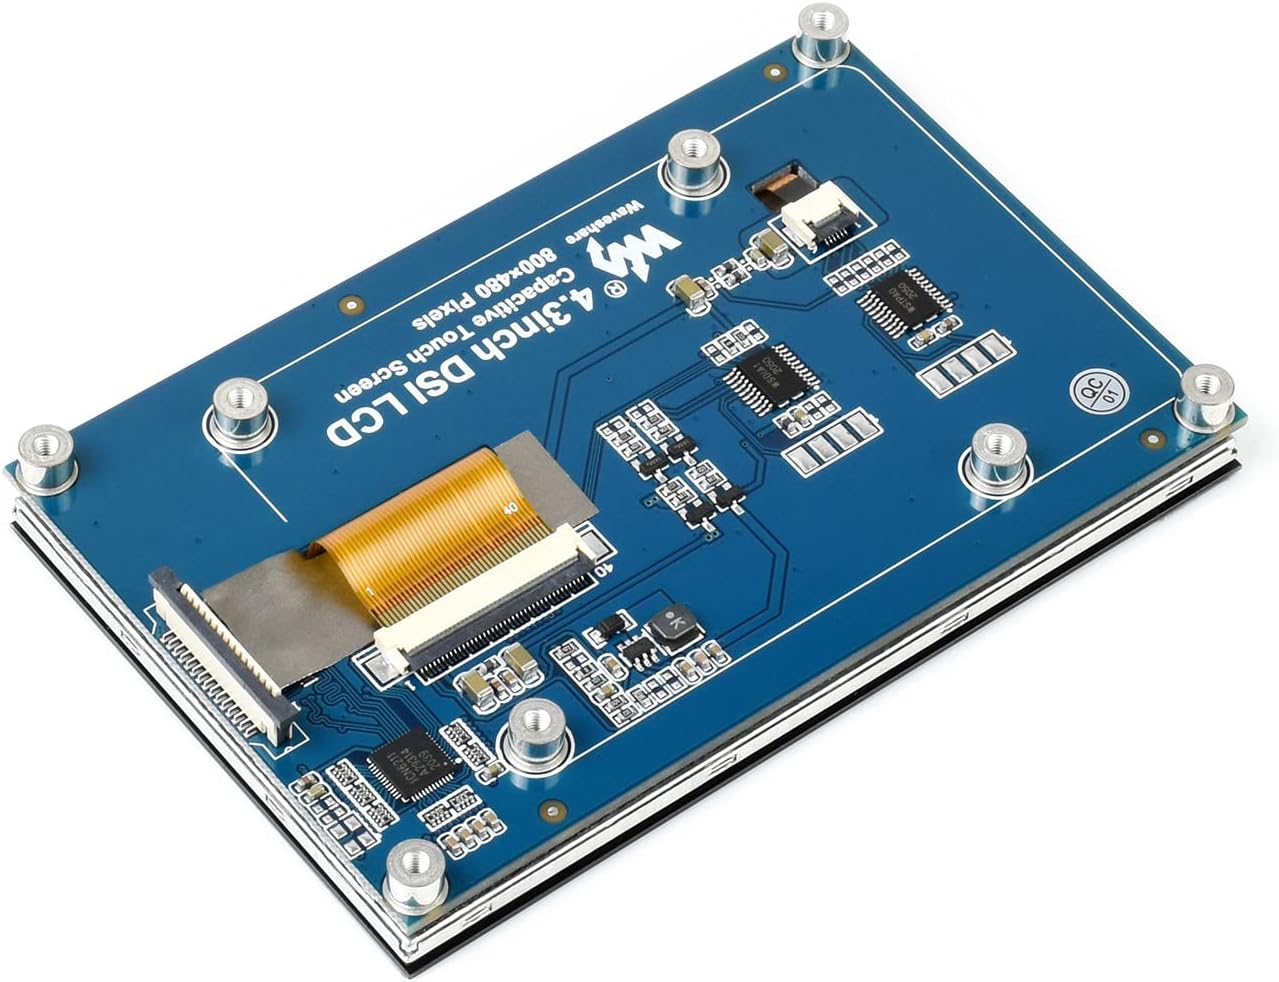
This manual provides detailed instructions for the setup, operation, and maintenance of your Waveshare 4.3-inch DSI LCD Capacitive Touch Display. This display is designed for use with various Raspberry Pi models and other compatible single-board computers, offering an 800x480 resolution IPS wide-angle viewing experience with a MIPI DSI interface and 5-point capacitive touch.
Package Contents
Verify that all items listed below are included in your package:
- 4.3inch DSI LCD x1
- FPC 15PIN 1.0 pitch 50mm (opposite sides) x1
- Screws pack x1

2. Setup
Compatibility
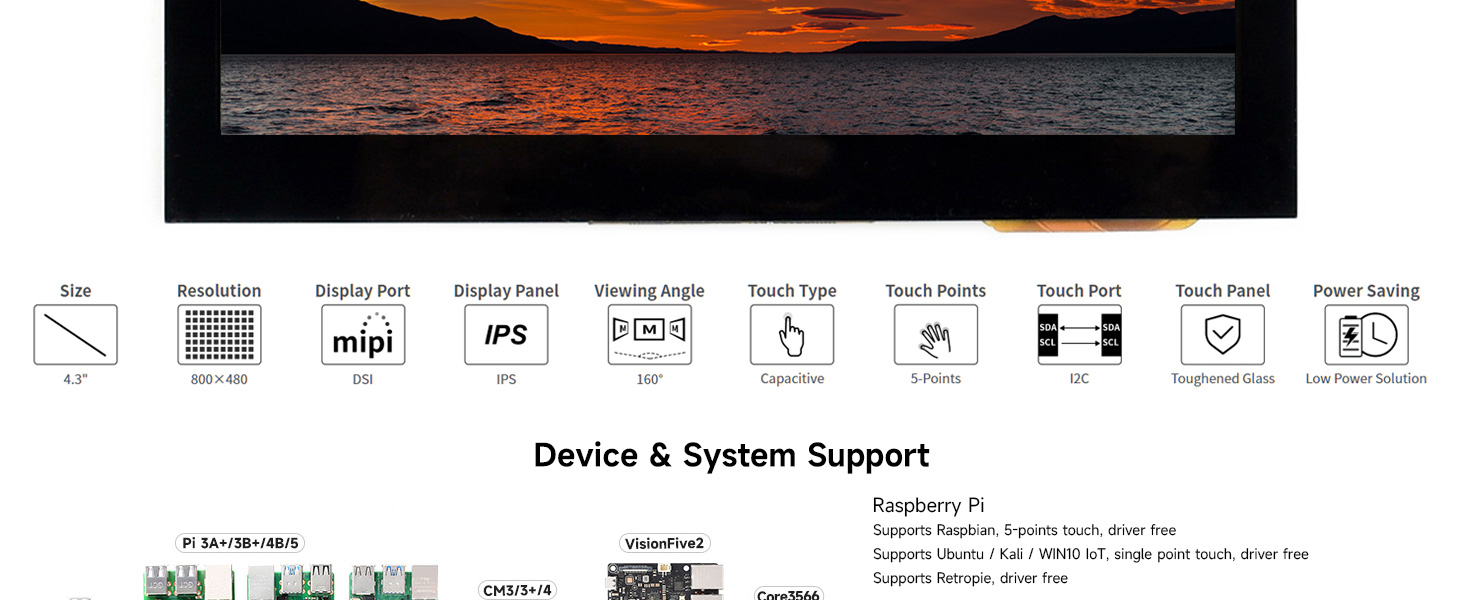
The Waveshare 4.3-inch DSI LCD is compatible with the following devices:
- Raspberry Pi 5/4B/3B+/3A+/3B/2B/B+/A+
- CM3/3+/4 (requires an extra adapter board)
- VisionFive2 (supports Debian, single point touch, driver free)
- Core3566 (supports Debian / Ubuntu, 5-point touch, driver free)
Connection Instructions
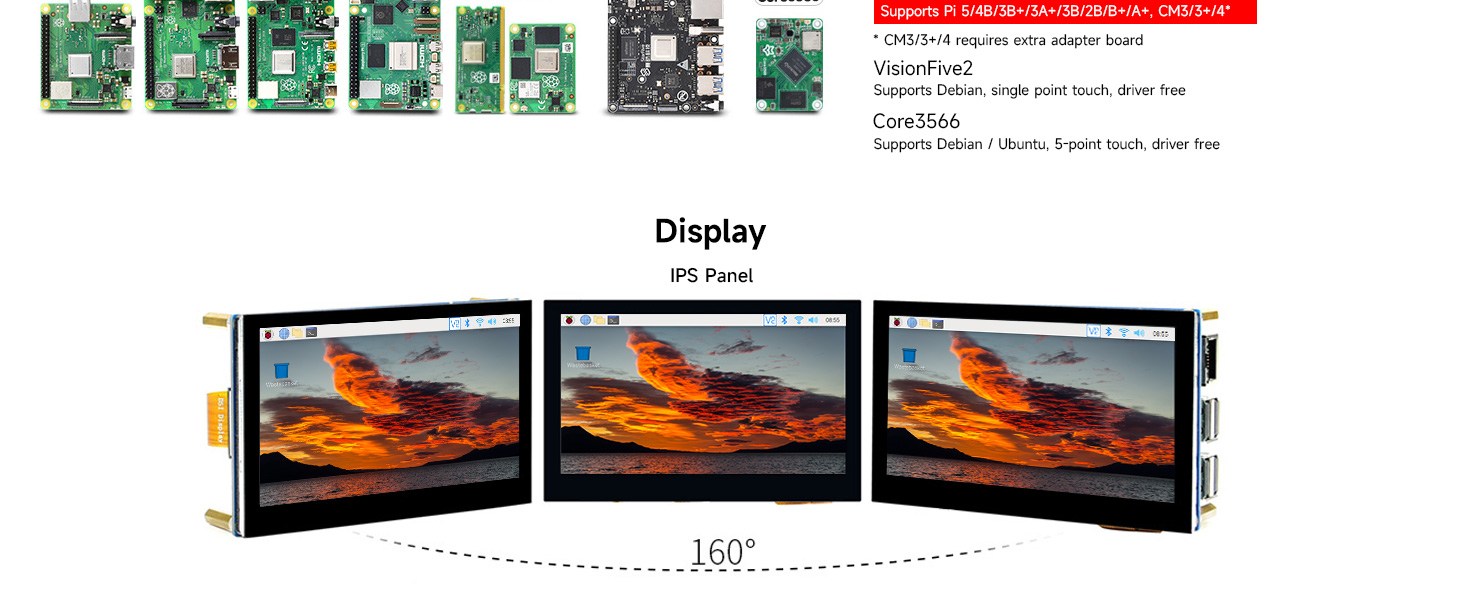
Follow these steps to connect the display to your Raspberry Pi:
- Ensure your Raspberry Pi is powered off.
- Locate the DSI port on your Raspberry Pi. This is typically a flat, ribbon cable connector.
- Carefully open the DSI connector latch on the Raspberry Pi.
- Insert the FPC cable (included) into the DSI port on the Raspberry Pi, ensuring the contact fingers are facing the latch.
- Close the DSI connector latch to secure the FPC cable.
- Connect the other end of the FPC cable to the DSI port on the 4.3-inch display, ensuring proper orientation and securing the latch.
- Optionally, use the provided screws to mount the display to your Raspberry Pi for a stable assembly.
- Power on your Raspberry Pi. The display should initialize automatically.

3. Operating Instructions
Initial Power On
After connecting the display to your Raspberry Pi and powering it on, the display should automatically detect and configure itself. For Raspberry Pi OS, Ubuntu, Kali, Retropie, and WIN10 IoT, the display is driver-free, meaning no additional software installation is required for basic display and touch functionality.
Touch Control
The display features a capacitive touch panel supporting up to 5-point multi-touch, depending on the operating system. This allows for intuitive interaction with the graphical user interface.
Backlight Control
The display supports software control of backlight brightness. Refer to the specific documentation for your operating system or Raspberry Pi distribution for instructions on adjusting backlight settings programmatically.
4. Maintenance
Cleaning the Display
To clean the display surface, use a soft, lint-free cloth. For stubborn smudges, lightly dampen the cloth with water or a screen-safe cleaning solution. Avoid using harsh chemicals, abrasive materials, or excessive moisture, as these can damage the screen or internal components.
Handling and Storage
Handle the display by its edges to avoid touching the screen surface or the delicate FPC cable. When not in use, store the display in a cool, dry environment, away from direct sunlight and extreme temperatures. Protect it from physical impact and static electricity.
5. Troubleshooting
Display Not Showing Image
- Check DSI Cable Connection: Ensure the FPC cable is securely seated in both the Raspberry Pi's DSI port and the display's DSI port. The latches should be fully closed, and the contact fingers correctly oriented.
- Power Supply: Verify that your Raspberry Pi is receiving adequate power. An insufficient power supply can sometimes lead to display issues.
- Operating System Configuration: While driver-free for many systems, ensure your Raspberry Pi's operating system is up-to-date. Some older OS versions might require specific configuration files.
Touch Functionality Not Working
- Recheck DSI Connection: The DSI cable carries both display and touch data. A loose connection can affect touch input.
- Operating System Support: Confirm that your operating system fully supports capacitive touch input via DSI.
- Calibration: In some cases, touch screen calibration might be necessary, though typically not for driver-free setups. Refer to your OS documentation.
Intermittent Flickering
- Power Supply: Ensure a stable and sufficient power supply for your Raspberry Pi and connected peripherals. Fluctuations can cause display instability.
- Cable Integrity: Inspect the FPC cable for any damage or kinks.
For further assistance, please refer to the official Waveshare online documentation or support resources.
6. Specifications
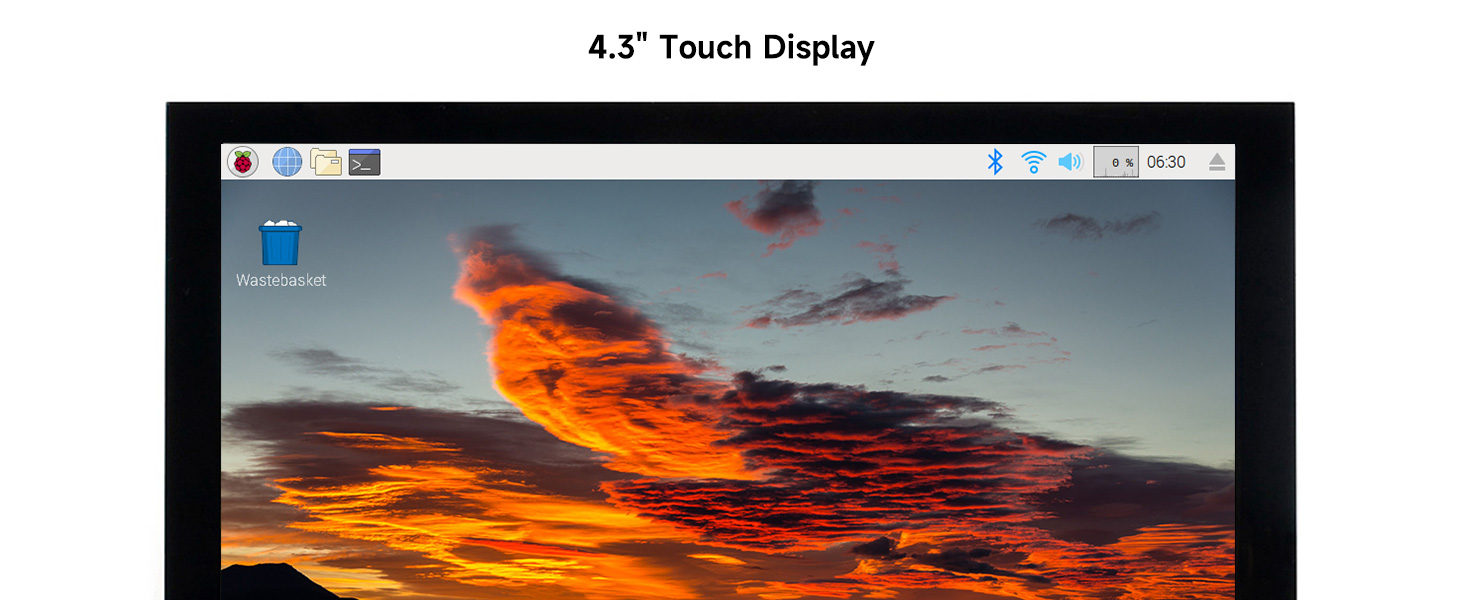
Detailed technical specifications for the Waveshare 4.3-inch DSI LCD Capacitive Touch Display:
| Feature | Specification |
|---|---|
| Screen Size | 4.3 Inches |
| Resolution | 800 x 480 pixels |
| Display Panel | IPS (In-Plane Switching) |
| Viewing Angle | 160 degrees |
| Interface | MIPI DSI |
| Touch Type | Capacitive |
| Touch Points | Up to 5-point touch |
| Touch Panel Material | Toughened Glass |
| Refresh Rate | Up to 60Hz |
| Dimensions | Refer to Figure 7 for detailed dimensions. |
| Item Weight | 0.352 ounces |

7. Warranty and Support
Warranty Information
Waveshare products are typically covered by a limited warranty against defects in materials and workmanship. Please retain your proof of purchase for warranty claims. Specific warranty terms and duration may vary by region and retailer. For detailed warranty information, refer to the official Waveshare website or contact your point of purchase.
Technical Support
For technical assistance, additional documentation, or to report issues, please visit the official Waveshare support page or contact their customer service. Online resources often include FAQs, tutorials, and community forums that can provide solutions to common queries.
Official Waveshare Store: Waveshare Store on Amazon


