
1. Introduction
Thank you for choosing the CREATE WIPEBOT Automatic Window Cleaning Robot. This manual provides essential information for the safe and efficient operation, maintenance, and troubleshooting of your device. Please read this manual thoroughly before first use and retain it for future reference.
The WIPEBOT is designed to clean glass surfaces such as windows, mirrors, and glass doors. It features powerful suction, intelligent navigation, and a remote control for convenient operation.
2. Safety Instructions
To ensure safe operation and prevent damage, please observe the following safety precautions:
- Read all instructions carefully before using the appliance.
- This appliance is for indoor use only. Do not use it outdoors or on broken glass.
- Always attach the safety rope before operating the robot, especially on high windows. Ensure the rope is securely fastened to a stable anchor point.
- Keep the robot and its accessories away from children and pets.
- Use only the original power adapter provided with the device.
- Do not use the robot in rainy or humid conditions.
- Ensure the cleaning pads are properly attached before operation.
- Do not operate the robot if it is damaged or malfunctioning. Contact customer support.
- Avoid using abrasive cleaning solutions or materials that could scratch glass surfaces.
- The robot has a backup battery for power outages. Do not rely solely on the backup battery for extended operation.
3. Package Contents
Carefully unpack the box and ensure all items are present and in good condition. If any items are missing or damaged, please contact your retailer.
- CREATE WIPEBOT Window Cleaning Robot
- Remote Control
- Power Adapter and Power Cable
- Safety Rope with Carabiner
- Cleaning Solution Spray Bottle
- Microfiber Cleaning Pads (12 included)

Description: This image displays the complete package contents of the CREATE WIPEBOT. It shows the main robot unit, a remote control, the power adapter with its cable, a safety rope with a carabiner clip, a spray bottle labeled 'CLEANING CAN', and two stacks of circular microfiber cleaning pads.
4. Product Overview
4.1. Robot Unit

Description: This image shows the CREATE WIPEBOT from a side angle, highlighting its sleek black design and the two circular microfiber pads attached to its underside. A power cable extends from the robot.
- Power Button/Indicator Light: To turn the robot on/off and indicates status.
- Suction Ports: Generate vacuum to adhere to the glass.
- Rotating Pads: Two circular pads for cleaning and movement.
- Power Input: Connects to the power adapter.
- Safety Rope Attachment Point: For securing the safety rope.
4.2. Remote Control

Description: This image displays the black remote control unit. It features several buttons for controlling the robot's movement and cleaning modes, including directional arrows, start/pause, and mode selection buttons.
- Power On/Off: Turns the robot on or off.
- Start/Pause: Initiates or pauses cleaning cycles.
- Directional Buttons: Manually controls the robot's movement.
- Cleaning Modes (M1, M2, M3): Selects different automatic cleaning patterns (e.g., zigzag).
5. Setup
Follow these steps to prepare your WIPEBOT for cleaning:
- Attach Cleaning Pads: Securely attach two clean microfiber pads to the rotating bases on the underside of the robot. Ensure they are centered and flat.
- Connect Power: Plug the power adapter into the robot's power input port, then plug the power cable into a suitable electrical outlet.
- Attach Safety Rope: Fasten the safety rope to the designated attachment point on the robot. Secure the other end of the safety rope to a sturdy, immovable object (e.g., a heavy piece of furniture, a window frame anchor) to prevent the robot from falling.
- Apply Cleaning Solution: Lightly spray a small amount of glass cleaning solution onto the microfiber pads. Do not oversaturate the pads, as this can reduce suction.

Description: This image shows a close-up of the safety rope being securely attached to the designated loop on the CREATE WIPEBOT, emphasizing the importance of this safety measure.

Description: This image illustrates a hand spraying cleaning solution onto one of the circular microfiber pads attached to the robot, demonstrating the correct way to prepare the pads for cleaning.
6. Operating Instructions
- Power On: Press the power button on the robot or the remote control. The indicator light will illuminate.
- Place Robot: Carefully place the robot onto the glass surface. Ensure it is flat against the glass. The robot will automatically activate its suction to adhere to the surface. Wait for the suction to stabilize before releasing the robot.
- Start Cleaning: Press the 'Start' button on the remote control or select a cleaning mode (M1, M2, M3) to begin an automatic cleaning cycle. The robot will start moving in a zigzag pattern to cover the surface.
- Manual Control: Use the directional buttons on the remote control to guide the robot manually if needed.
- Stopping the Robot: Press the 'Pause' button on the remote control or the power button on the robot to stop the cleaning cycle. The robot will remain adhered to the glass.
- Remove Robot: Once cleaning is complete or paused, carefully grasp the robot and press the power button to release the suction. Remove the robot from the glass.

Description: This image shows the CREATE WIPEBOT actively cleaning a large window, demonstrating its ability to adhere to and move across vertical glass surfaces. The robot is positioned on the upper part of the window.

Description: This image captures the CREATE WIPEBOT cleaning a large glass panel, with a person visible in the background. The robot is moving across the glass, demonstrating its operational capability on expansive surfaces.

Description: This image shows a hand holding the remote control for the CREATE WIPEBOT, with the robot visible on a window in the background. It illustrates the user interaction with the device via its remote.
7. Maintenance
Regular maintenance ensures optimal performance and extends the lifespan of your WIPEBOT.
7.1. Cleaning Pads
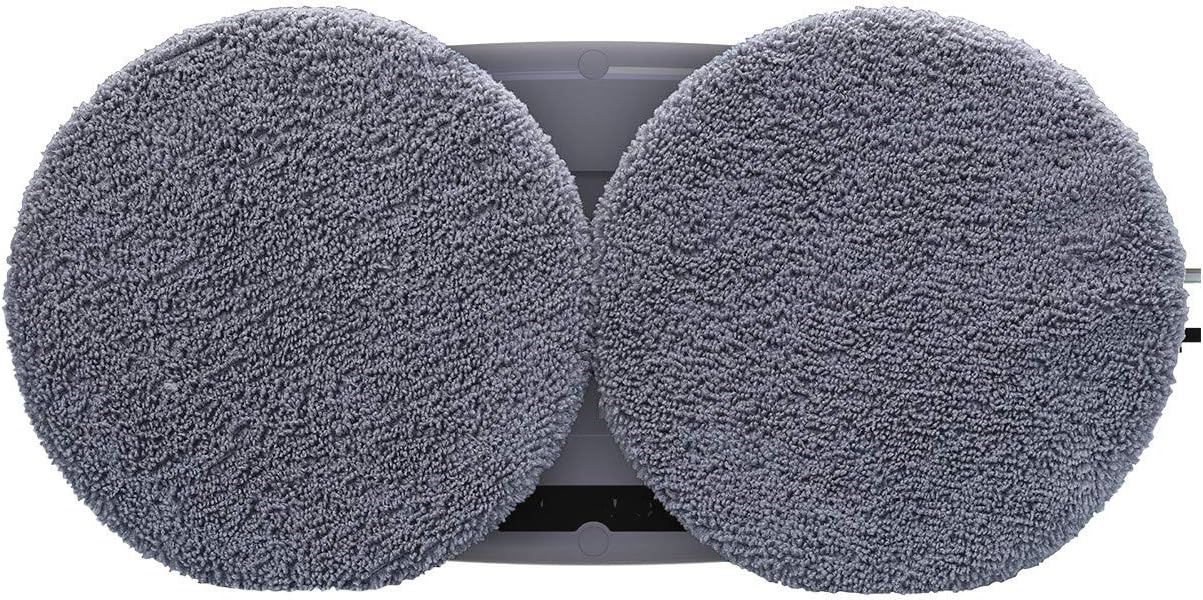
Description: This image provides a close-up view of the two circular microfiber cleaning pads attached to the underside of the CREATE WIPEBOT, showing their texture and placement.
- Remove the microfiber pads after each use.
- Wash the pads by hand or machine wash with mild detergent. Do not use bleach or fabric softener.
- Allow pads to air dry completely before reattaching them to the robot or storing.
7.2. Robot Unit
- Wipe the exterior of the robot with a soft, damp cloth.
- Do not immerse the robot in water or spray water directly onto it.
- Clean the suction ports regularly to ensure strong adhesion. Use a dry cloth or a soft brush to remove any dust or debris.
7.3. Storage
- Store the robot and its accessories in a cool, dry place, away from direct sunlight.
- Ensure the robot is clean and dry before storage.
8. Troubleshooting
If you encounter issues with your WIPEBOT, refer to the following common problems and solutions:
| Problem | Possible Cause | Solution |
|---|---|---|
| Robot does not turn on. | No power, low battery, or power button not pressed correctly. | Ensure power cable is securely connected. Check power outlet. Charge the robot if the battery is low. Press the power button firmly. |
| Robot does not adhere to glass. | Insufficient suction, dirty suction ports, or wet pads. | Ensure the glass surface is clean and dry. Clean the suction ports. Do not oversaturate cleaning pads. Check for air leaks around the robot's edges. |
| Robot leaves streaks. | Dirty pads, too much cleaning solution, or dirty glass. | Replace or wash cleaning pads. Use less cleaning solution. Pre-clean heavily soiled windows if necessary. |
| Robot stops unexpectedly. | Power interruption, obstacle detected, or edge detection. | Check power connection. Remove any obstacles. The robot may stop at edges; reposition if needed. |
If the problem persists after attempting these solutions, please contact CREATE customer support for further assistance.
9. Specifications
| Feature | Detail |
|---|---|
| Brand | CREATE |
| Model Name | WIPEBOT |
| Model Number | KLiHD |
| Color | Black |
| Dimensions (L x W x H) | 29.1 x 14.4 x 8.2 cm |
| Weight | 1.1 Kilograms |
| Power | 90 Watts |
| Voltage | 240 Volts (AC) |
| Battery Type | Lithium-ion (14.4V) |
| Battery Life (Backup) | 30 minutes |
| Special Feature | Anti-fall system |
| Controller Type | Remote Control |
| Cleaning Mode | Zig Zag |
| Recommended Surface | Glass |
10. Warranty and Support
The CREATE WIPEBOT comes with a standard manufacturer's warranty. Please refer to the warranty card included in your package for specific terms and conditions. For technical support, troubleshooting assistance, or to inquire about replacement parts, please contact CREATE customer service through their official website or the contact information provided with your purchase.
Please have your model number (KLiHD) and purchase date ready when contacting support.


